This is a collectibles guide for Sniper Elite Five.
Each mission in the game has 19 collectibles and they are spread amongst the categories of personal letters, hidden items, stone eagles, work benches, and classified documents. You can pause your game at any point to go to the service record and then navigate to collectibles to see how many you have.
1/19- Classified Document 1
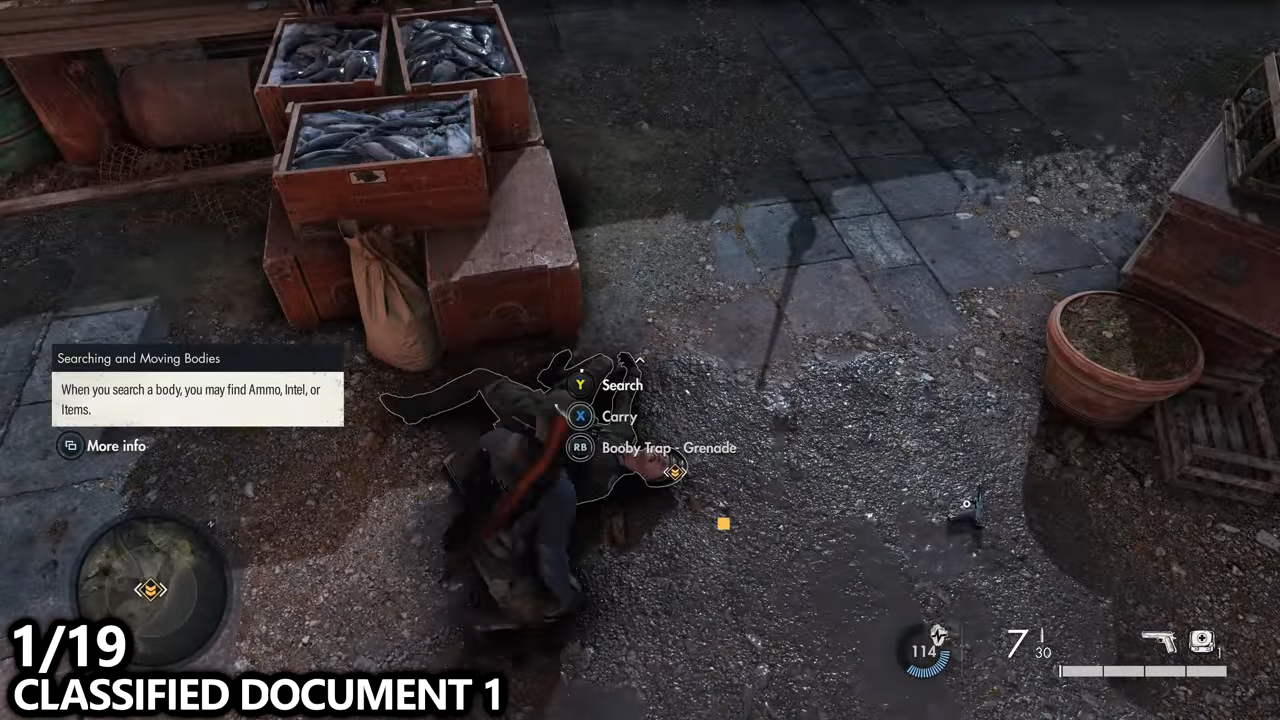
The first one you can grab is a classified document. You have to do a bit of a tutorial and then come to this enemy which you will take out and search for the boat house key.
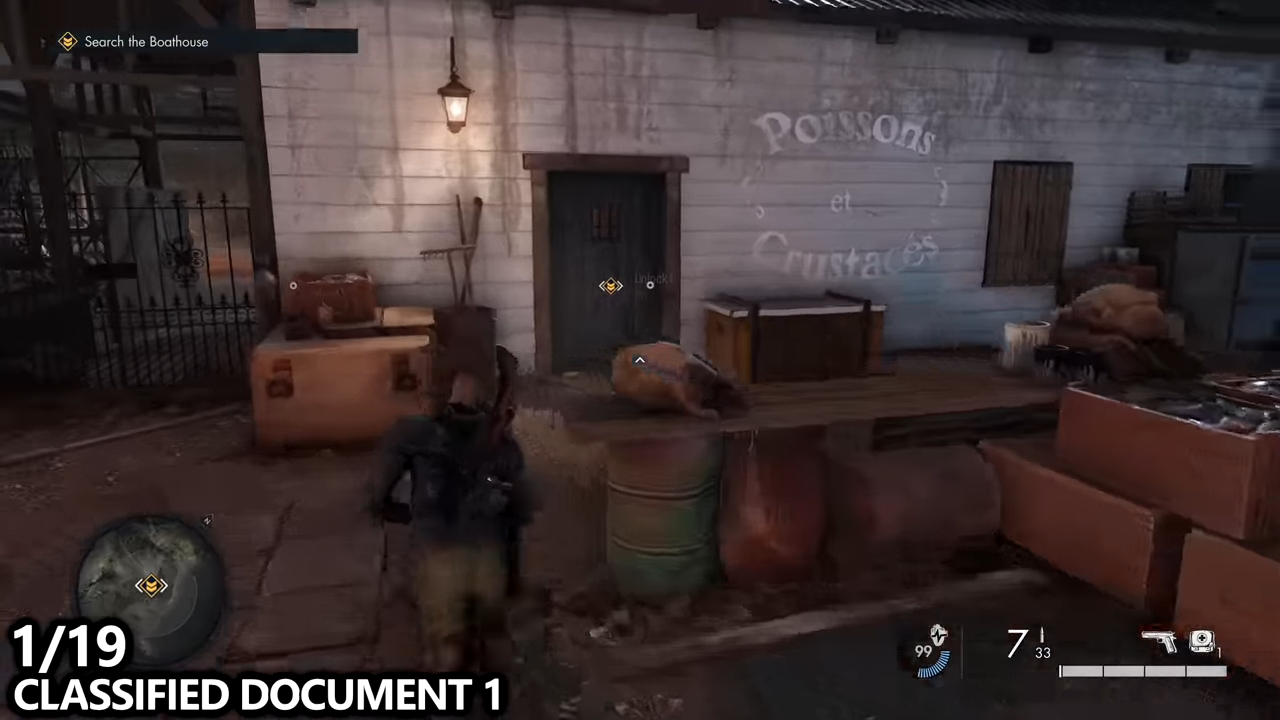

You can use that key to open up the door and find the classified document directly in front of you. When you collect the collectible, its name will appear in the top right corner of the screen.
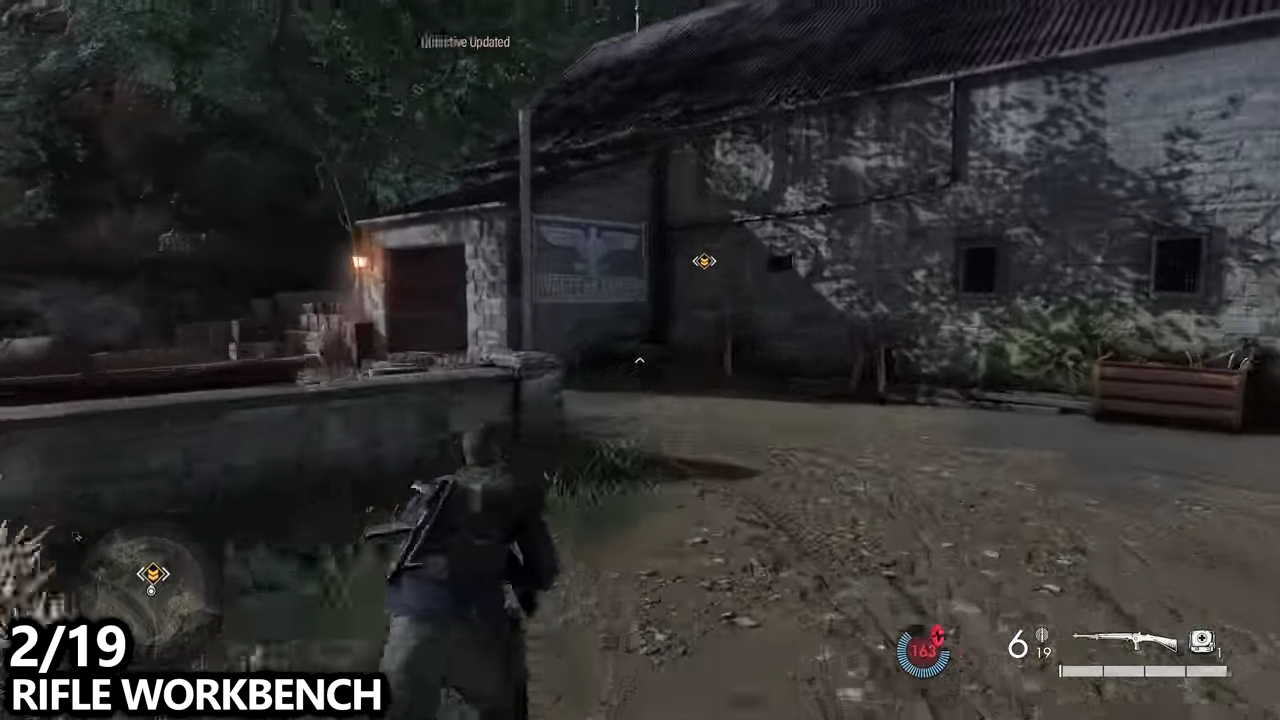
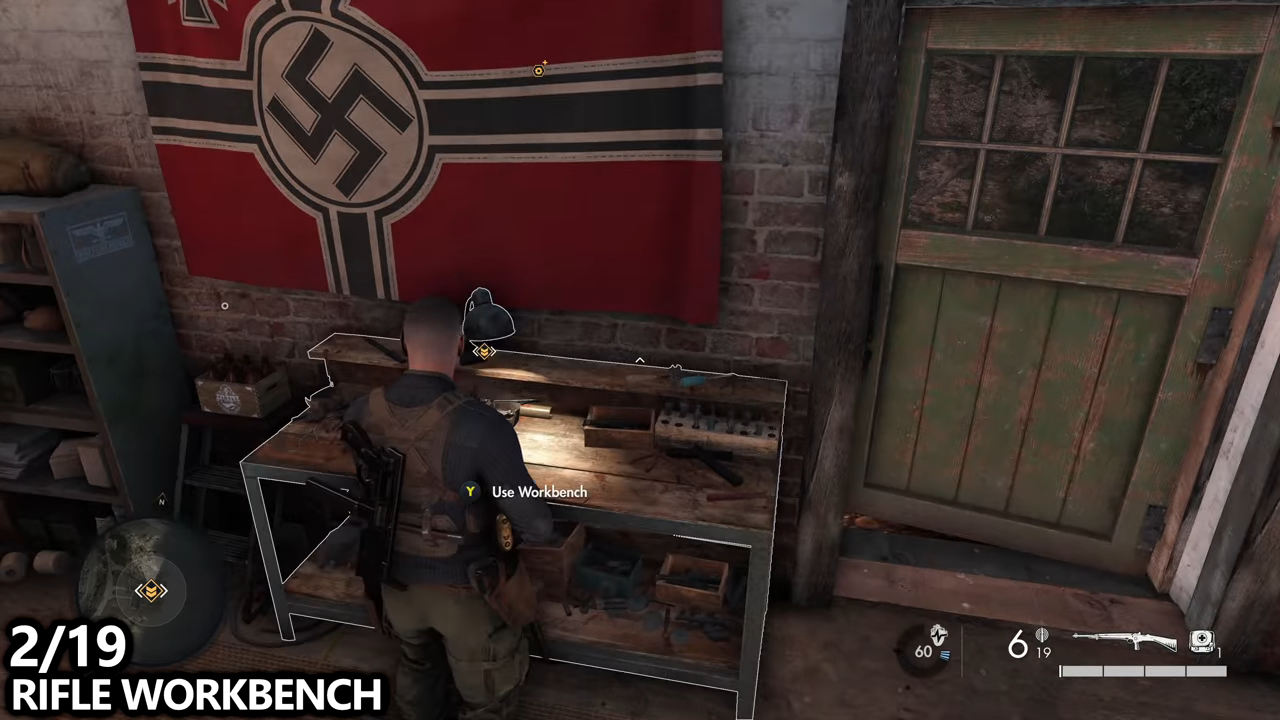
2/19- Rifle Workbench
The next collectible is the rifle workbench. You need to use the map to make sure you’re in the same location, as shown in the picture below.

You’ll be given the objective of searching the processing plant which is this little outpost.
You have to take out the guards and walk inside, there will be a small cut scene. Once you are inside, you will find a back room with an enemy. You can either break in using a crowbar or use some bolt cutters rather. You can also pick the lock and as soon as you’re in, you just need to take out the enemy and you will find a rifle workbench there.
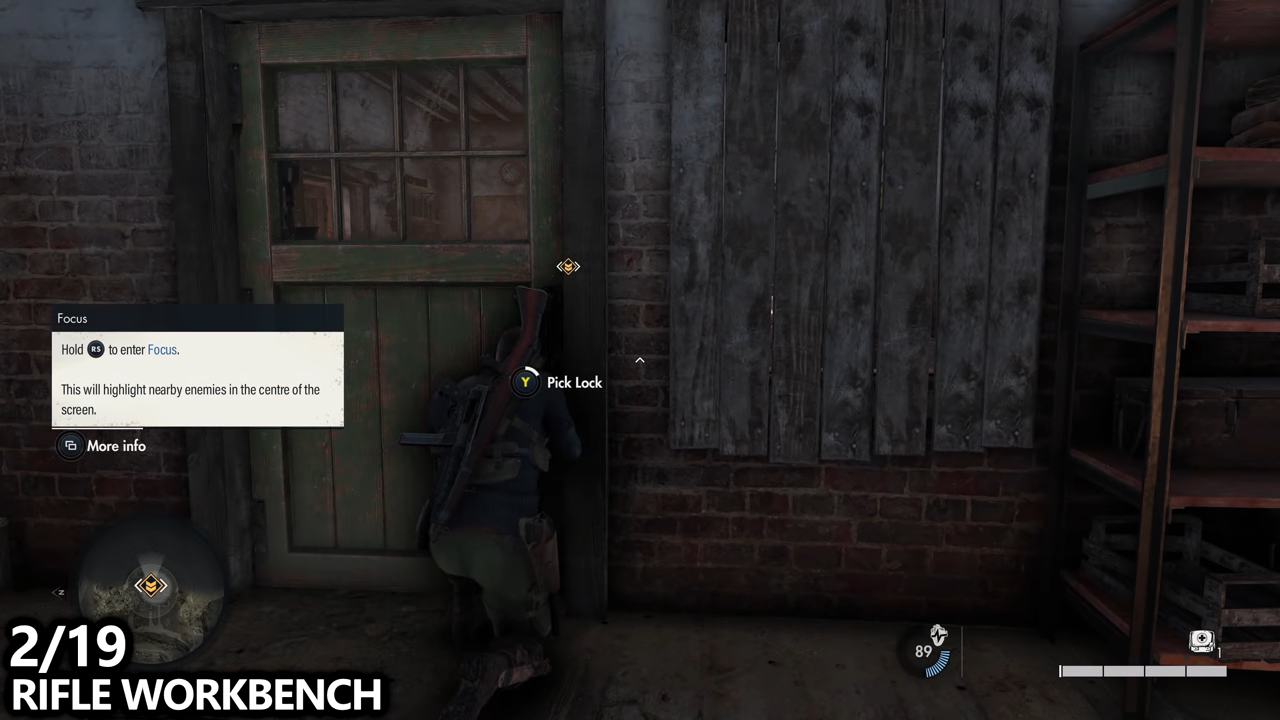
Unlocking workbenches will allow you to customize your weapon and unlock the attachments for that weapon. It’s very advantageous to make sure you visit these and then customize your weapon.
3/19- Stone Eagle

In Sniper Elite 5, you go wherever you want. But in this guide, the objectives will be done in the order that they are laid out.

You have to continue along that path to the north and you’ll end up at this small outpost. You’ll find the stone eagle sitting on top of one of the buildings on the right-hand side, you have to destroy it.

4/19- Personal Letter
You can also find a personal letter in this outpost just sitting on top of a box on the left-hand side of the road. You need to pick it up before following the road.

5/19- Classified document 2
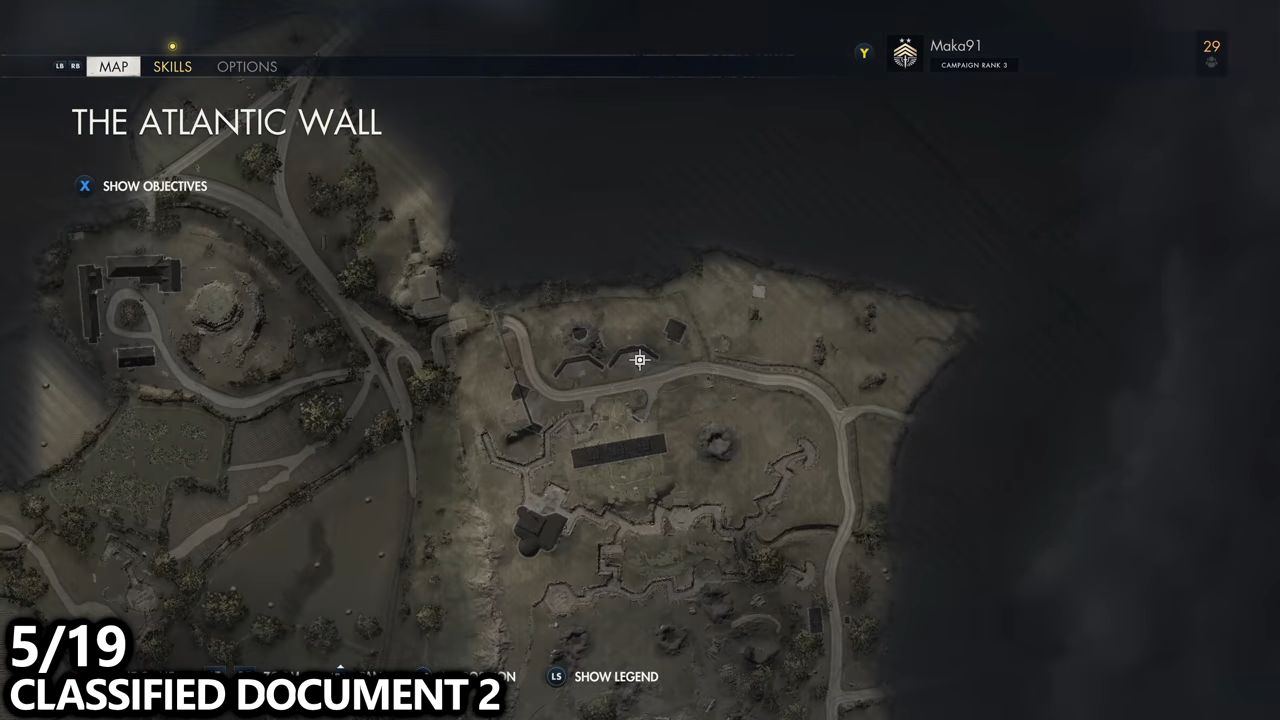
After that, make your way to the north to the large kind of radar building and blow it up using satchel charges. Or you can just disarm it by following the yellow cable and interacting with the box to power it off.

When you’re there, you will find a satchel charge.
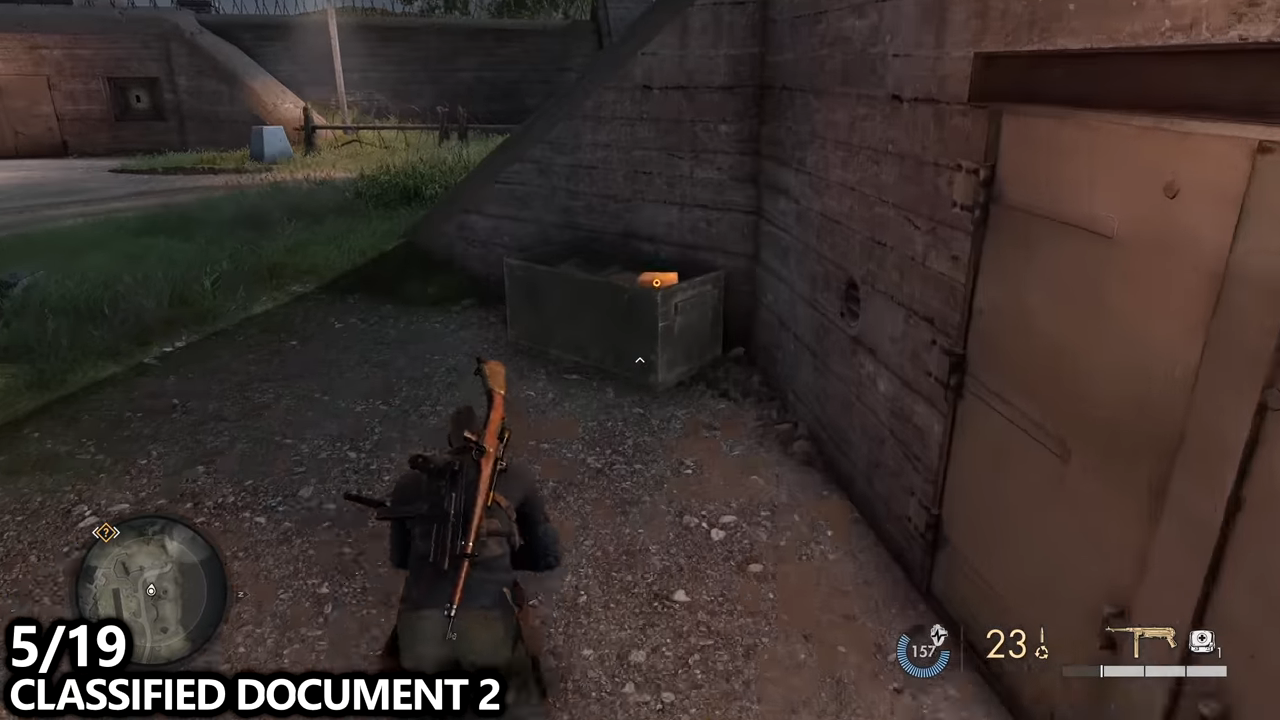
There are three or four litters around this area but make sure that you have at least one.

With one, you need to go inside using the left-hand door, go down the stairs, and into the central room.
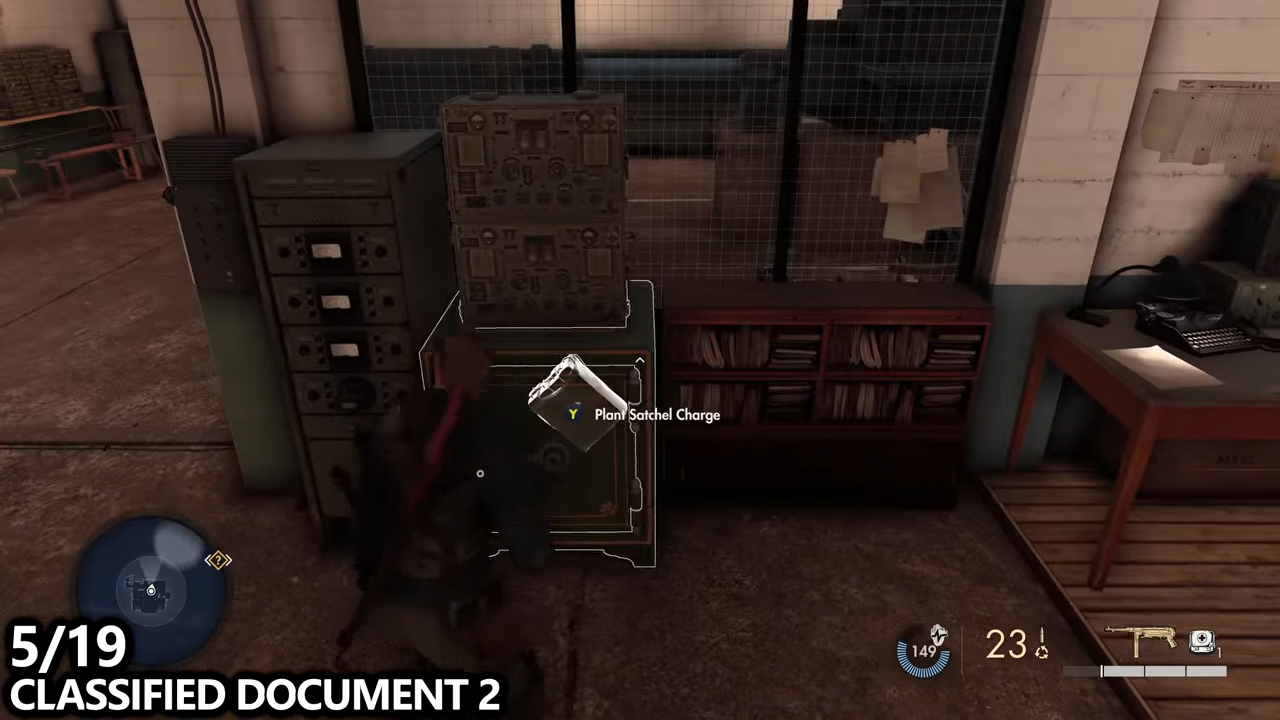
In this room, you will find a safe and you can interact with this safe to plant a satchel charge.
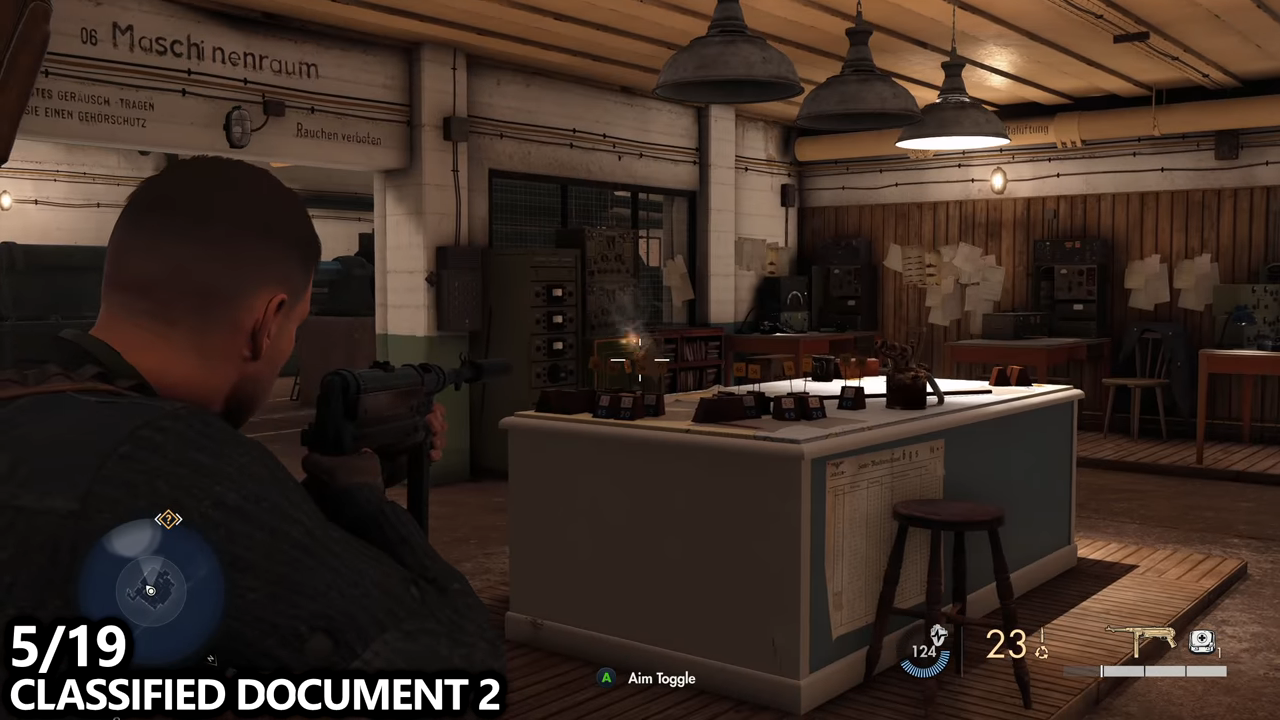
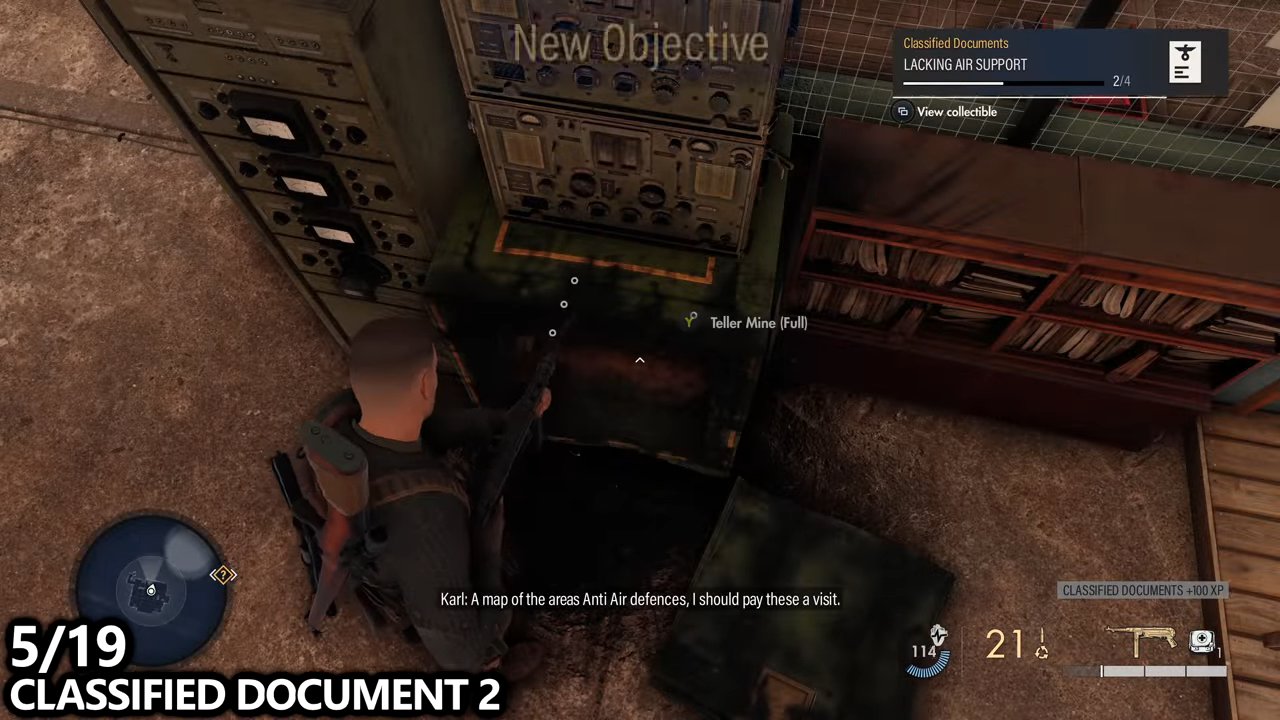
You can also find the radar safe code. You have to light up, defuse or shoot the satchel charge to blow open the safe, and inside find your second classified document which will detail the air support side objectives on the mission.
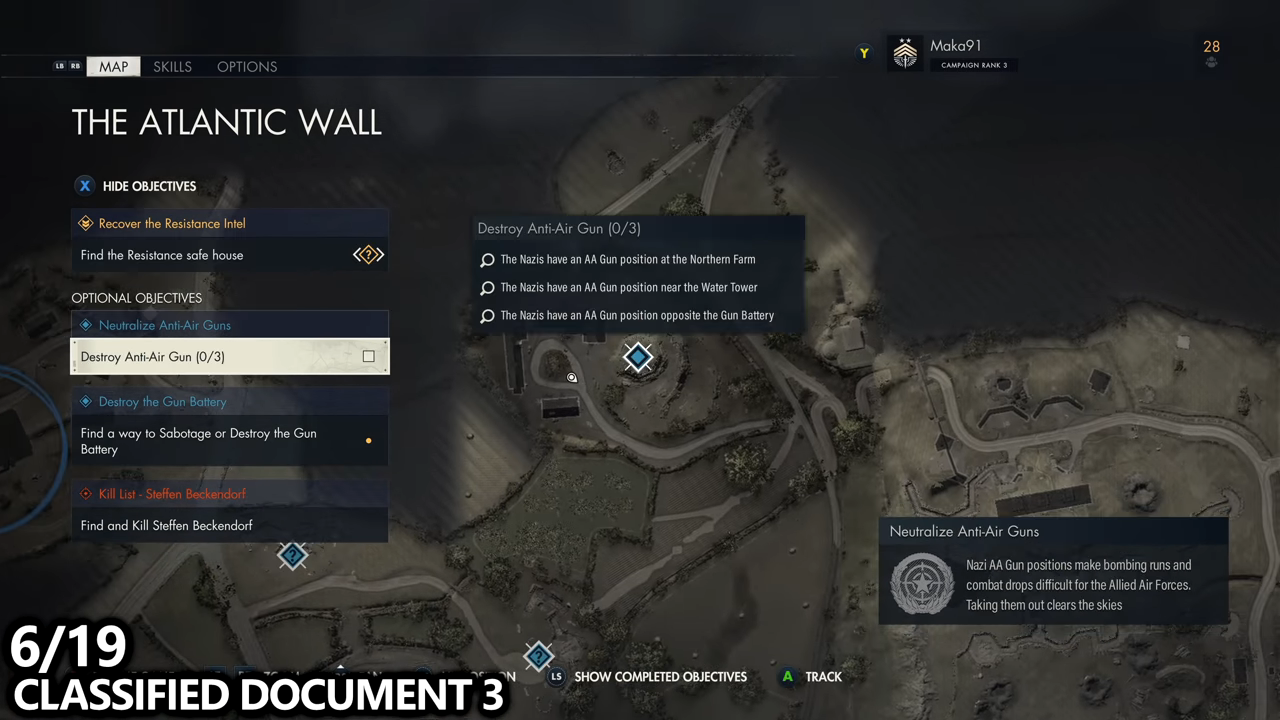
6/19- Classified Documents 3
After getting the last collectible, you will have some blue markers on your screen that will show you where you can go to do side objectives.
It is highly recommended to do them not only for achievements and trophies but to enjoy the game to its full potential.
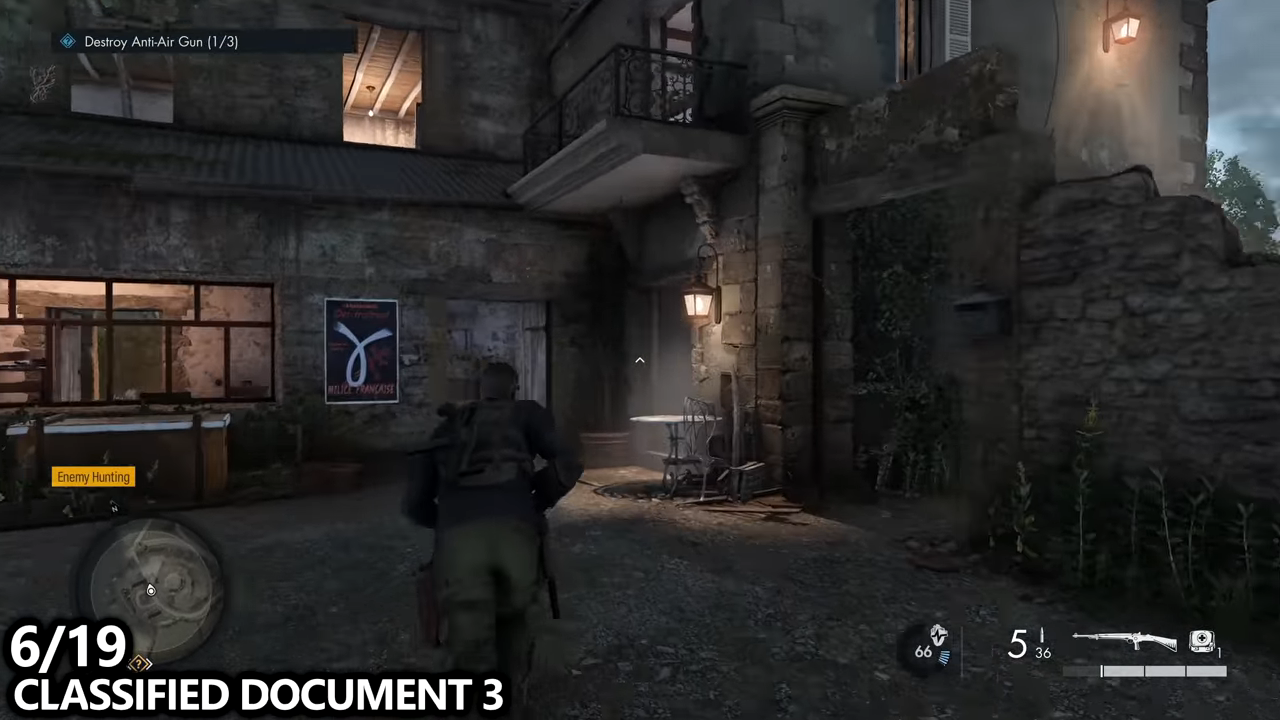
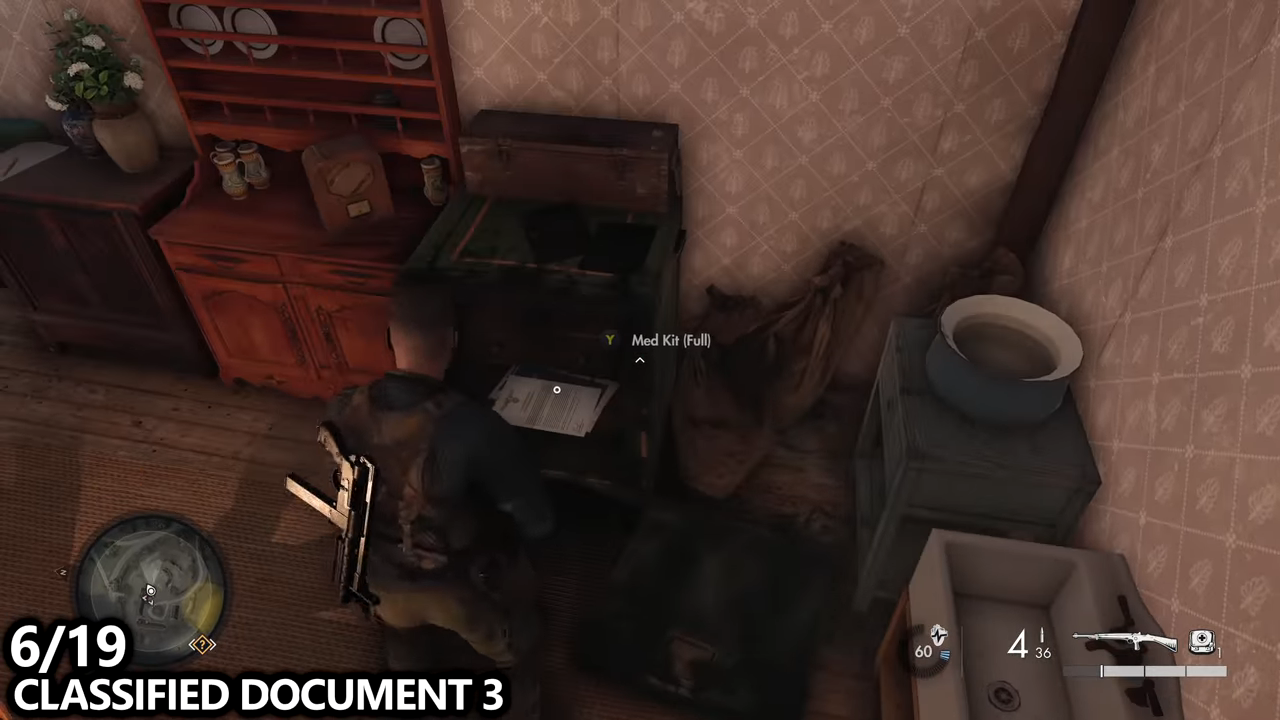
You’ll end up in this small base that is shown on the map. You can take out the artillery here and you will need an additional satchel charge. Once you go inside the building, you can light it or shoot it as always to blow open the safe and in this safe.
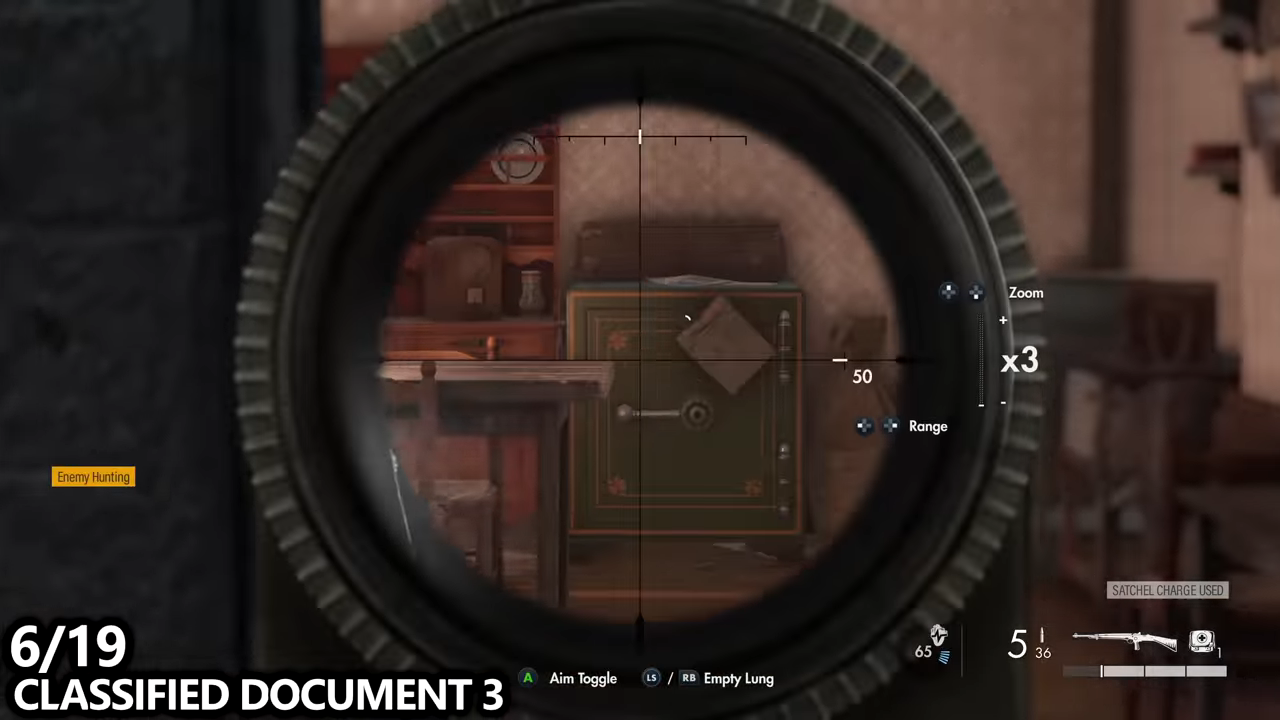
You’ll find classified document number three In the safe, which is the Atlantic report.
7/19- Personal Letter 2
You can also find personal letter number two in this same building. So you just need to head up the stairs
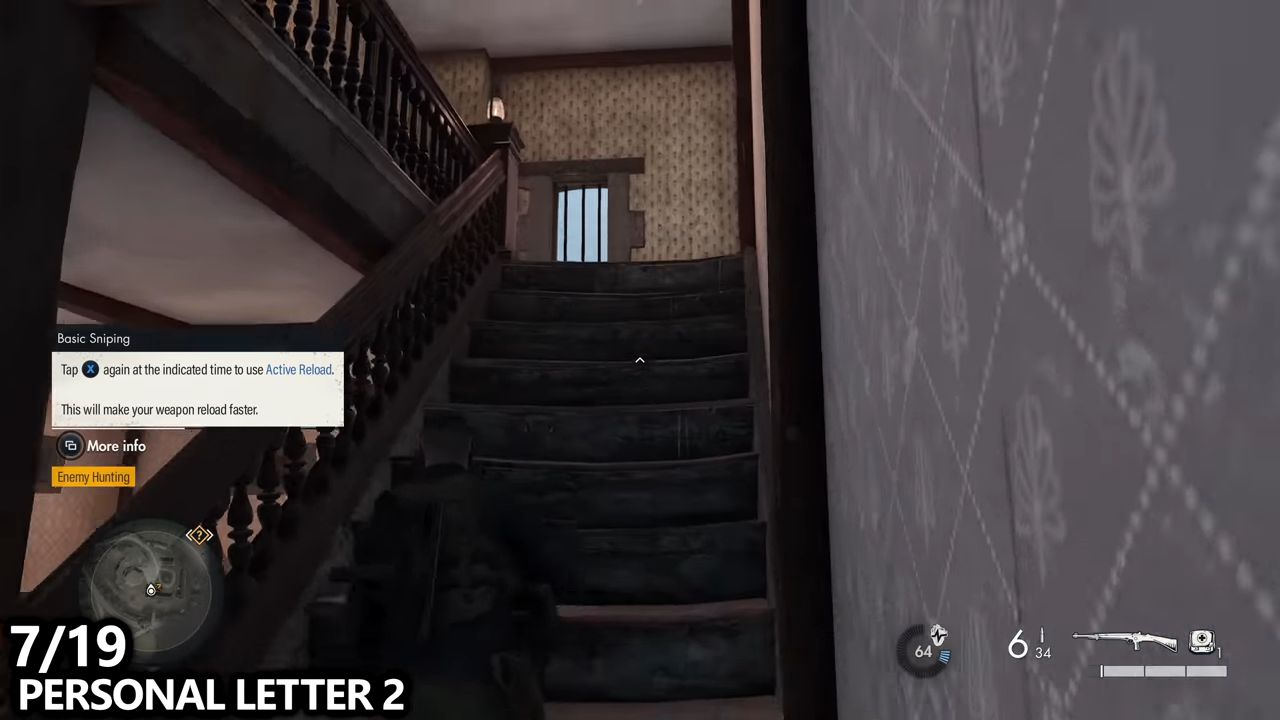
Go to the middle of the building and you will find a ladder that goes into the attic.

You will need to take the ladder to go up there. It’s a decent place to try and take out some enemies but more importantly, you can find a collectible so grab it before moving on.

8/19- Classified Document 4
Now you have made it into the top left corner of the map.

There is a gun battery optional objective and it is one of the most heavily guarded bases in this mission. But you can sneak your way through or just blast your way through. You’ll end up finding a guard that can drop you a key and then you can use that key to get into this door.
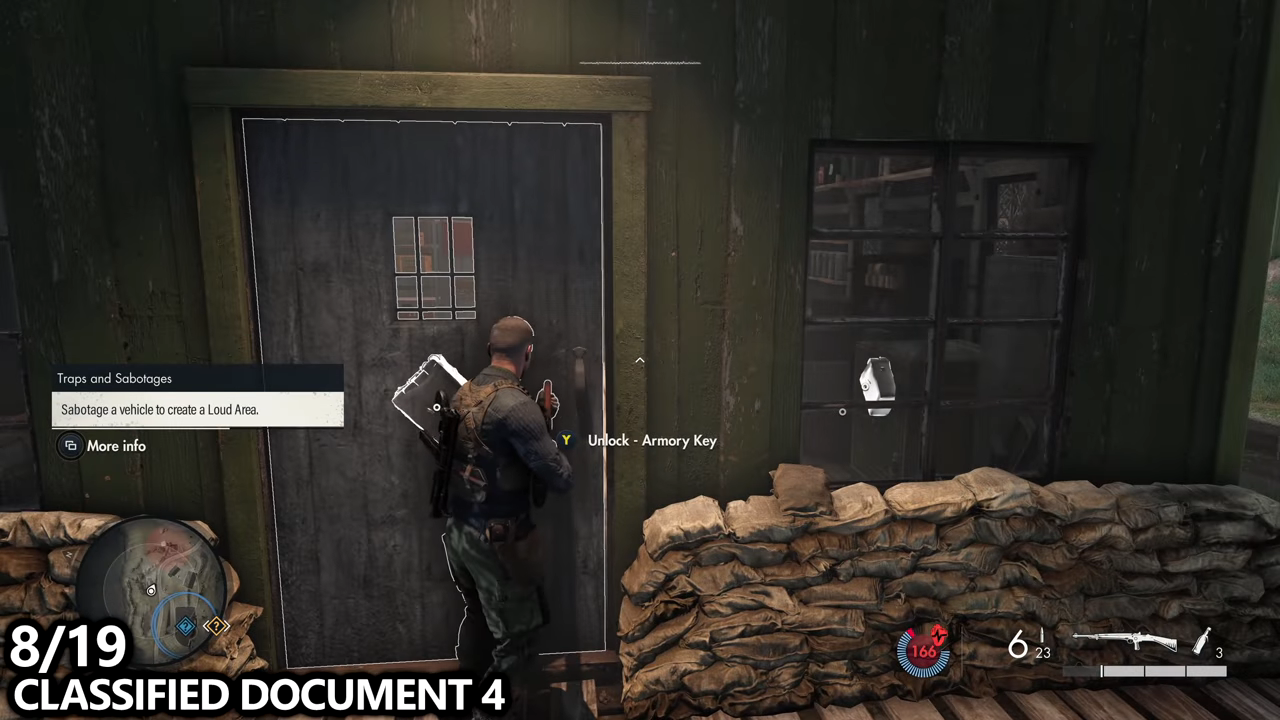
Using the key will save you a satchel charge for a side objective later.
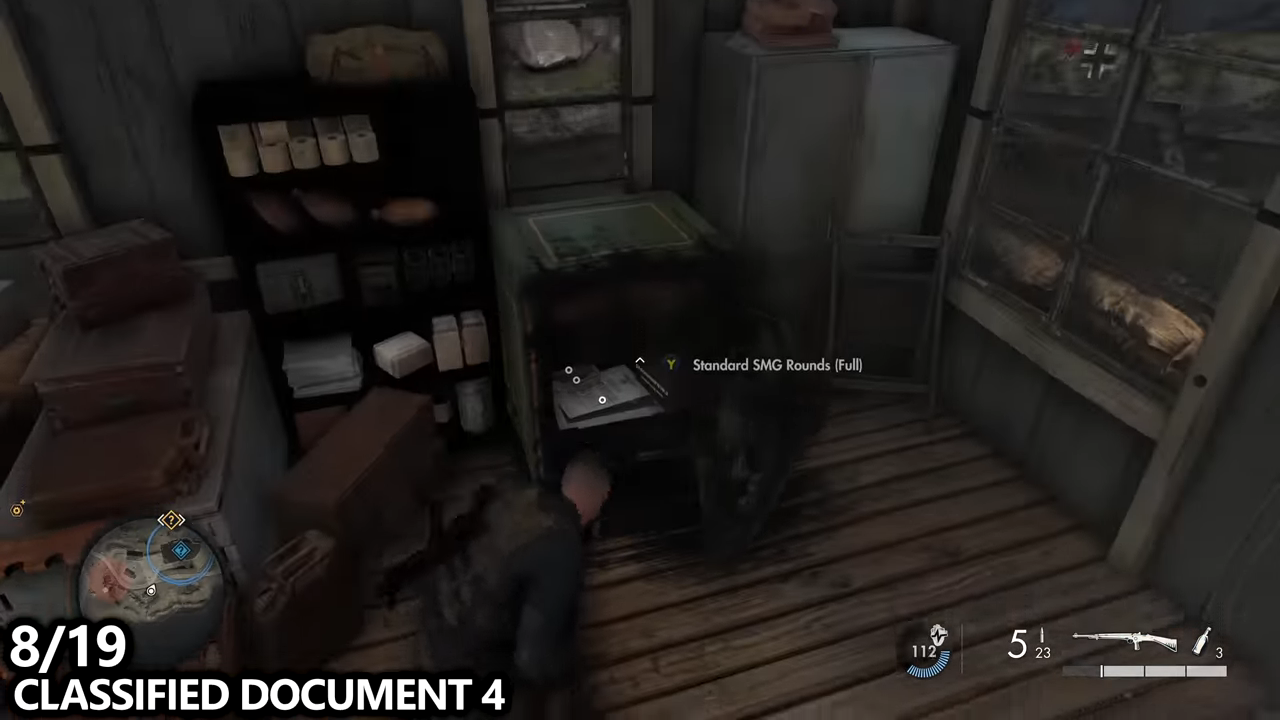
After getting inside, you have to go to the right-hand side, and you will find a safe. You can use the satchel charge for this safe. Plant the satchel charge, blow it up and find classified document number four inside.
9/19- Pistol Workbench
This will detail another side objective known as beach defenses. You can also find the pistol workbench in this room. So go up, unlock some pistol customization and work on your weapon.

10/19- Stone Eagle 2

Next up, you can find the stone eagle number two if you follow the path and go southbound.
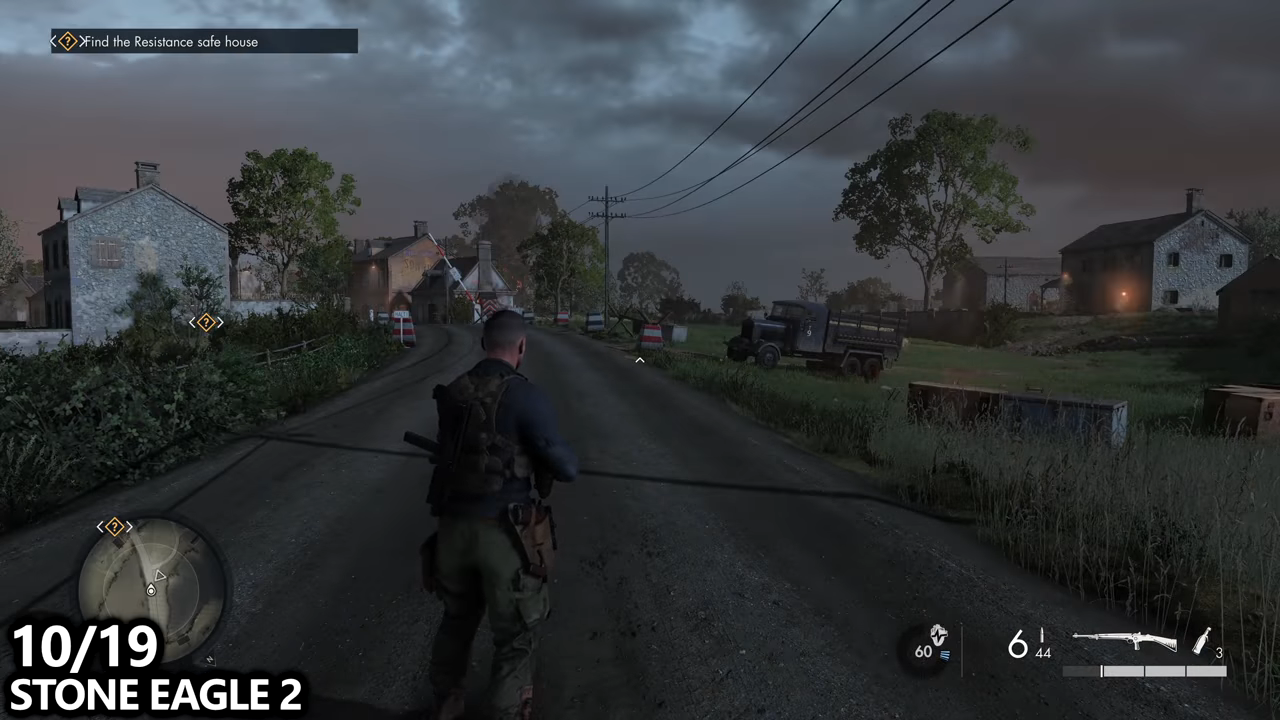
If you stand at this exact point, you’ll find the small village in front of you and a small village to your right.
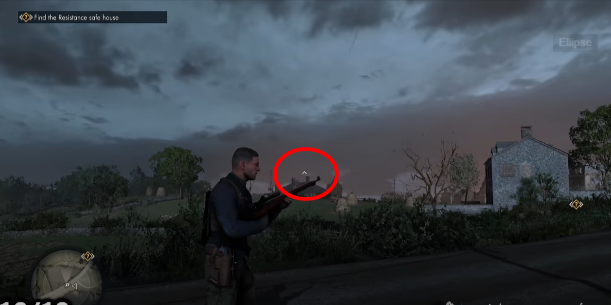
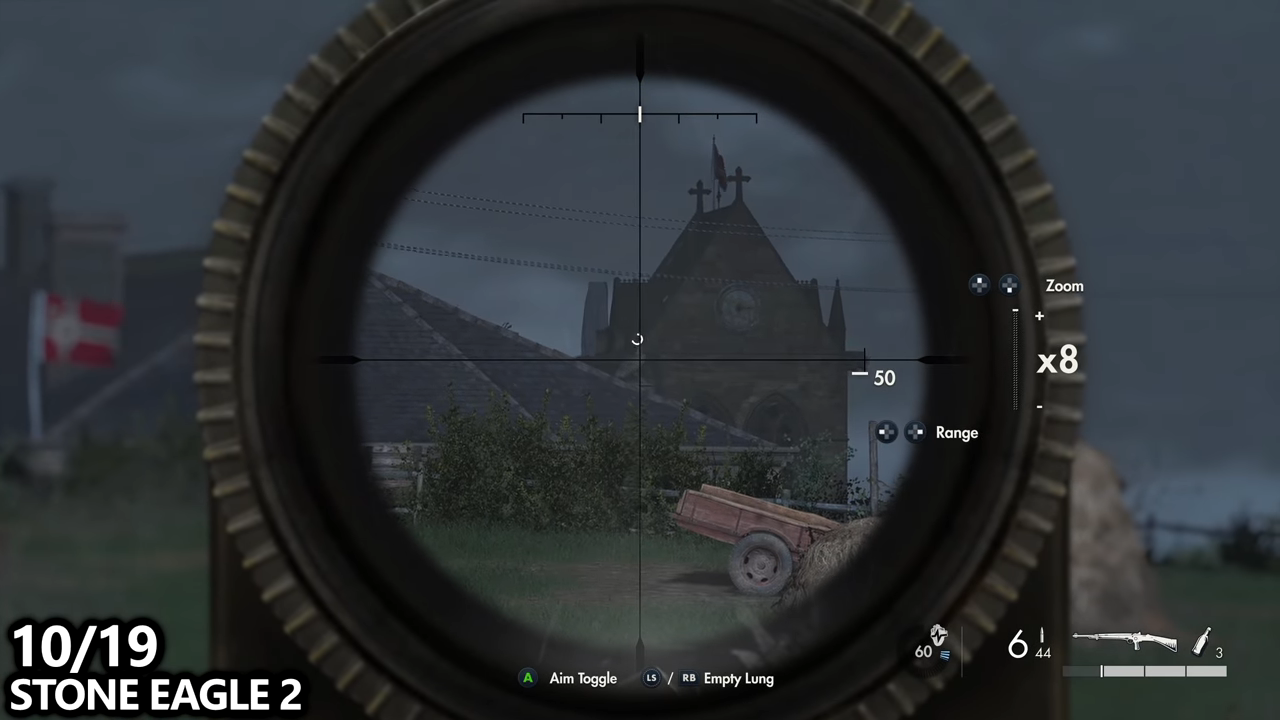
But if you look to your left, you can spot the hotel in the distance, and you can find a stone eagle on top of the hotel.
Don’t worry you’ll end up going there for the next collectible.
11/19- Hidden Item 1
While on the same road, you have to go to the right-hand side and you’ll find a small little village.

It is where you’ll extract from the mission but make sure you don’t extract until after you have all of the collectibles. When you are about to extract, you have to interact with a specific door.
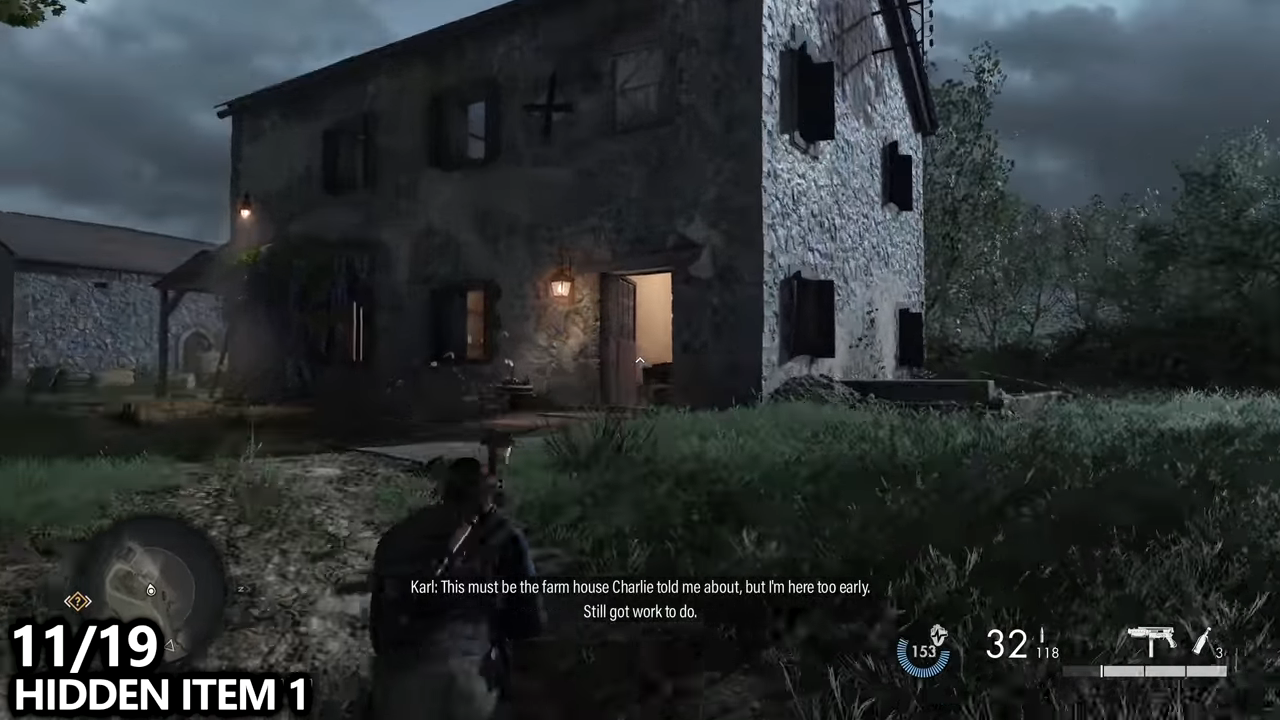
If you go inside this building and go into the kitchen, you will find a ffi flag sitting on the sink.

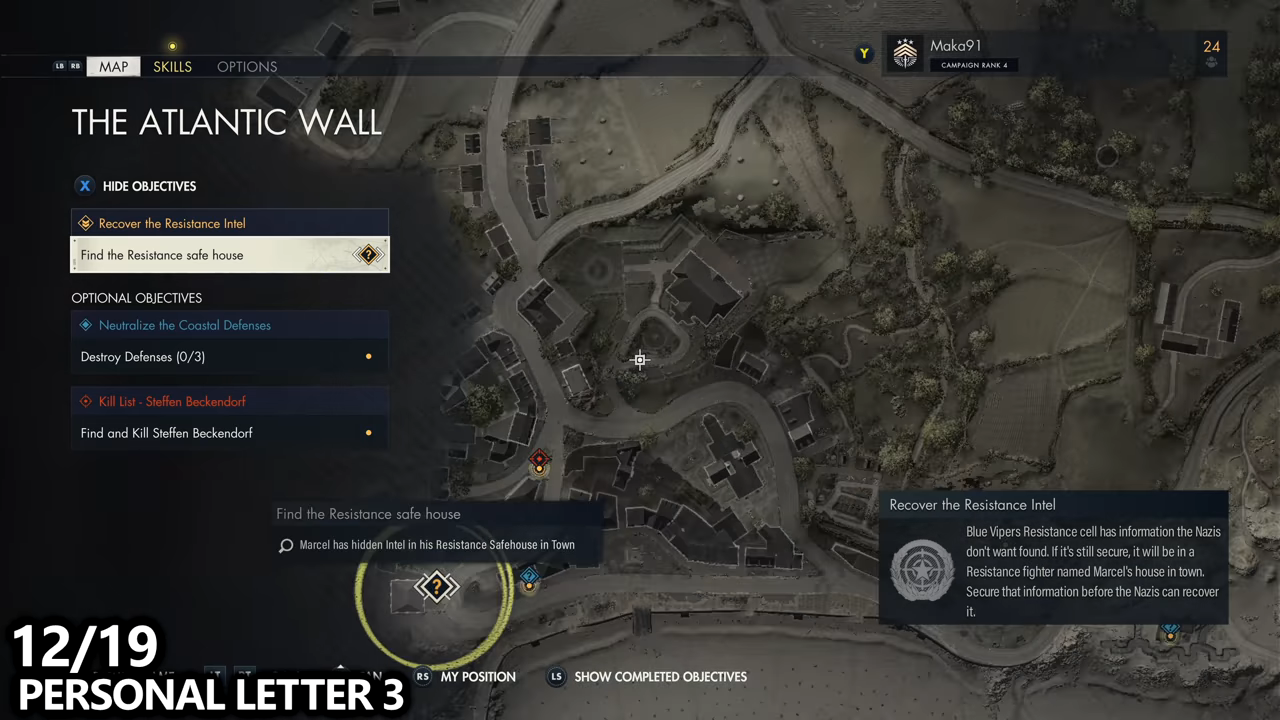
12/19- Personal Letter 3
You have to make your way a little bit deeper into that larger city and you will end up at the hotel.
There are some pretty obvious signs.
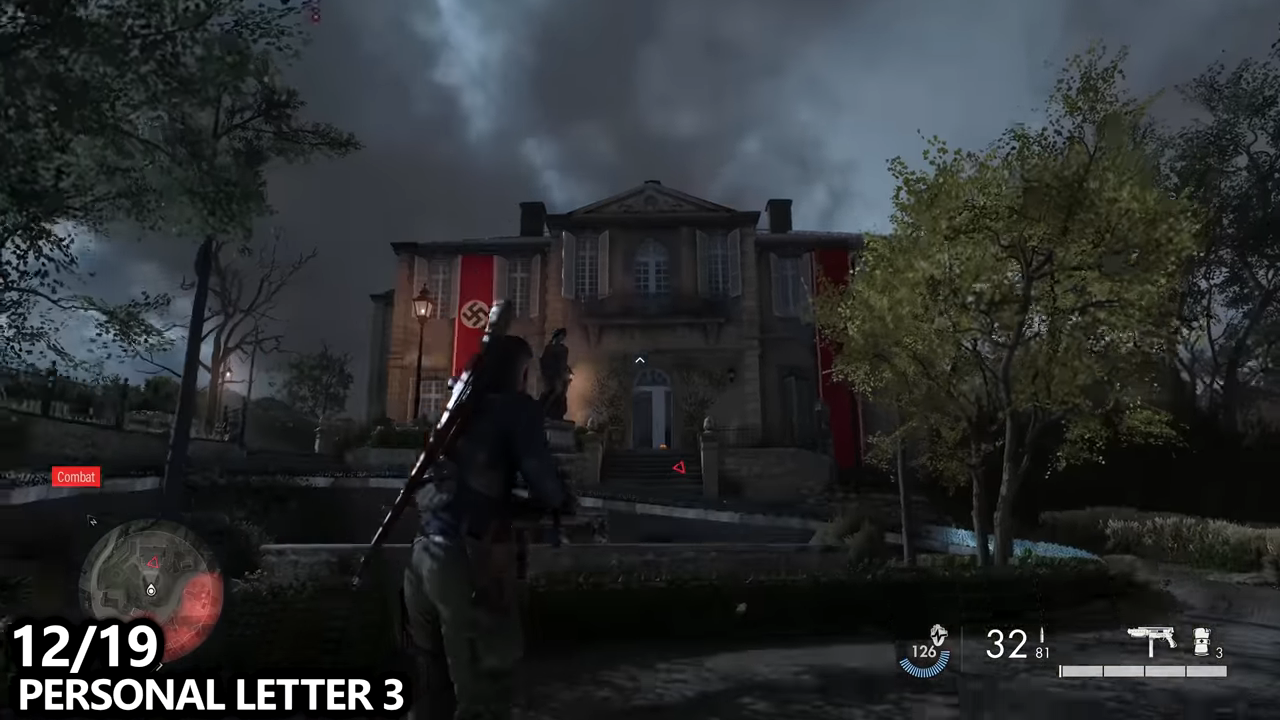
On top of the hotel is the stone eagle you had just shot, the one collectible prior. Once you take out all the enemies or sneak your way in, you need to go upstairs and you’ll find a small room with a kind of hidden side room. You’ll find a safe inside there.
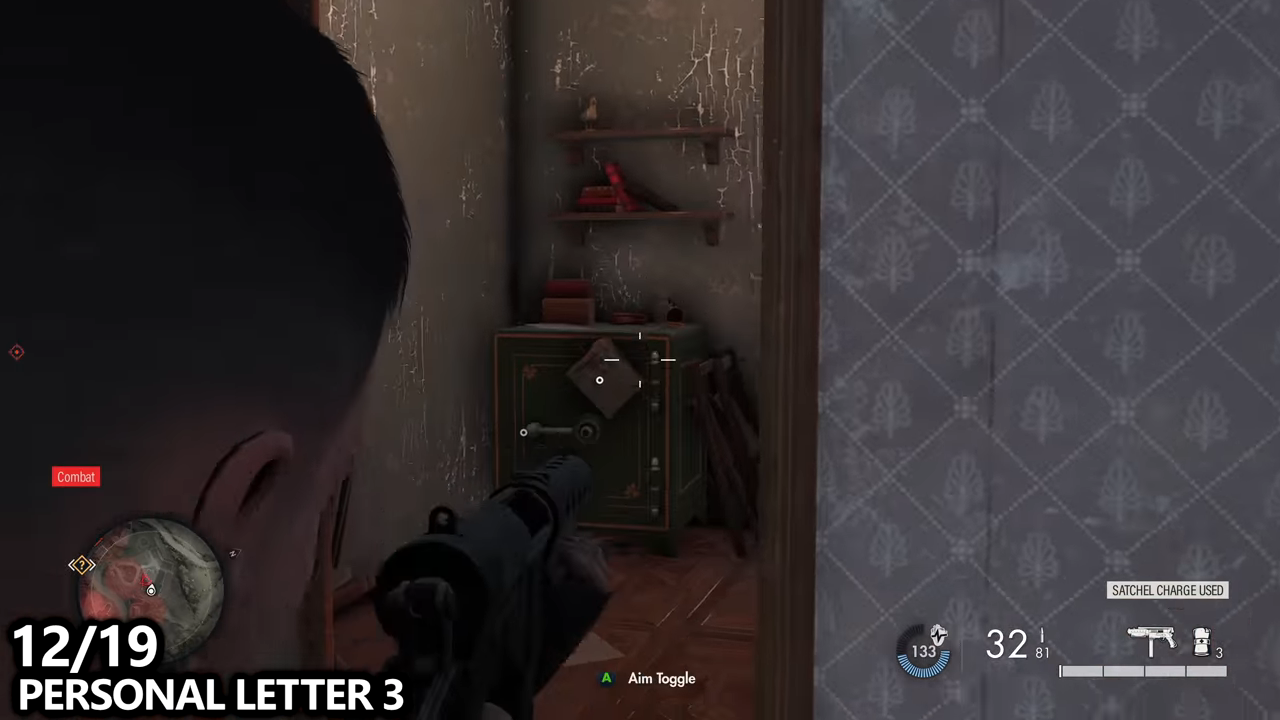
You have to plant the satchel charge, blow it up and inside find the personal letter number three.
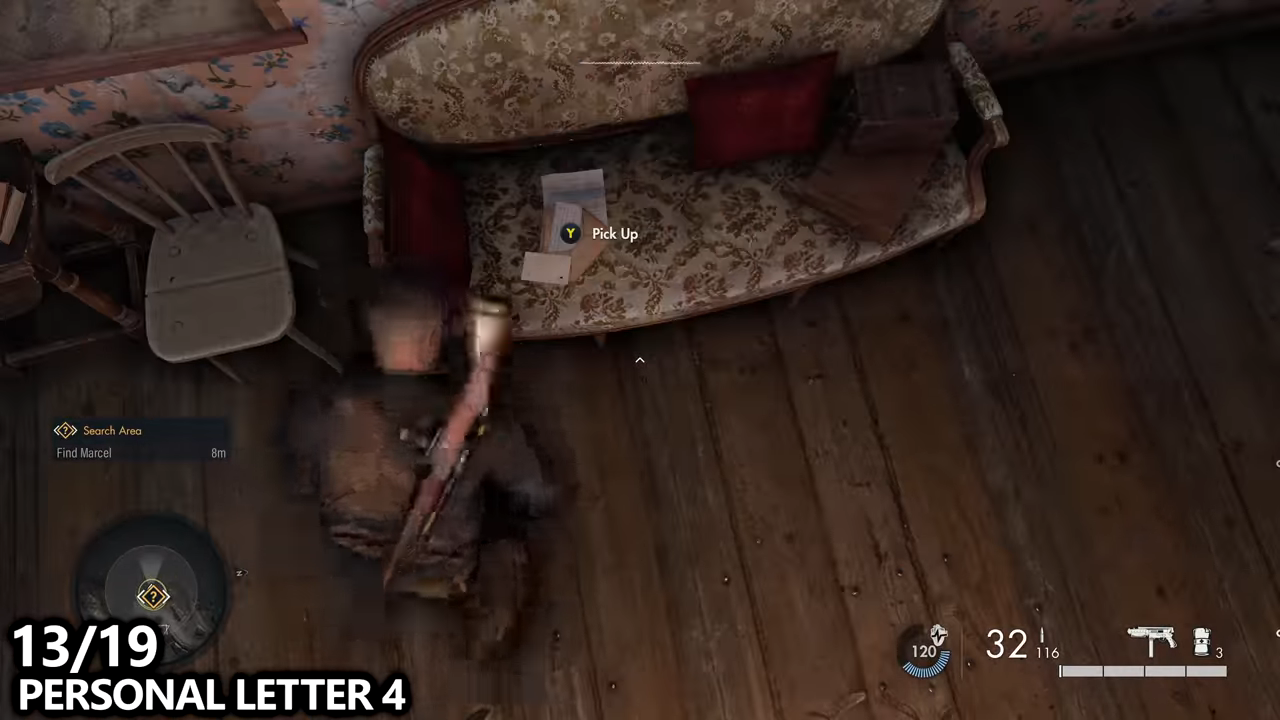
13/19- Personal Letter 4

After that, make your way to the edge of the city and towards your objective of finding marcel. It is inside this building and there are two collectibles.
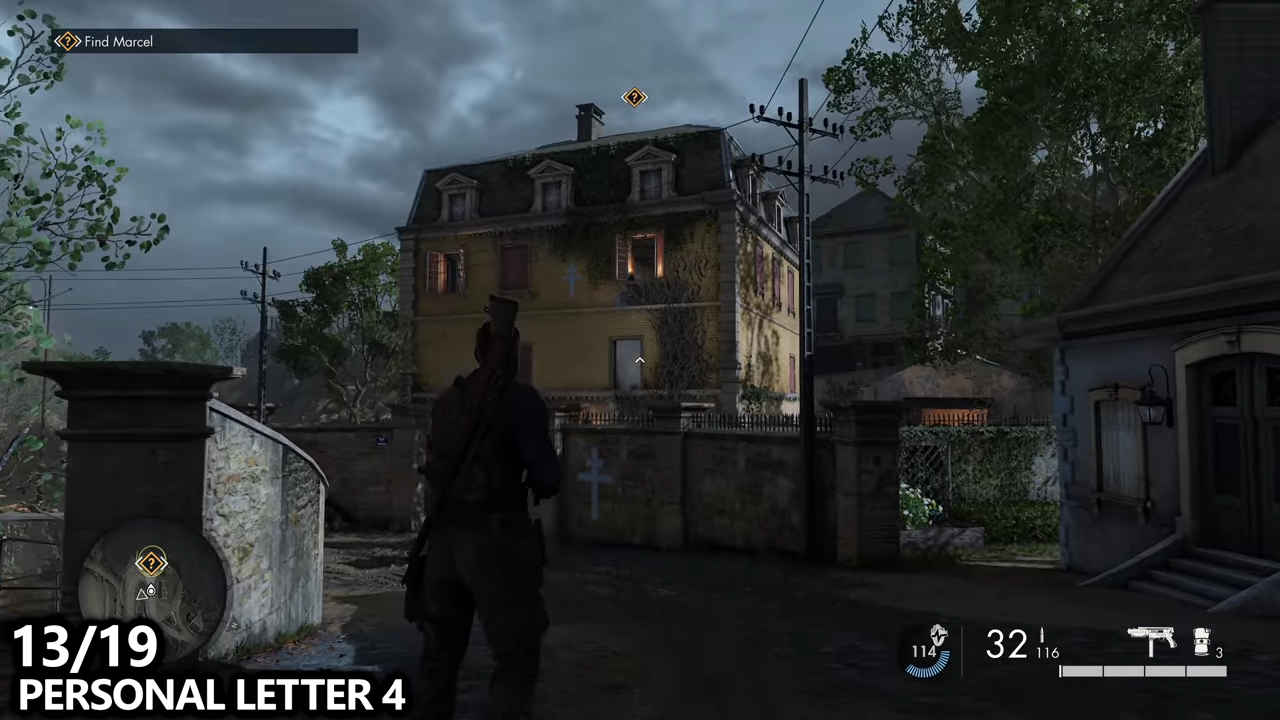
You have to go inside on the main floor at the back of the building on the couch and you will find personal letter number four.
14/19- SMG Workbench
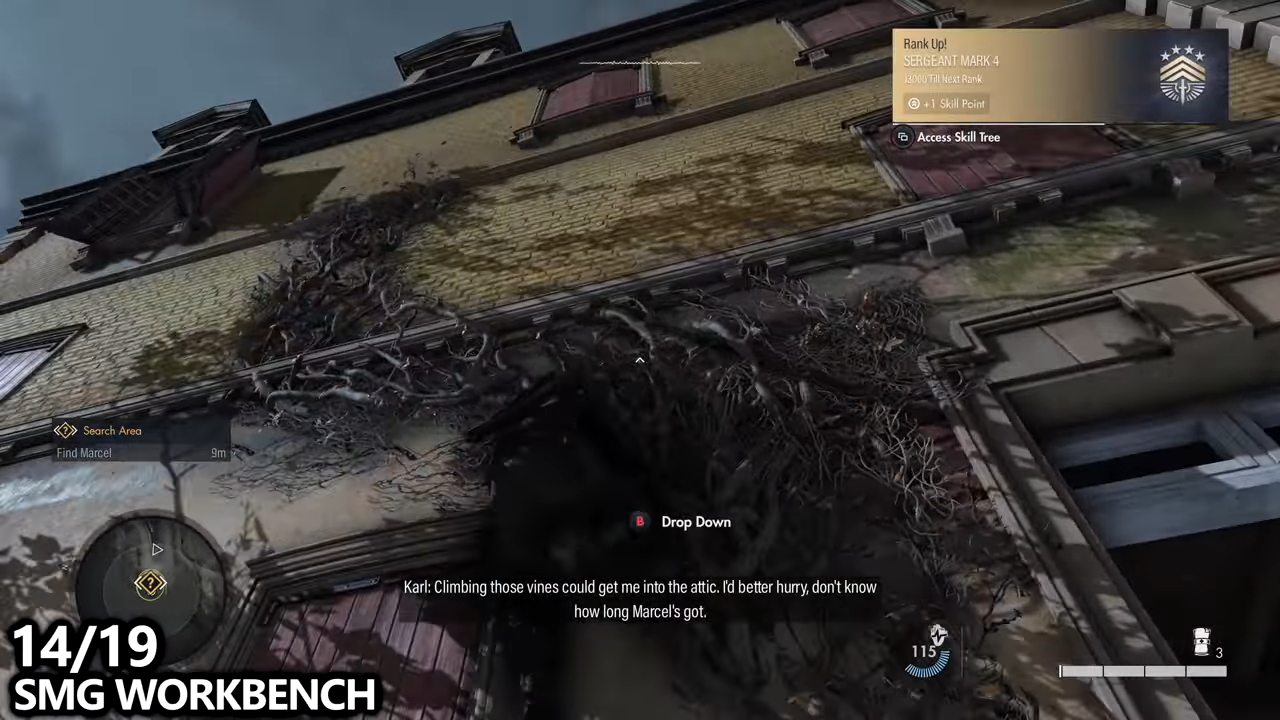 Now you’ll need to climb up to the top floor by using the vines on the front or back of the building and then climbing through a window. Once inside, you’ll find Marcel and you can interact with them to find a key and progress the story. But you can also find the SMG workbench which you’ll want to interact with and tune your weapon, unlock those attachments, and whatnot.

15/19- Hidden Item 2
If you follow the main road down toward the beach, you’ll end up at this curve, as shown in the image below.

There is a beach defense side objective you can take out. It will be automatically marked on your map from the collectibles you’ve been getting. So if you want to do side objectives, that’s up to you. Go into this building, move up the stairs and find hidden item number two a photograph on the desk.

16/19- Personal Letter 5

If you go a little bit further down the road and then hook around and end up on the boardwalk, follow the boardwalk to the end and you will find a new starting point. At the very end of the boardwalk, you’ll find this pagoda and inside you will find a personal letter number five.

17/19- Stone Eagle 3

You can activate the nearby starting point just to pick a specific area to spawn if you redo the mission. But those aren’t mandatory by any means. You can complete all of your side objectives and end up at the final beach defense. There is a vantage point on the right side of the map but you are going to be shooting a stone eagle on top of this vantage point. So you can do this from a pretty wide variety of places around the map. But you’ll be here to do your side objective or you’ll end up at the vantage point itself to get some reconnaissance done but take out the stone eagle while you’re here.

18/19- Hidden Item 3
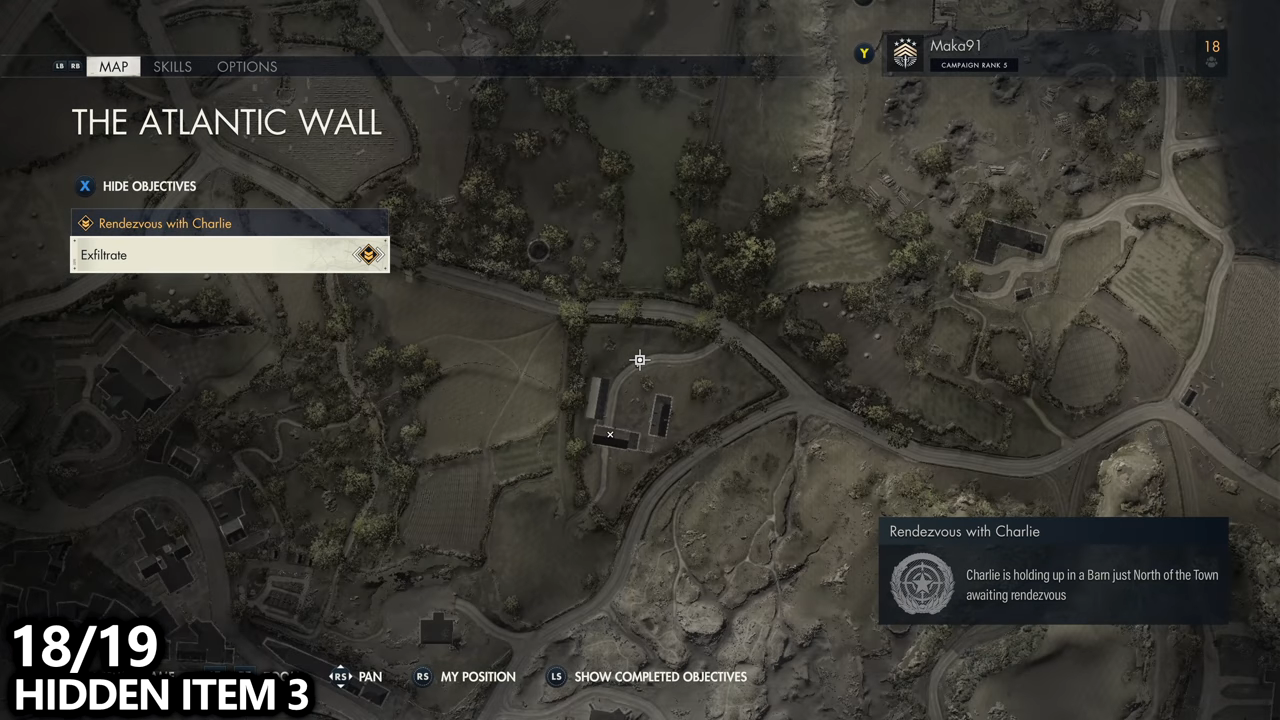
Last but not least to wrap all of the areas in the mission you’ll end up right in the middle of the map. There’s this small little outpost with three buildings if you follow the road into it.
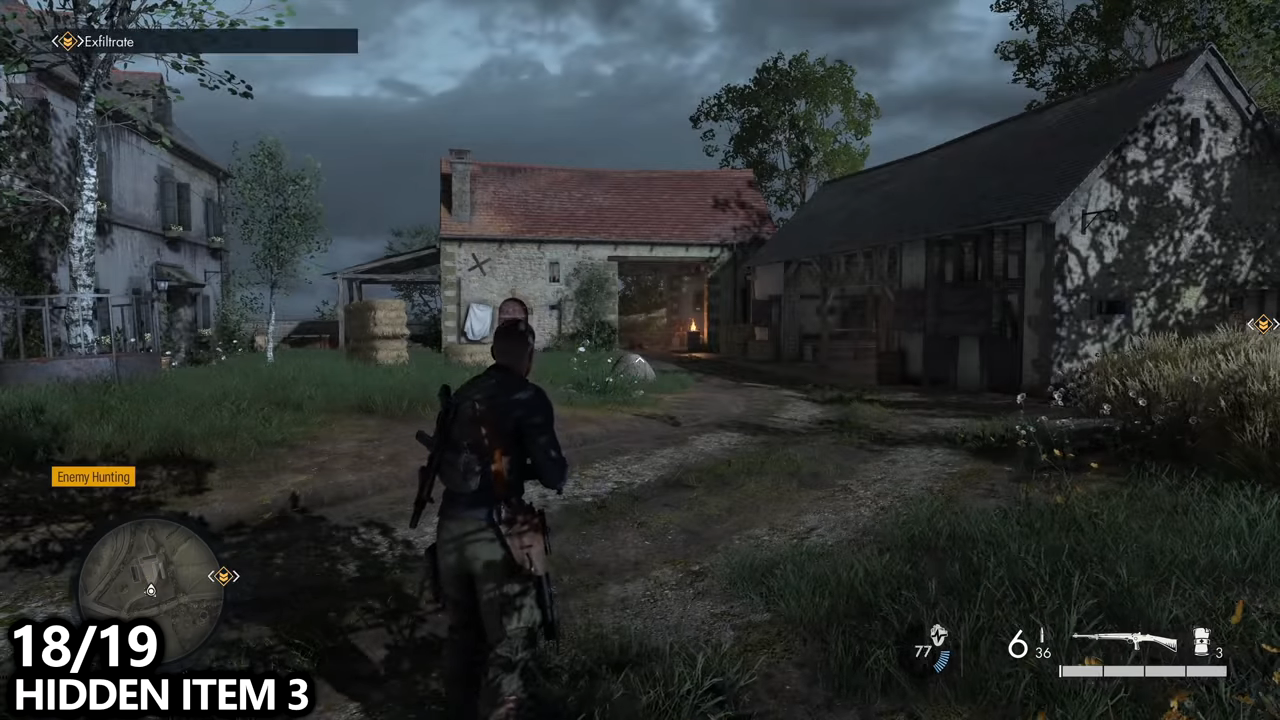
There will be a building on your right. It’s kind of a barn and inside of this barn, you can find our final hidden item so grab it.


19/19- Personal Letter 6
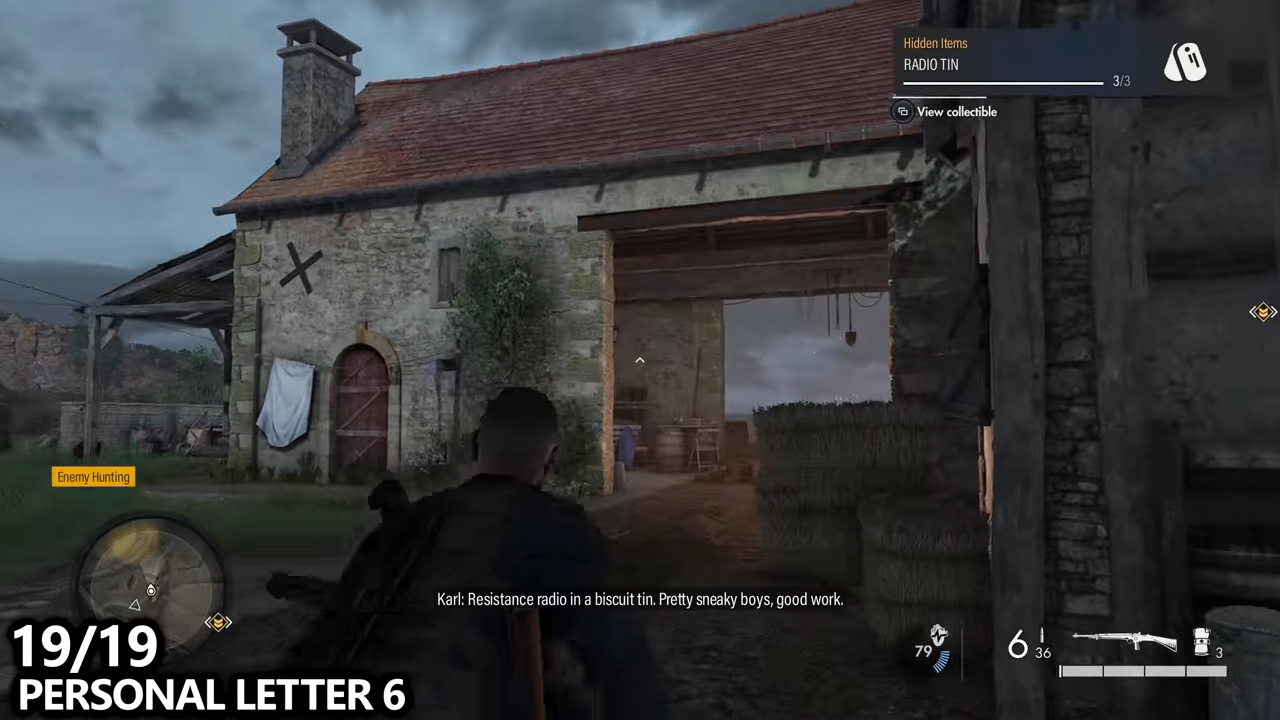
Then another collectible, the personal letter number six inside this two-story building with the red roof.
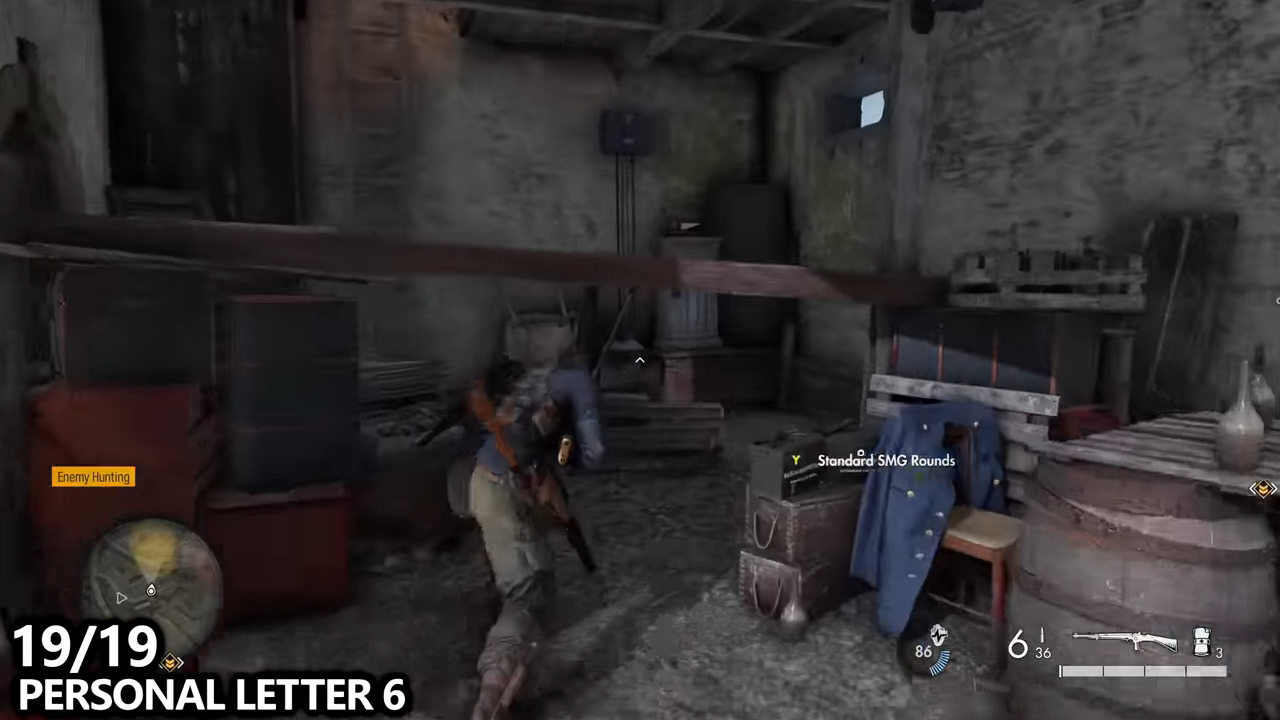
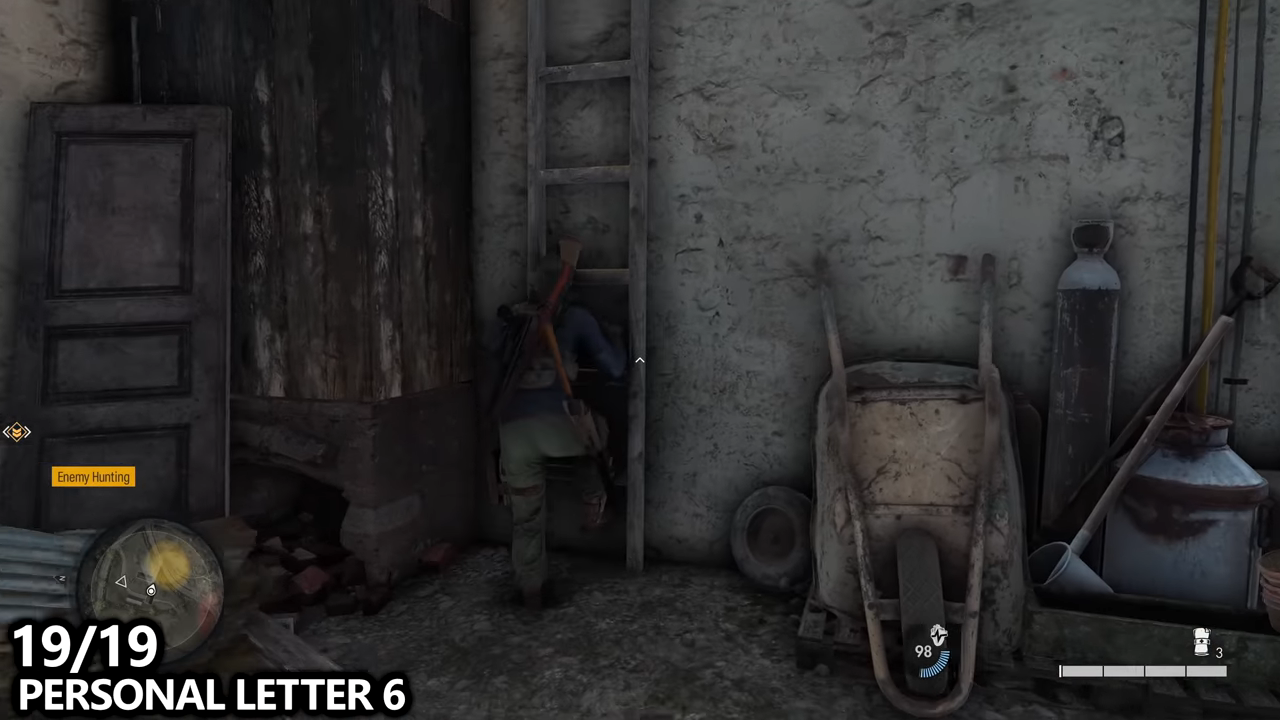
Crouch underneath the bar and head up the ladder. At the top of the ladder at your feet, you will be able to find the personal letter.
This should be 19 out of 19 for the mission.

If you want, then make sure you pause the game, go to the service record, go to collectibles and make sure you have all of them before exfiltrating the mission.
