CyberPunk 2077 allows players to modify and customize builds to their specific tastes. This all-around build promises extensive damage as Monowire will fetch you 40,000 damage, 35,000 damage with Rifles, and over 60,000 damage with Revolvers. The build also wields Sandevistan with maximum Heatsinks to pair perfectly with the Comrade’s Hammer. The build also balances maximum cool and reflex levels for greater effectiveness. Single-shotting opponents to obliteration is the sole purpose of this impeccable build. Without further ado, let’s dive in.
The Build
Weapons
For this impressive build, you will have an array of lethal weapons to deal excessive damage to opponents throughout the game.
First, use the legendary Ajax Assault Rifle; it can extract hefty amounts of damage when utilized properly. This weapon can be bought from Marty Jenklow at the Biotechnicia flats. The legendary Ajax is more powerful than the iconic Moron Labe variant due to an additional mod slot, resulting in greater damage. It boasts a slightly higher DPS of 774 compared to the 745 of the Moron Labe. Equip the assault rifle with MK ClearVue Scope and a blue XC-10 Alecto silencer for enhanced accuracy and stealth. For the four mods slots, the rare Crunch mod is used for each of them. A single Crunch mod raises the damage by 5%.

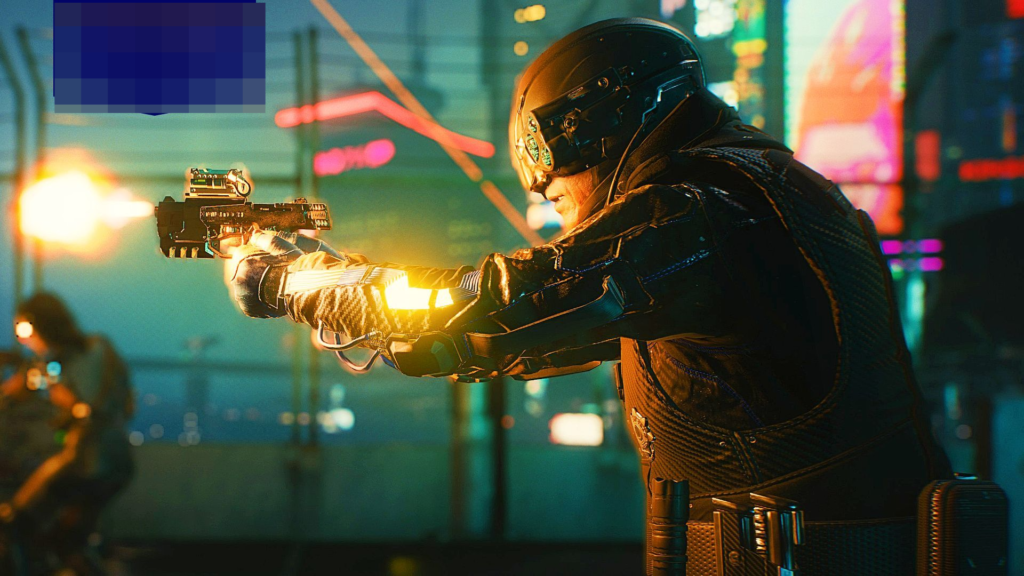
Players looking to add a handgun to this remarkable build should opt for the epic Crash. It has a base DPS of 633. This revolver should be modded with a silencer to increase stealth damage. This handgun has increased accuracy and utilizes the same multipliers as the Ajax. Equipping it in this build boosts its normal damage to an incredible 1650%. An epic Kanetsugu scope is fitted, and the same blue XC-10 Alecto silencer is added for increased stealth damage. For the two mod slots, two Crunch mods will be slotted there.
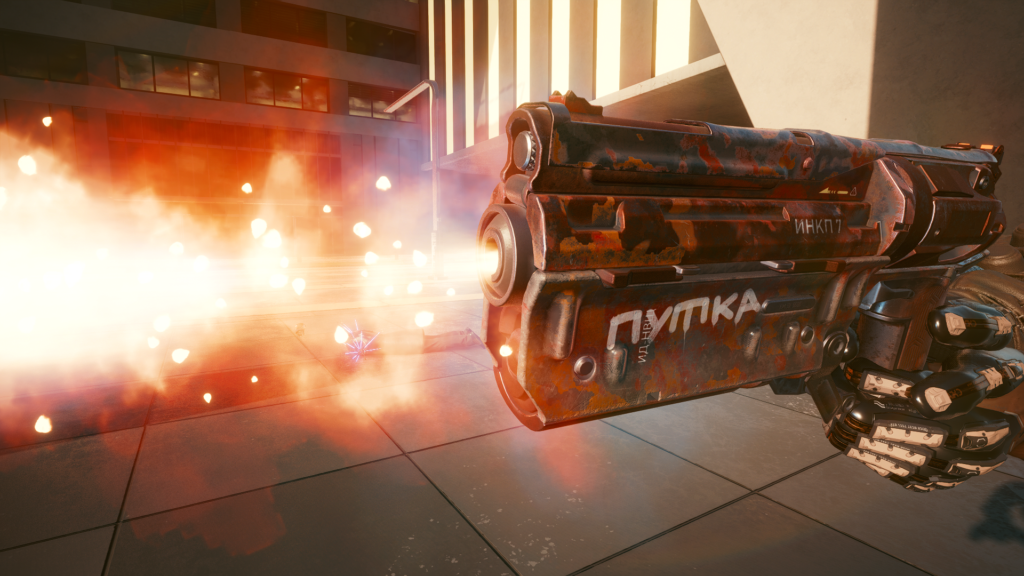
Secondly, this build will be using the iconic Comrade’s Hammer, it has a base DPS of 1154. This powerful revolver is quite effective when actively used with Sandevistan. It requires reloading, and enemies will cause sufficient lethal damage to the player without slowing down time. The last bullet, before reloading, deals double the damage. It has no optics or silencer slots. Two Crunch mods are used in the available mod slots. This weapon blows away anyone unfortunate enough to be on the receiving end of the barrel.
For the closing gear, items that boost critical damage or chance should be prioritized. For example, a Daemon Tactical Bandana is worn that has a 4% critical damage engraved on it. The other slots should be equipped with rare Armadillo mods. They serve as boosting armour and offer increased defensive stats.
Cyberware
The Cyberware is where this build outperforms all other builds. Only the highest and best legendary and epic cyberware is equipped in all 18 slots. The combination and synchronicity of all these implants converge to assemble the most badass Cyberpunk 2077 build. This build is almost maxed out, save for getting to Level 20 Body to unlock the legendary bio-conductor and skeleton. Otherwise, this is the most maxed-out build assembled.

Frontal Cortex
You will have the legendary Heal-on-Kill and the Mechatronic Core implants for the two slots. As the name suggests, Heal-on-Kill grants you 10% health on defeating enemies. This augments the build’s defences. Mechatronic Core boosts the damage to robots, mechs, and drones by a whopping 50%. For the Occular System, the epic Kiroshi Optics MK.3 is adopted. This implant enhances your vision and accuracy. There are 3 available mod slots, and the Trajectory Analysis mod is in all three. This mod enhances the headshot bonus by 25% each; adding them up gives a 75% bonus on successful headshots.
Circulatory System
The epic Bio-conductor is utilized here, reducing the cooldown duration of all cyberwares by 20%. This works in favour of the Sandevistan feature by reducing its cooldown period. It upgrades your existing Heatsinks to operate at the level of legendary Heatsinks. For the second slot in the circulatory system, Second Heart is used. This implant grants you a second life as it instantly tops your health to 100% when it falls to 0%, essentially reviving you. The third slot is reserved for Bioplastic Blood Vessels. It’s a health regenerating implant, replenishing health by 50 points per second outside combat.

Immune System
Benefiting from a high level of Cool, you can use the legendary Pain Editor in your first slot. This handy implant reduces the damage of all incoming attacks by 10%. The epic Metabolic Editor grants this build immunity from poison damage for the second slot.
Nervous System
For the nervous system, you will have the legendary Kerenzikov implant installed. Kerenzikov is a reliable alternative to Sandevistan; it also slows down time, allowing players to reload or fire weapons more accurately. To use Kerenzikov, hold down the aim button, move either left or right, and double-tap the dodge button. On its own, the effects of Kerenzikov last for 4 seconds and has a low cooldown period of 2 seconds. The short cooldown period makes it preferable to Sandevistan in combat.
The next slot is reserved for the epic Nanorelays. This complementary cyberware prolongs the Kerenzikov effect by 2 seconds, totalling six seconds overall. This implant is essential for blades and Monowire, triggering the “Butterfly” damage perk.

Integumentary System
Subdermal Armor is the obvious choice for the first slot. This cyberware grants an additional 300 in the build’s armor. Next, the Optical Camo grants you invisibility for 15 seconds, which is advantageous for stealth. Lastly, the Heat Converter is an exceptional piece of cyberware, negating any burn damage from enemies and adding 10% more damage to your attacks whenever an enemy tries to burn you.
Operating System
The operating system is the foundation of any build, and for this impressive build, you can use the Qiant Sandevistan MK.4. This variant is the finest Sandevistan available in the game. It allows players to slow down time by 25% for 12 seconds, giving players a valuable window to extract the maximum amount of damage. It also increases critical damage by 15% when Sandevistan is running. It generally has a cooldown period of 6 seconds.

The build requires that it be equipped with three rare Heatsinks in the three slots. Each Heatsink reduces the cooldown period by 3 secs, and pairing it with the Bio-conductor, ensures the efficiency of these rare Heatsinks is equal to the legendary Heatsinks. Although another mod increases the 5% critical chance, upgrading the Merciless perk gives us a 100% critical chance, so there is no need to implement this mod for critical chances.
Skeleton
For your skeleton, the epic Synaptic Signal Optimizer grants you an additional 50% of health. For the second slot, legendary Microrotors are utilized. This implant increases the attack speed by 25%. It is very useful for the Monowire as it significantly boosts its damage.
Hands
Smart Link is utilized for this build but serves no important purpose as no integrated smart weapons exist. This implant enhances smart weapons’ accuracy and targeting system for players wishing to use smart weapons in this build.
Arms
The Monowire implant is a crucial cyberware in this build. It packs a base DPS of an incredible 4600. This deadly wire charges when equipped and attacks with a charged wire deal bonus damages. The wire is very effective when dealing with fast-moving targets and groups of enemies. Adding a couple of perks, the damage from the Monowire will be in the 40,000 range. It has three mod slots.
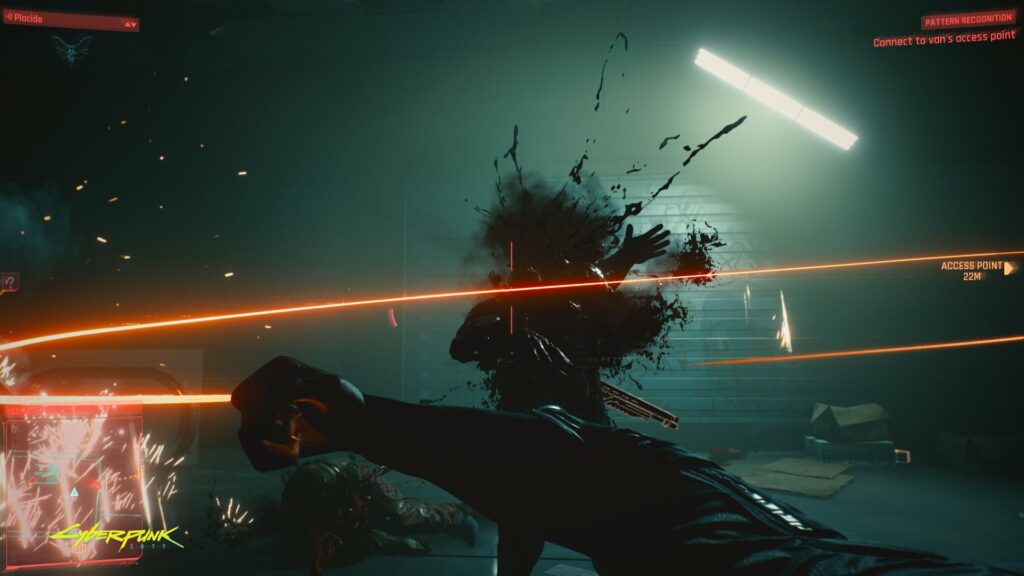
The rare Electrical Damage will fill the first mod slot. It lets you shock and stun enemies with the Monowire while inflicting electrical damage. This essential mod is quite effective as there’s little protection against electrical damage. The second mod slot is reserved for the High Capacity Monowire Battery. This mod increases the charge damage by 50%. For the third mod slot, the rare Sensory Amplifier is utilized. It increases the critical damage by 20%. All in all, this cyerberware is very effective in combat and is an integral aspect of this build.
Legs
Reinforced Tendons are the obvious choice for this implant. They allow you to execute a double jump when you press the jump button in midair.
Skills
The skill distribution is important as it allows you to relocate resources amplifying the build’s strength while shoring up any weaknesses in its defense. This build integrates the best skill distribution as it lets you use every cyberware and every weapon in the game for the maximum amount of critical chance and critical damage.

Cool
The Assassin perk is employed in the Ninjutsu section of the Cool skill tree, it gives you 15% increased damage to human targets. The Silent and Deadly perk increases the damage by silenced weapons by 25%. Sniper perk boosts headshot damage bonus outside of combat by 20%. Strike from the Shadows perk will raise your critical chance by 7% whenever you’re crouching.
In the Cold Blood section of the Cool Skill tree, Merciless should be upgraded to Level 65, as this is the sweet spot. At this level, the critical chance is 100%, and critical damage is 300%. The build requires the Cold Blood perk to be upgraded to Level 3. The cold blood perk increases your movement speed by 6% for 7 seconds whenever an enemy is defeated. The rest of the perks from this section will look to prolong the effects of Cold Blood as long as possible. Coolagulant perk removes the cold blood stacks individually rather than all at once. The Cold and Calculating perk gives a 50% chance of adding a stack of Cold Blood on landing a critical hit. Critical Condition perk prolongs the duration of Cold Blood by 50%. Lastly, the Coldest Blood perk increases the maximum number of Cold Blood stacks by adding two more to the existing stack.

Technical Ability
In the Crafting section of the Technical Ability, only three perks are required. True Craftsman, which allows you to craft rare items. Grease Monkey allows you to craft epic items, and Field Technician upgrades your crafted items to deal 10% additional damage.
Reflexes
In the Assault section of the Reflexes perk tree, the Bullseye perk increases your gun damage by 10% while aiming. The Bulletjock perk increases damage by 10% for all rifles. The most important perk in this section is the Savage Stoic. This perk increases rifle damage by 35% whenever you’re standing still, which experienced players will know that it is the case most of the time. This perk is highly recommended. The Executioner perk gives us 25% additional damage when facing opponents whose health is above 50%. Lastly, the Long Shot perk increases its damage proportional to the distance between you and the enemy.
In the Handgun section of the Reflexes perks, the Desperado perk increases 10% damage from all handguns. The Rio Bravo perk increases the headshot damage multiplier by 15%. The Long Shot Drop Pop perk increases damage by 25% whenever attacking enemies more than 5 meters away. Lastly, the Grand Finale perk makes your last round in a handgun extra dangerous as it doubles the damage. This perk is utilized best with Comrade’s Hammer.

In the Blade section of the Reflexes perks, the Roaring Waters perk makes your stronger attack deal 30% more damage. Sting like a Bee perk increases your attack speed by 30%. The Judge, Jury, and Executioner perk increase the damage by 100% against enemies with full health. Float Like a Butterfly perk makes dodging increase damage by 50% for 5 seconds. The last two perks will give out the most damage and are essential to the build. Lastly, the Death Bolt perk is a crucial defensive perk that restores 20% health on defeating an enemy and increases the build’s movement speed by 30% for 5 seconds. This regenerative perk stacks up beautifully with the Heal-on-kill implant, giving you 30% of your health back on defeating enemies.
Body
In the Athletics section, the Pack Mule perk upgrades your carrying capacity to 60. The Regeneration perk replenishes health slowly during combat. The Steel & Chrome perk increases melee damage by 20%. The Invincible perk increases your max health by 15%.
That’s all from this comprehensive guide. Thanks for reading this through.