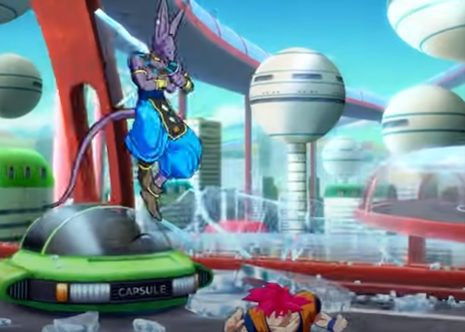
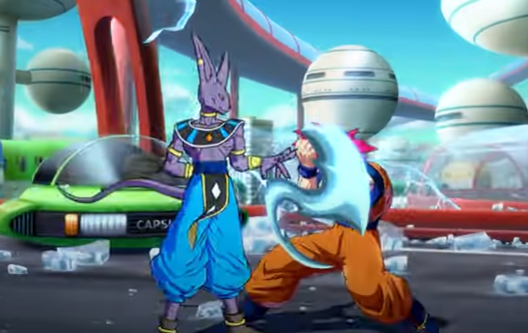
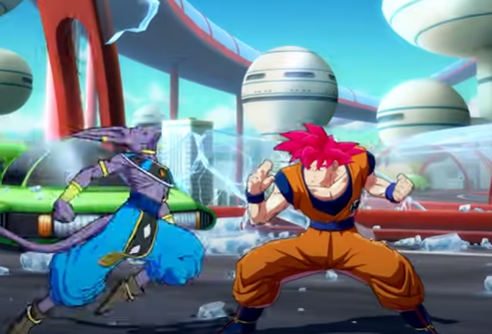
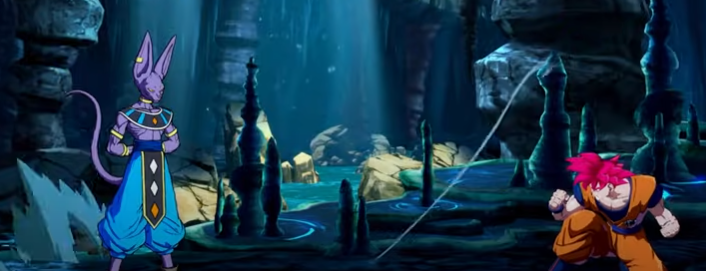
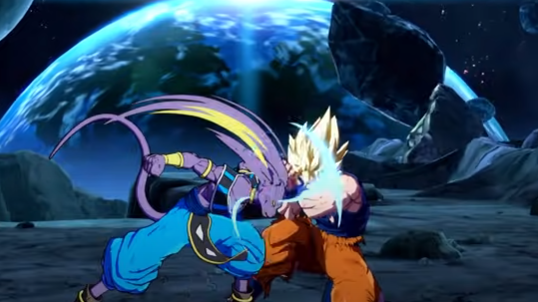
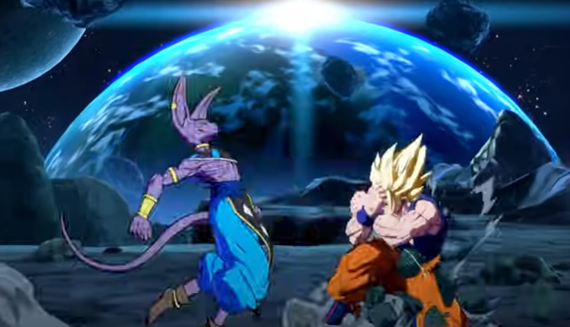
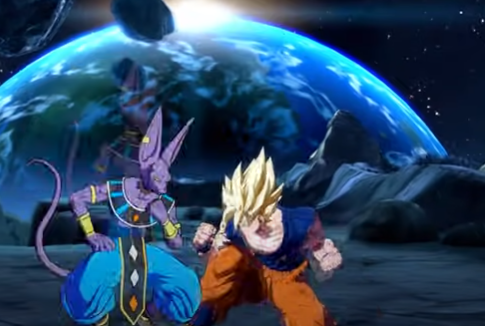
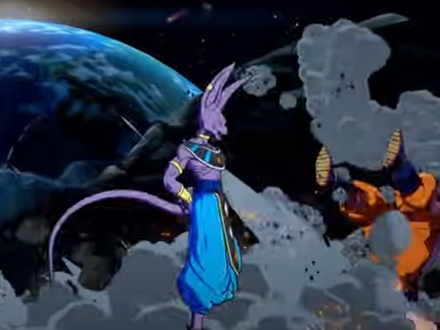
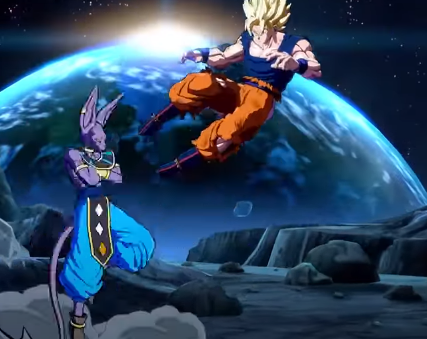
This guide will provide you with all Beerus BnB Combos in Dragon Ball Fighterz Season 3.5.
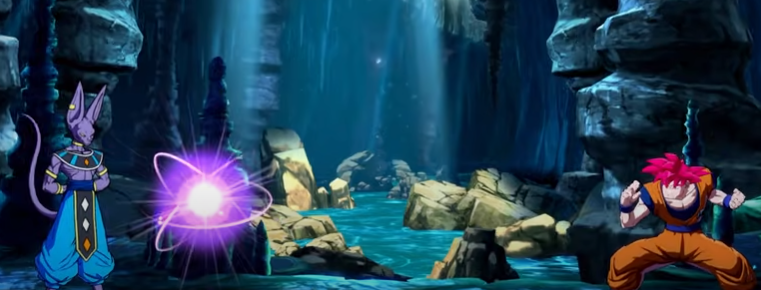
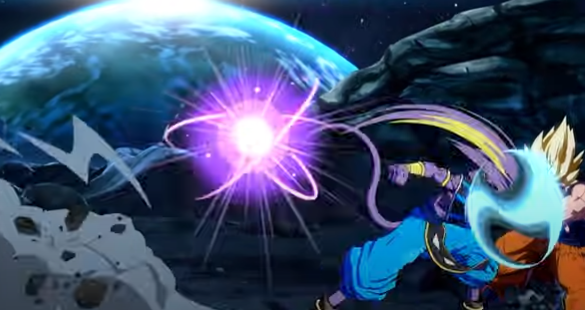
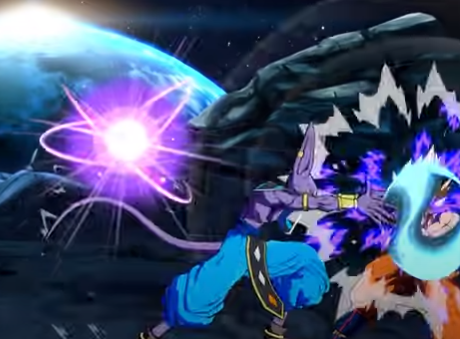
Cataclysmic Orbs
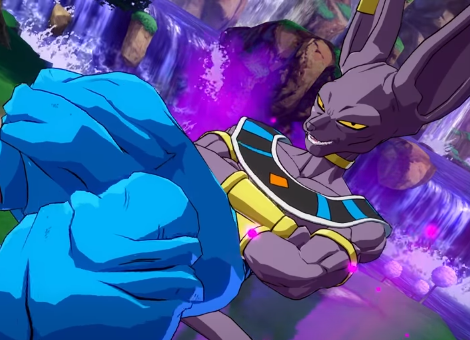
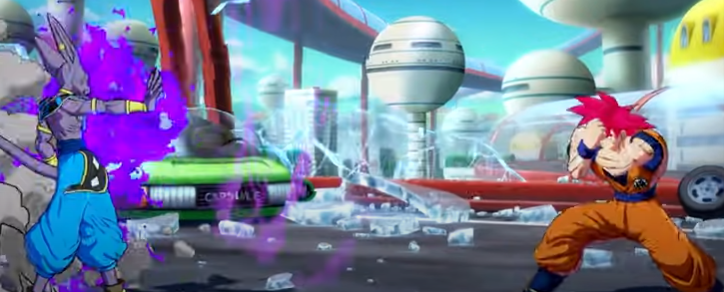
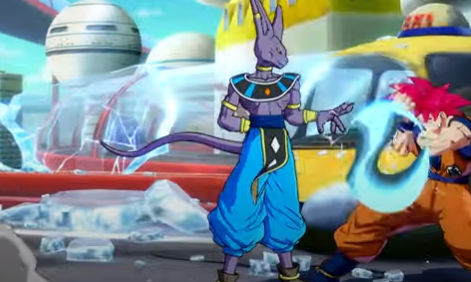
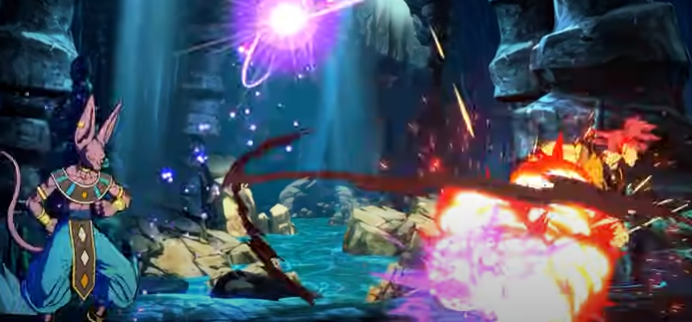
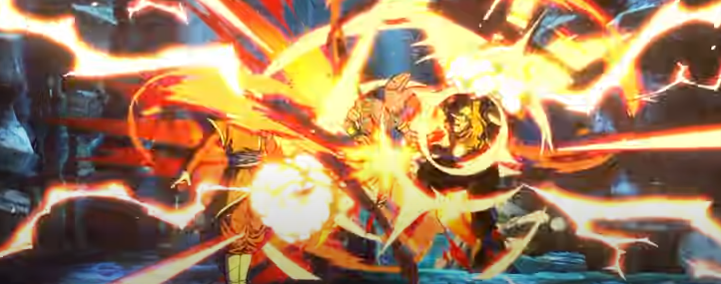
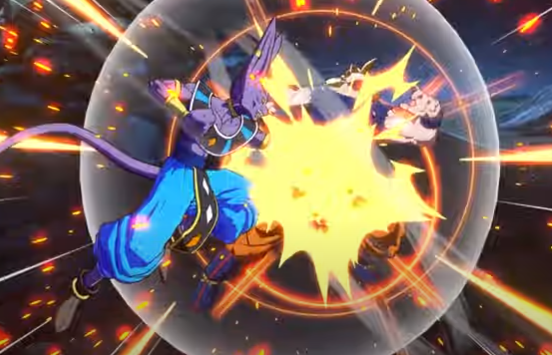
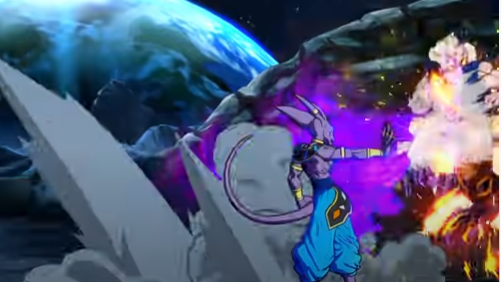
Beerus main gimmick, is bouncy projectiles that explode on impact and can be moved by Beerus.
They enable great setups and pressure but have little use in neutral since they are weak projectiles.
You can only have three of them out at once unless summoned by 236S. They disappear after five seconds. Or when Beerus blocks, get hit, or triggers a cinematic.
Their hitbox damage is increased after interacting with them.

This is niche info, but usually, you can’t special cancel buttons on whiff-hitting orb lets you do that though.
This can result in Beerus getting launched across the screen.
5L is quite stubby and safe on the block.
5LL on the other hand is actually huge and still safe.
5LLL is a safe on block cross even in the corner but has a huge gap.
His 2L is pretty good and hits low.

5M is safe too, but very average.
2M tracks almost full screen really fast, but has no active hitbox until it’s mostly on the enemy. Whiffing it in neutral also means death.

5H has short-range but significant pushback, to the point where it’s unpunishable even in the corner.
While the animation might suggest it, Beerus h2H doesn’t actually hit behind him to make it safe with 214L.

5s is a single standard Ki blast, and it is safe on the block.
5s sneezes out an orb, which will float toward the enemy. It can be chained 3 times and is important for block strings.

jS shoots out 2 Ki blasts if you trap it and 4 when held.
jL, jM, and jH are mediocre and they require setups for cross-ups.

j2H is nonstandard and can’t be jump canceled, but result in great corner carry. It is also useful to escape the corner.
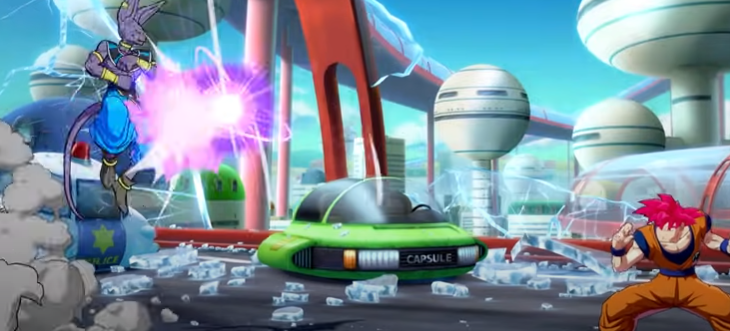
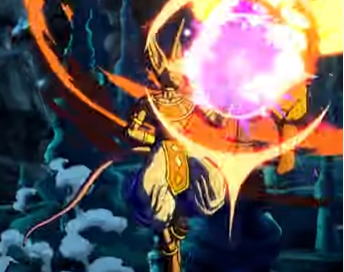
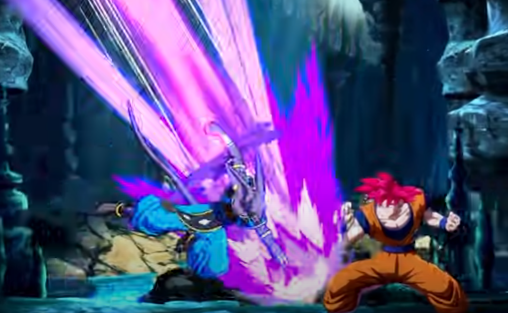
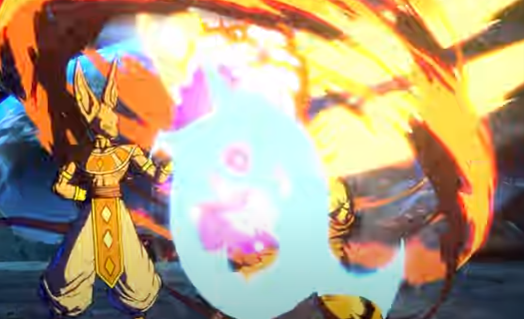
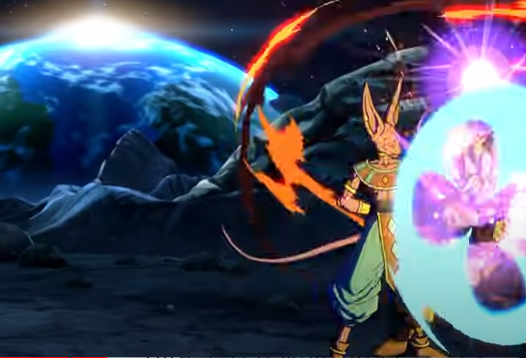
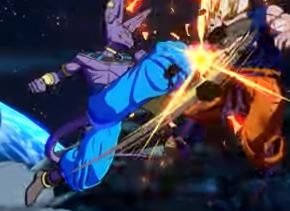
Sphere of Destruction(236x, Air ok)
It spawns an orb and kicks it, holding the button down will only spawn the orb instead.
The follow-up kick is always reflectable since the orbs are classed as ki blast.
The light version spawns the orb in front of Beerus, and kicks it along the floor, while the medium will spawn it above him, and kick it downwards.
The medium version will also wall bounce near the corner. It is used for corner combos.
The heavy version will spawn, and kick the light and medium orbs at the same time.
By holding 8 (up) or 2 (down), you can pick which orb Beerus kicks and if any kick hits, you will get a full combo off it.

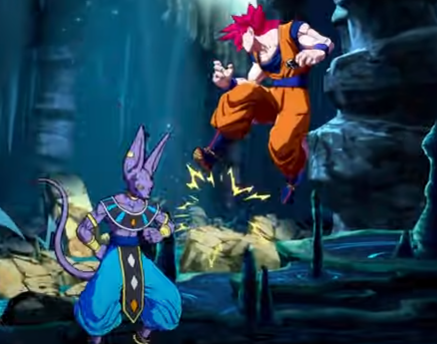
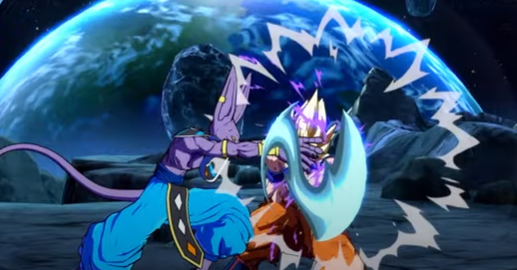
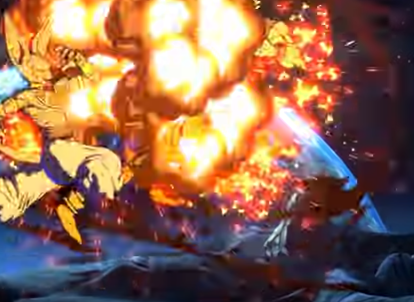
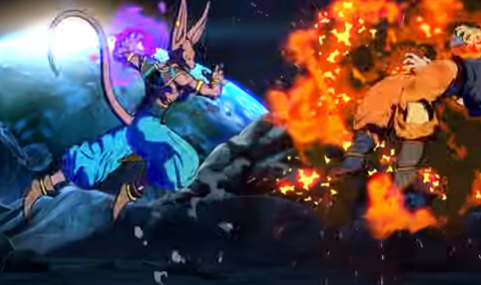
God of destruction’s Rampage (214x, Air ok)
All versions leave Beerus airborne and also cause a small ground bounce. So you can get easy assist extensions.
The light version is fast and short-ranged. It is mostly used in block strings.
The medium version is your main combo ender, as it gives sliding knockdown. The grounded heavy version will go full screen, but the aerial version won’t.
Either one allows you to confirm various stray hits into an easy rejump for a full combo though.
Spawns 6 orbs at once, but does so very slowly. You can only really use it for setups. More on setups later.
A frame 1 invincible dragon punch that can also be used mid-air. Like every dp, it is very punishable on block, so you have to use it carefully.

However because it uses projectiles, it will lose in many situations where a normal DP wouldn’t.
A Assist
It does 236H for free, but the orbs don’t stay, it is really fast, however, and pops the enemy up.

It has great blockstun (50f), but the second hit can be reflected. It covers a lot of space too, making it decent for neutral.

A Assist, If your characters have a low 2L you can also get a true 50/50 off this assist. More on this in the info card.
B Assist
It does a bit of everything, B Assist has a good range and good blockstun(~34f).
It is very consistent in blockstrings and combos alike since its ground bounces on hit.
C Assist
It tracks on the ground and does 214s, but for some reason isn’t invincible at any point. Blockstun is also basically zero because it’s a weak project.
Level 1 Super
High damaging, and can go into a level 2 by pressing any attack button. The longer you wait, the more damage it does.

Level 3
His level 3 is a short-ranged grab and the highest damaging super that doesn’t have any drawbacks. It gives enough time to Beerus for setups.

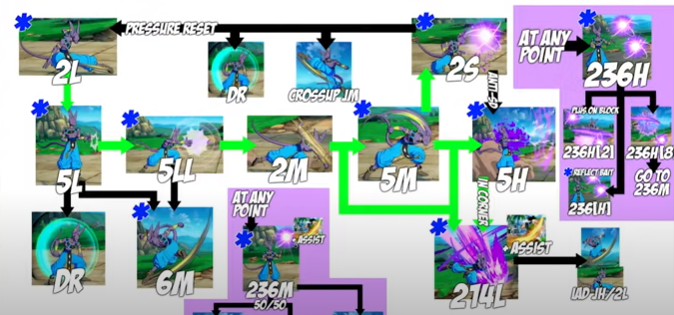
It basic Safe Gapless blockstring.
Using 2S
Adding 2s before 5H is your first layer of pressure, it will beat super dash and other buttons (with a small delay), but will lose to reflect.

Reflecting 2s is a risk though since you can easily just bait it, and blow your enemy up with a medium starter.
And if they respect it and don’t do anything, you will get a free turn.
You can also try to Dragon Rush or go for a rather slow crossup jM here.
214L instead of 5H
If you have an assistant available, you can get a simple high/low mixup with an to airdash after 214L. It can be gapless too with enough blockstun on the assist.
In the corner
In the corner you can also combine 5H and 214L to make strings longer.
236M 50/50
At any time in your blockstring, you can use 236M for high/low 50/50 mixups.

A well-timed superdat is an easy punishment though.

You have to cover this with an assist at all times to make it harder to see and counter. And change up your timings to stay unpredictable.

236M crossup
Every once in a while you can also crossup jM off of it.

236H Options
Holding down during 236H will leave Beerus plus (+2). This means the enemy will only get counterhit if they try to hit a button there.

While this is a reflect table, you can bait the reflect the same way you bait it with 2s.
The gap between the orb and kick is very small and will be safe from most reversals too.

Kicking the upper orb instead by holding up will give you the same 50/50 as 236m with a smaller gap.
On standing characters, there is a good chance both orbs will immediately make contact. This can easily be fixed by just adding a 2H before 236H. It will also fix the spacing to get the crossup jM.
The only problem is its weakness in reversals.
Miscellaneous tips
If you’re fighting a masher, there’s a good chance you can catch them in the act with 214H after 5H, this can be anti-aired through.
Small but important: 2L into 2M is a frame trap which means there’s a gap, but 2L>5M isn’t.

On a IAD jM, you can use 236H to leave an orb above the enemy, pressuring them into doing something.
For example, you can combo off of 6m or below up their reflect.
Here’s a normal Dr, Easy to see and react to right?

Now here’s a kara-Cancelled Dr. In addition to the green flash on DR, Beerus is surrounded by the purple flames from 5H, making it slightly harder to see.

All you have to do is press 5H a few frames before DR. It’s not much, but it’s good to know about it.

The last is to not just always follow the flowchart 100%. Beerus pressure is literally all rock paper scissors, so just freestyle, and see what works for you.

Here’s Beerus’s blocking flowchart:
214M setup
Here’s the standard setup you will use for any 214M knockdowns. Delay and hold the j2356M.
The jM will cover all recovery options and safe jump reversals.
If they respect your pressure, it’s a free turn. When timed right, it will beat out any mashing too.
There are two universal options the enemy has, reflect and super dash. Reflect is easily beaten by dash blocking and baiting it.
Super dash is a little thicker; you have to dash forward enough for 5LL to connect, which gives you enough time to react and convert.
DR Knockdown Setup
This one is quite simple. When landing, you have to hold 236L and then input 236M. This will cover all tech options too and beat super dash on wakeup.
To beat reflect, you just have to hold the medium orb as well and wait for the reflection to whiff.
DR Knockdown Setup 1
If they hold the block though, you just get your 50/50 off of 236M.

DR Knockdown setup 2
A different setup utilizing 236s. On ground tech, you can just dash and do your full blockstring, very similar to the 236M setups from earlier. You will be a plus again and beat super dash.
Against up tech you just jump forwards and mash light. It will drag them back to the ground on the block and beat SD at the same time.

Level 3 Oki
Apart from the other setups, you can also just go for a safe jump after level 3. All you need to do is hold up forward (9) and beerus will automatically jump.
A little bit harder, but by super jump airdashing you can get a 50/50 again, and the jM will still safely jump. Fast fall for the low option.

But honestly, you just have to put an orb above their heads and DR or 6M them. 60% of the time, it works every time.
Midscreen BnB
4195 dmg/ 3754 scaled/+1.1 Bar, Near the corner, you can do jS(4) for all of the combos that end in jS(3).

5H Route
4078 dmg/ 3710 scaled/+1 bar, Beerus has a 5H rejump.

Corner carry midscreen
4906dmg/4134 scaled/-0.1 Bar, Reminder: 236H(2) Means hold Down during 236H.

Corner Carry Near Corner
5209 dmg/ 4104 scaled/-0.1 Bar, for scaled end in>(land)5H>214M. Delay on 214L is smaller than the other delays, for 66jLM timing refers to the corner BnB.
Corner BnB simple
4472/3852 scaled/+1.15bar.
Corner Bnb Advanced Meterless
4840 dmg/3922 scaled/+1.5 Bar for scaled end in jLL> j5(4)j214M.

After 214L airdash immediately and press light and medium separately if you just press the light twice the combo will drop.
5633 dmg/ 4642 scaled/+0.7 Bar
for scaled do SD>JMLLjcLL>jS(4)..instead does not work on Z Broly.
Ideally, end this with an assist into dragon rush so you can get your corner setup.

For Z broly you need to add delay j236(M) after jLM. This is universal and can technically give you slightly more optimal damage but the ender is very different, and the delay is tricky.
Optimal Corner BnB
6033dmg/4699 scaled/+0.85 bar for scaled do ..sD>jMjcM>js(4)>.Instead medium auto combo starter getting enough distance on 214L through delays is important.

214 Orb Oki combo
4972 dmg/ 3907 scaled/ +1.4 bar, For medium starter end in.>jMLjcMLL>js(4)>j214M. If the orb gets knocked backward by 5S instead of forwards you summoned it too late or executed the combo too slow.

You can get the medium starter by deflecting wakeup reversals like level 3 and Dp as long as the orb stays.
236s Oki combo
5108 dmg/+1.5 Bar The orbs don’t really stay around for long enough to get this off a scaled starter unless you jH>5M2M but it’s still a sick combo.
214H Rejump
3535 dmg, definitely learn this, it’s crazy easy and extremely useful.
It’s a lot easier than the jump in the corner BnB just don’t mash and you’re good There is an alternative version using jLM that Does slightly less damage, use whichever one you prefer.
2H punish/DR route
3494/2868 dmg/+0.8/1.5Bar, both routes are the same only damage varies.

SD confirm
2371 dmg/ +0.7 Bar.

SD confirm with 236H
3189 dmg, keeps sliding knockdown and has more corner carry. But it won’t work above super jump height.
SD confirm with 214H
3264 dmg, must keep your double jump before 214H and no knockdown but will work anywhere, and it is generally more reliable.

Vanish confirms the same side
It deals 2399 dmg.

2250 dmg

Midscreen Extension 1
It deals 4795 dmg/+1.6 bar.

Midscreen Extension 2 (Any Beam/Most assists)
Deals 5611dmg/+0.1 bar.
Corner 2H extension
It deals 4605 dmg/+1.3 bar.
Midscreen Flex
45% dmg/3984 scaled/-o.1 bar, while you could easily do more damage with other combos, sometimes you need to send a message.
Corner Flex Combo
5067 dmg/ 4126 scaled/ -0.25 bar. Mind the double jump before Dr. Actually, it is pretty practical.
Vanish Whiff Loops
6110 dmg, You’ve spent 6 bars but at what cost? It only works on thin characters.
Vanish Flex
It deals 4469 dmgh/-0.75 bar, Purely for fun, it is very height dependant, can be done off 2H though.

6 Orb 2H punish
It deals 5569 dmg/ +1 bar, for when you really need to send message damage above is before supers.

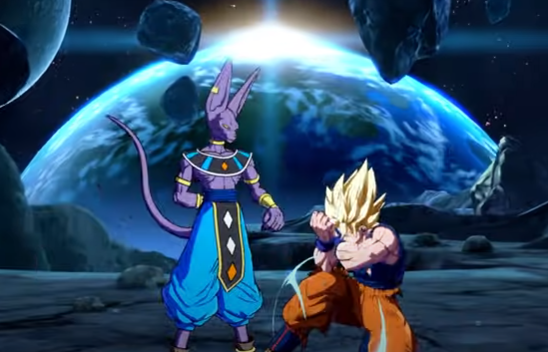
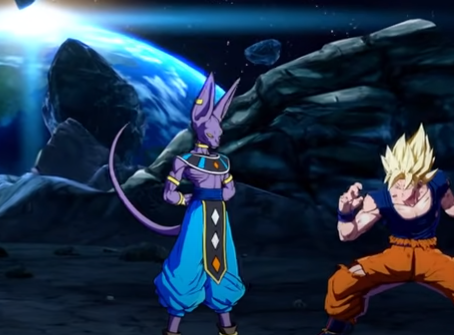
A new foe has appeared.

2 Bar positive TOD (S Broly A/Bardock B).
1.3 Bar limit break TOD.
The outcome of a fight doesn’t matter. As long as you are the sauciest fighter, it’s your victory.