This guide will help you to adjust the best in-game settings for multiplayer. You have to adjust these settings as mentioned in the guide to get the best performance and optimum in-game playing experience.
Control Schemes
In this section, we will take you through the steps to adjust the control schemes to get the best performance and optimum in-game experience.
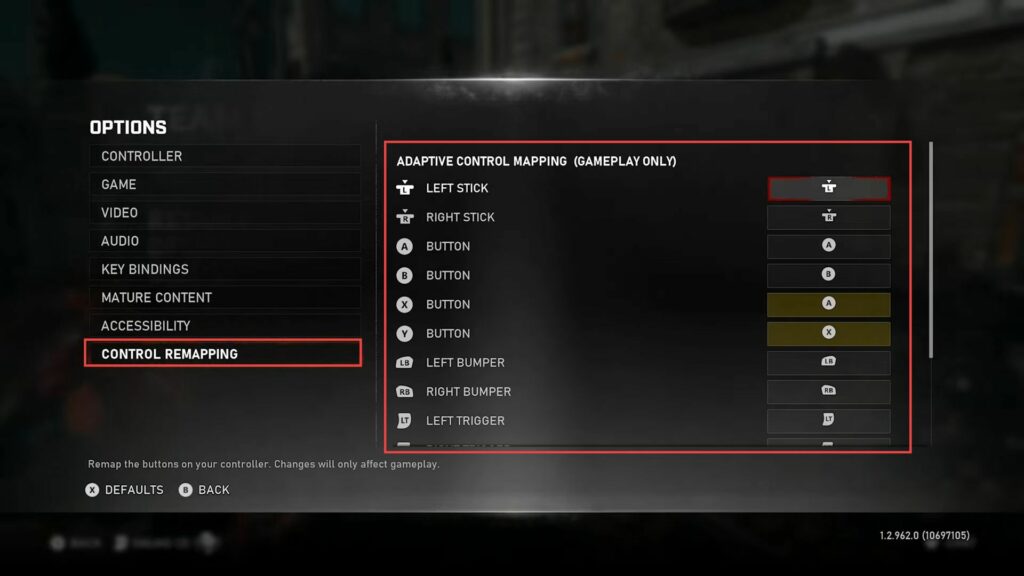
- First, you have to click on the Controller tab in the game’s settings menu.
- If you typically use the classical control scheme and want to optimize it further, then open the Ultimate Remapping option.
The Ultimate Remapping makes the classic control scheme feel more like the default settings in terms of button layout. This control scheme enhances responsiveness, making actions like grabbing covers more intuitive and faster. - You have to note that using the alternate control scheme can make grabbing covers easier and more responsive.
Walls are easier to hit when playing on the alternate scheme. It enhances the feeling of responsiveness, especially for cover grabs and movements. - Also, note that using the alternate control scheme might require adjusting your shot timing. It is also important to keep in mind that shots may not come out immediately as you’re used to, so you need to perfect the new shot timing associated with this scheme.
With the alternate control scheme, bouncing is activated on a press rather than a release.
- Since bounce and roadie run share the same button, you have to be aware that you might accidentally grab walls when trying to run for cover.
This can sometimes lead to unintended wall grabs instead of running for cover. - The Classic Call control scheme is recommended as it provides full joystick control without requiring a claw grip or additional paddles.
The classic control scheme has a learning curve, particularly for mastering wall balance. It’s important to note that the choice of control scheme is largely based on personal preference and playstyle.
Many players prefer the alternate control scheme when they want complete joystick control without using the claw grip or paddles. Some players enjoy and adapt well to this control scheme, while others may have a different preference.
Sensitivity Explanation
This section describes how to get the best performance and optimum in-game experience by adjusting the sensitivity.
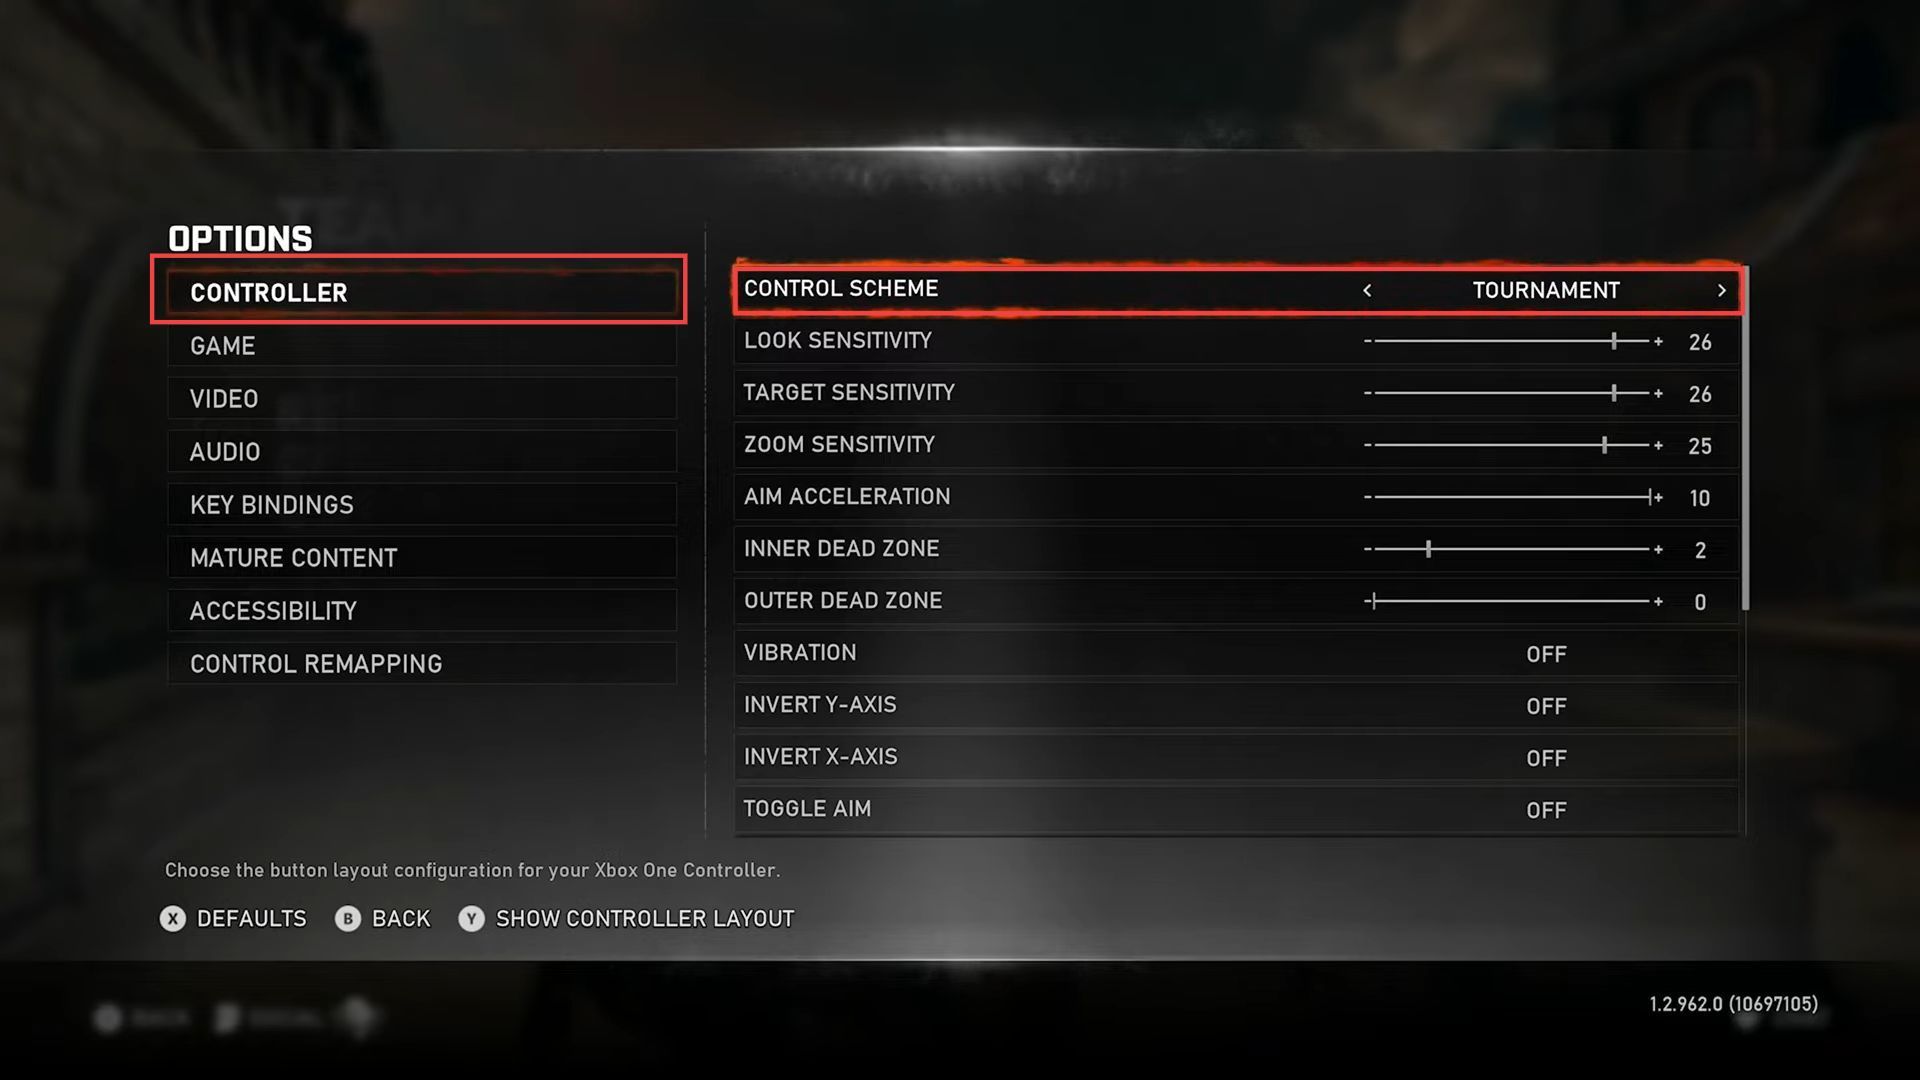
- Now go to the game settings and locate the Look Sensitivity section.
You can increase or decrease the look sensitivity value to control how fast your character looks around in the game.
The optimal range for many players is around 26 to 28. Lower values might feel too slow, while values over 30 could be too fast and harder to control. - Consider your comfort and precision while aiming when adjusting this setting. After that, you have to find the Target Sensitivity setting, which affects how quickly your aim moves when targeting opponents.
- It’s recommended to keep the target sensitivity similar to your look sensitivity for consistency.
- Modify the target sensitivity value based on your preference and comfort level.
A value of 26 is suggested for players who are already proficient in controlling their mechanics and aiming accurately. - Now navigate to the Zoom Sensitivity setting, which determines how fast your aim moves while using precision weapons or zooming in with a pistol.
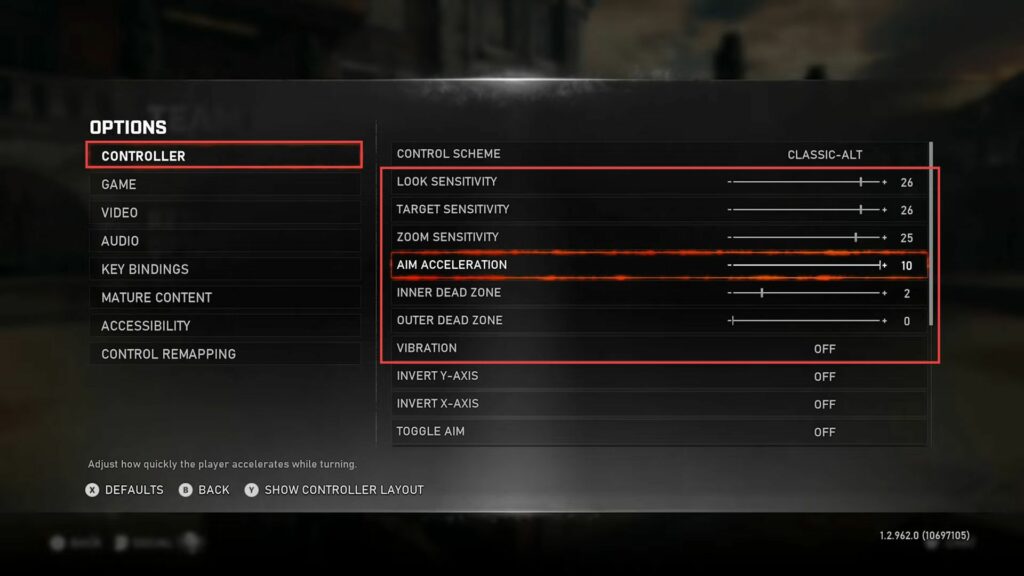
It’s advisable to set the zoom sensitivity lower than your regular look or target sensitivity. - Access the Aim Acceleration setting, which controls how quickly your aim reaches the maximum sensitivity when turning.
- Adjusting this setting changes the response curve of your aim movement.
Lowering the aim acceleration will make your aim start slower and gradually build up speed as you turn.
Dead Zone
This section will take you through the steps to adjust the dead zone to get the best performance.
- You have to learn about dead zones in controllers which are small areas around the center of your joystick.
Dead zones are important, especially if your controller has stick drift. Stick drift is when your screen moves slightly on its own without your input. - Also, recognize the inner dead zone, which is the area around the centre of your joystick.
Understand that most shooter games have a sufficient inner dead zone, so your character usually won’t move on its own. - After that, access your game’s settings to adjust the inner dead zone. You have to raise the inner dead zone value slightly if you notice your screen moving slightly on its own.
Increase it one step at a time until your screen stays still.
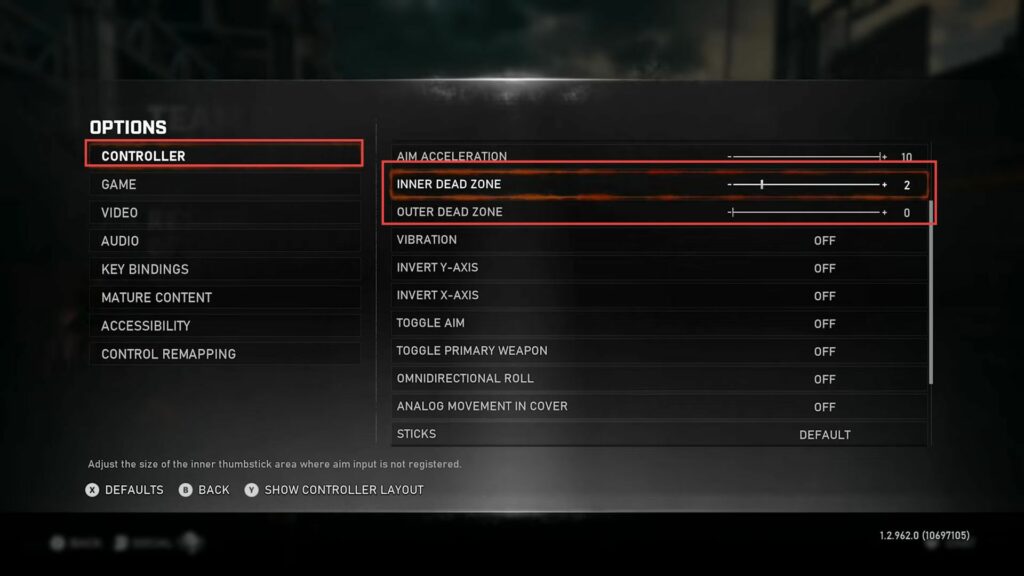
- Now learn about the outer dead zone, which is the area around the edge of your joystick where the input starts registering.
Increasing the outer dead zone reduces your range of motion and tracking ability. - Access the settings to adjust the outer dead zone if needed and keep the outer dead zone low around 0 to have full tracking abilities and better control.
Understand that a higher outer dead zone restricts your joystick’s movement, making it reach maximum input faster. - Experiment with different inner and outer dead zone settings to find what feels most comfortable and responsive to you.
Additional Settings
This section describes how to adjust the additional settings to get the best performance.
- You have to understand that vibration settings for the controller are a matter of personal preference. Decide whether you want controller vibration on or off while playing the game.
- Locate the Toggle Aim setting from the listings and adjust it according to your preference. Choose whether you want to use toggle aim or not.
- After that, scroll down to the Analog Movement of Cover setting from the menu and click it to allow you to use each stick to roll while on the cover.
- Locate the Quick Taps setting which changes how you interact with certain in-game actions, like chainsawing, by requiring quick taps instead of holding a button.
- Go to the Objects All Aim setting which allows you to aim at objects rather than enemies, useful in specific situations.
Moreover, you can also many other settings, such as toggle aim, analogue movement of the cover, quick taps, and objects all aim, which is based on personal preferences and playstyle.
Decide whether you want to enable or disable these settings based on your gameplay preferences and needs.
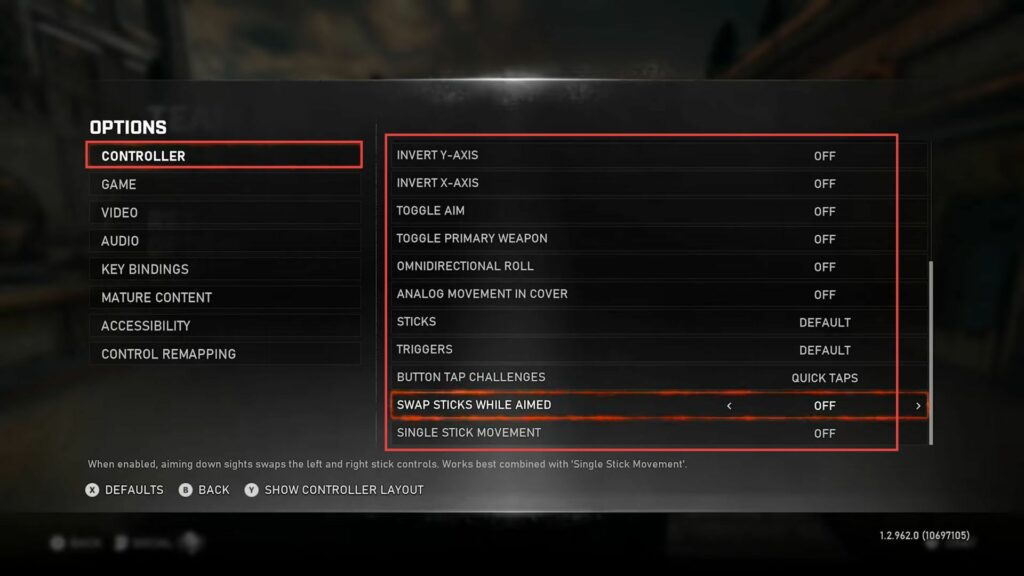
Single Stick Explanation
In this section, we will take you through the steps to adjust the single stick to get the best performance and optimum in-game playing experience.
- Understand that single-stick movement is a significant change in how movement works in the game.
It affects how your screen repositions while performing specific actions. - With single stick movement, pressing the A button doesn’t recenter the screen to the default position. Moreover, this adjustment can make it easier to control the camera while bouncing.
- Consider the advantages and disadvantages of using single stick movement.
The advantage is the easier camera control during bouncing. The disadvantage is auto recentering of the screen and potential difficulty in aiming certain shots or reactions due to lack of screen assist.
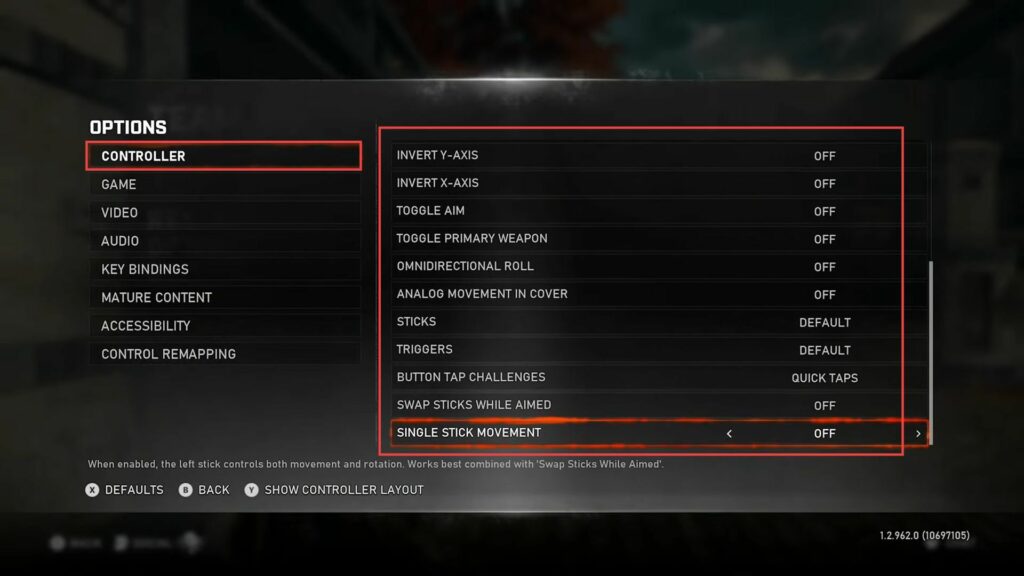
- Now you need to understand that with single stick movement, the screen will auto-recenter after a few seconds, which can affect shot placement and aiming, particularly when holding shots or performing updates and batches.
Learn that dealing with screen recentering might be a challenge when trying to walk or hit opponents with shots. - You have to keep in mind that in single stick movement, using the left stick can sometimes cause the screen to behave like a camera.
- However, keeping the focus on the right stick can prevent unwanted camera behavior, while the single-stick movement requires more emphasis on using the right stick for tracking.
This approach helps prevent unwanted camera interference from the left or right stick.
Game Settings
This section describes how to get the best performance by adjusting the game settings
- Navigate to the game Settings, and locate the Killcam setting from the listings. Decide whether to enable or disable the kill cam based on personal preference and tolerance for bugs.
- Click the Aim Assist setting from the menu and know that enabling Aim Assist helps maintain a competitive advantage by assisting with aiming.
- After that, scroll down and click the Disable Yank setting.
Enabling this setting prevents accidental revives when trying to interact with downed teammates. - Now you need to understand the function of the X-Ray setting, akin to a tactical view, and consider leaving this setting enabled for tactical awareness.
- Go to the Versus Pickup Spot setting from the menu and understand its functionality. Note that enabling this setting allows you to view items and objects through walls, like grenades or objectives.

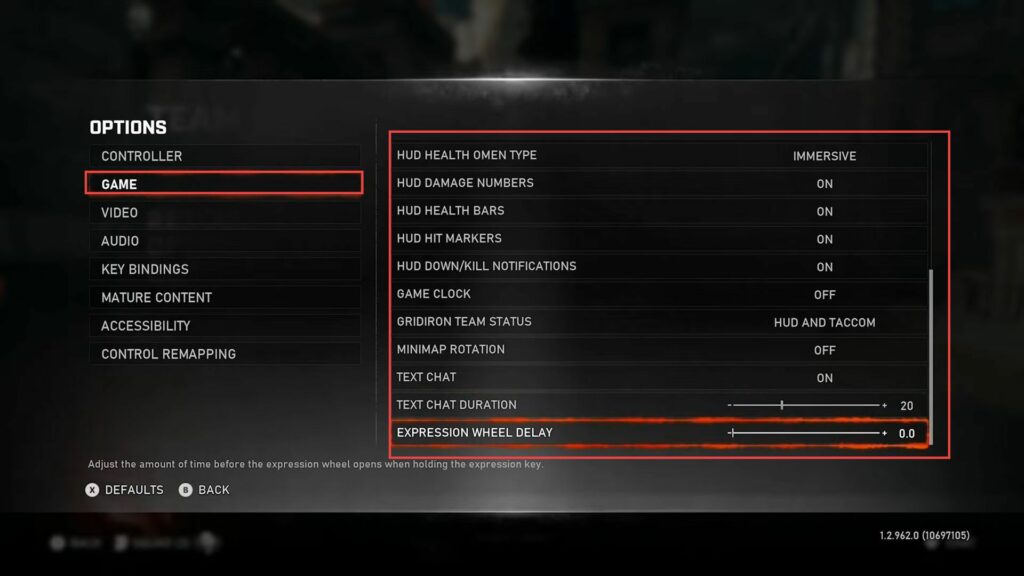
- Now scroll down and choose the HUD Health Omen Type setting from the listings that you want to use. Turn on the immersive option for the selected omen type.
- When playing with the simple tuning enabled, you might not take as much damage as it appears.
Sometimes, minor damage combined with the helmet can make it seem like you’re heavily injured (full red health), but this is not accurate. - Immersive omen is more precise and reliable and is recommended for use if you want accurate damage numbers.
- Scroll down to the Damage Numbers setting, which presumably displays numerical values for damage dealt or received, and decide if you want to enable this setting.
- After that navigate to the HUD Head Markers setting.
Enabling it will provide additional visual feedback during gameplay. - You also need to enable features like HUD hit markers and HUD kill notifications. Moreover, you can customize your gameplay experience based on what you find most useful.
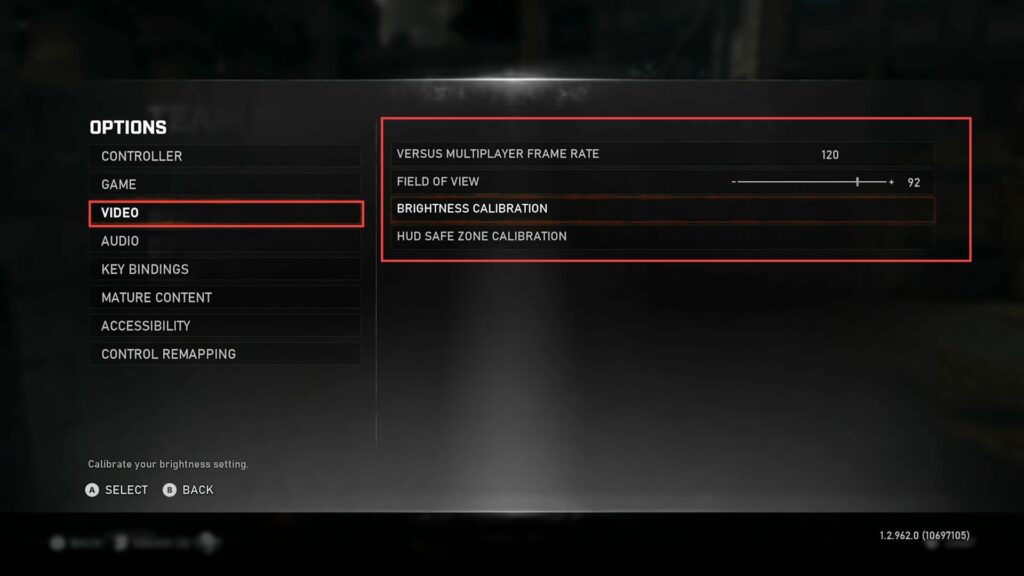
- Access the game settings from the left side panel to modify the frame rate. Opt for a higher frame rate setting, such as 120 frames per second (fps), for smoother and more responsive gameplay.
- Navigate to the settings related to the field of view, and decide on a specific field of view value based on your preferences.
- You need to consider the factors such as your monitor size and personal comfort when choosing your field of view. Take into account the size of your gaming monitor.
- After that, set your field of view to a value that suits your current gaming setup and monitor size.
You can gradually increase your field of view as you become more comfortable with your larger monitor.
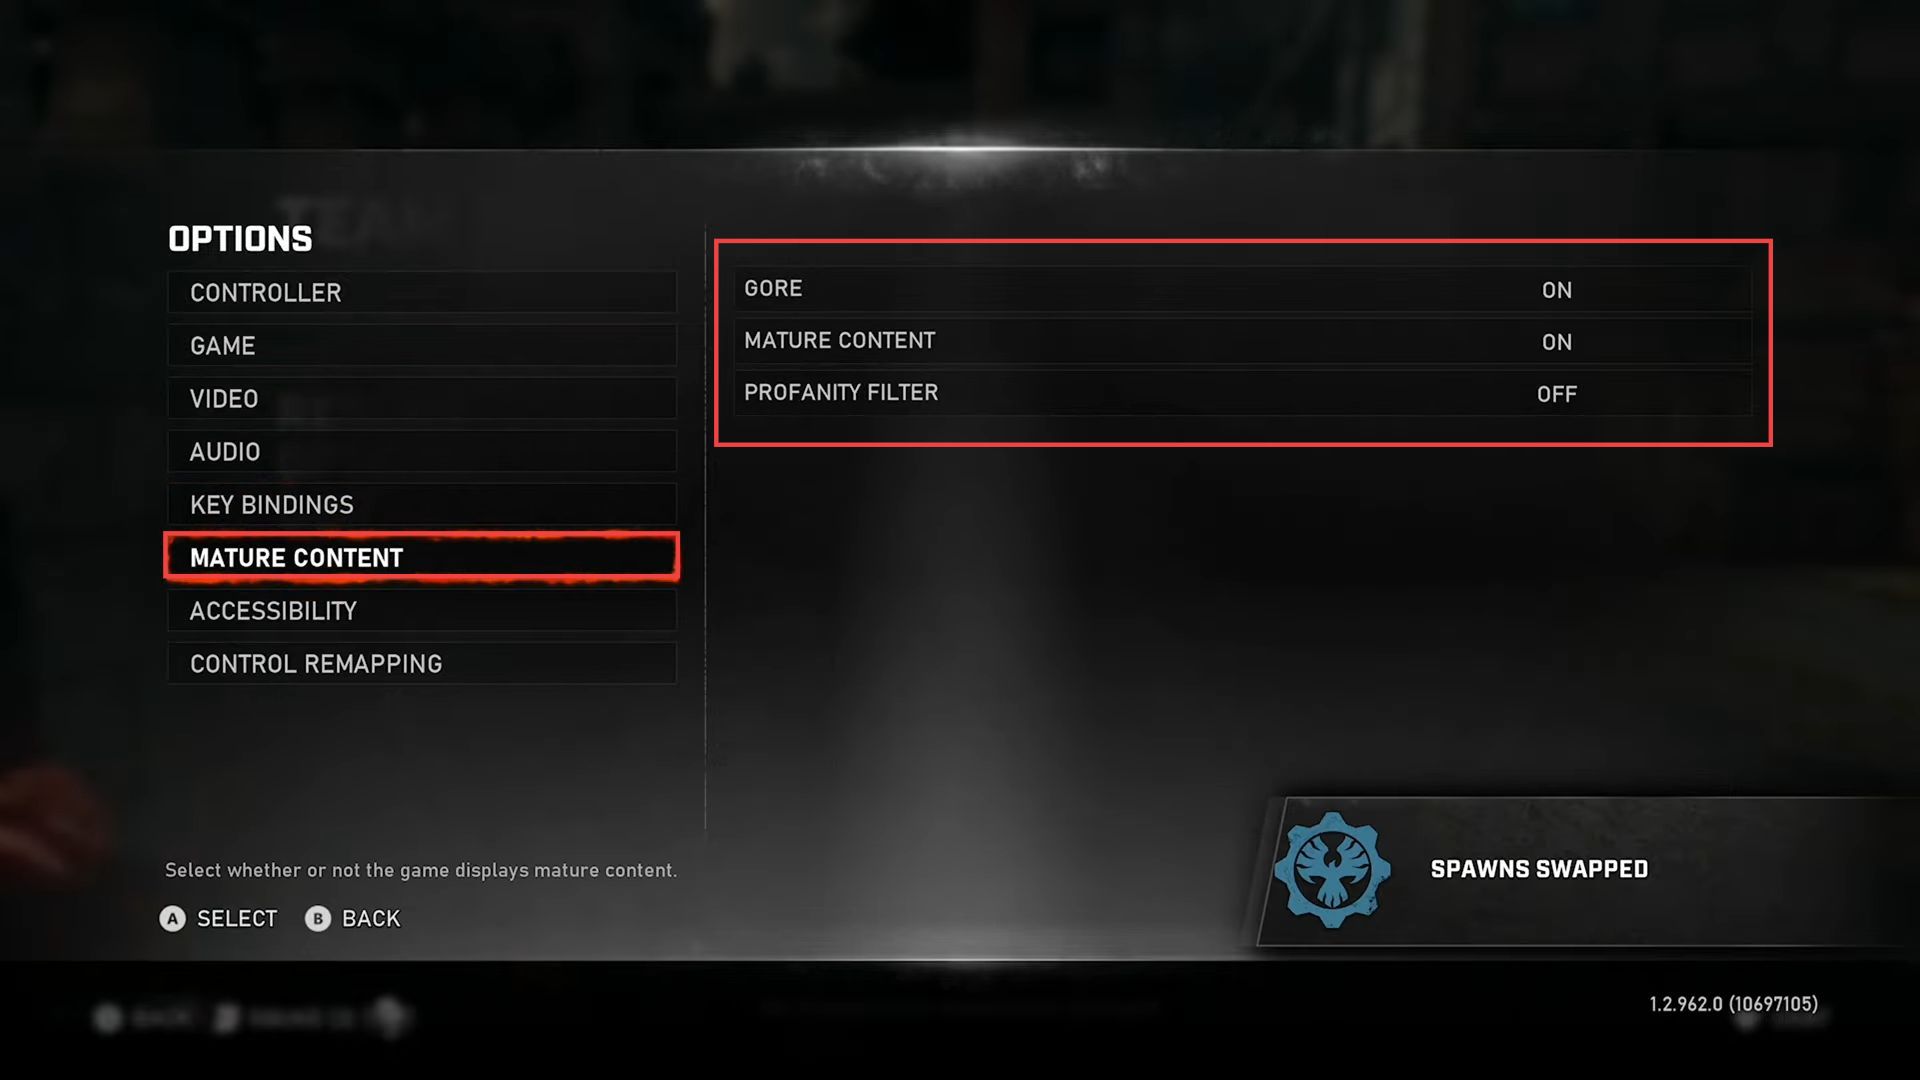
- Now you have to begin by accessing the game’s settings menu looking for the option related to Gore and switching it to the On position.
- Then continue by locating and adjusting the visual filter setting and choose the Off option for this setting.
- You need to keep in mind that the remaining settings mentioned are subjective and based on personal preference.
Realize that these settings might not significantly impact gameplay or mechanics.
- Now you need to open the game’s controller settings tab from the left side panel and understand that the options within the security settings are similar to those found in the controller settings.
- Then you have to locate the Single Stick option within the security settings.
This option pertains to controlling movement with a single stick, similar to the controller settings. - After that, note that enabling this option changes how movement is handled, particularly for camera control during bouncing.
- Then you have to scroll down to the Button Tap Challenges setting within the Controller Remapping options.
This setting is related to challenges or actions triggered by quickly tapping a specific button. - Realize that enabling or disabling this option may affect the gameplay mechanics involving button taps.
- Now you have to go to the Color Blind Mode setting, which might be present within the Controller Remapping options, and understand that this option is designed to adjust the color scheme of the game’s menus to accommodate players with color vision deficiencies.
Note that changing this setting won’t significantly impact gameplay mechanics; it primarily affects the appearance of menu colors. - After that, you have to recognize that these Controller Remapping settings largely correspond to options found in the controller settings and understand that these adjustments can influence gameplay mechanics and visual aspects, such as movement control, challenges, and color scheme, based on the player’s choices.