In this guide, I will share with you on how to get the secret achievement, 2 luxurious chests (multiple other types of chests), and electroculus.
Do note that you need to complete the Seirai storm chasers to remove the barrier on that island.
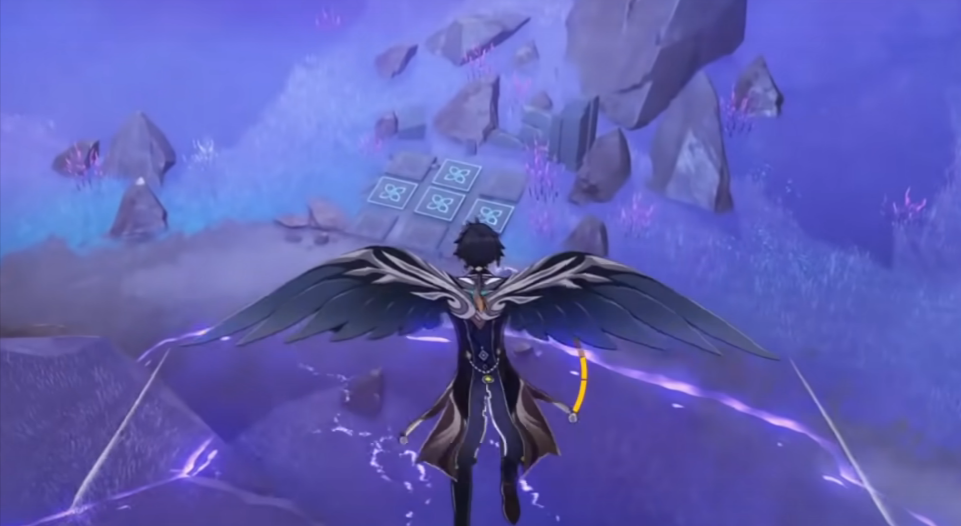
3×3 puzzle
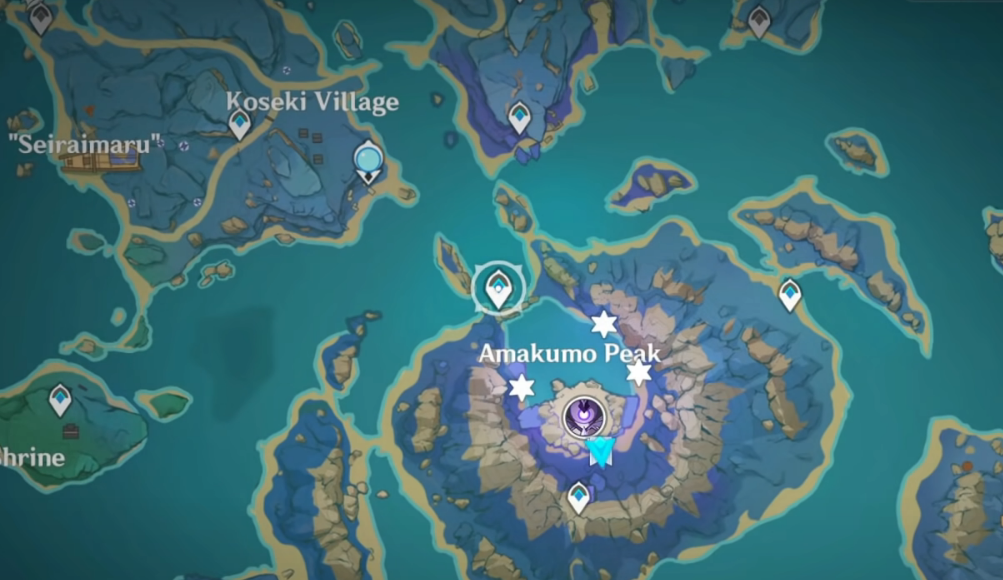
Teleport to Amakumo Peak North west waypoint and head south east towards a puzzle with 3×3 tiles on the ground.
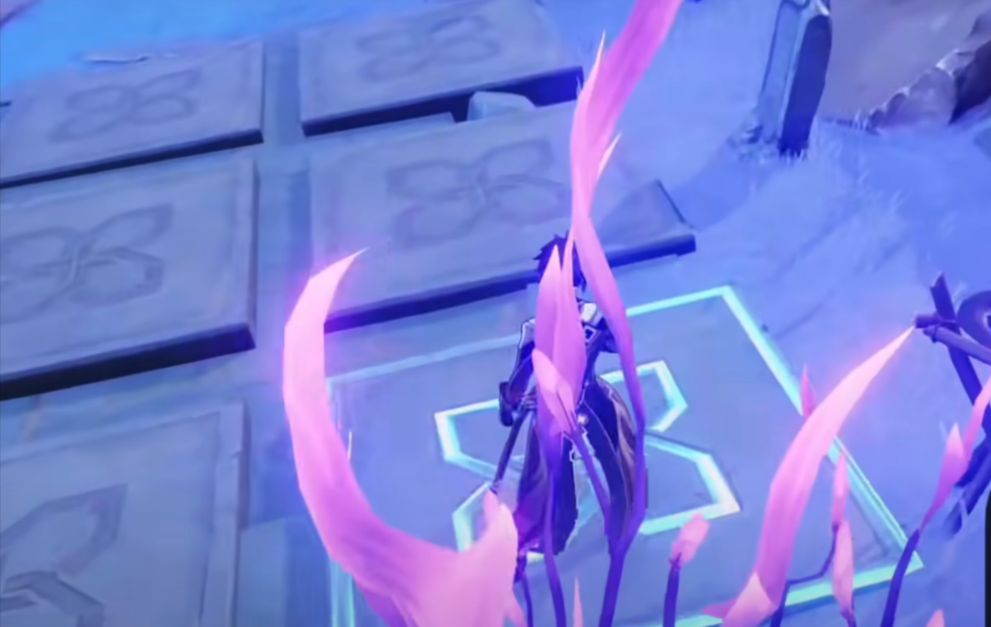
There are hints on the starts icon marked on the map. Basically, you will take the 3 pieces of clues, put them together based on the torch location and invert them.
There are some enemies nearby and you need to eliminate them. I will turn off all the glowing tiles before I show the solution as I’ve accidentally stepped on the tiles while fighting the enemies.
Do not jump when you’re lighting up the tiles as you might deactivate the tile.
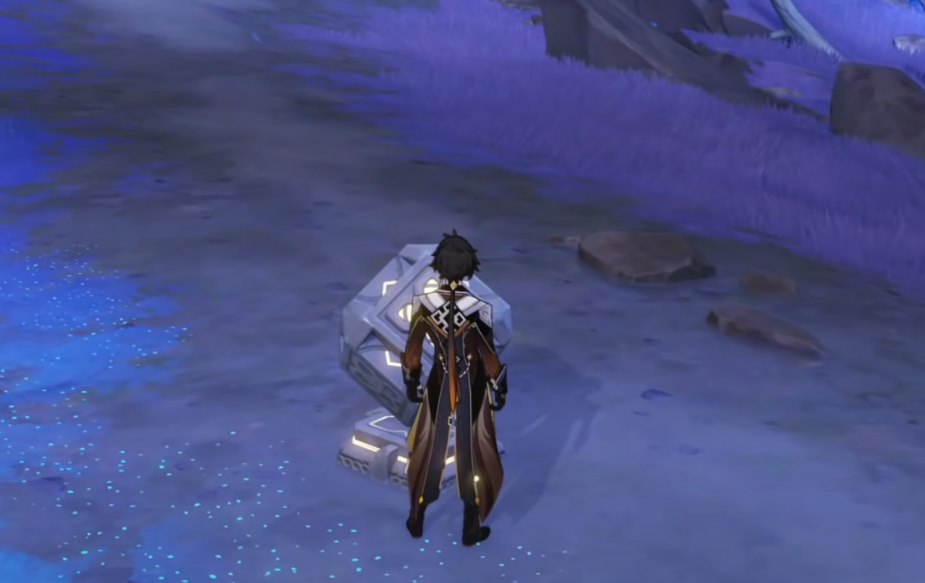
Activate the mechanism beside the puzzle to lower the water level.
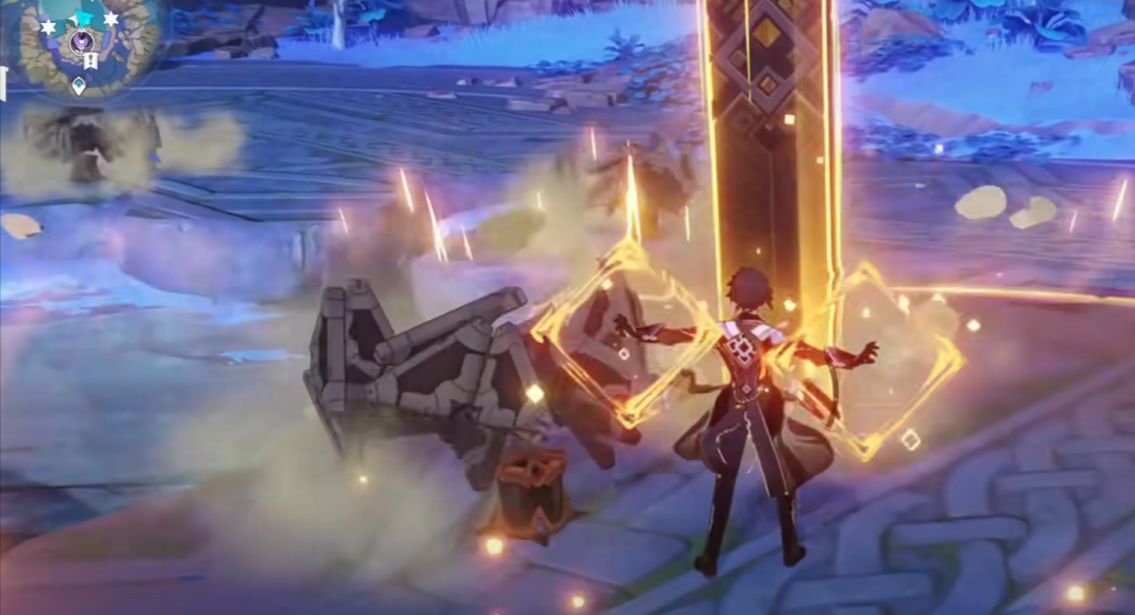
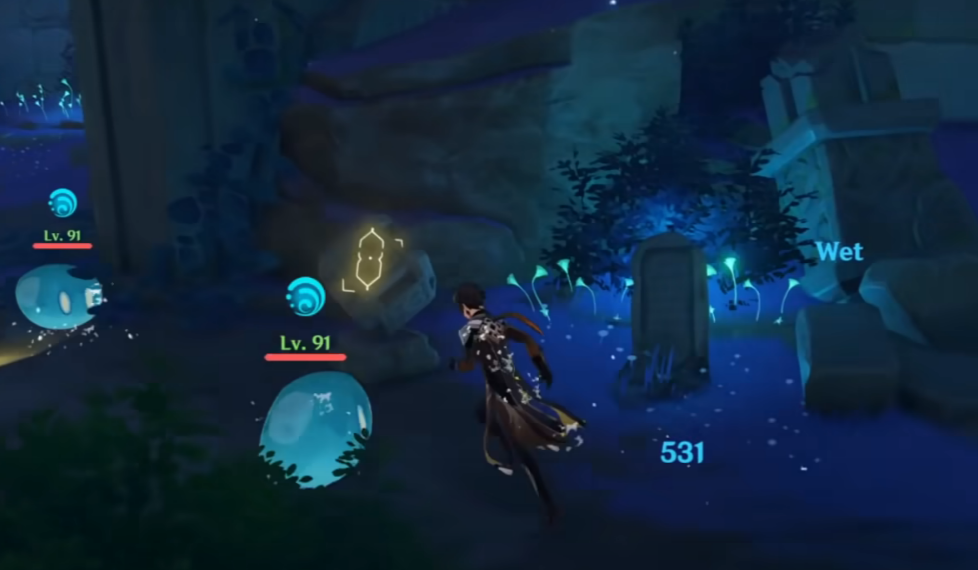
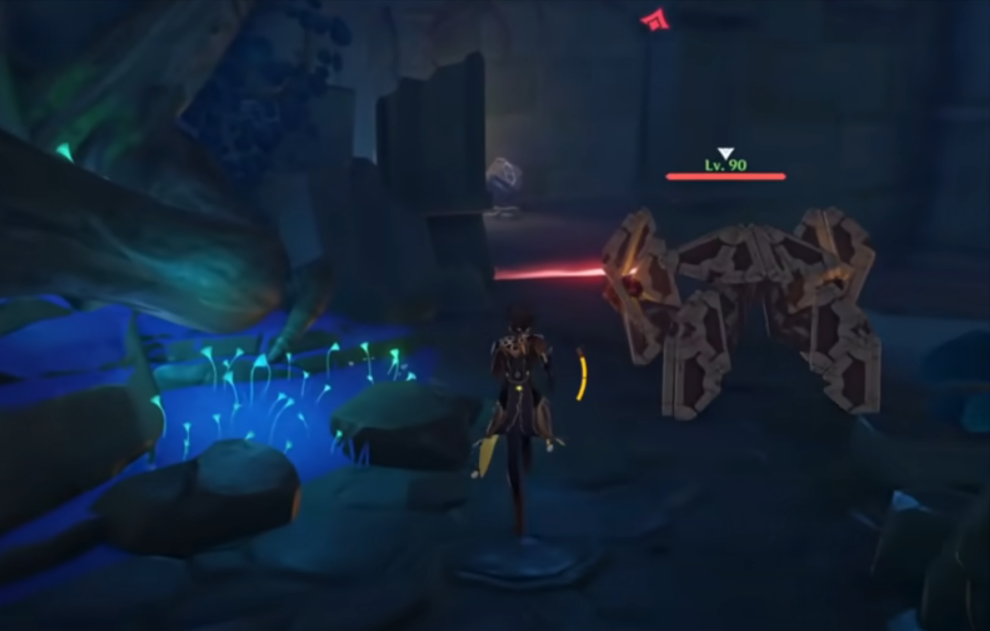
Eliminate 3 ruin sentinels
Head north towards the new entrance after the water level is lowered.
Eliminate all 3 ruin sentinels around the entrance.
Eliminate 2 more ruin sentinels
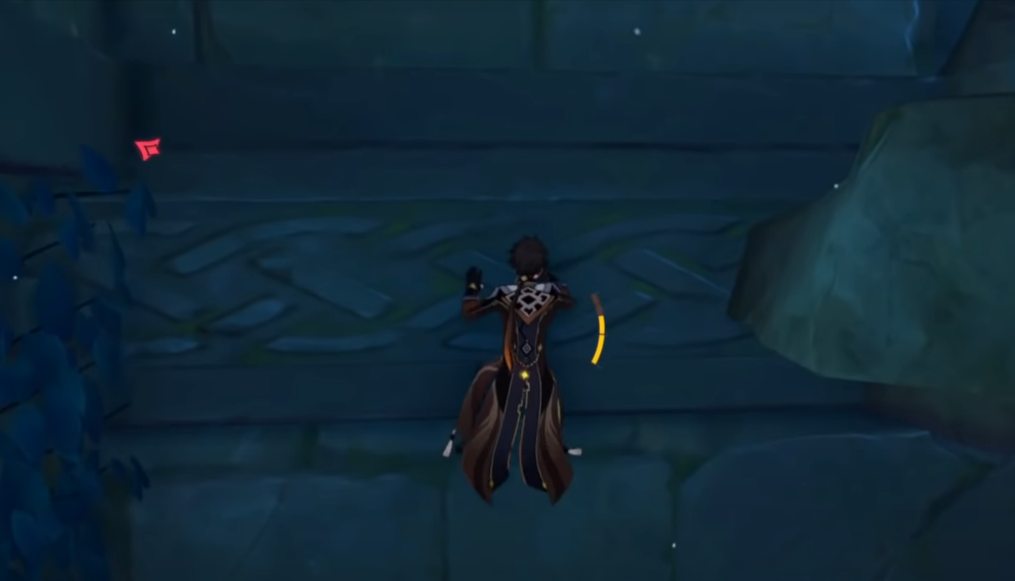
After eliminating all 2 ruin sentinels, jump downnad you need to eliminate 2 more ruin sentinels.
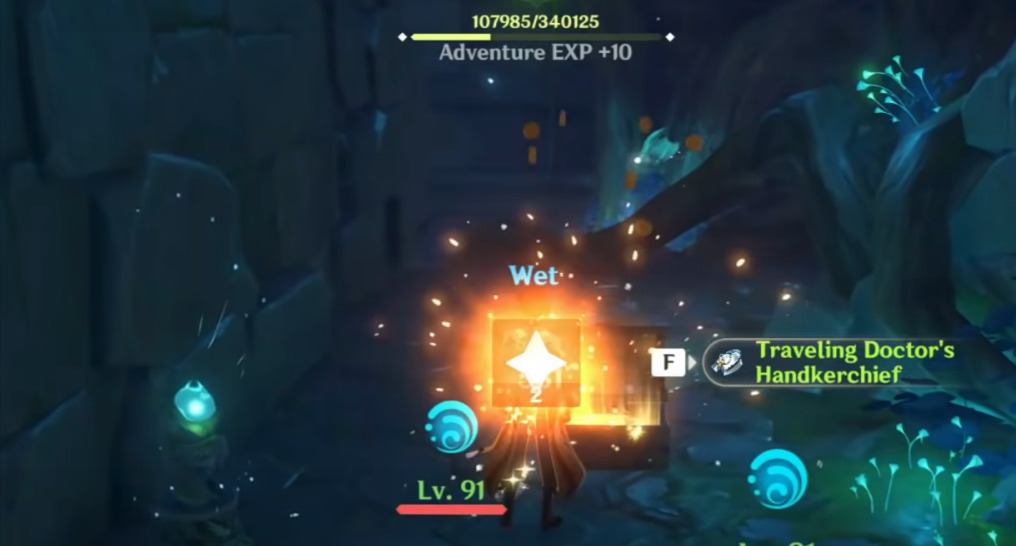
The seal on the mechanism will disappear after eliminating the ruin sentinels.
Activate the mechanism to further lower the water level.
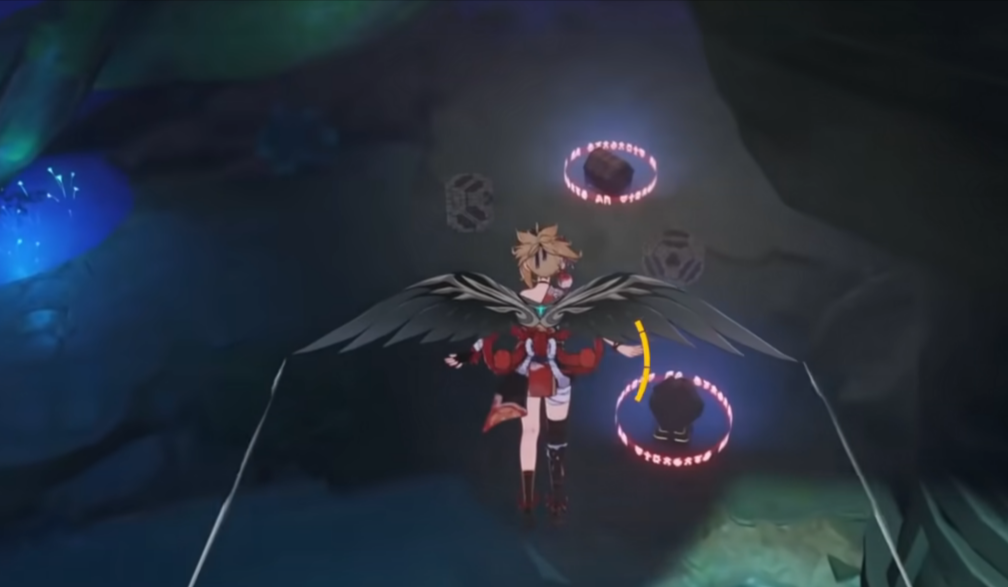
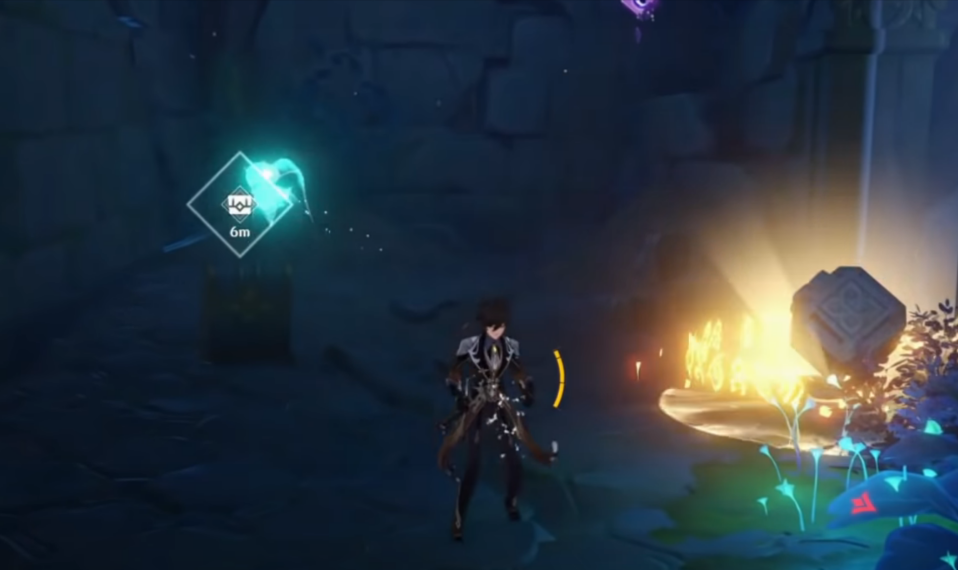
Underground mechanism puzzle
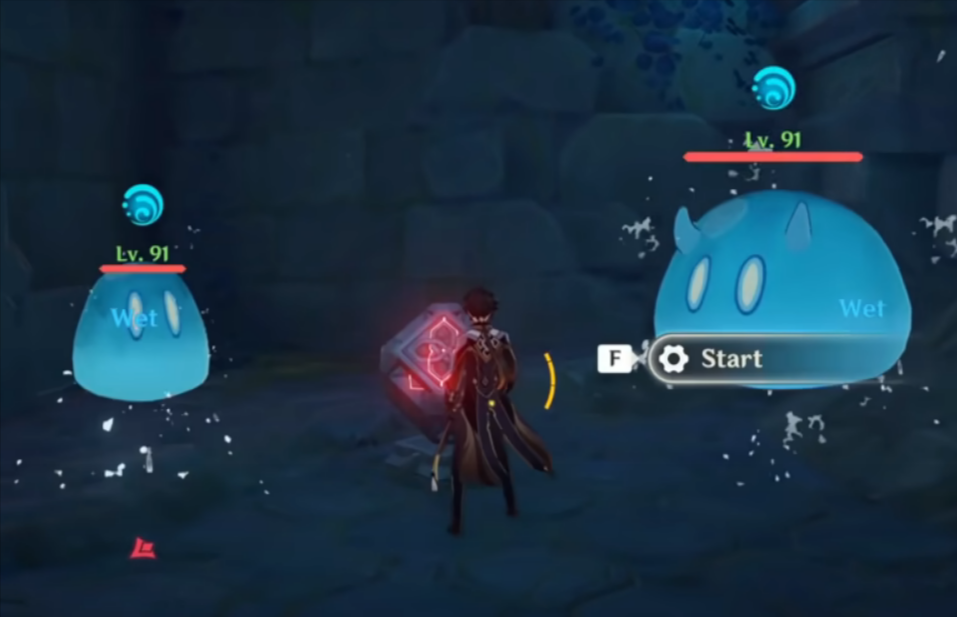
The next puzzle is a bit confusing, make sure to follow closely when clearing this puzzle.
Touch the Seelie once, interact with the red mechanism on the right and switch it to vertical form to unlock the gate in front of you.
After you pass through the red gate, touch the Seelie once and turn left.
Interact with the yellow mechanism on your right and switch it to vertical form to unlock the gate in front of you.
After you pass through the yellow gate, interact with the red mechanism on your and switch it to vertical form.
Go out of the room and interact with the yellow mechanism and switch it to horizontal form.
Follow the first Seelie and go up to the upper platform.
After you sent the first Seelie home, follow the second Seelie in front of you and jump back down to the lower platform.
Make sure the yellow mechanism on your is at a horizontal state.
Go up the staircase on your right and pass through both the red and yellow gates.
Turn left and walk straight.
Interact with the red mechanism on your right and switch it to vertical form.
Turn left and jump down to the lower platform.
You will find a Seelie but we will move forward and switch the yellow mechanism to vertical form.
Go back and follow the Seelie to the upper platform.
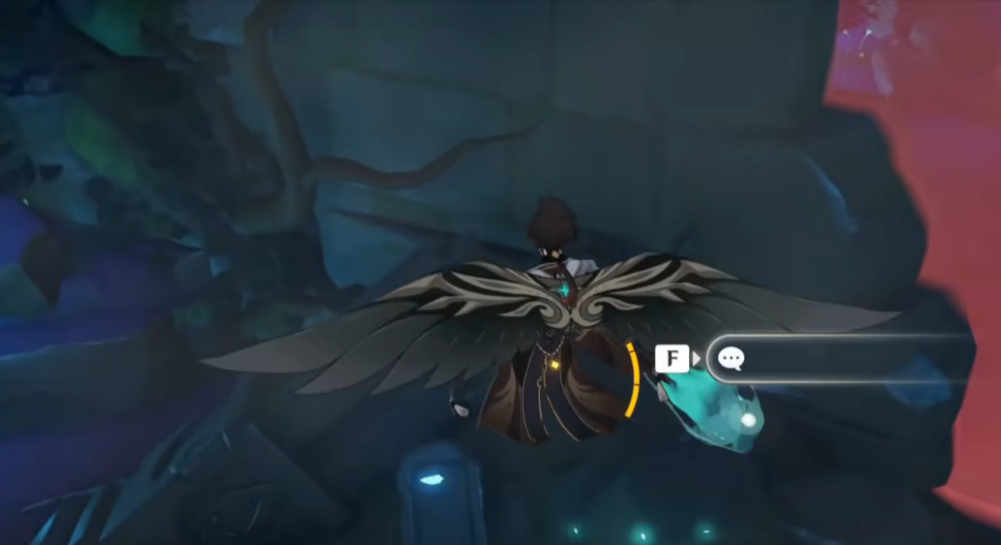
Time to follow the third Seelie after the second Seelie reached its home.
Keep on following the Seelie until it passes through a blue gate that is blocked.
We will keep moving forward and pass through both the red and blue gates.
Turn left after you see a ruined sentinel.
Go to the upper platform with the staircase and turn left.
Switch the red mechanism to vertical form and go back down.
Pass through the red gate and switch the blue mechanism to vertical form.
Go back to the upper platform and turn your view by 180 degrees.
Pass through the blue gate and switch the yellow mechanism to vertical form.
Go back to the lower platform and pass through the red gate.
Turn right twice and pass through the yellow gate.
You can now touch the 3rd Seelie and you will obtain the secret achievement – Great Amakuma Peak.
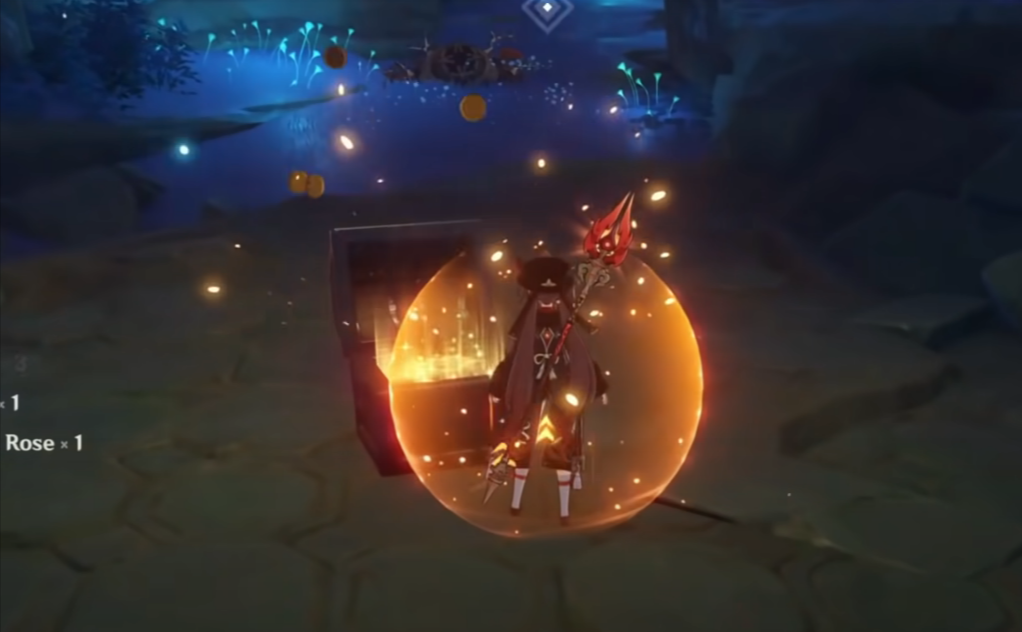
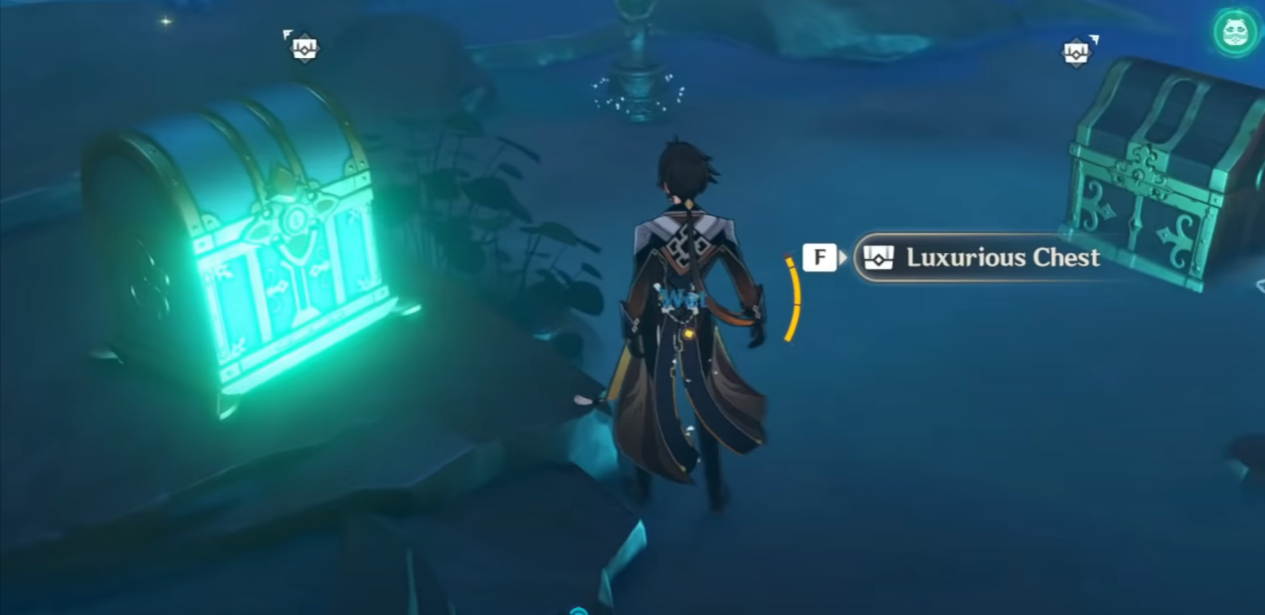
There is a luxurious chest beside and you can activate the mechanism to lower down the water level.
There is another luxurious chest a precious chest and a common chest at the bottom of the cave.
Congrats on completing the puzzle.