This guide helps to add game covers to the Xbsx2 emulator on Xbox using the easiest way. Go through the guide and follow all the instructions carefully to add it.
Installation of PS2 Covers
In this section, we will take you through the steps to download and install PS2 Covers on Xbox. First, you need to get the zip file, then choose a suitable location to save it. After that, extract this file and copy it to your USB or external hard drive.
- First, you need to open the browser from your computer.
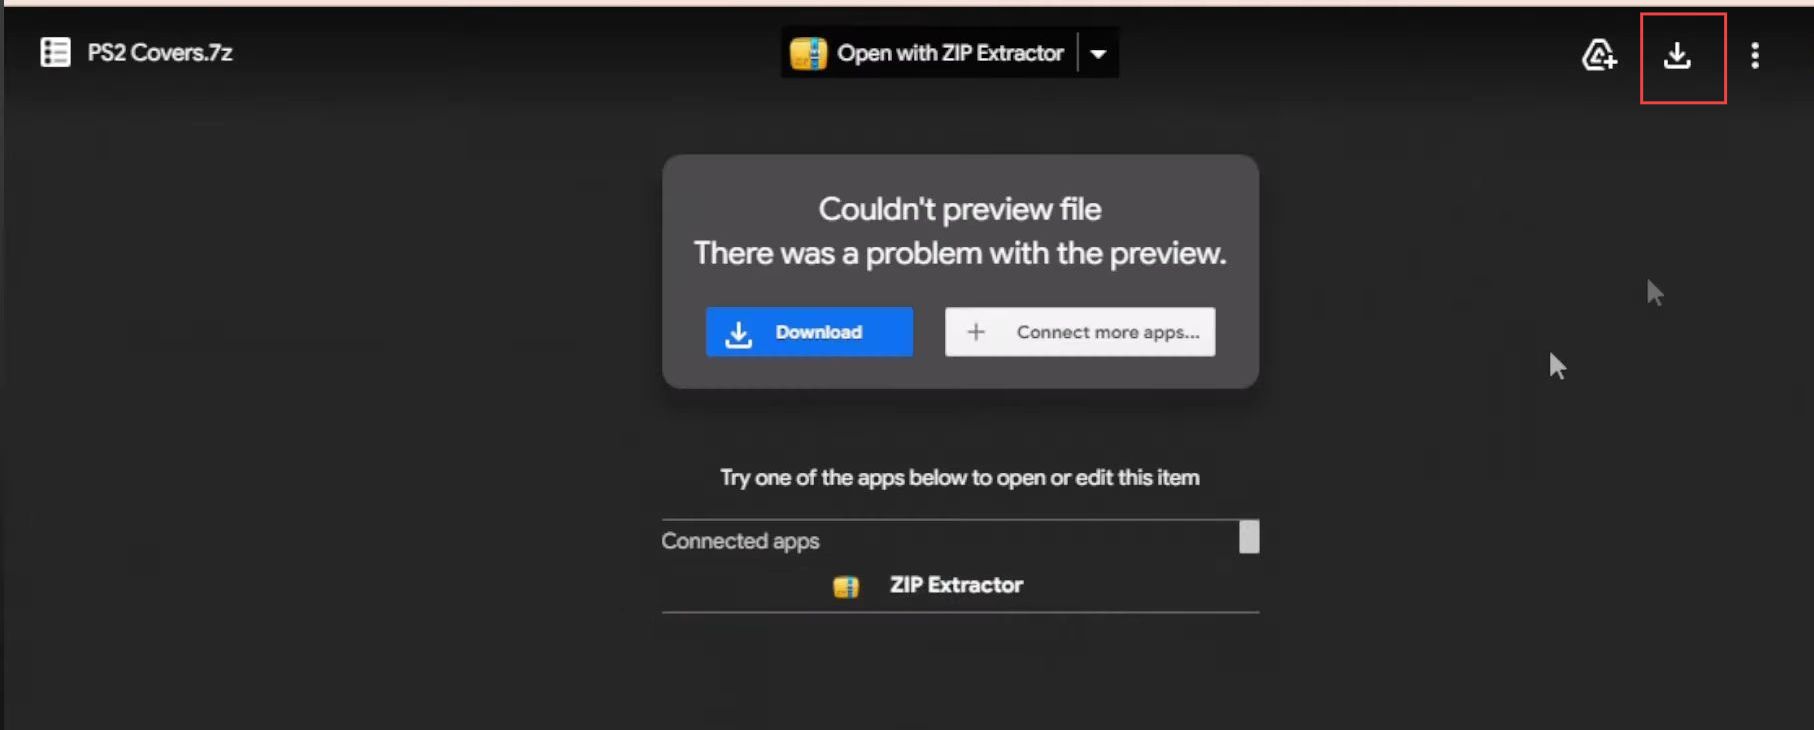
- Click the download symbol to get the PS2 Covers from Google Drive.
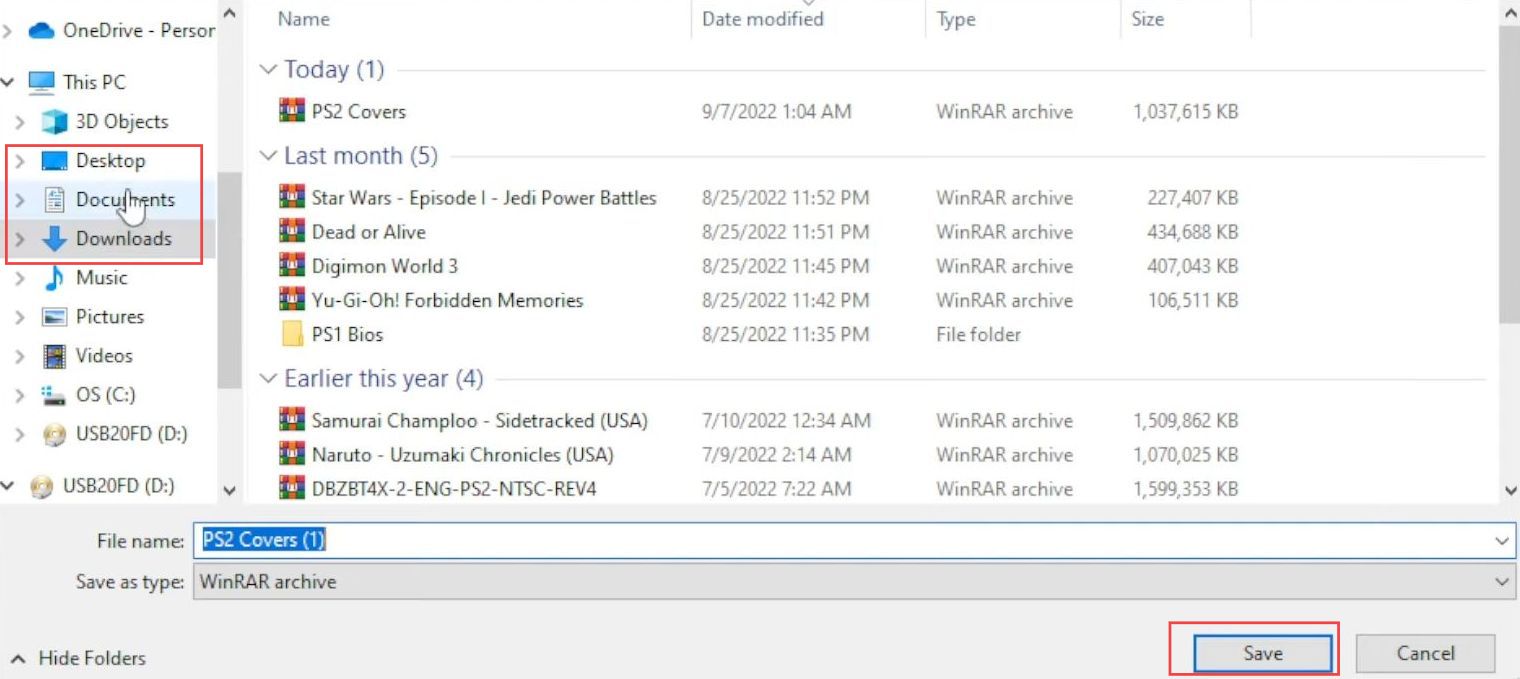
- Choose a suitable location for the downloads such as your desktop or downloads folder.
- After that, click the Save button.
- Once the file is downloaded, navigate to the download location and right-click on it.
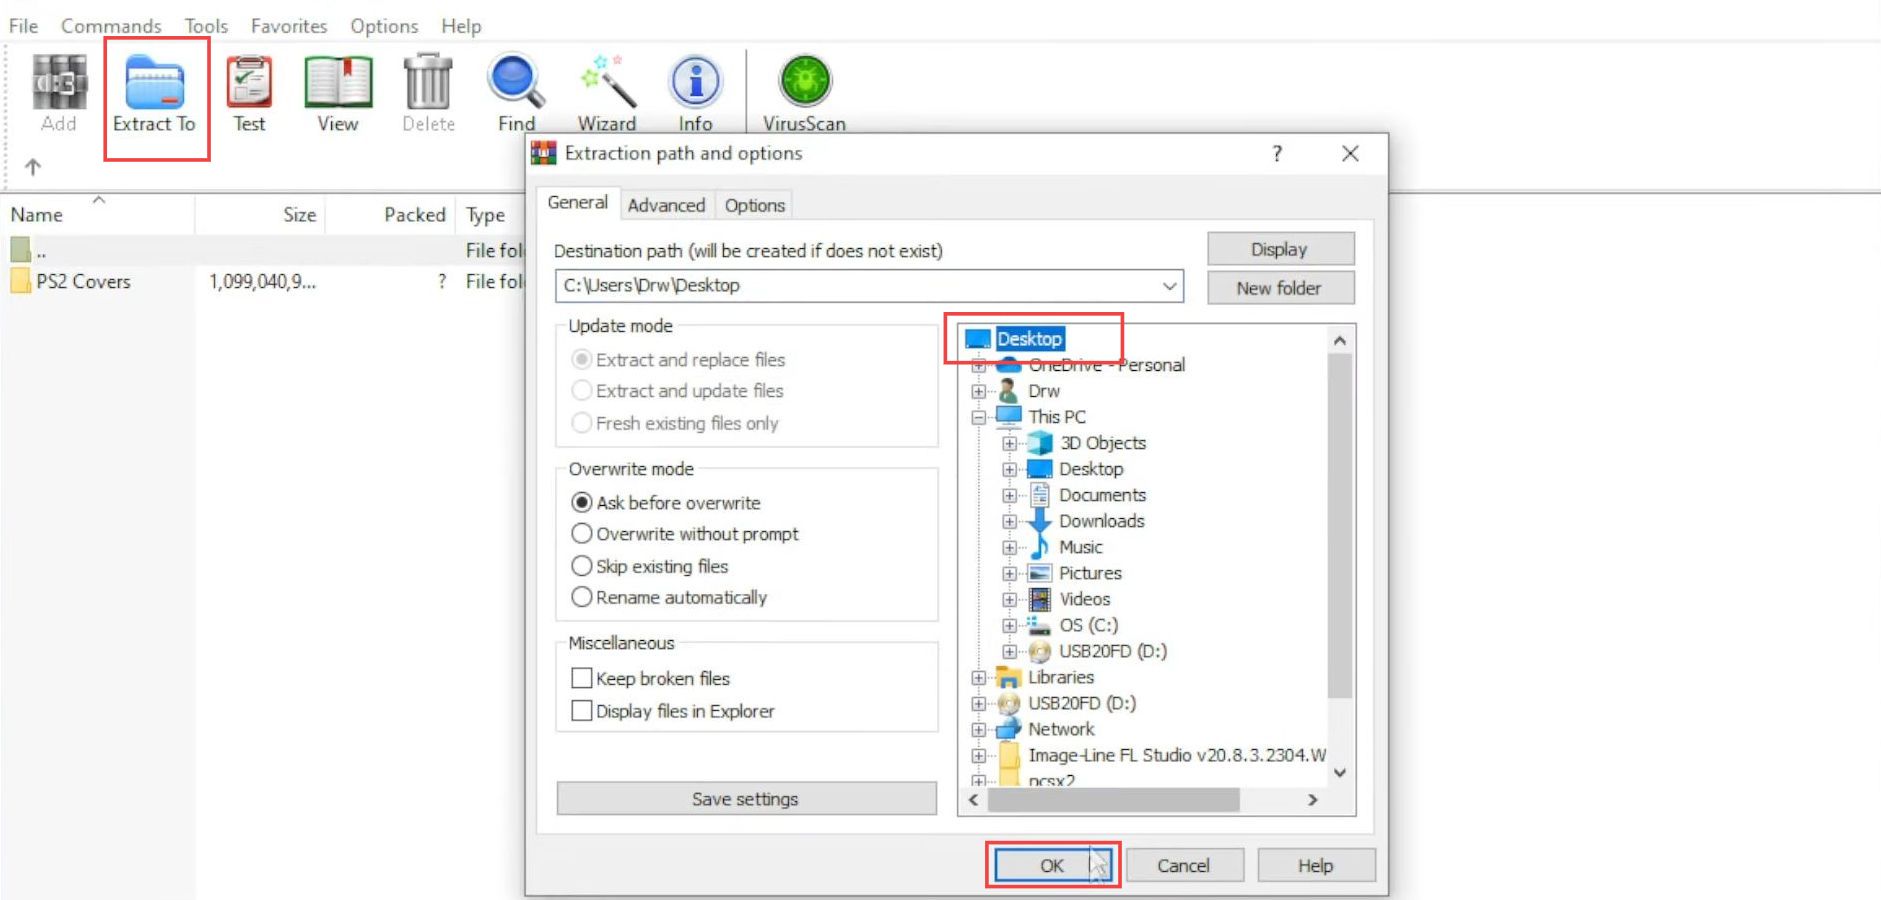
- Select the Extract To option from the quick access toolbar.
- Choose the suitable location where you want to extract this file, such as Desktop.
- After that, click the OK button from the menu.
It will take a little time to extract all the folders and files.
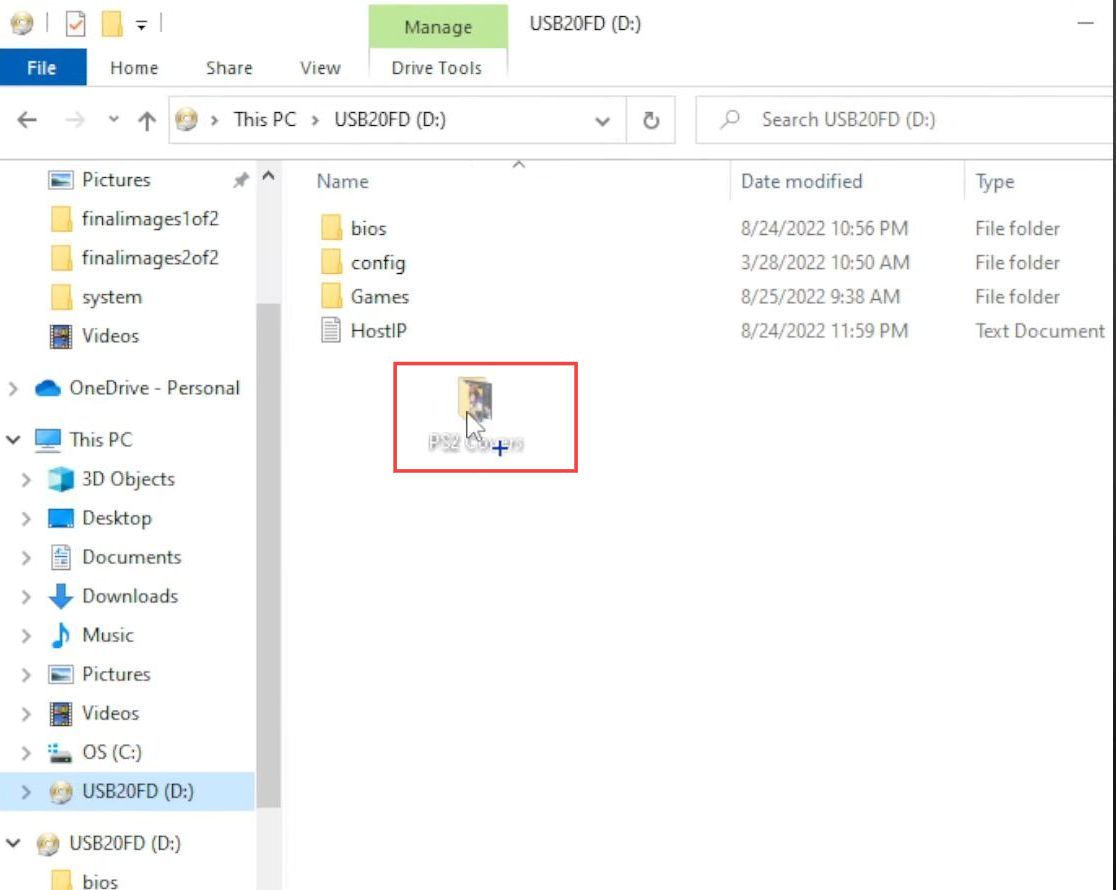
- After the extraction process is complete, you have to drag the extracted file into your USB or external hard drive.
Wait a few minutes while the dragging process for all the folders and files is going on.
Changing the Configuration Settings
This section explains how to change the Configuration Settings for your PS2 Covers. First, you have to open the XBS2 application from your Xbox Console and then select the suitable settings from the section. After that, reload the application to accomplish the task.
- Once the dragging process is completed, you have to unplug the USB or external hard drive from your computer.
- Connect this USB or external hard drive to the Xbox.
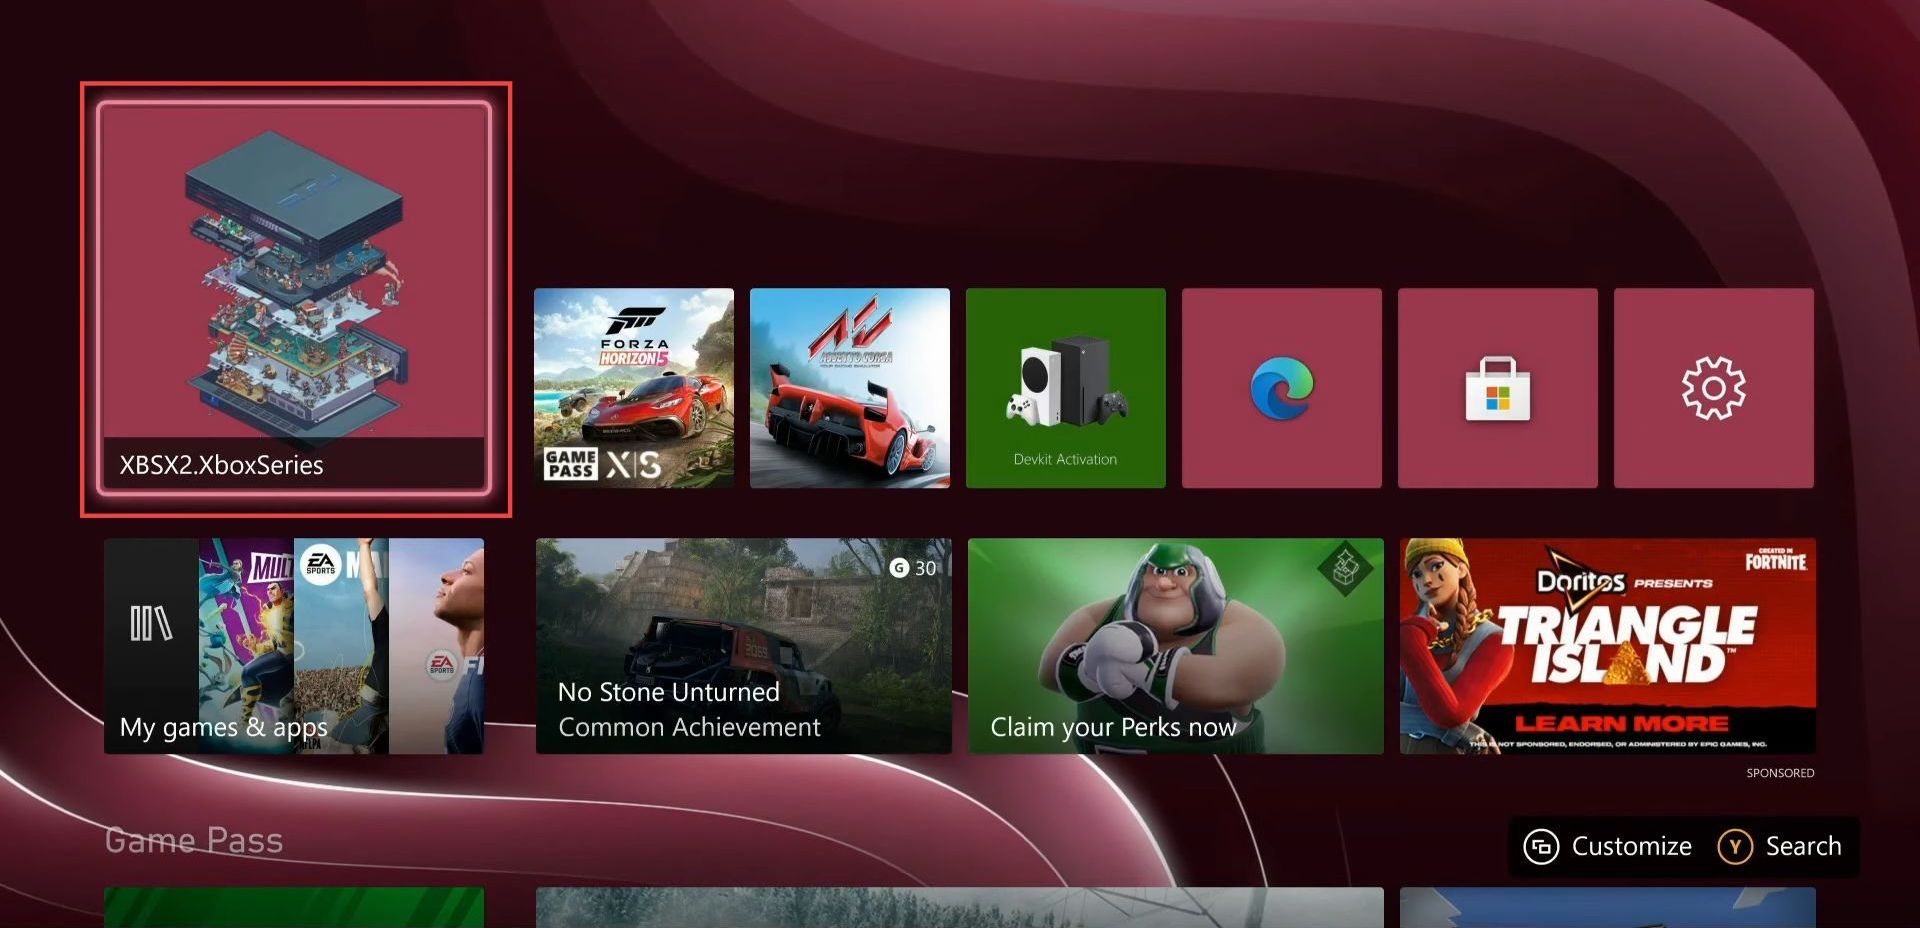
- Upon reaching the window, click the XBSX2.XboxSeries application from the quick access toolbar of Xbox Console.
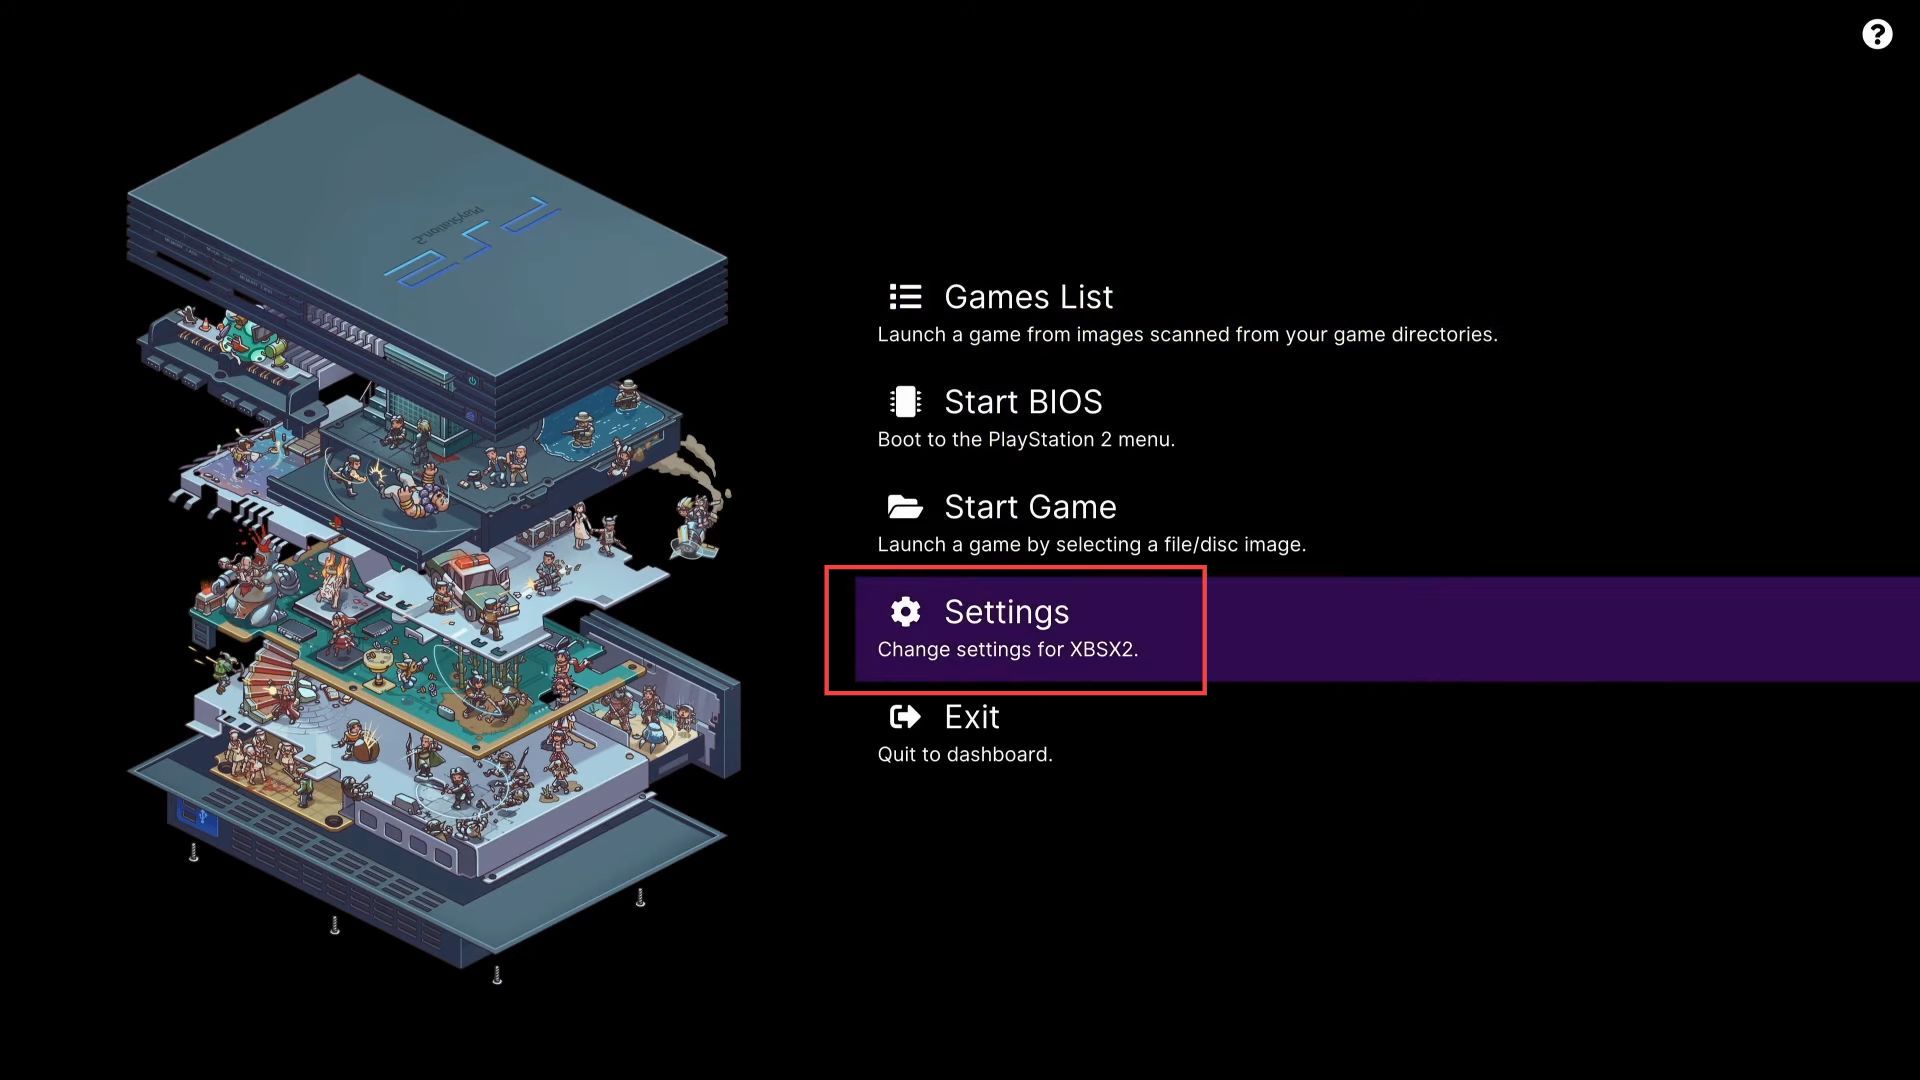
- Once you are in the Xpsx2 application, click the Settings tab from the listings.
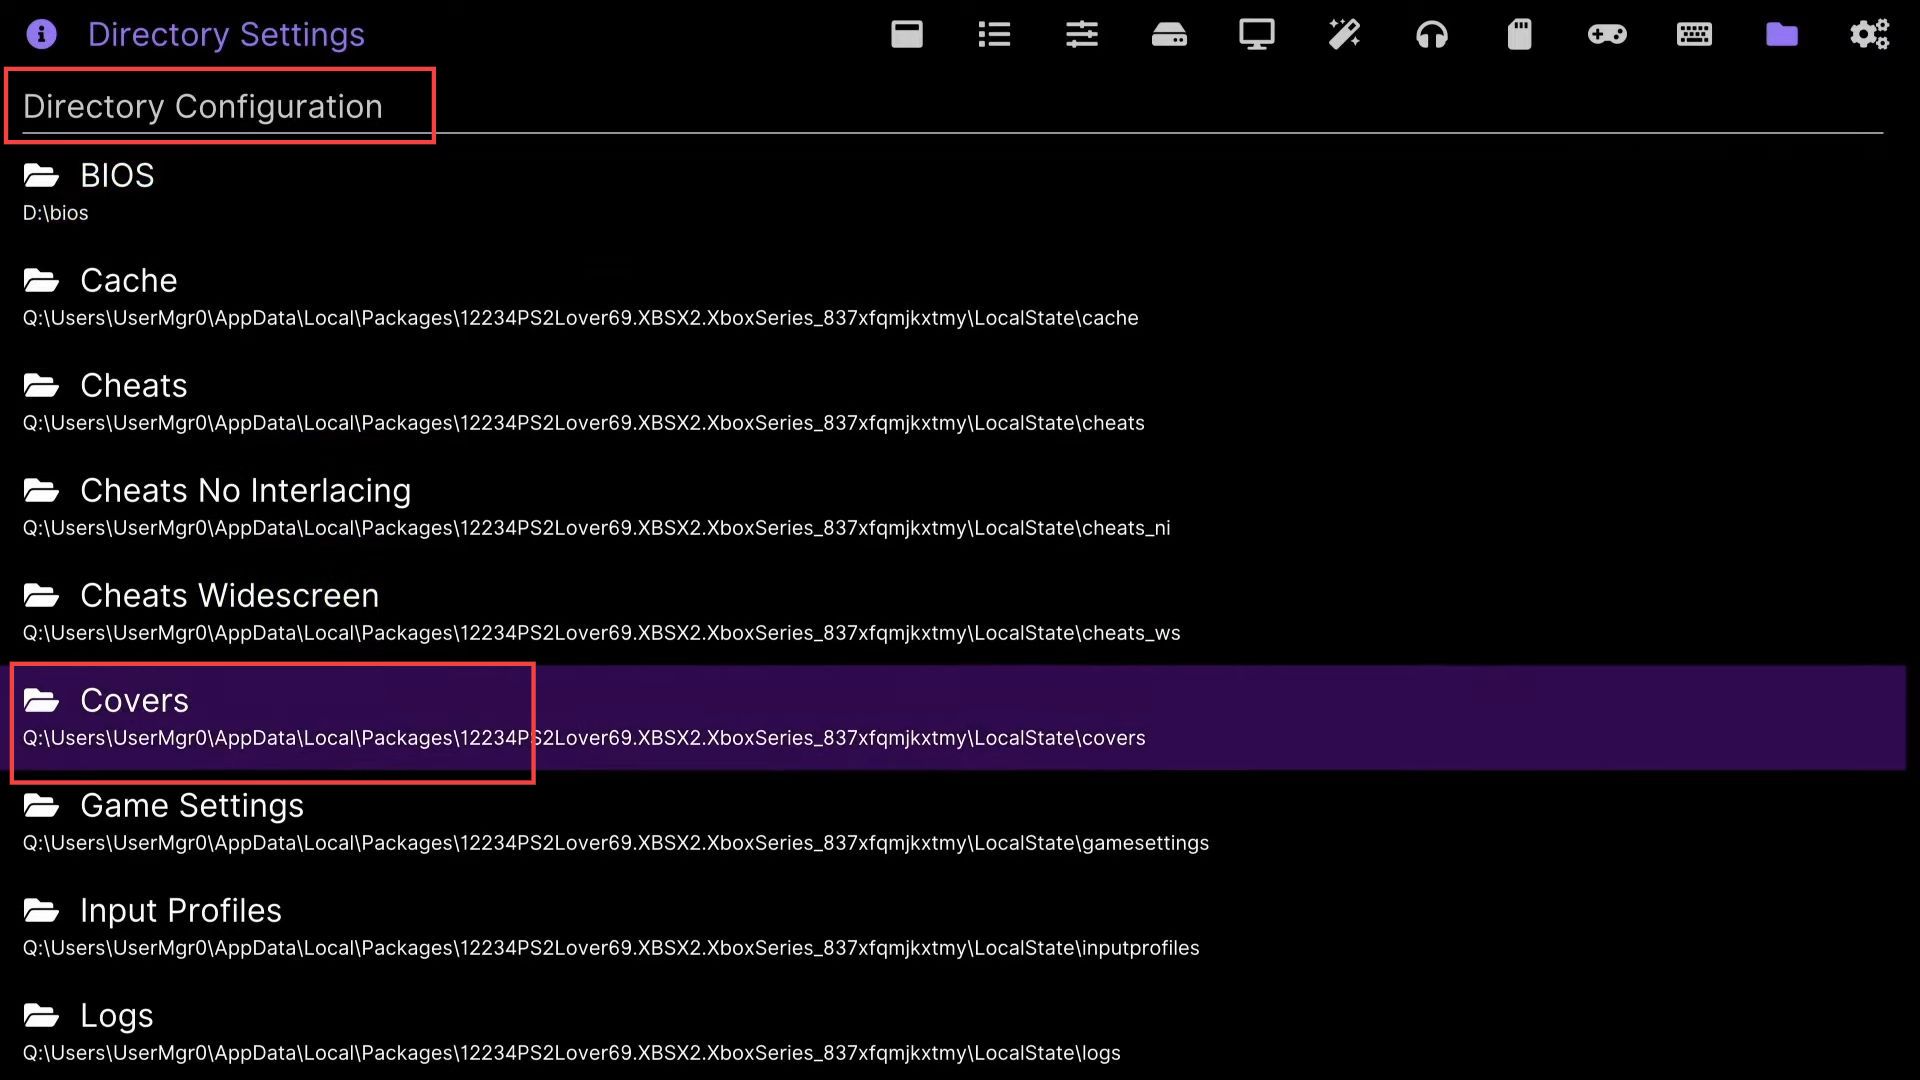
- Now press the left bumper until you reach the directory configuration menu.
- Scroll down to the Covers tab from the listings.
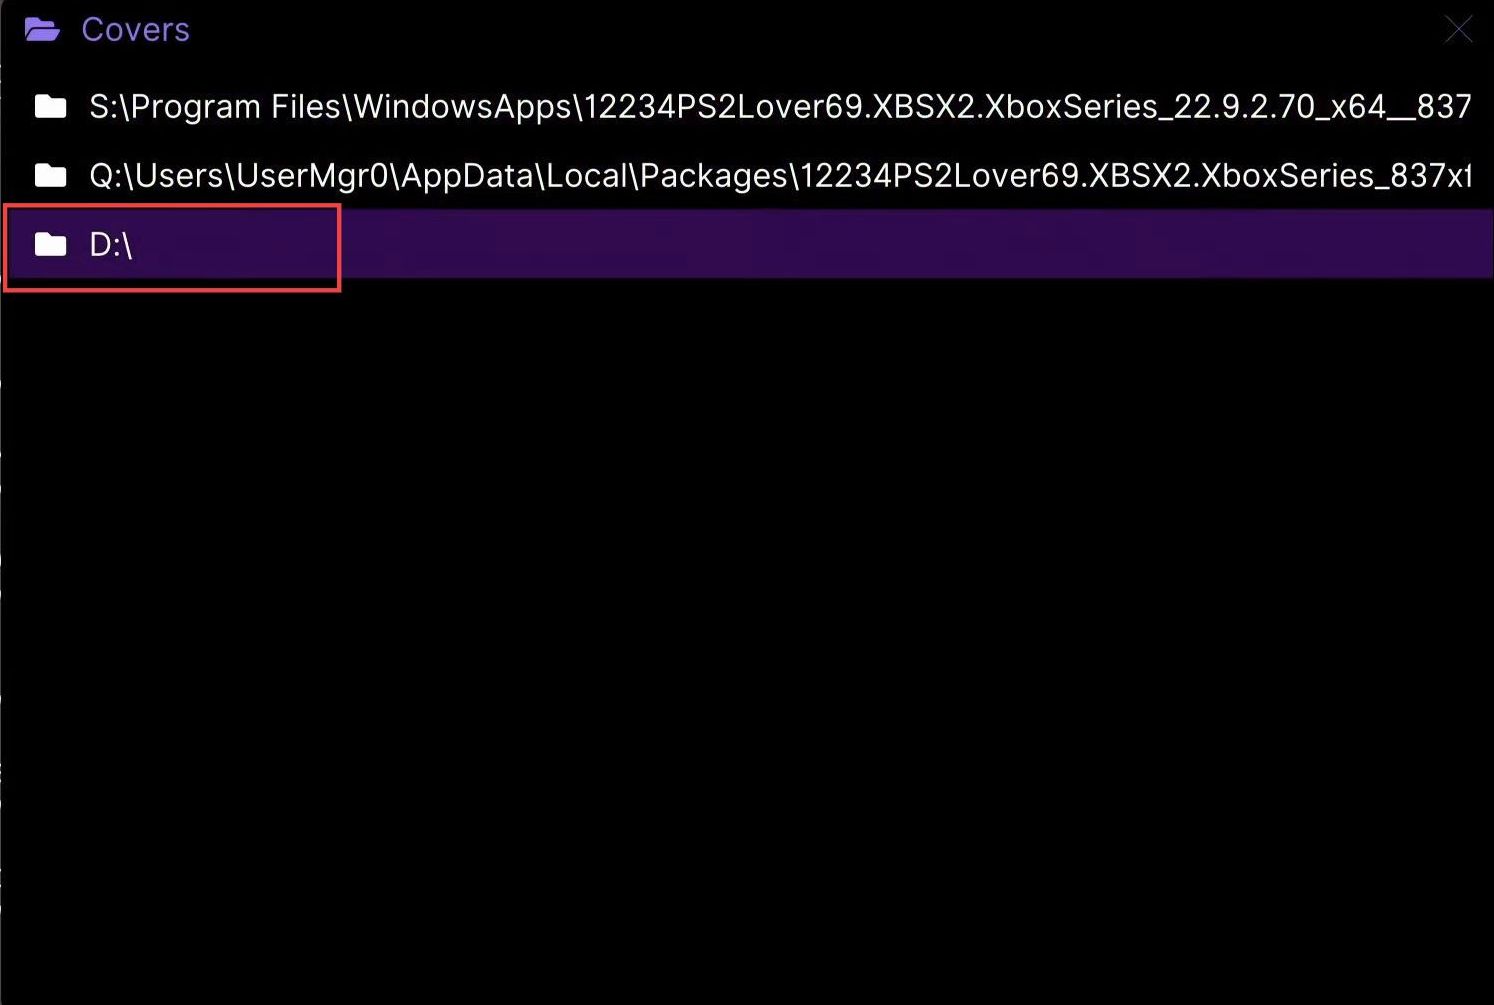
- Upon reaching this window, click the Parent Directory option from the menu.
- You need to click it consecutively until you get all the available devices.

- After that, select the D drive from the listings in which the USB or external device is located.
- Once this window appears, scroll down to PS2 Covers and click it from the menu.
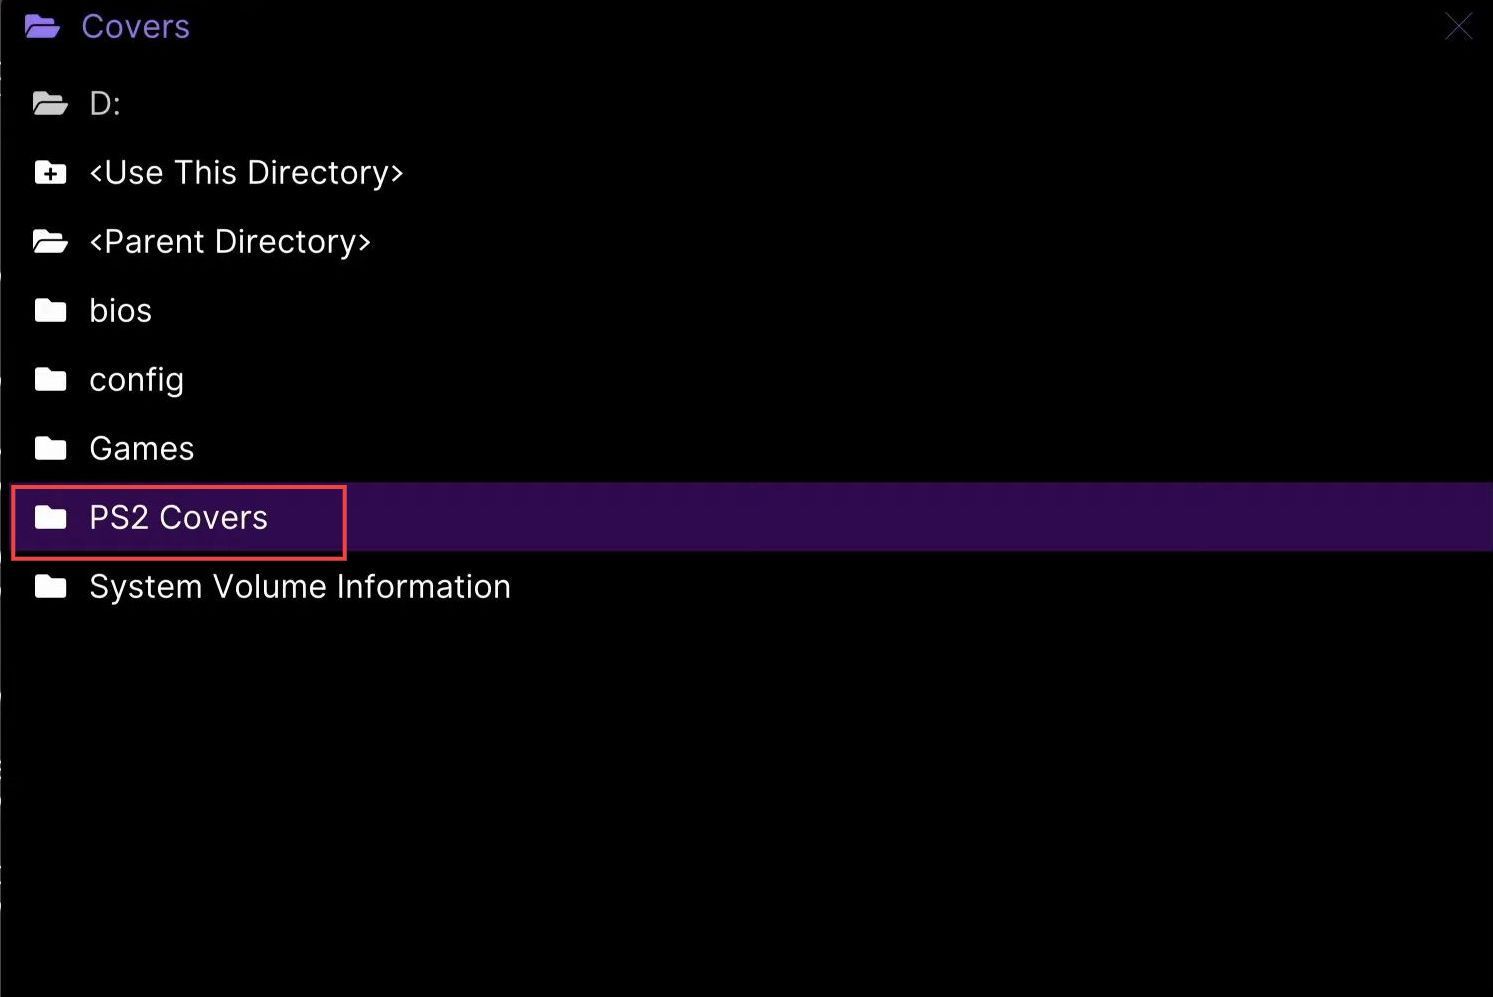
- Now you need to click the Use this directory option from the listings.
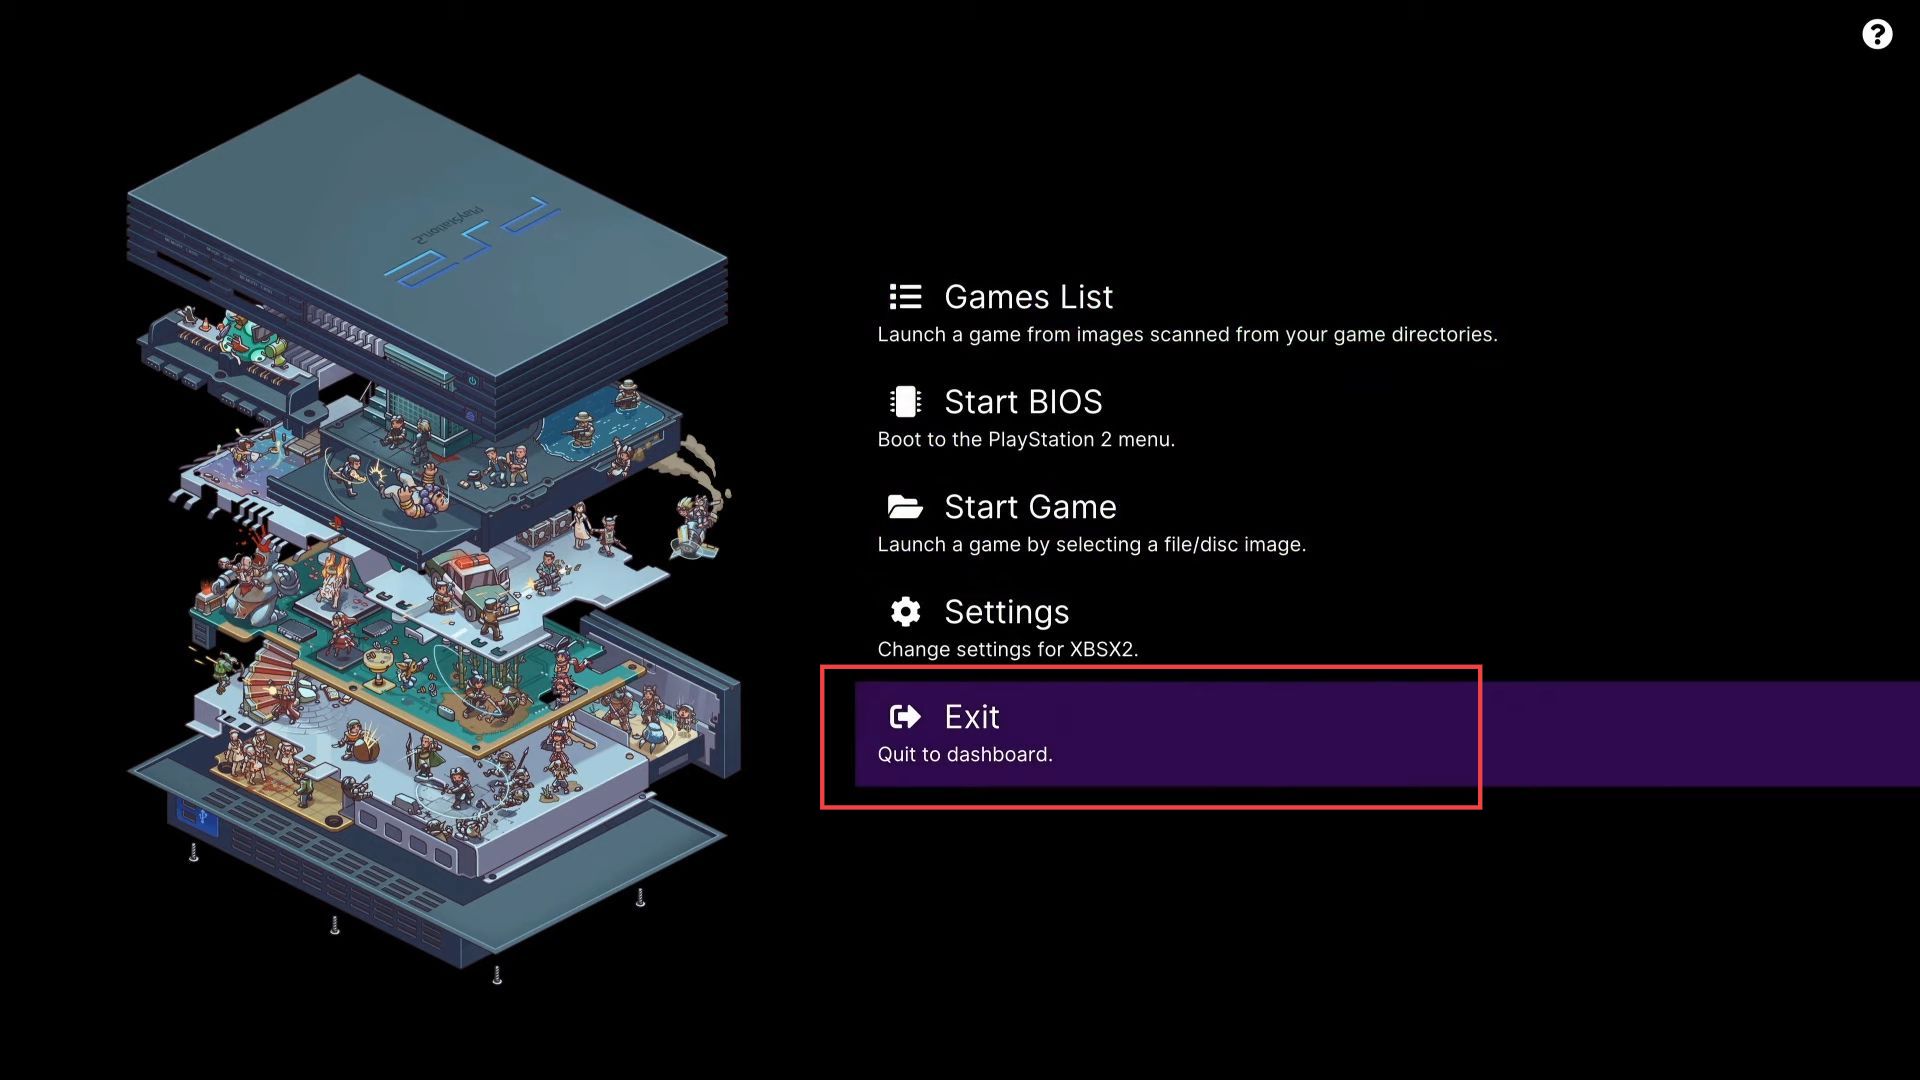
- Next, press the ”B” button to exit through the application.
- Now you need to click the XBSX2.XboxSeries application from the quick access toolbar of Xbox Console for another time.
- After that, select the Game List option from the listings.
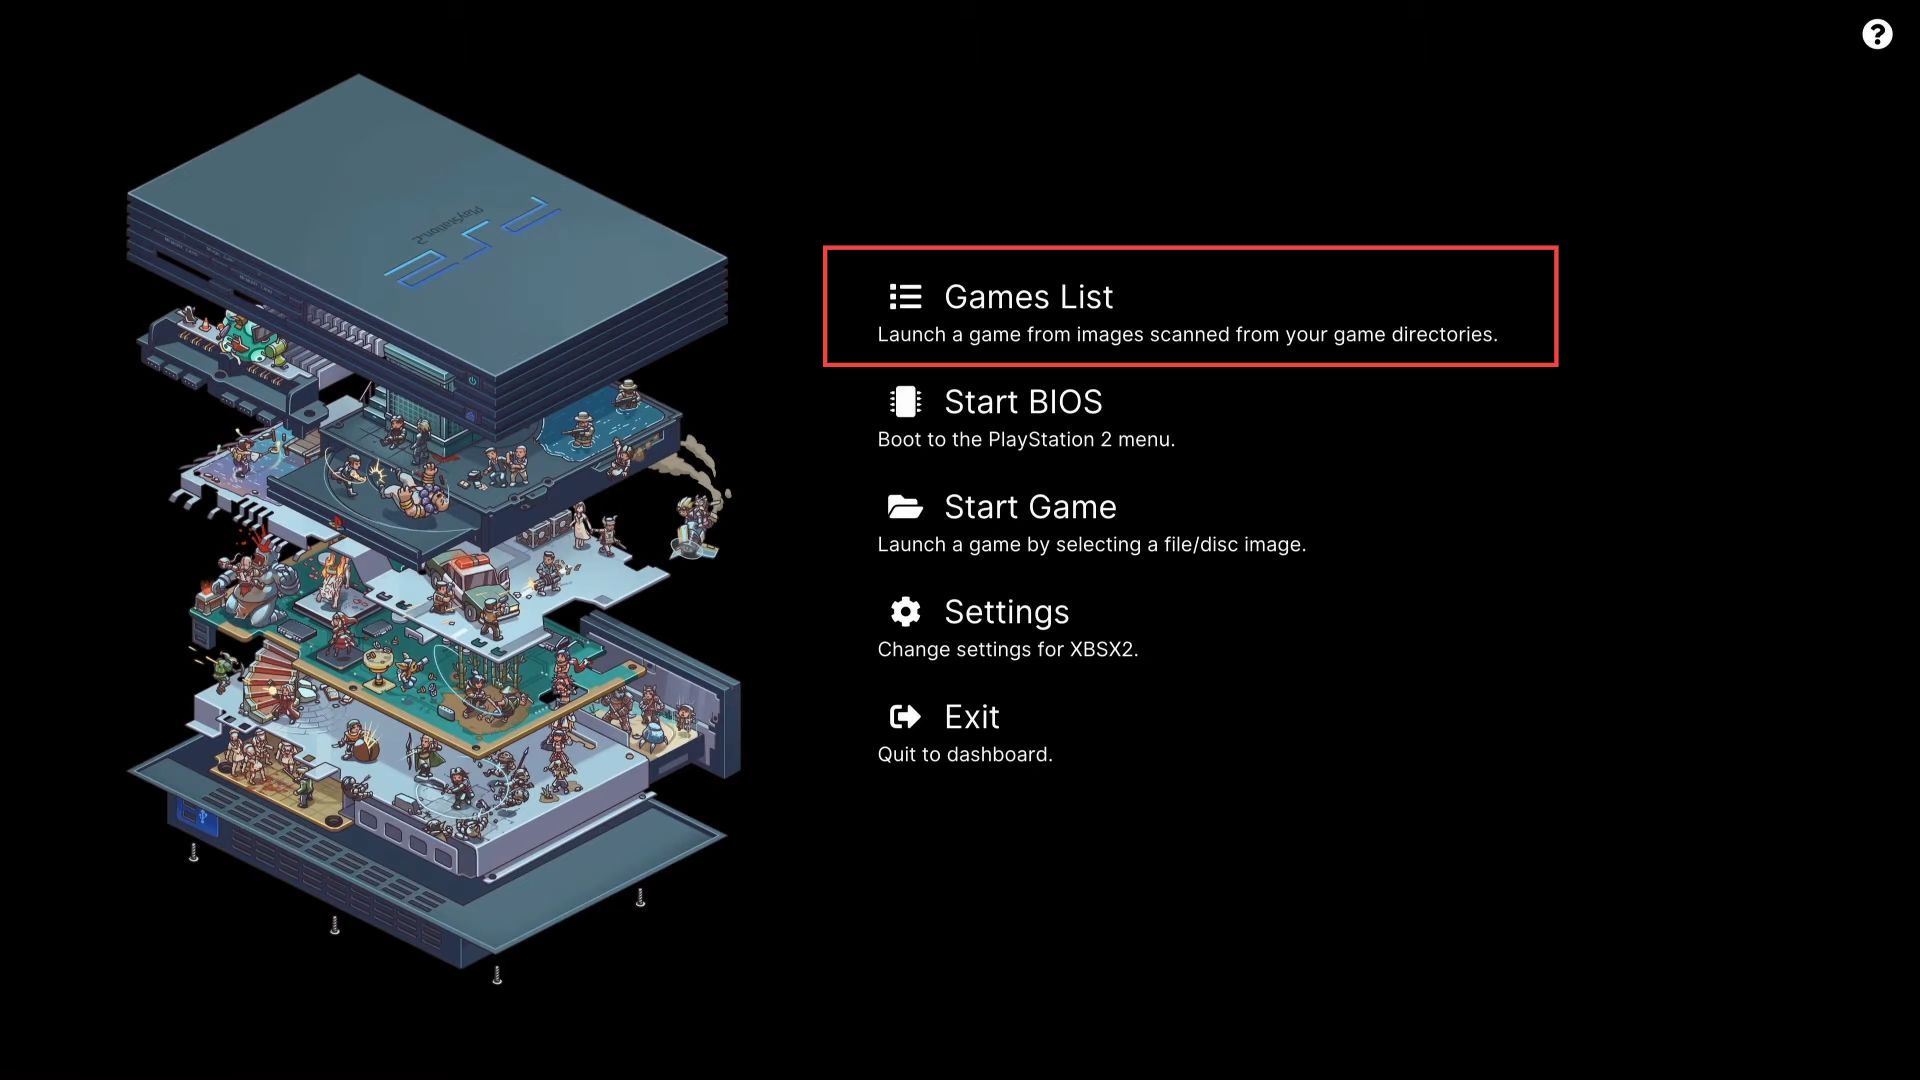
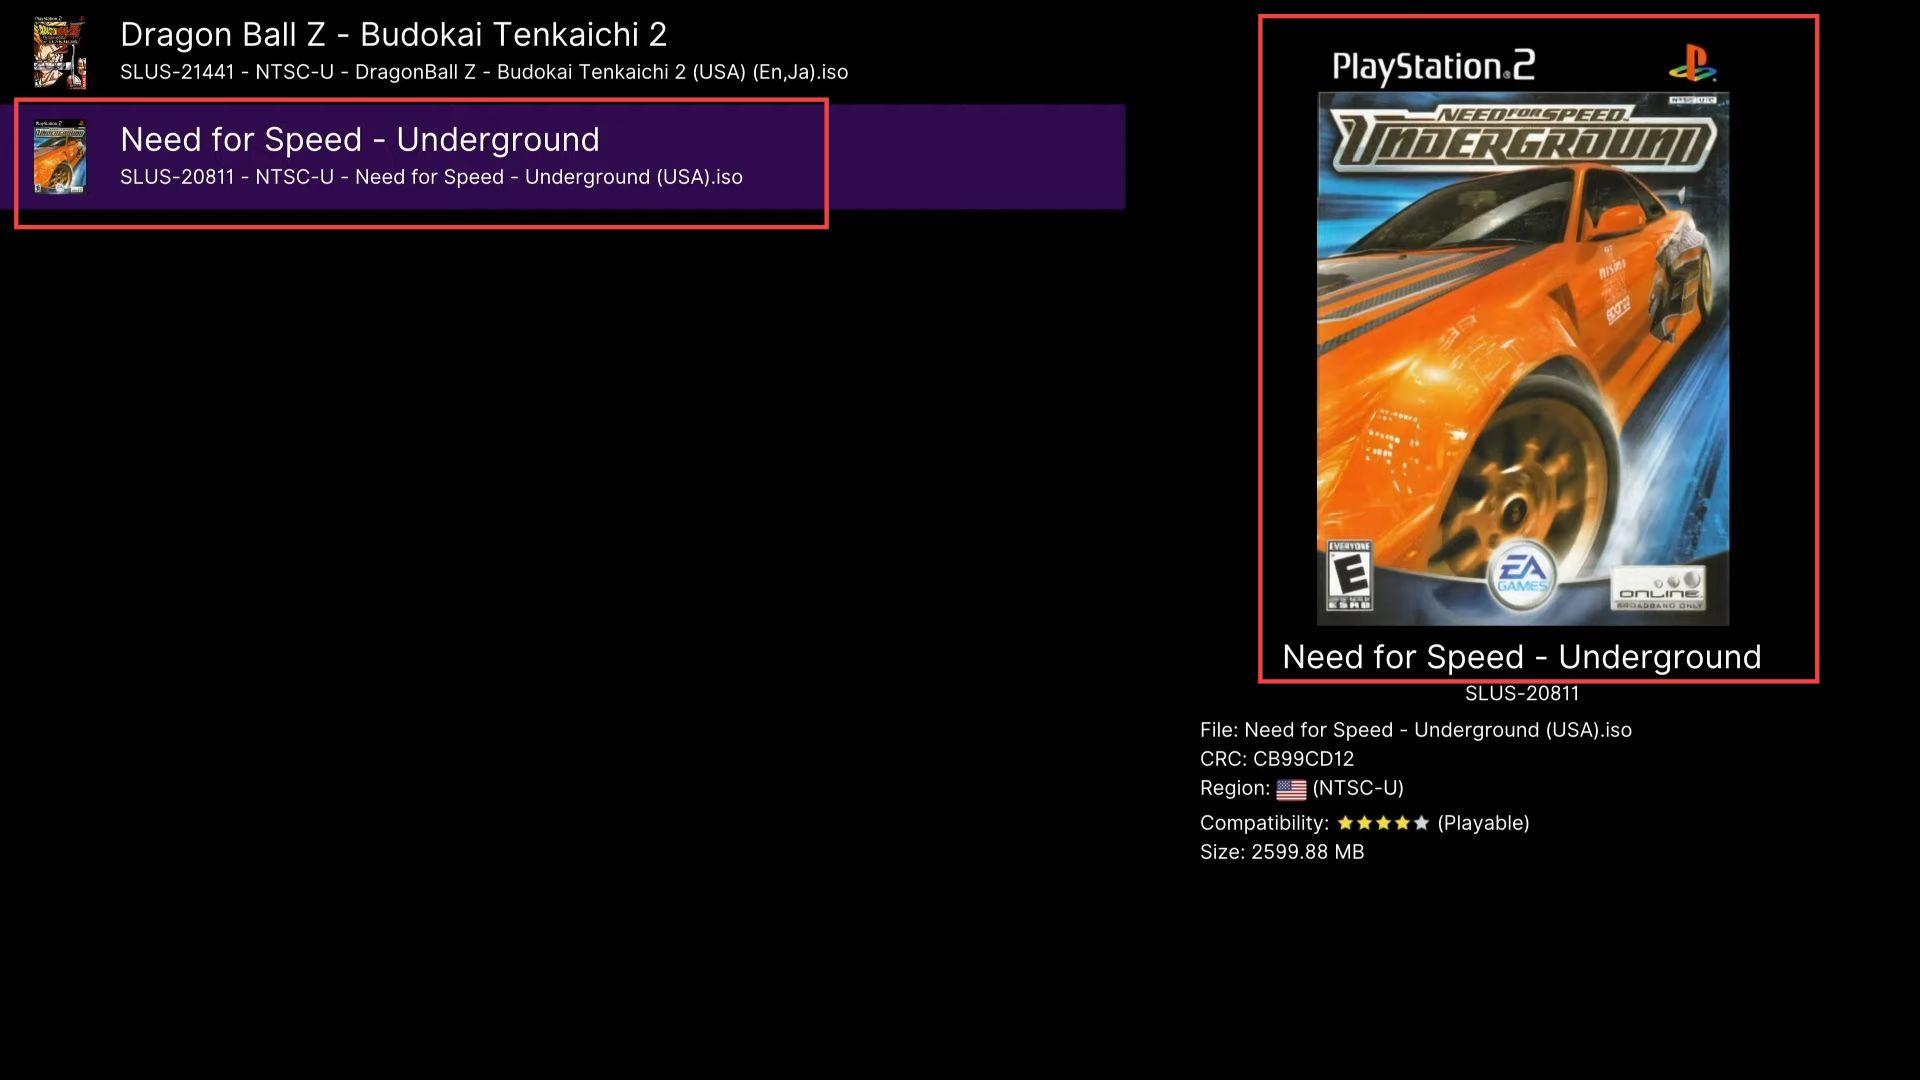
Now you can see after reloading the application, the covers for your games have been added successfully to your Xbox.