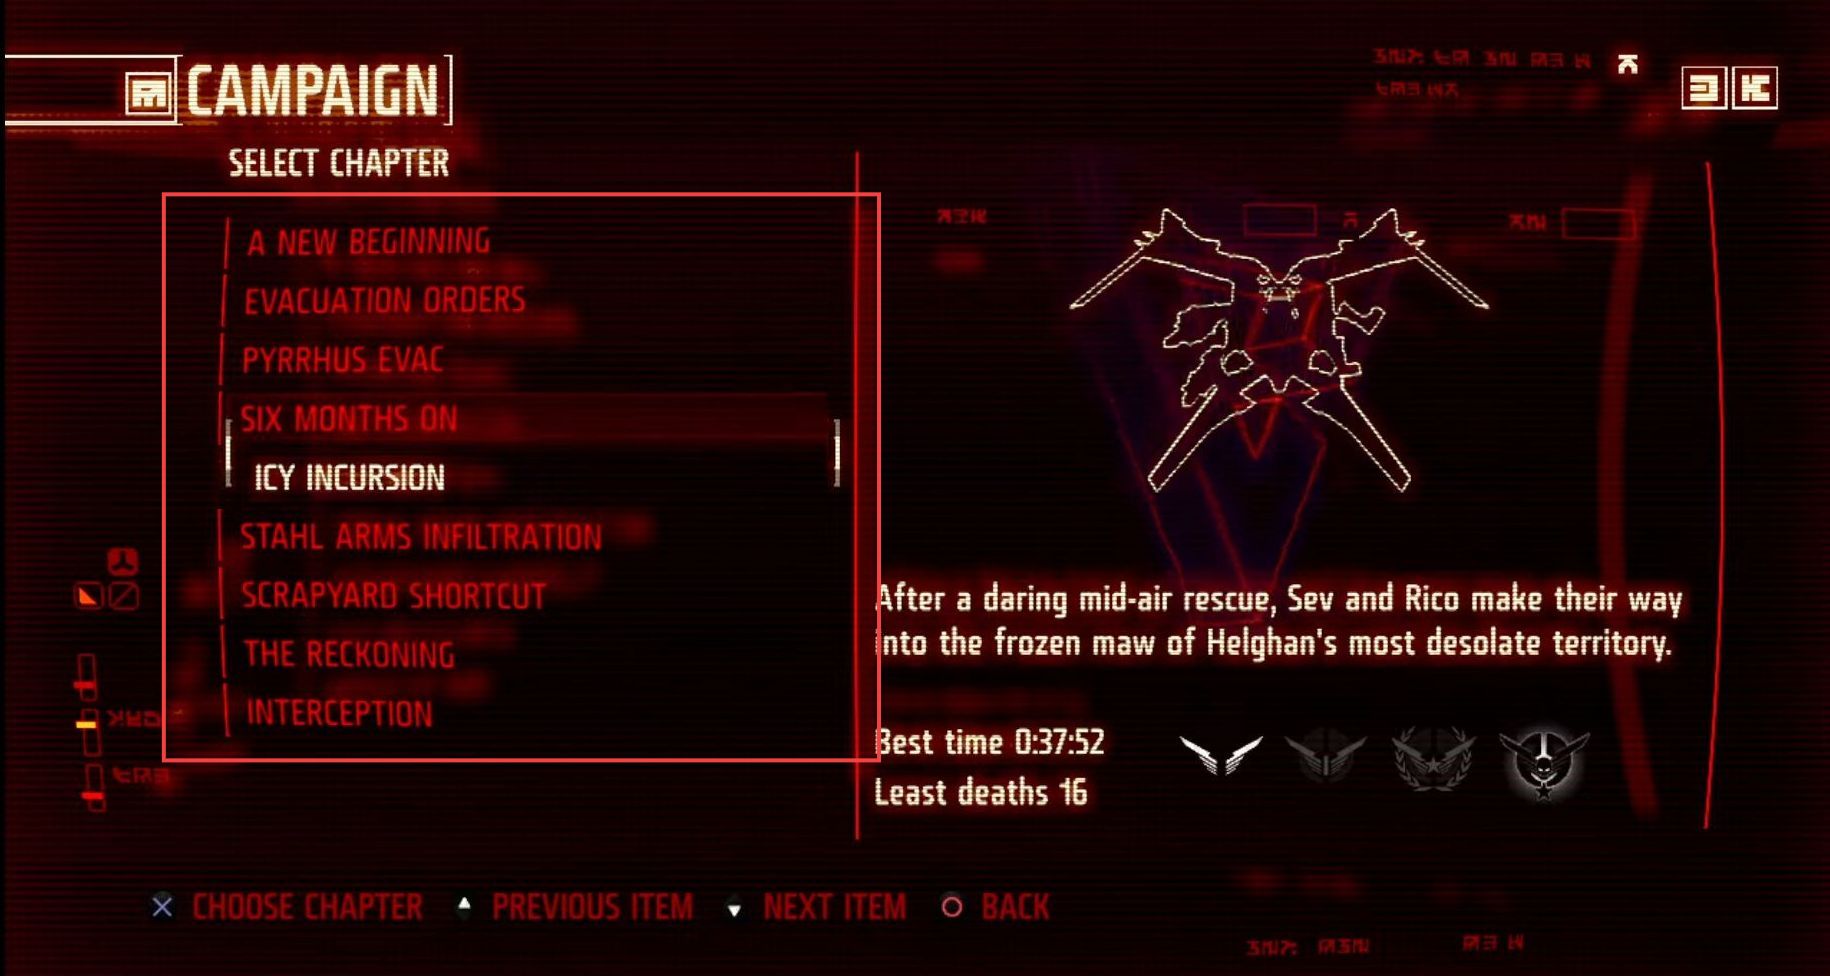
In this guide, you will learn how to Add Save Files to RPCS3 (PS3 Emulator) using Bruteforce SaveData Utility in the easiest ways.
How to Find Game Saves
In this section, we will take you through the steps on how to find Game Saves to Add Save Files to RPCS3 (PS3 Emulator).
- Search for PS3 game saves on websites like GameFAQs, Apollo Saves Tool GitHub, Brewology, or The Tech Game.
These websites often offer saved files for various games. - You can also transfer saved files from a PS3 console to a USB stick. To do this, on your PS3, navigate to the Game menu > Saved Data Utility (PS3) > Select the desired game > Press Triangle > Choose Copy > Select USB Device.
- Ensure that the saved files you download or copy from your PS3 are compatible with the region of your game. Generally, the region of the save file should match the region of your game.
- If the save file’s region doesn’t match your game, you can use a tool like Brute Force to modify the region of the save file to match your game.
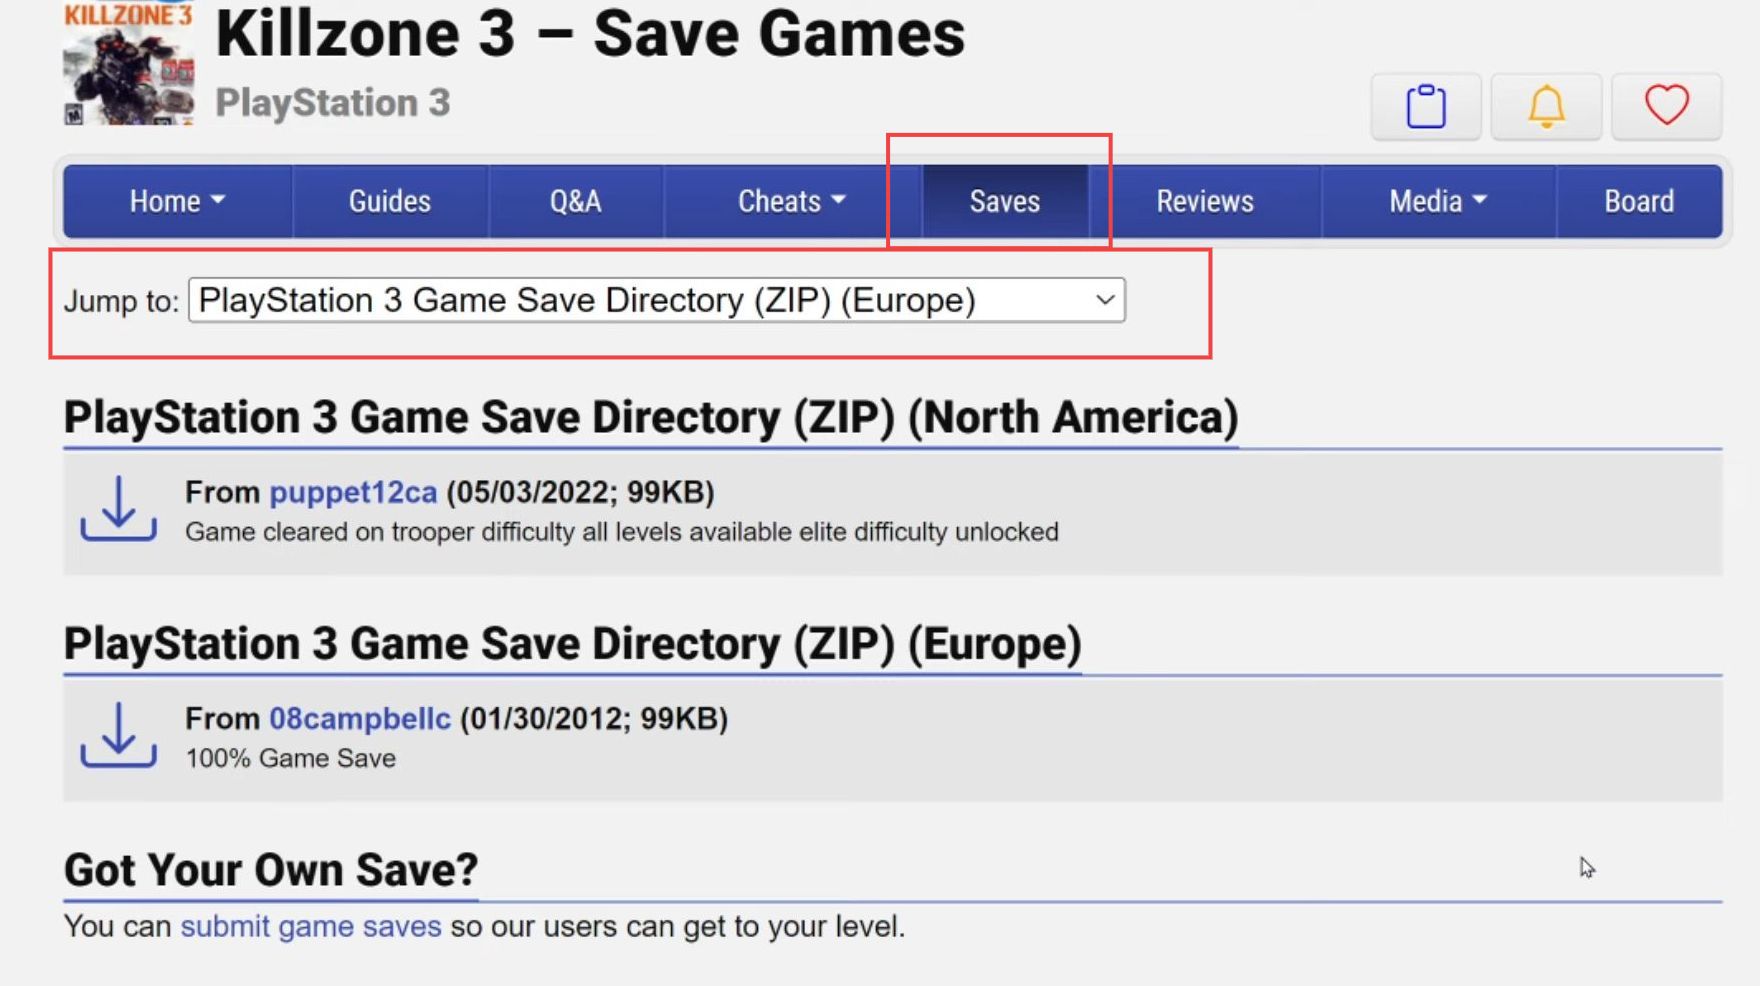
- Download the PS3 game save file you want from a reliable source, such as GameFAQs or another trusted website.
- After downloading the saved file, extract it using a file extraction tool e.g., 7-Zip, WinRAR, or the built-in Windows extraction tool.
- Create a temporary folder where you can organize the saved files. You can name this folder based on the game, for example, Killzone 3.
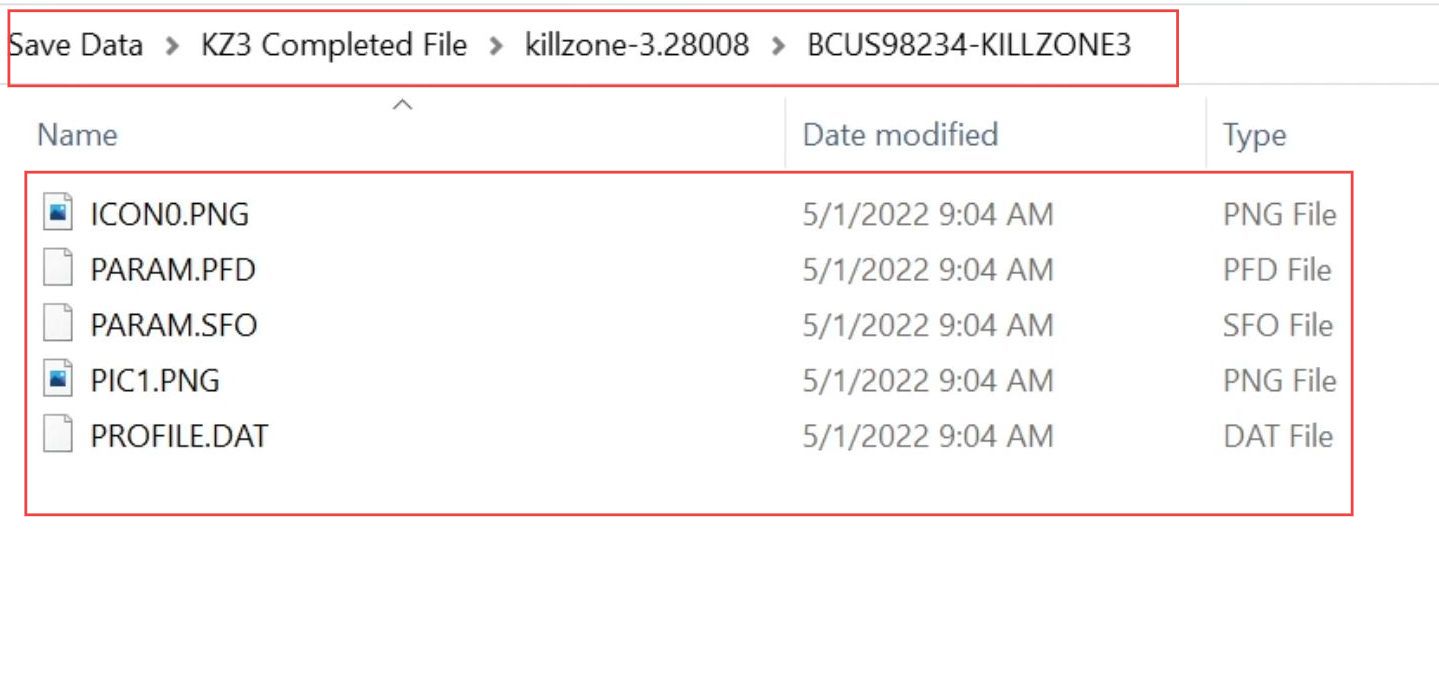
- Inside the extracted save folder, you’ll typically find several files, including a DAT file and an SFO file.
These files are crucial for the save and should not be altered or removed. Keep them as they are.
How to Place Saves into RPCS3 File System
This section describes how to Place Saves into the RPCS3 File System to Add Save Files to RPCS3 (PS3 Emulator).
- Open the rpcs3 emulator and click on Manage Save Data.
- Navigate to the View Folder option at the bottom right to access the save data folder path.
- Locate the specific save data folder within rpcs3.
- Move the serial number folder which contains the extracted PS3 game save files into this save data folder within rpcs3.
Confirm to replace the existing file if prompted. - Verify if the game recognizes the saved file. If the game does not acknowledge the saved progress, it might be because the save file is encrypted and therefore unreadable by rpcs3.
- Moreover, you may come across pre-unencrypted save files labeled as such, and these will be readable by the rpcs3 emulator.
How to Use Bruteforce to Unencrypt Save
This section explains how to Use Bruteforce to Unencrypt Save to Add Save Files to RPCS3 (PS3 Emulator).
- Download the Brute Force save data program, unzip the downloaded RAR file, and run the installer for the software.
- In case there is a missing dll file, it can be found attached in the message on the same board where the software was downloaded.
Download this file and unzip it. - Then locate the Brute Force save data folder installed on your PC which is usually found in the Program Files x86 folder. If you’re unable to find the folder, run the installer again and note the destination folder.
- Place the downloaded dll file into the Brute Force save data folder.
- Run the Brute Force save data executable file located within the program’s folder.
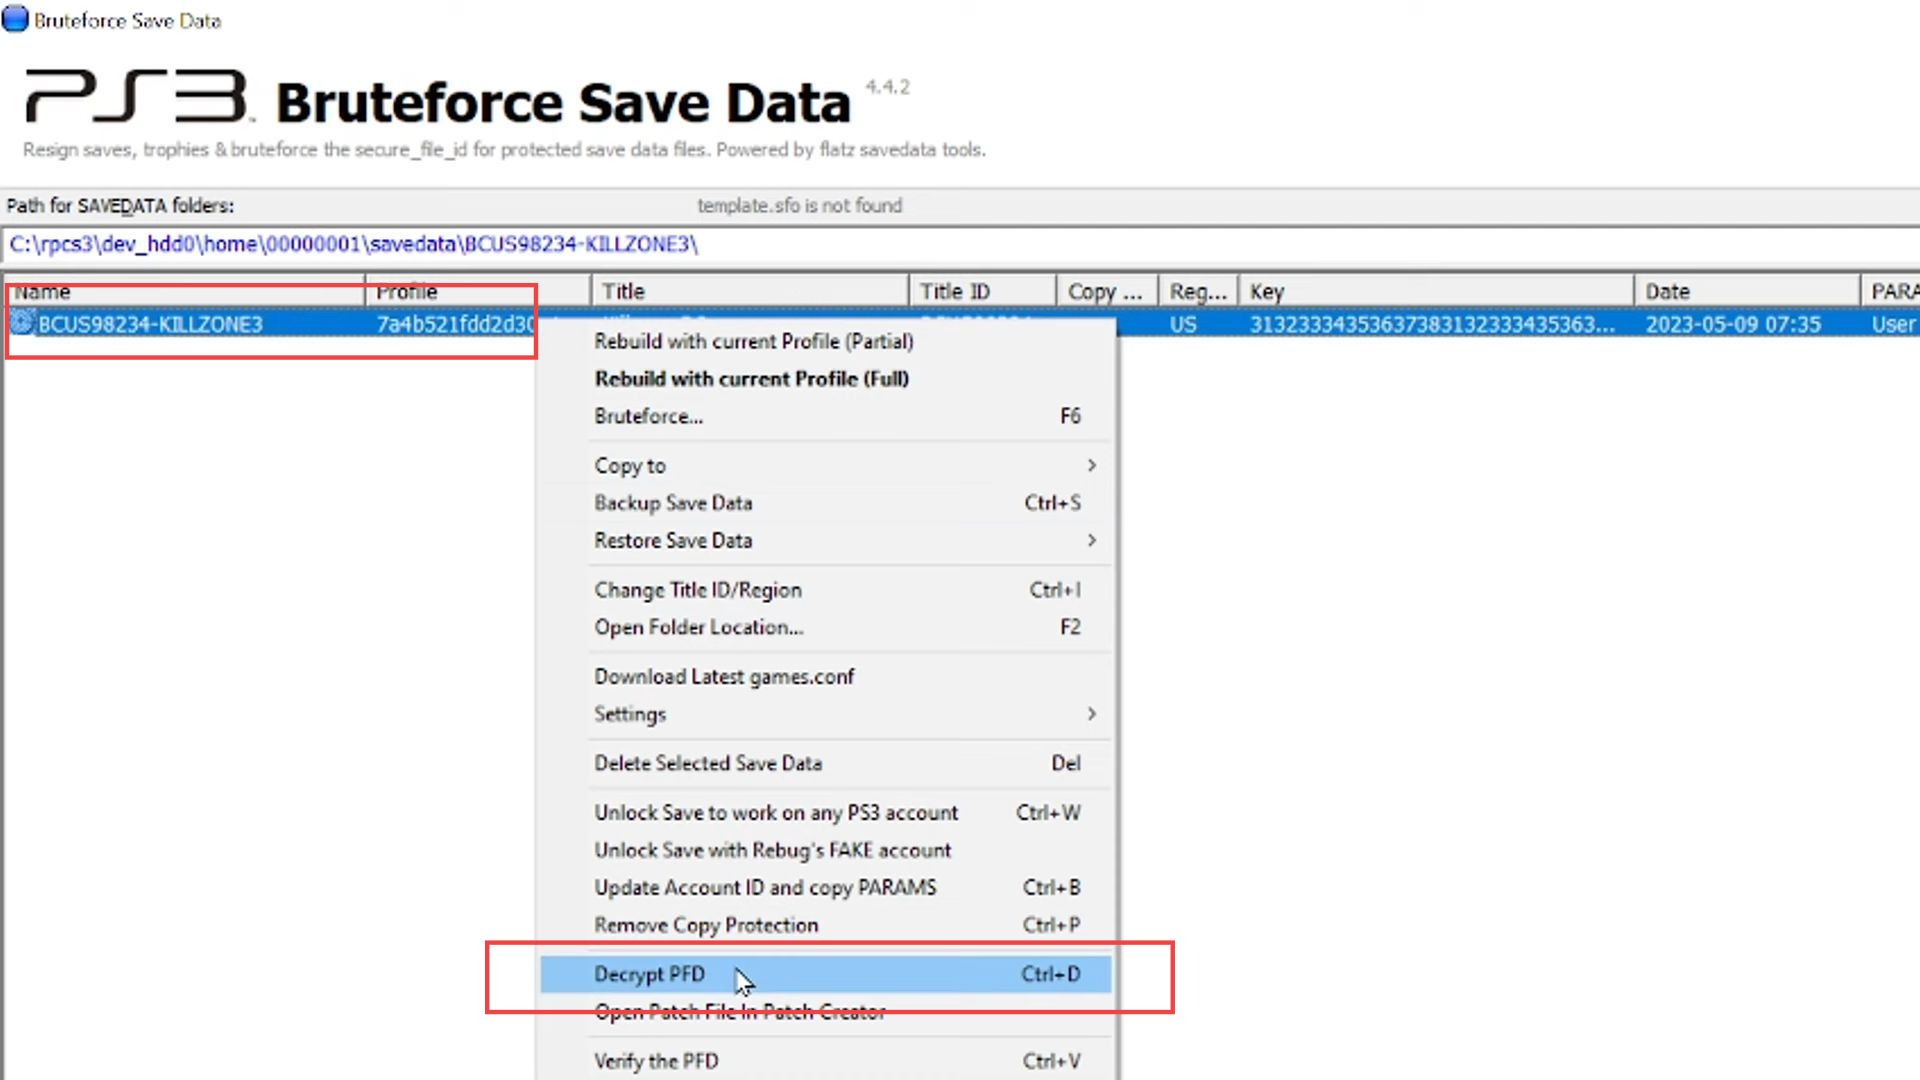
- Within the Brute Force software, click on the three dots or browse option to change the folder path. Select the save data folder within the rpcs3 system folder where you placed the PS3 save data previously.
- Click the decrypt PFD option after right-clicking the save data folder and confirm the prompt that appears.
This process should decrypt the PS3 save data files so that rpcs3 can read them properly.
- After decrypting the PS3 save data using Brute Force, a green color appeared at the bottom of the screen indicating that the operation was successful.
- Brute Force also offers the capability to change the region of the saved data if needed. To execute this change, right-click on the file and select Change Title ID/Region. Replace the displayed serial number with the serial number corresponding to the installed game on rpcs3. Then click OK.
- Once all necessary operations are completed in Brute Force, exit the application. When prompted to keep the file decrypted, select Yes.
Choosing No won’t close the program, so opting for Yes is essential to exit the application properly. - After closing Brute Force, launch Killzone 3 on rpcs3 and navigate to the campaign menu. The new save file should now be recognized, allowing access to select any chapter within the game.
