In this guide, you will find how to add Shaders to enhance better Minecraft 1.18.2.
1. First, you need to figure out the Better Minecraft version by pressing F11 key on your keyboard. After that, download the relevant version of the shaders for the Minecraft.
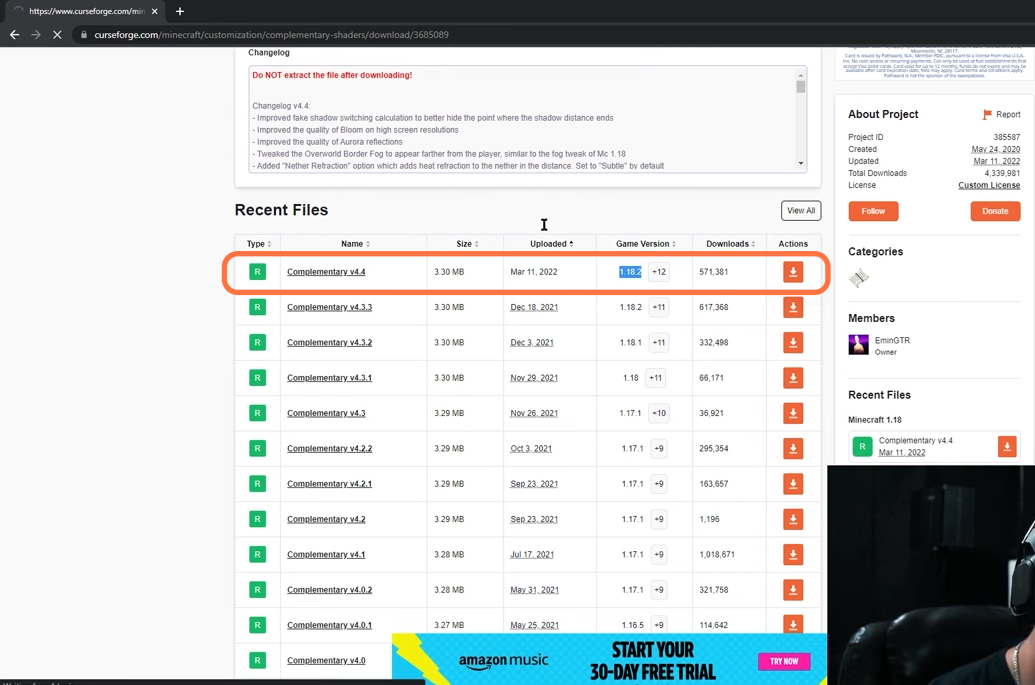
2. Now download the complementary shaders from “https://www.curseforge.com/minecraft/customization/complementary-shaders/files“. Open the link and click on the Files tab to see all the versions of the shader. Choose the version according to your better Minecraft and click on the download arrow.
3. Now drag the downloaded file into your desktop and open your Minecraft game. After that, click on the Options tab.

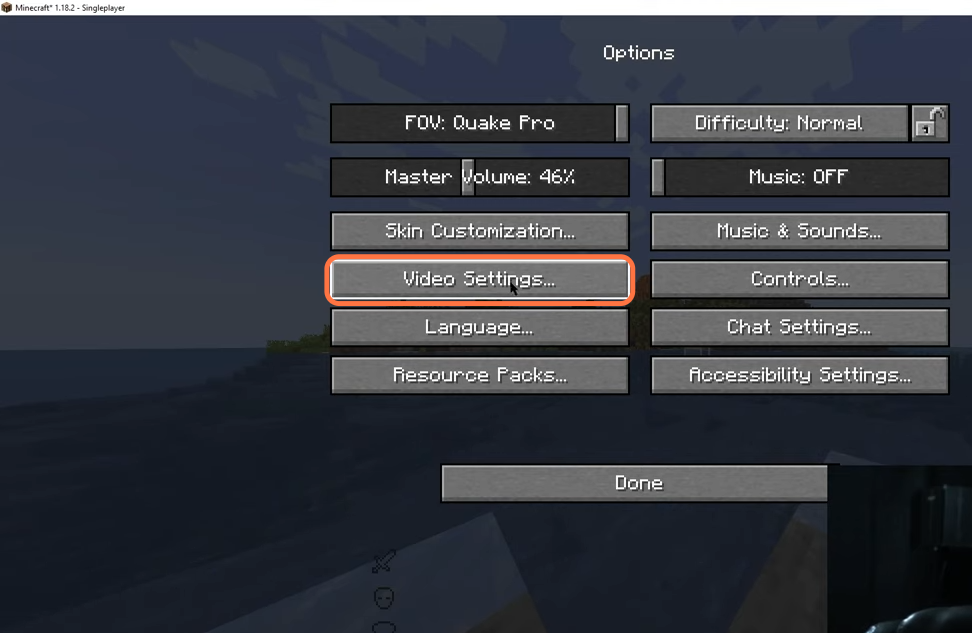
4. After that, click on the Video settings tab under the Options menu.
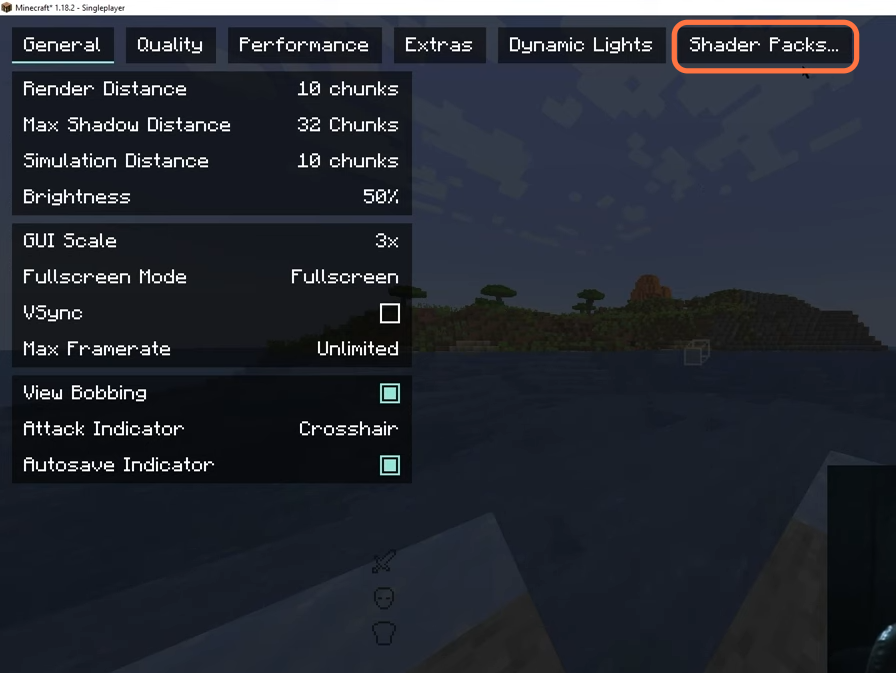
5. Then find and click on the Shader Packs option on the next window.
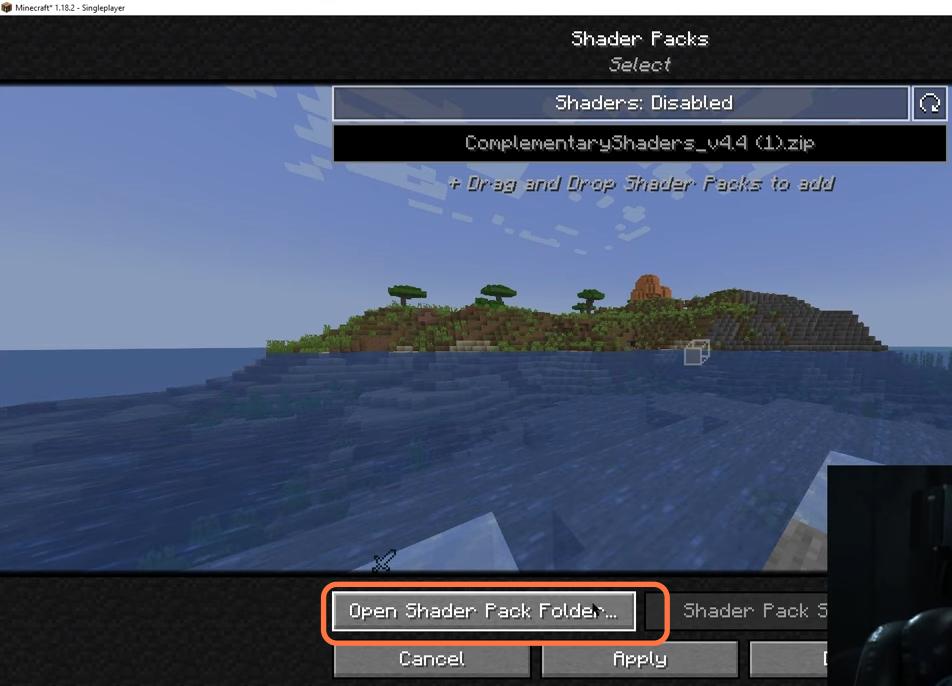
6. Now click on the “Open Shader Pack Folder” tab at the bottom.
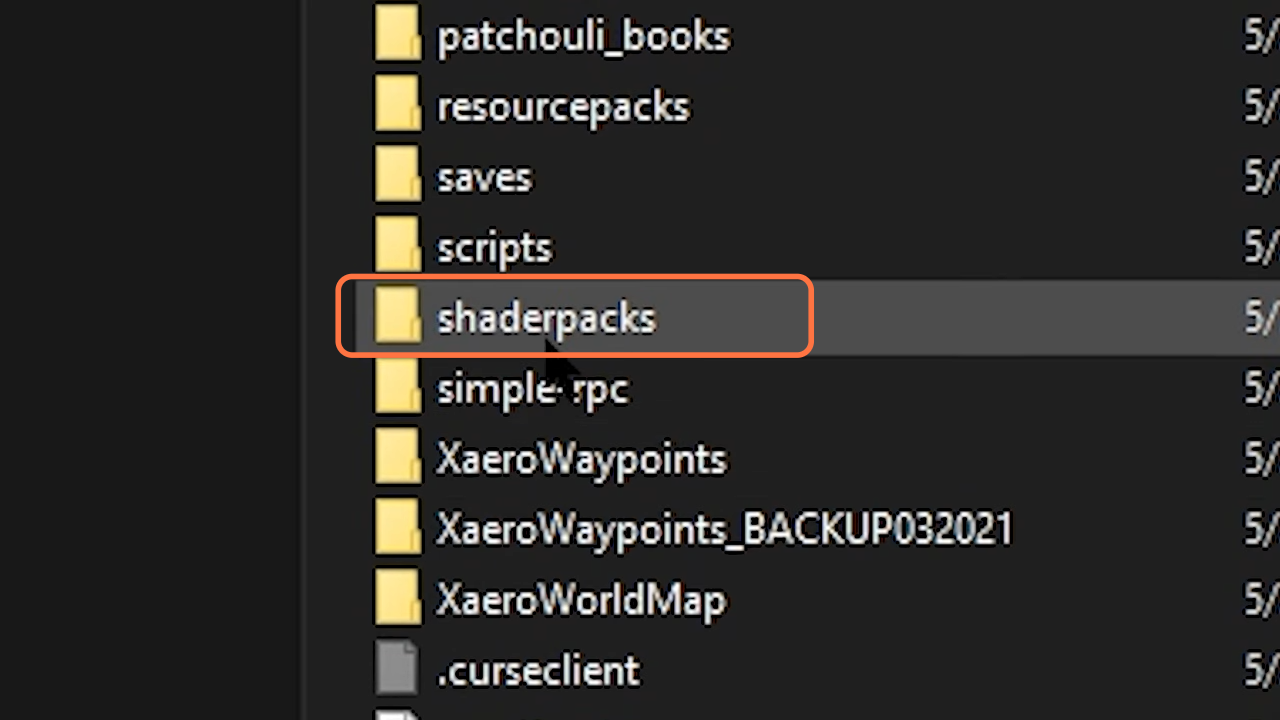
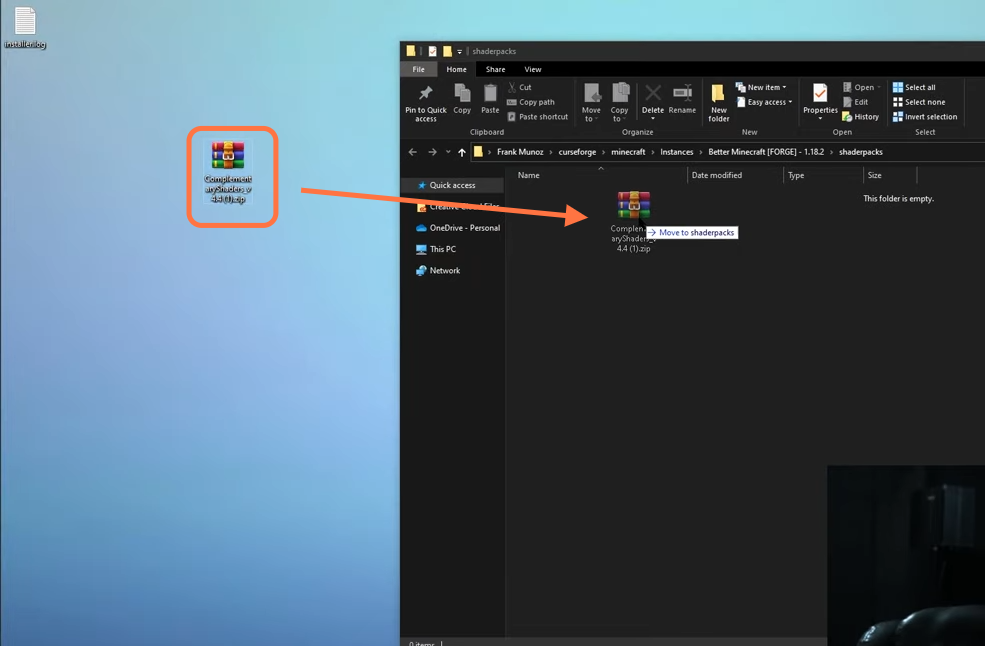
7. Now just drop the downloaded file of the complementary shader or any other you have downloaded into the shader pack folder.
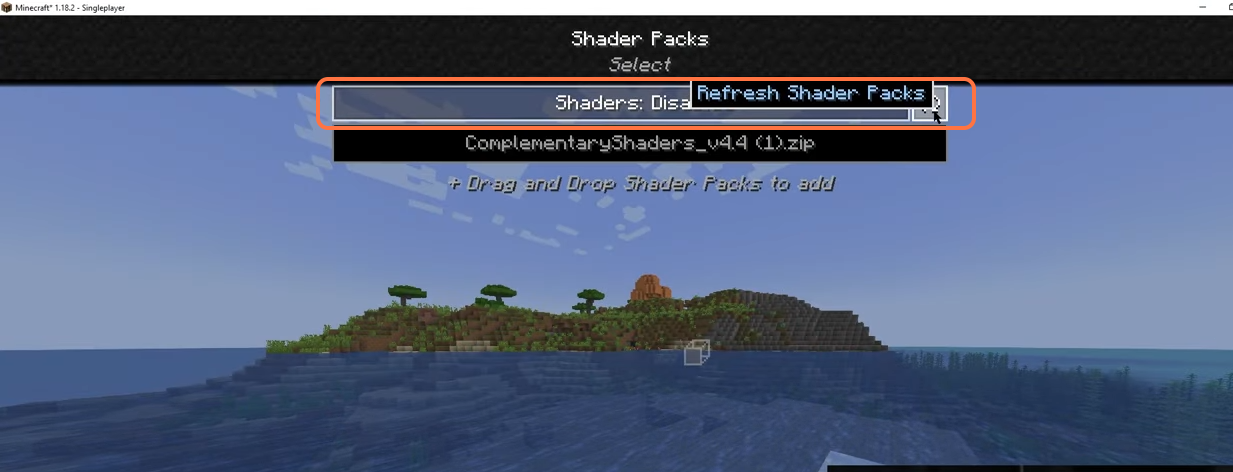
8. Now go back to the game and click on the Refresh button under the shader packs to see the complementary shader. Make sure to enable the shaders option to select the complementary shader and press the Apply button.
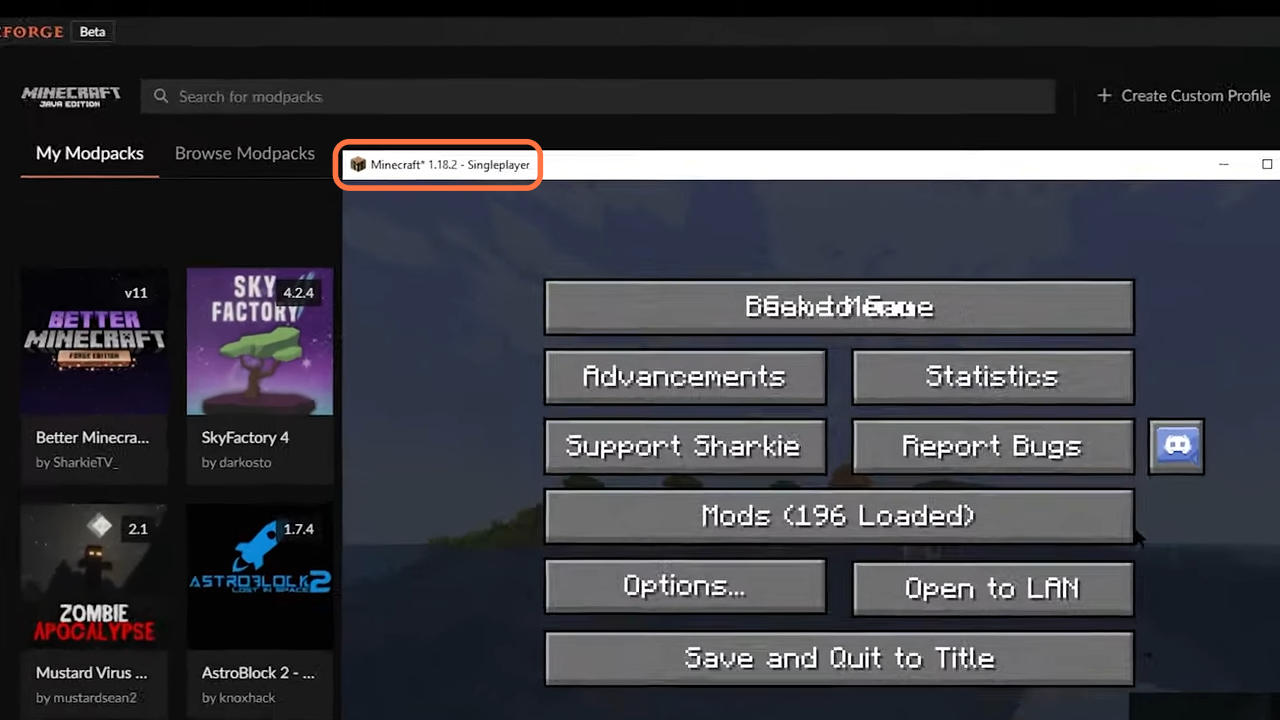
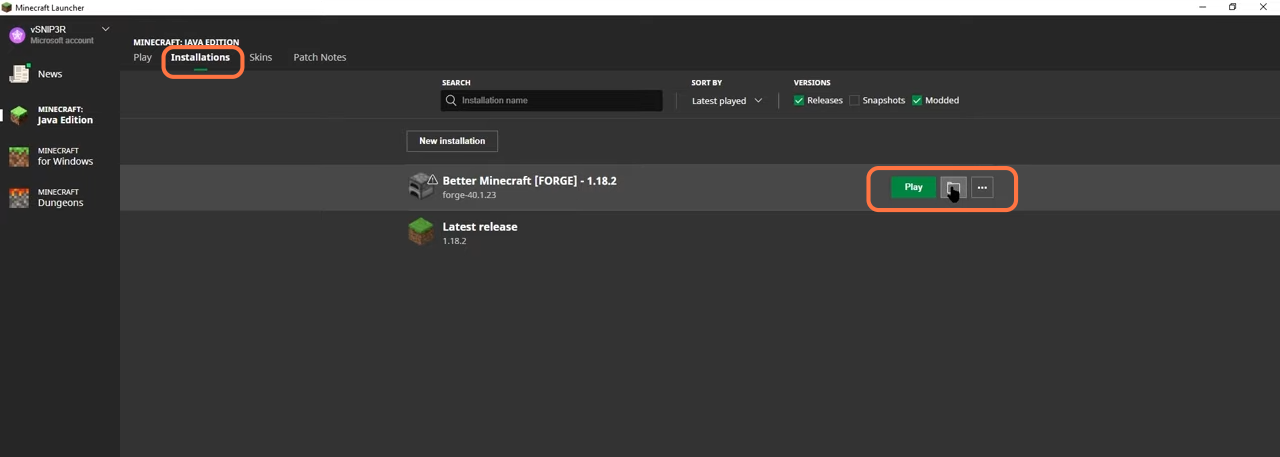
9. Now to add shades without opening the game, you need to launch the better Minecraft through curse forge or any other launcher you have in your PC. Once you are in the Minecraft Launcher with your modpack selected, click on the installation tab and press the folder icon in front of the better Minecraft mod pack.
10. Then find and open the shaderpacks folder and if you don’t get to see a shaderpacks folder, then create a new folder and name it shaderpacks. Drop the downloaded file of the complementary shaders into this folder.