This guide will let you know how to install the Winter Edition pack mod in the GTA San Andreas on your mobile phone. You will see snow all around the game scenes after installing this mod.
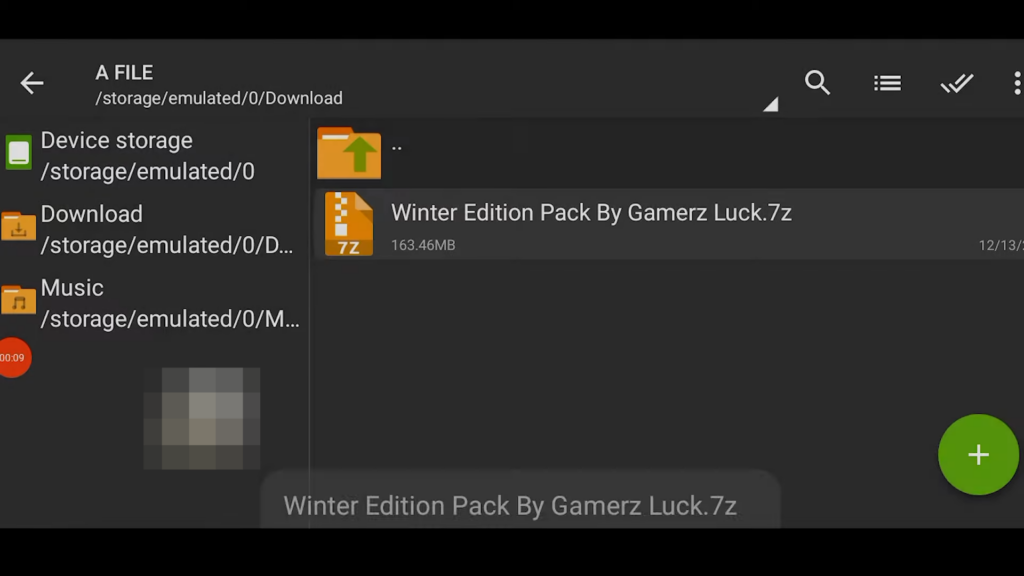
- Firstly, download the Winter edition mod for the GTA San Andreas. Then open the downloaded file using the ZArchiver on your mobile device.
- Extract the downloaded file by pressing the Extract Here option.
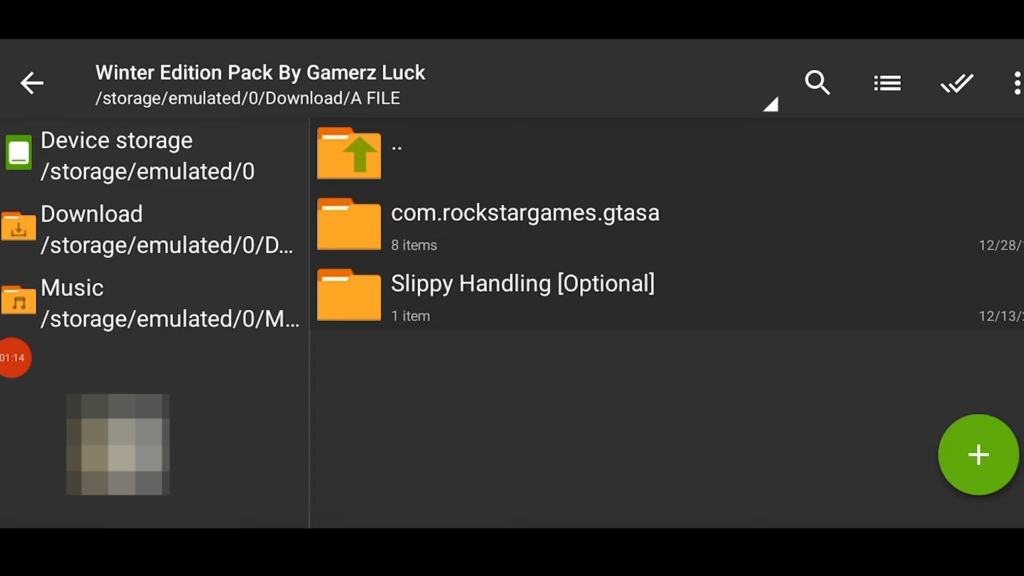
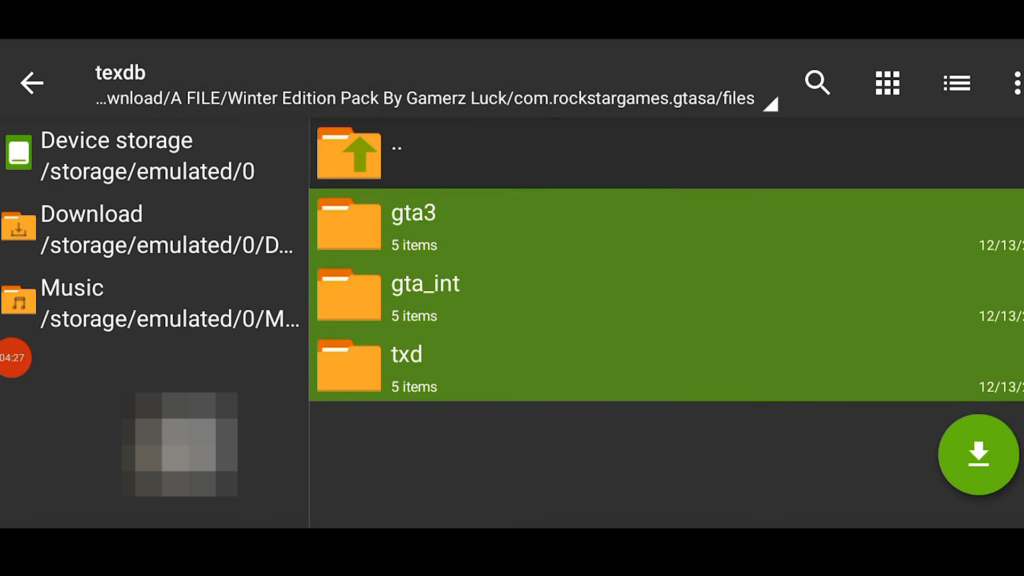
- Once the file is successfully decompressed, open it and go into the ‘com.rockstargames.gtasa’ folder.
- Further, go into the ‘files’ folder, then open the texdb folder.
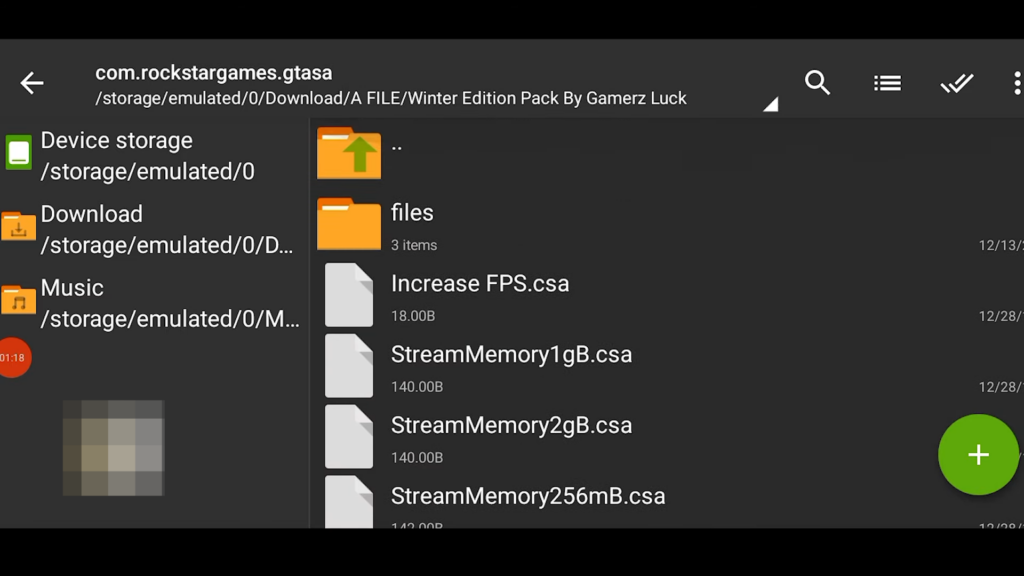
- Next, we will get to see three files inside this folder, which we have to rename. But before going further, install the CPU-Z application on your mobile phone.
- This will let you know about the GPU Renderer of your Mobile device. As you can see our GPU Renderer is Mali so we will add etc to the names of the files.
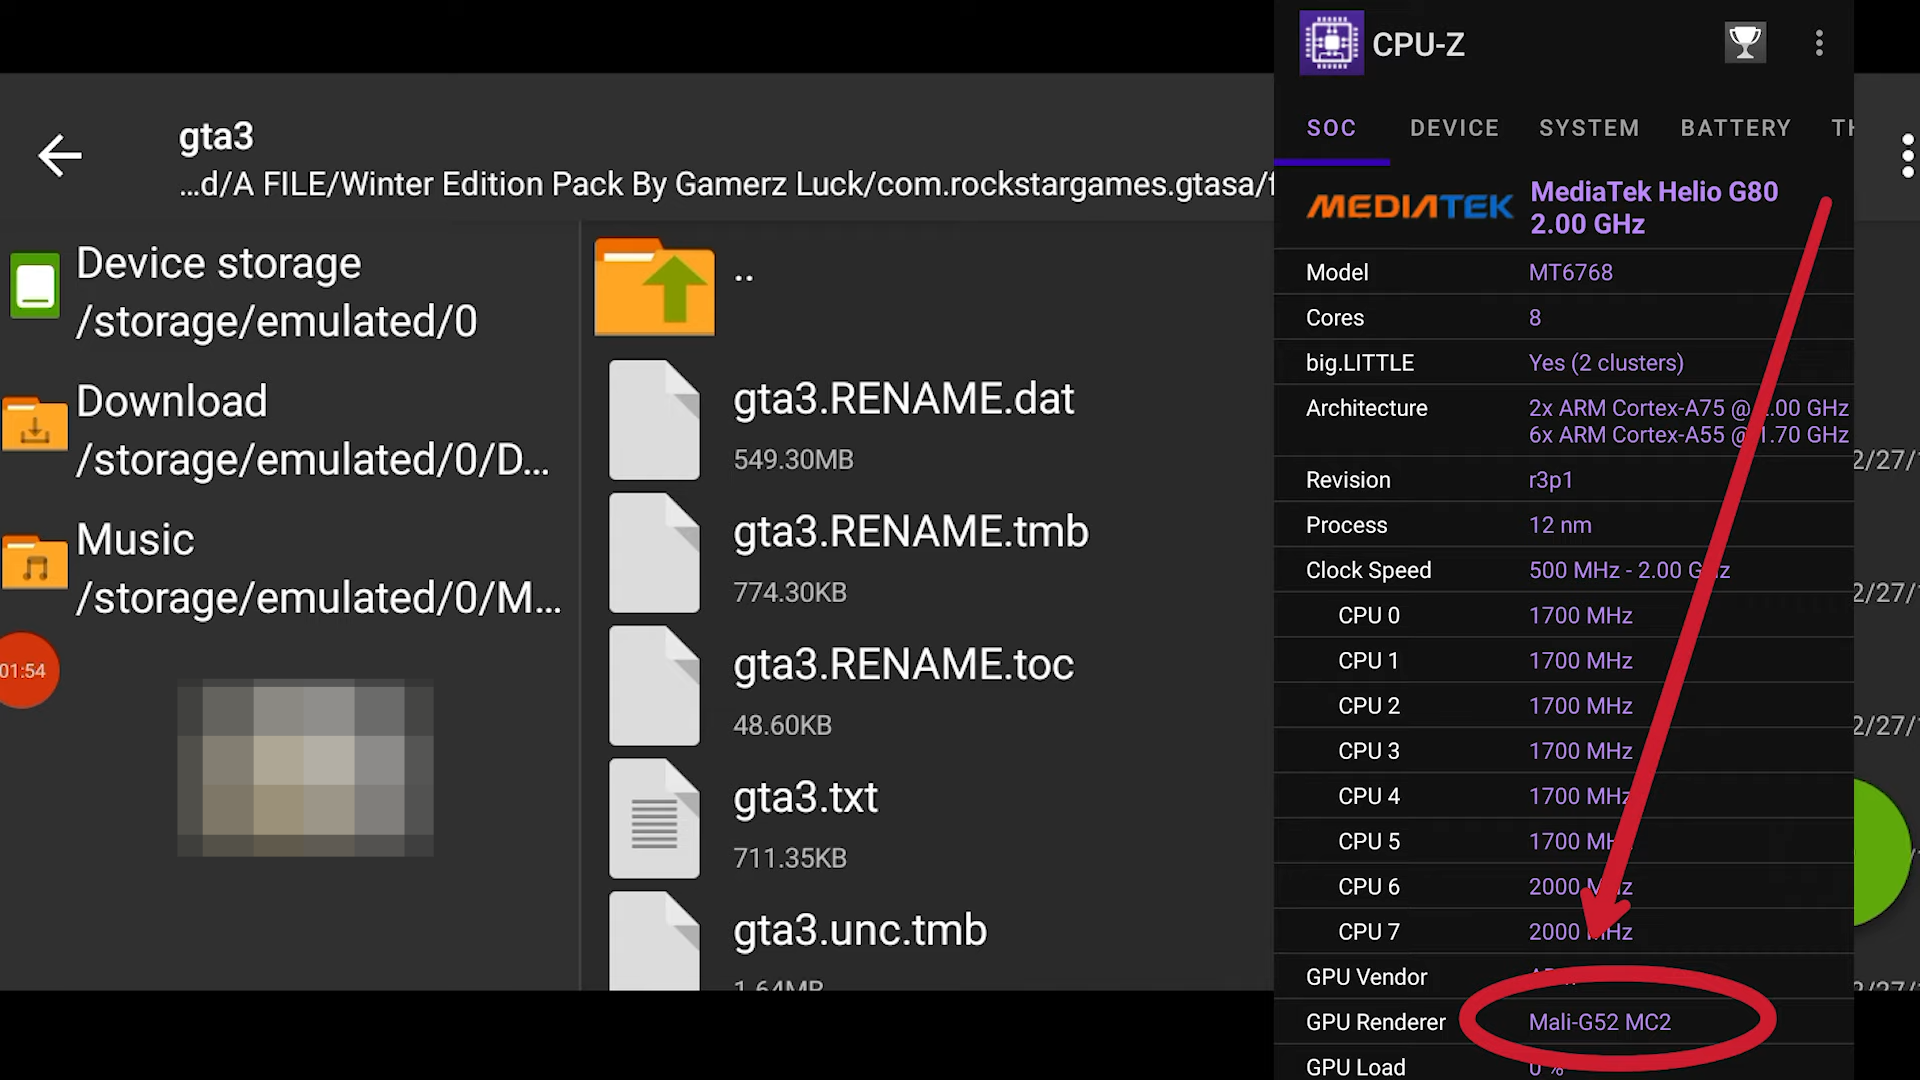
- If you have Mali then you’ll type in etc, Power VR GPU Renderer mobile users should add pvr and if your GPU Renderer is Adreno then add dxt in place of the RENAME text in the names of the files.

- Now rename all the files inside the folders of the files directory.
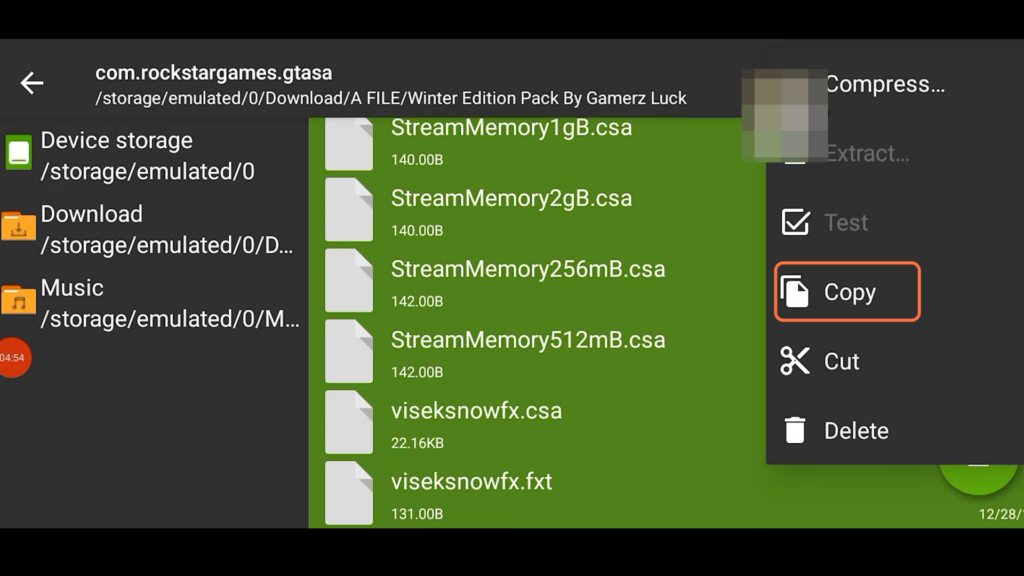
- Now copy all the files and folders from the ‘com.rockstargames.gtasa’ folder.
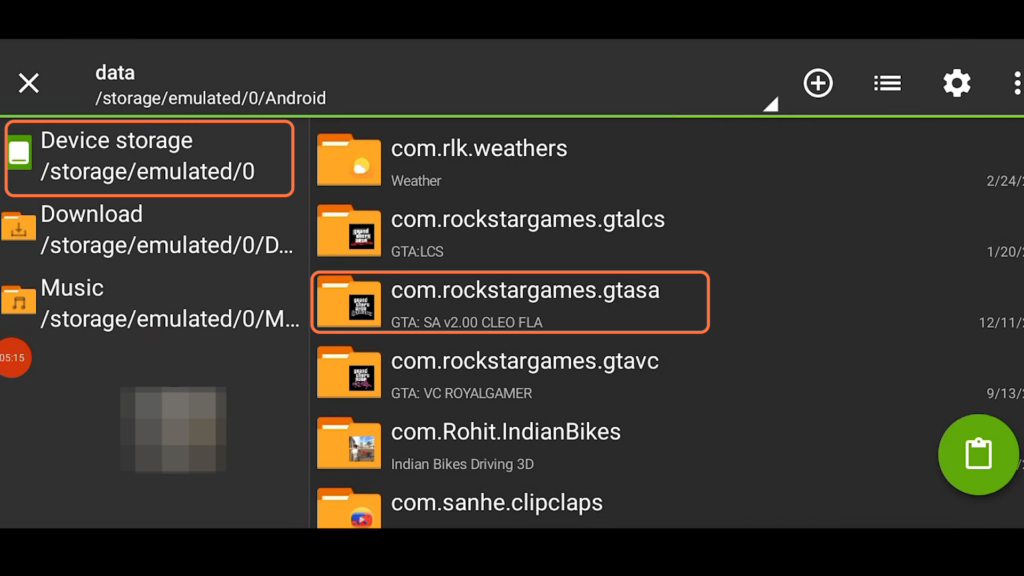
- After copying the files go to the following Device storage directory: Android > data > com.rockstargames.gtasa.
- Paste all the data in the above directory. Replace all the files if prompted.
By following the above steps you can easily install the winter edition mod in your GTA San Andreas on your mobile device.