Follow this brief guide to know how you can change the floor tiles in the Sims 4 game.
Step 1: To begin, navigate to the build mode by clicking on the build icon located in the game menu at the upper right corner of the screen.
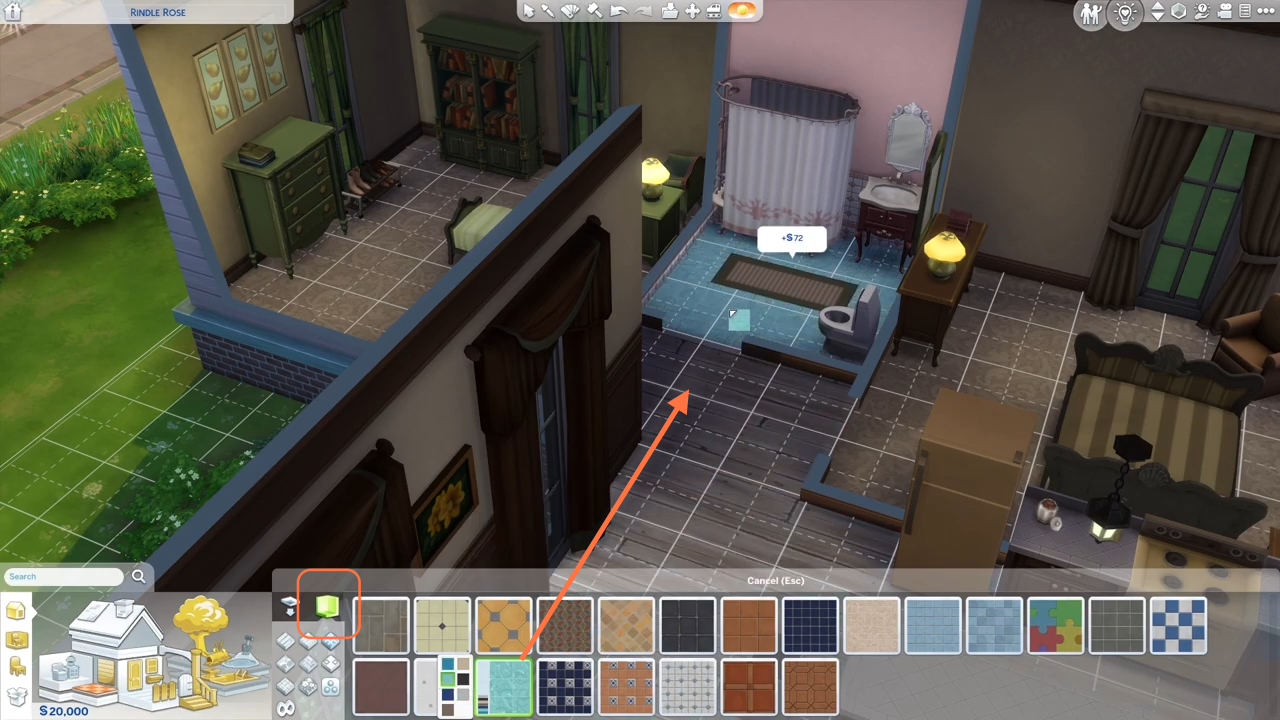
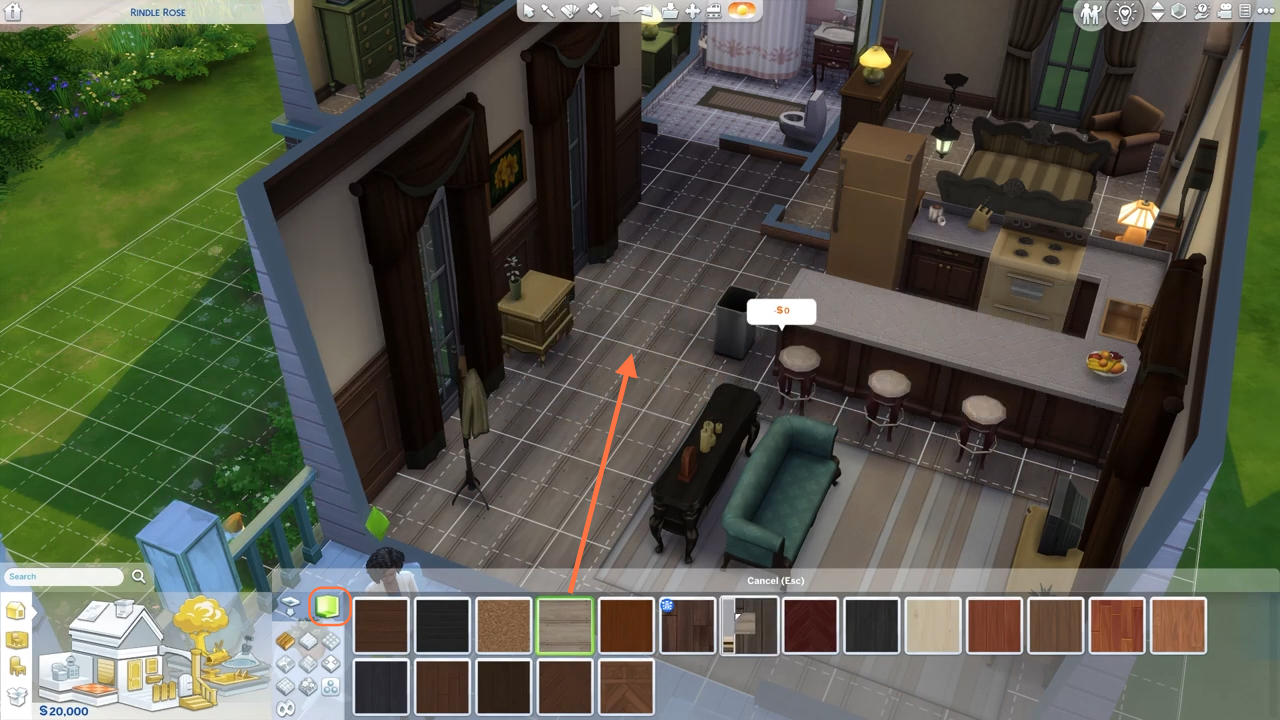
Step 2: From the options listed, select the first option represented by a home icon. Then, click on the small floor pattern icon. A wide range of floor styles will be displayed for you to choose from. Select the one that suits your desired aesthetic.
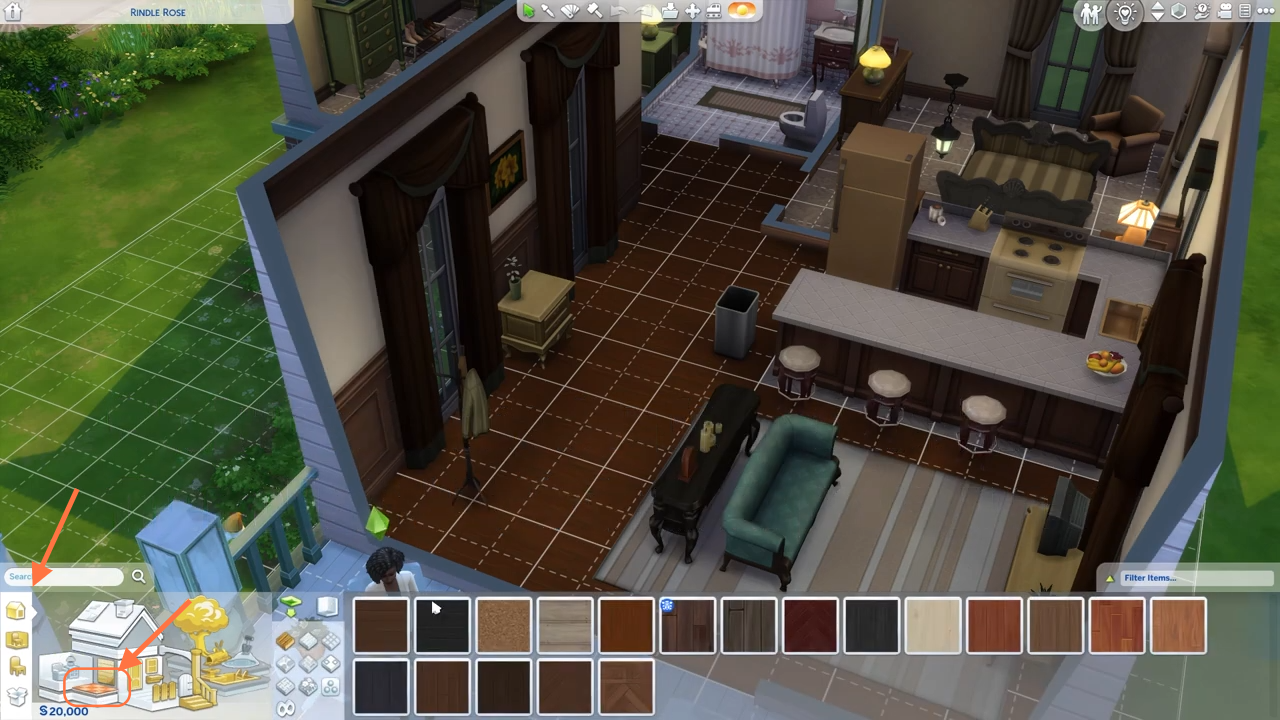
Step 3: You can also customize the material of the floor tiles, such as wood, tiles, or stone. Additionally, the game offers a “floor painting” method with two options: “By Tile” and “By Room.” If you choose the “By Tile” option, you can individually place each floor tile by clicking and holding down the mouse button as you go along.
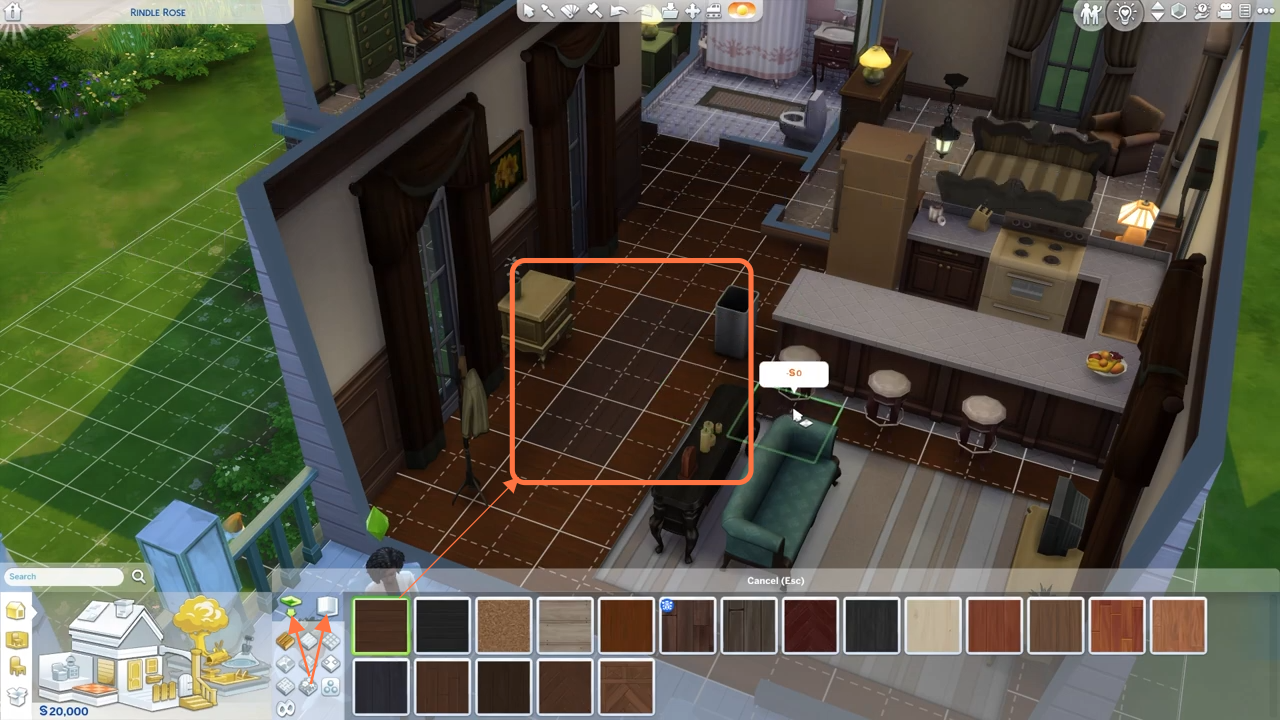
Step 4: Alternatively, if you opt for the “By Room” option, selecting the floor will automatically apply the chosen style to the entire room. This can be a convenient and efficient way to change the floor tiles for larger areas.
Step 5: Let’s apply the “By Room” method to replace the bathroom tiles as well. Select the desired tile material, choose a colour, and drag the floor tiles onto the bathroom surface. Once you are satisfied with your floor selection, you can proceed to exit the build mode and return to the live mode of the game.