Changing the look of your vehicle in Rocket Racing Fortnite allows for personalization and style, adding an extra flair to your racing experience. Here’s a step-by-step guide on how to modify your car’s body and skin.
Step 1: Accessing the Locker
- Upon entering Rocket Racing, navigate to the “Play” option at the top menu bar.
- Once here, press the R1 button on your controller to access the Locker.
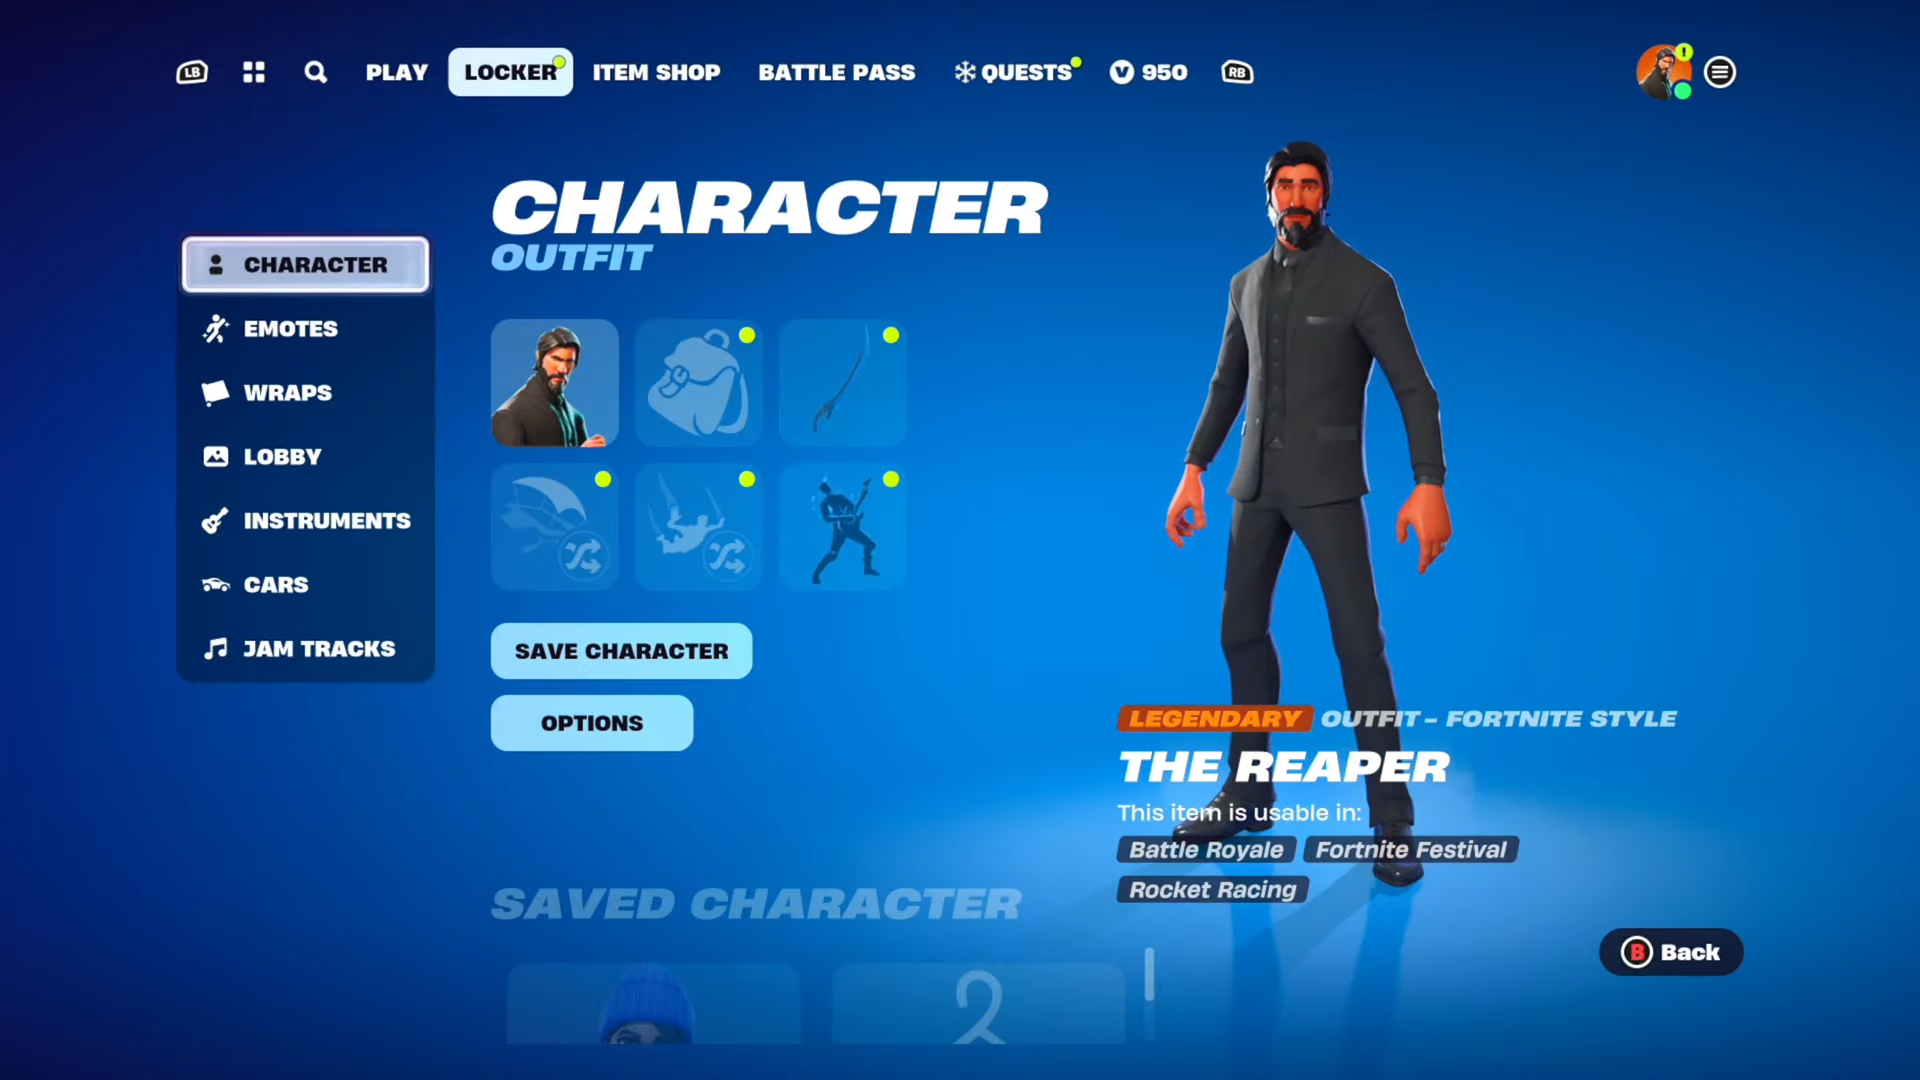
Step 2: Selecting the Car Body
- Inside the Locker, locate the new category labeled “Cars”.
- Navigate through your character’s options until you find the “Cars” category.
- Move to the right and choose “Car Body”.

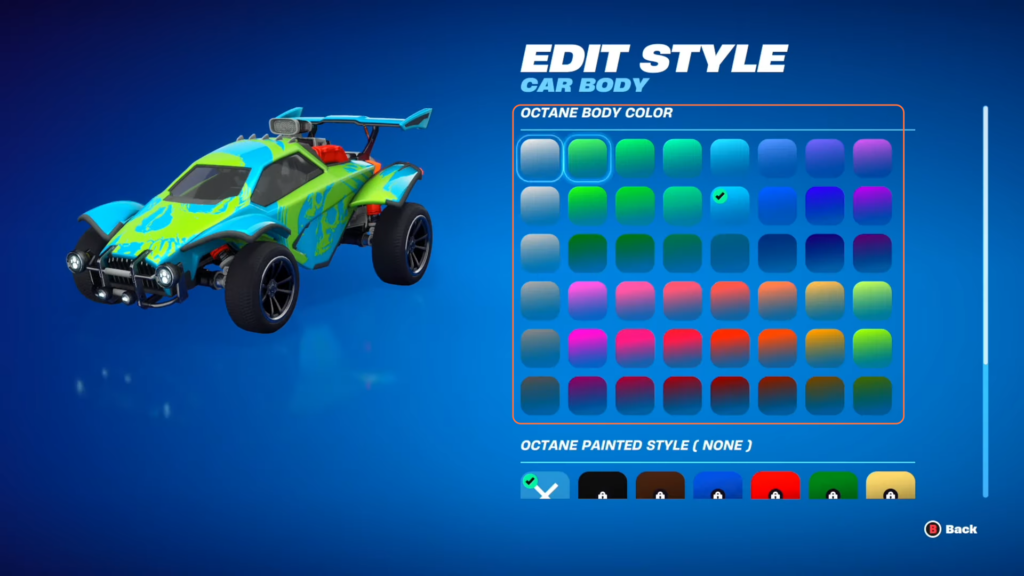
Step 3: Customizing the Car Body
- Select your preferred car body (e.g., Octane) by pressing ‘X’.
- To alter the car’s body type or color, press ‘X’ on the chosen car.
- Edit the car body type and color as desired.
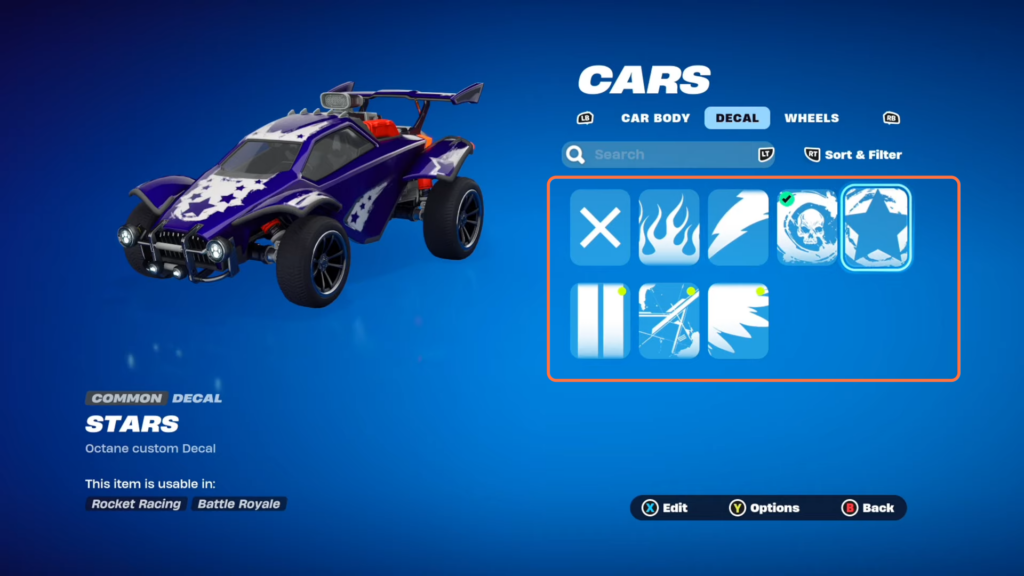
Step 4: Changing the Decal
- Navigate to the “Decal” option.
- Use ‘X’ to select and modify the decal’s color.
- Apply a new decal to further customize your car’s appearance.
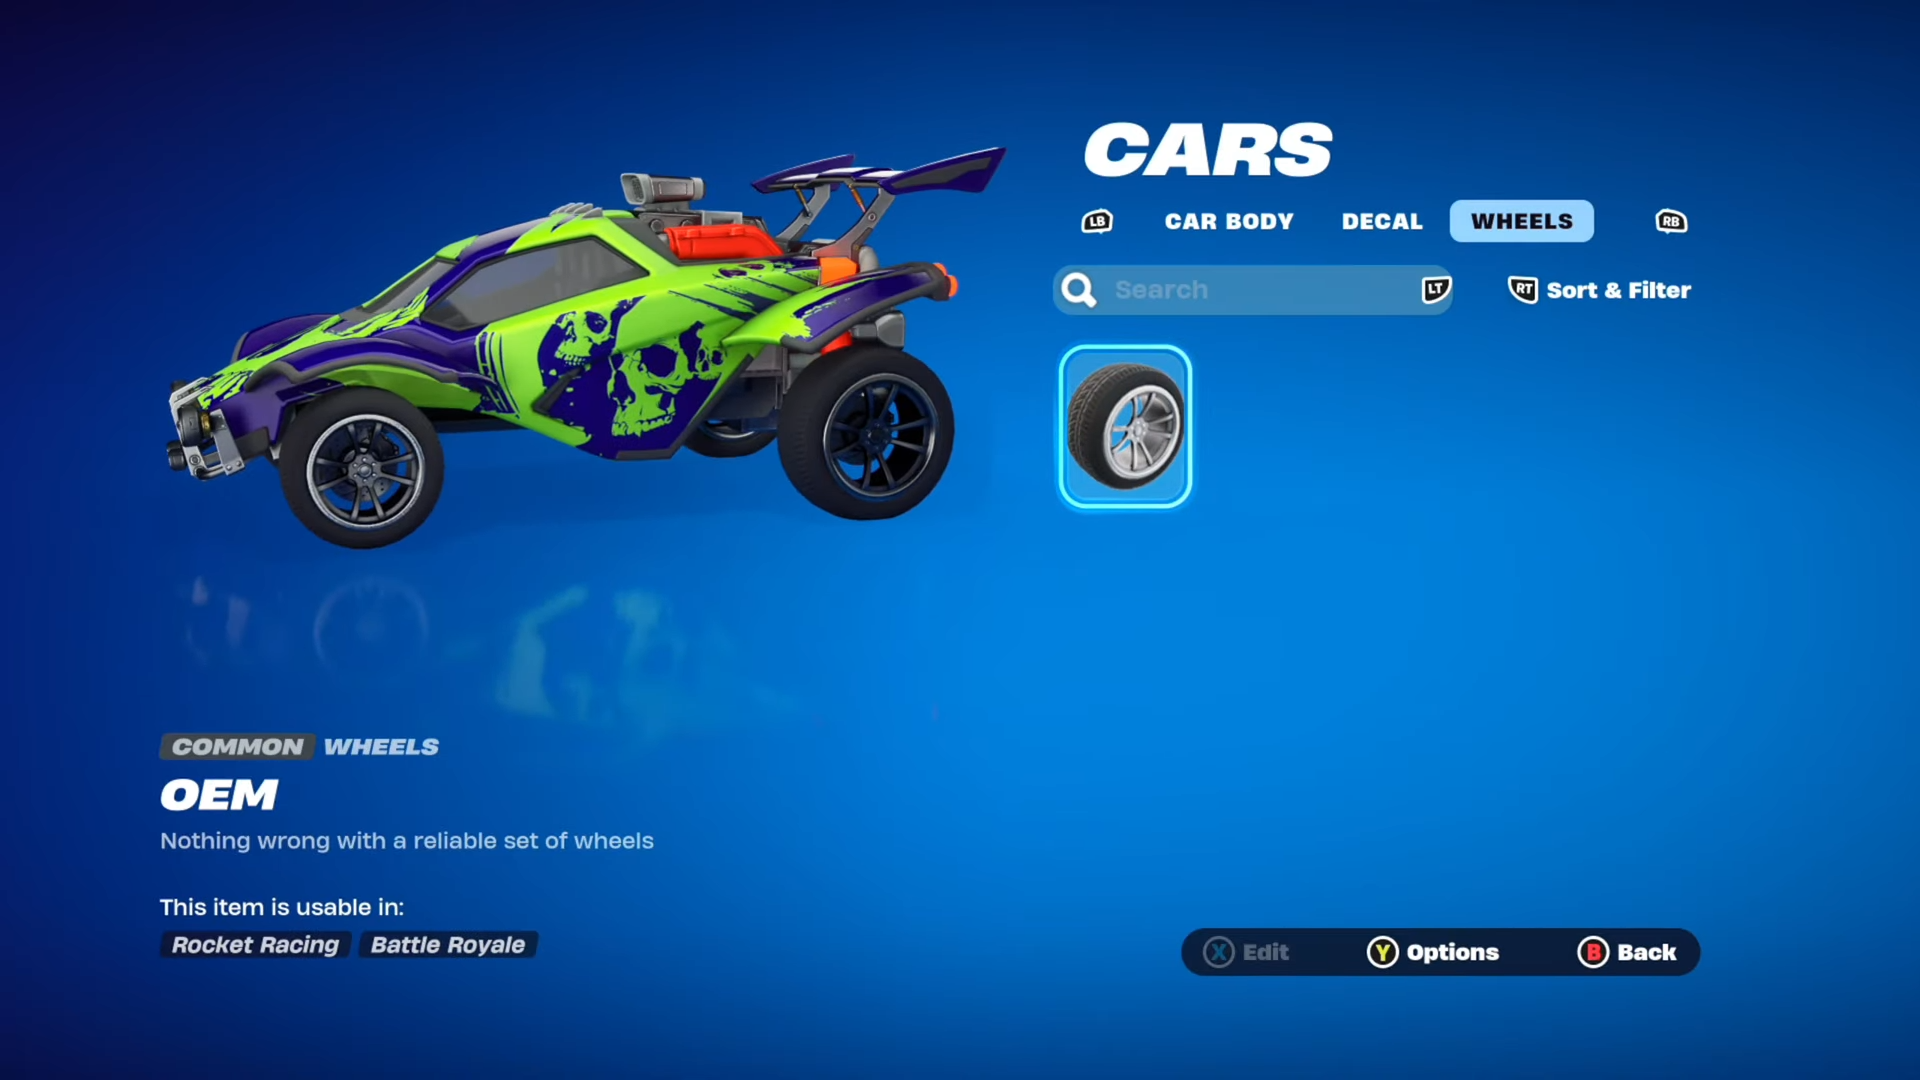
Step 5: Adjusting the Wheels
- Explore the wheel options.
- While default wheels may not have an edit option initially, some variations might offer this feature in the future.
- Modify the wheels (if editable) by following the prompts.
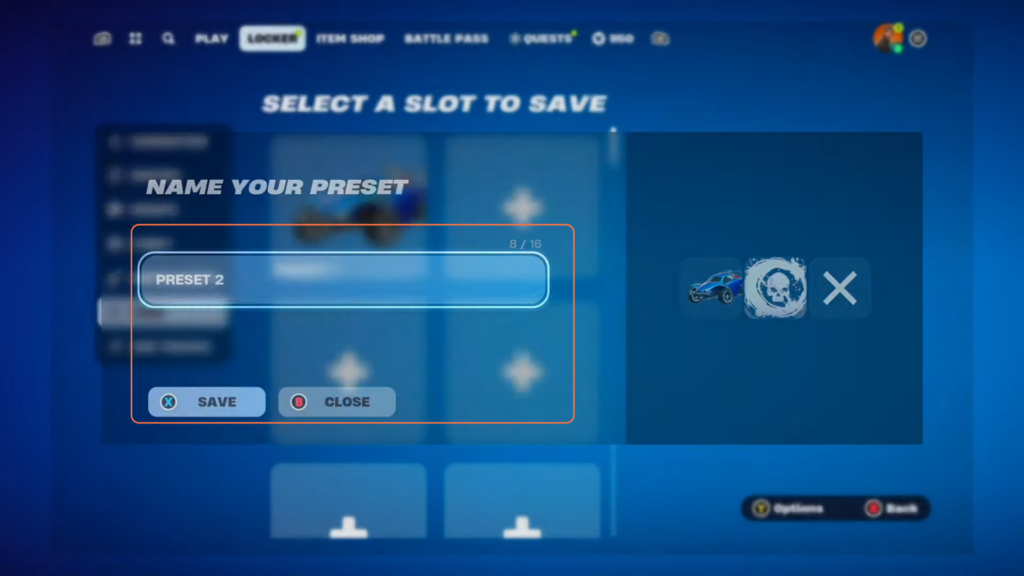
Step 6: Saving Your Customization
- Save your customized car by selecting “Save Cars”.
- Choose the slot to save your modifications.
- Press ‘X’ to confirm the changes.
By following these steps, you can effortlessly alter and save your car’s appearance in Rocket Racing Fortnite. Enjoy the thrill of racing with your personalized vehicle!