If you are looking to connect your PS4 controller to Steam on PC, then you have come to the right place. This guide will show you how to do it. You first need to configure controller settings, and do a controller test and calibration. After that, make some additional settings to start using the PS4 controller.
Controller settings
In this section, we will take you through the steps to configure controller settings to connect it to Steam. By following the steps below, you will be able to navigate to the Controller settings inside Steam and make all the necessary changes.
- First, you have to double-click on the Steam icon to open the application.
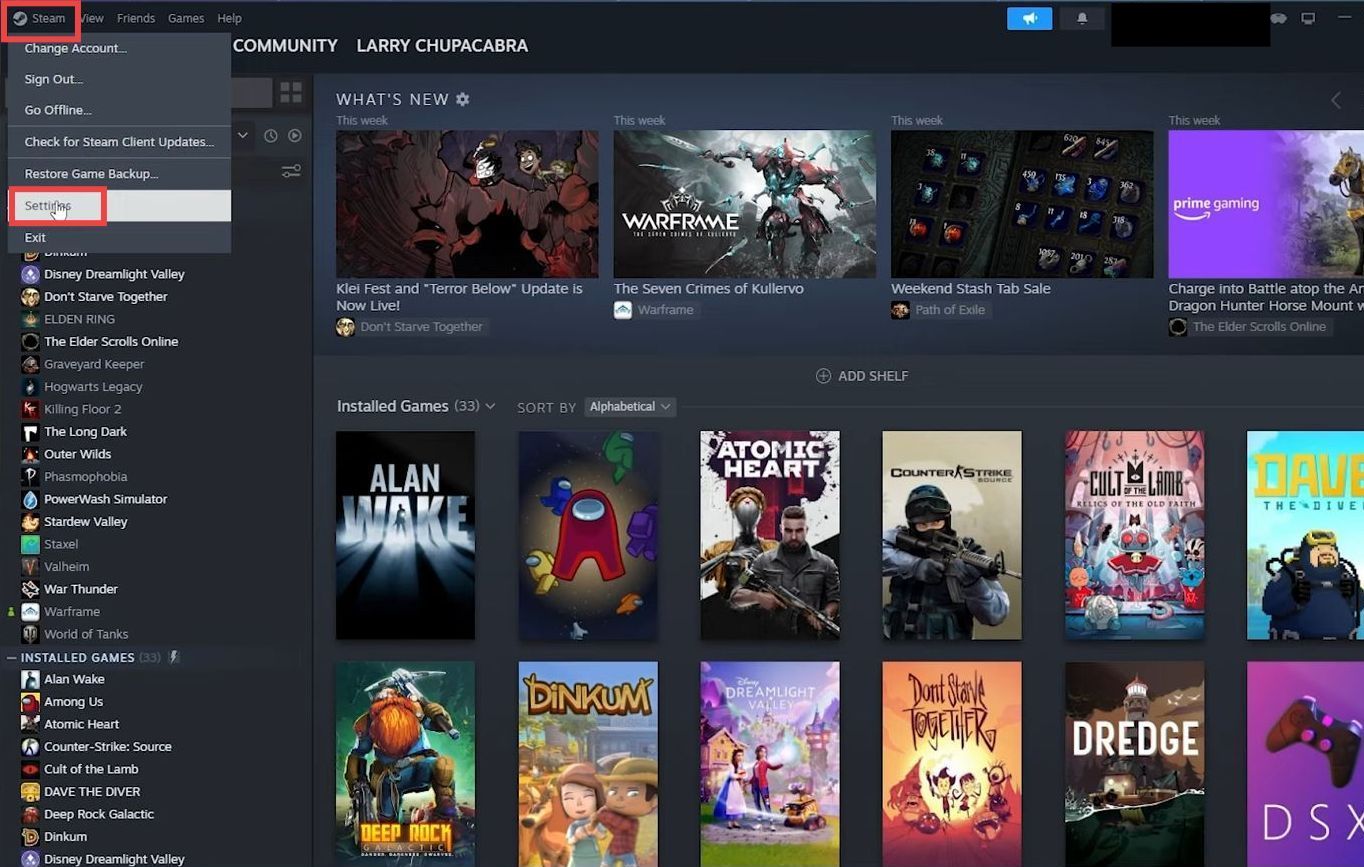
- Once it opens up, navigate to the upper left-hand corner of the screen and click on the “Steam” button.
It will open up a drop-down menu. - From the drop-down menu, click on the “Settings” option.
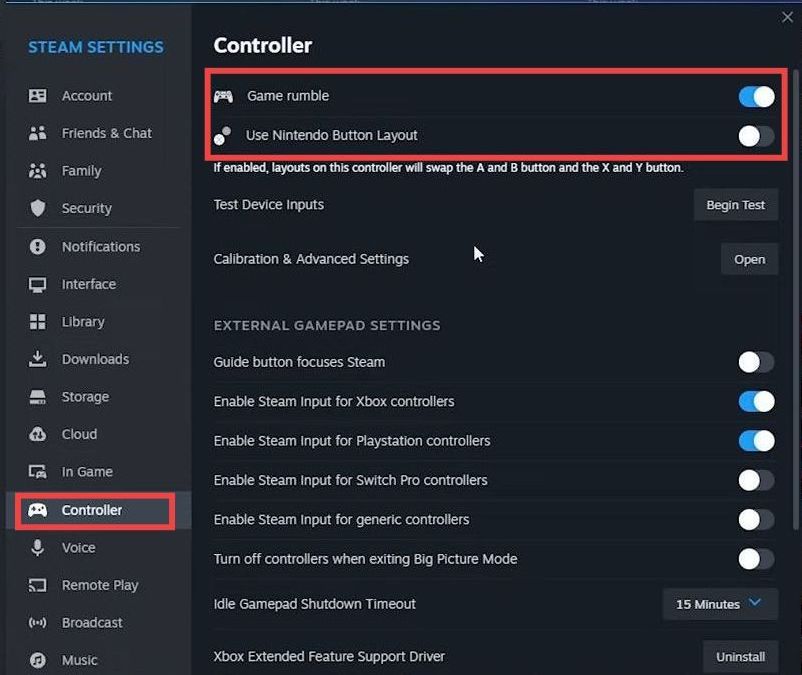
- Navigate to the “Controller” tab on the left side of the Steam interface and turn on “Enable Steam Input for PlayStation Controllers.”
- After that, connect your PS4 controller to your PC using a USB cable.
It will appear at the top. - Once the PS4 controller is connected, look for an option called “Game Rumble” and enable it.
- If you prefer the button layout commonly used in Nintendo controllers, then enable the “Use Nintendo Button Layout” option.
Controller test
This section describes how to initiate a controller test to make sure everything is working perfectly.
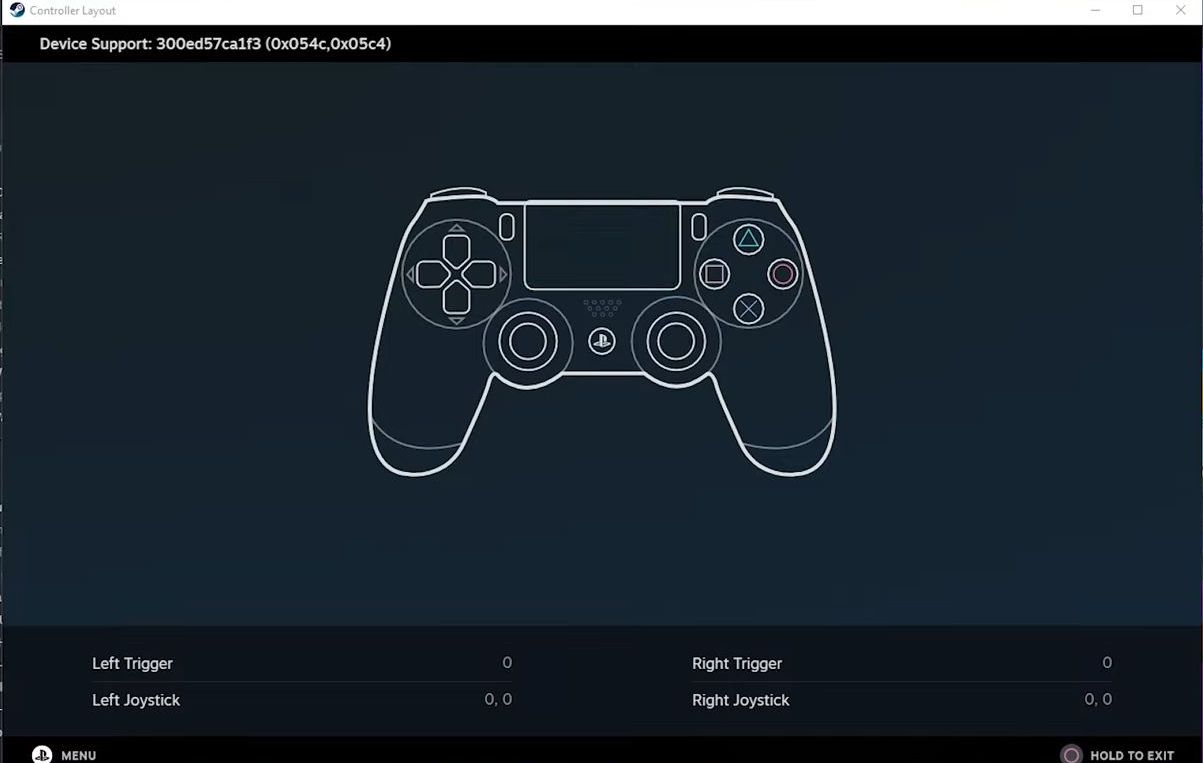
- Click on the “Begin Test” button to go to the testing interface and experiment with all the different buttons on your device.
- While you are interacting with the buttons, observe if the device you are testing shows up correctly on the screen. Ensure that the device is recognized and displayed as expected.
You can also check if the touchpad is working perfectly.
Calibration
This section will take you through the steps to do the calibration.
- Go back to the controller settings window and click on the Open button associated with Calibration & Advanced settings.
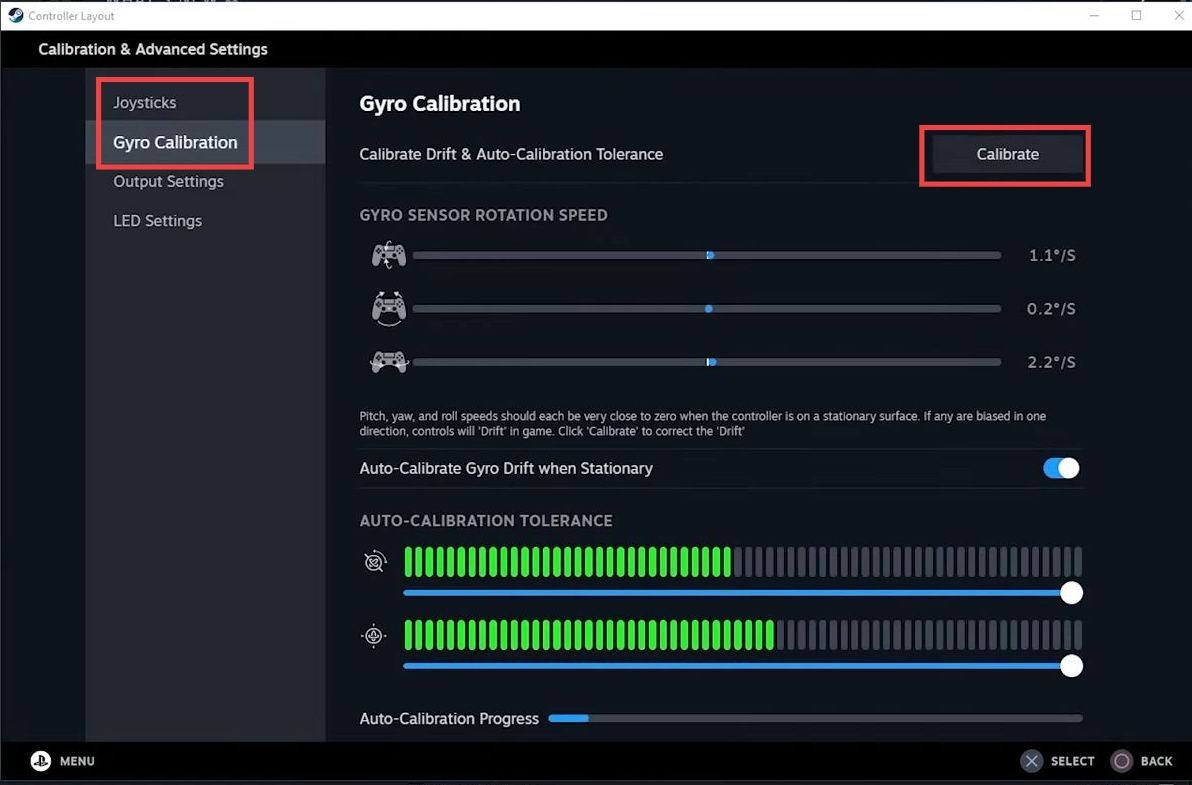
- If you’re afraid that there’s a lot of stick drift going on or you need to recalibrate your motion sensors, then go to the Joystick section, and tap on Gyro Calibration.
- After that, press the Calibrate button.
- After that, click on the Continue button.
It will calibrate the controller. - Now go to Output settings and check if the Game Rumble is functional.
- Now to customize the inside of the controller layout settings, go to LED settings and change the colour of the back LED.
Additional settings
This section will show you some additional settings that you can make to get the best performance.
You can also check what the controller does when you’re in desktop mode. You can use this as a mouse to a certain degree and play around with that.
You can also check out the Guide Button Chord Layout. You can use your controller as a mouse to a certain degree and play around with that.
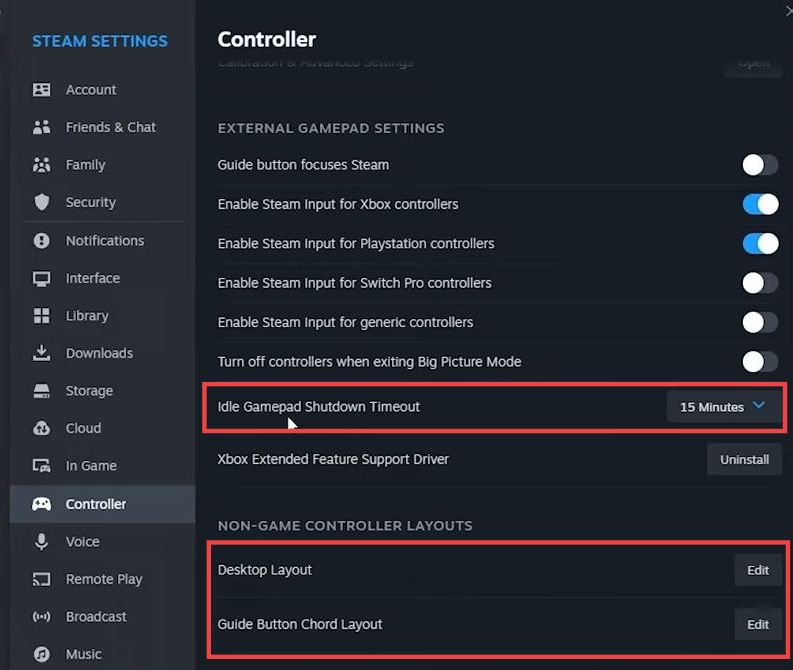
You can also set the time how long it takes for your controller to go to sleep.
- You have to enable the Idle Gamepad Shutdown Timeout option and change it between Never to 120 minutes.