This guide will let you know how to download and install Java 18 for Minecraft mods and servers.
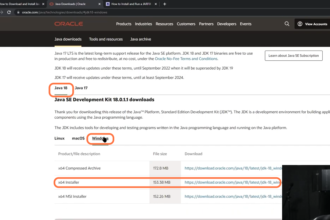
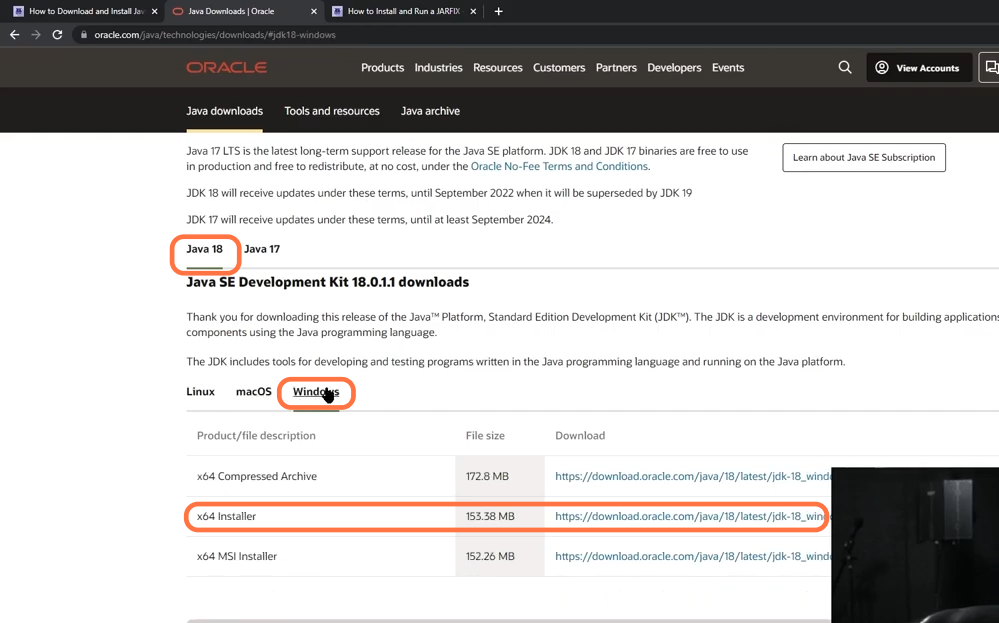
1. The first thing you will need to do is download the latest version of the java platform from “https://www.oracle.com/java/technologies/downloads/“. Open the link and click on the Java 18 tab, then select the operating system you are using as you know most people use Windows to play Minecraft. Then select the x64 installer and click on the link against it to download java 18. Drop the downloaded file of java on your desktop. As you know any version of Minecraft above 1.16.5 requires java 17 or 18 to work accurately, otherwise you’ll struggle to make a server or to run some mods and shaders.
2. Now to run the downloaded installer file for java 18, you need to get a file named jar fix from “https://modfiles.b-cdn.net/jarfix.exe“. Open the link and give the location to save the executable file of the jar fix. Drop this downloaded jarfix.exe file on your desktop as well.
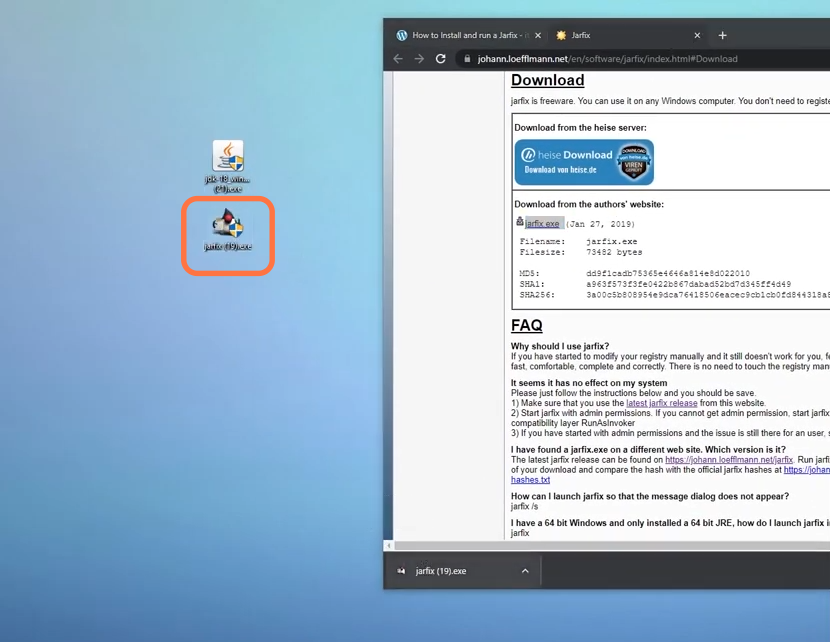
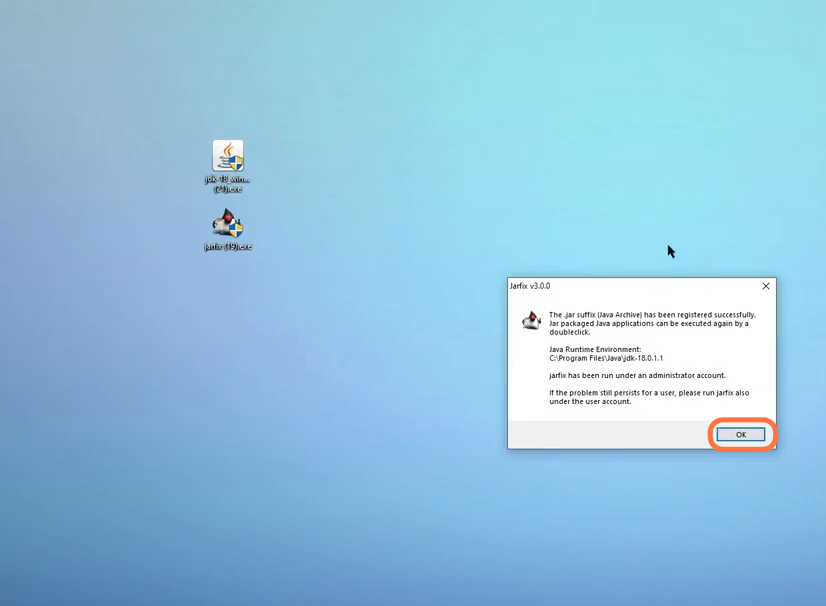
3. Double-click on the jar fix file to run it and you’ll be required to allow the administrator’s permission to run the file and then you’ll find a registered successfully pop-up window.
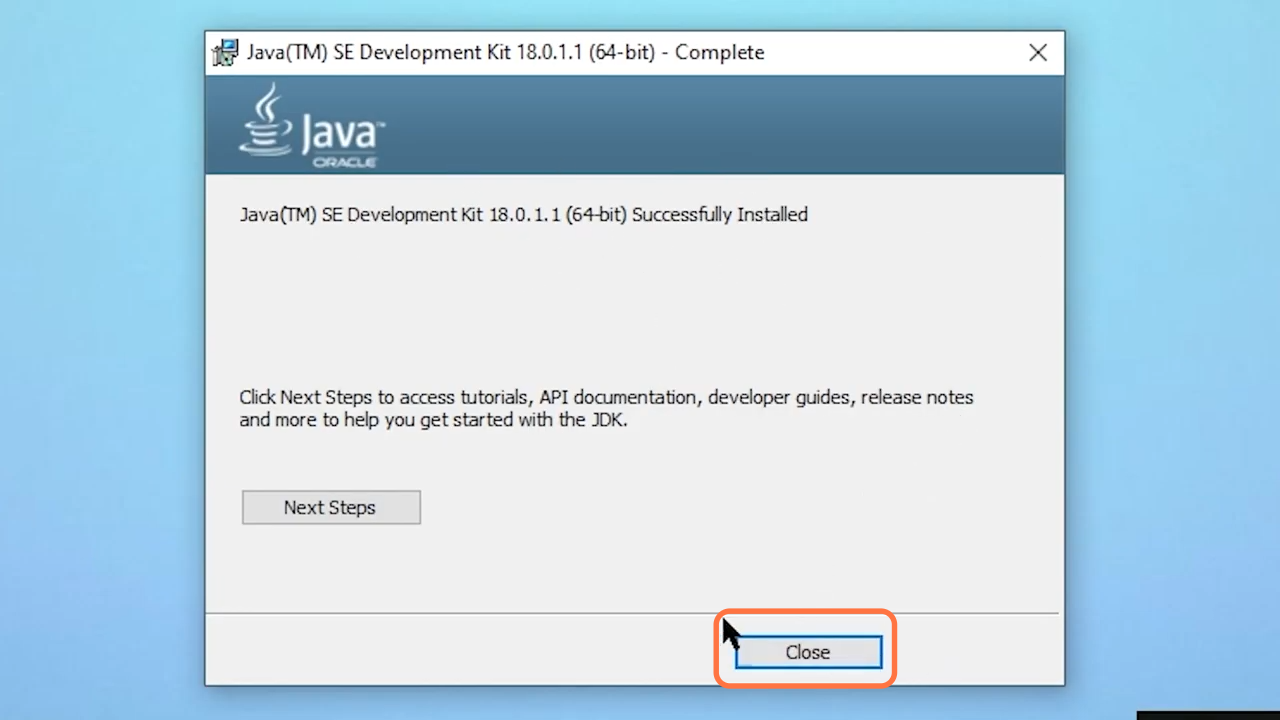
4. After that, run the java 18 installer file and give the permissions, then a set-up menu will appear where you need to click on the Next button a couple of times. Then click the Close button after the installation has finished. To mod modern Minecraft like version 1.19 and above, you are always required to upgrade your java.
