This guide will let you know how to enable controller support in BattleBit Remastered. Go through the guide and follow the step-by-step instructions below to enable it.
- First, you have to connect the controller you want to use for the game to your computer.
- Launch the Steam application on your computer, locate “Steam” in the top left corner of the application window and click on it.
It will open up a drop-down menu.
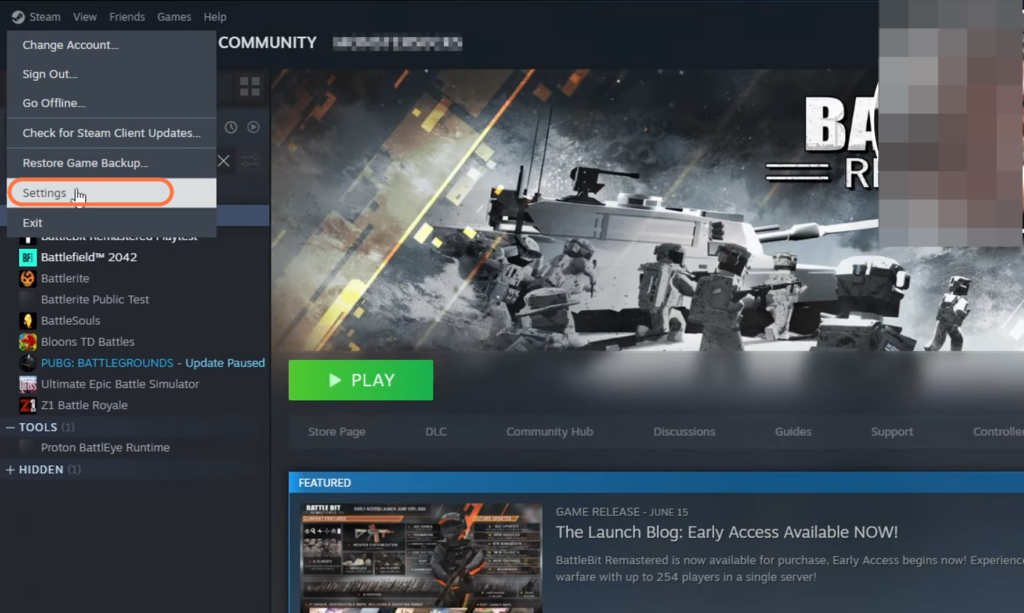
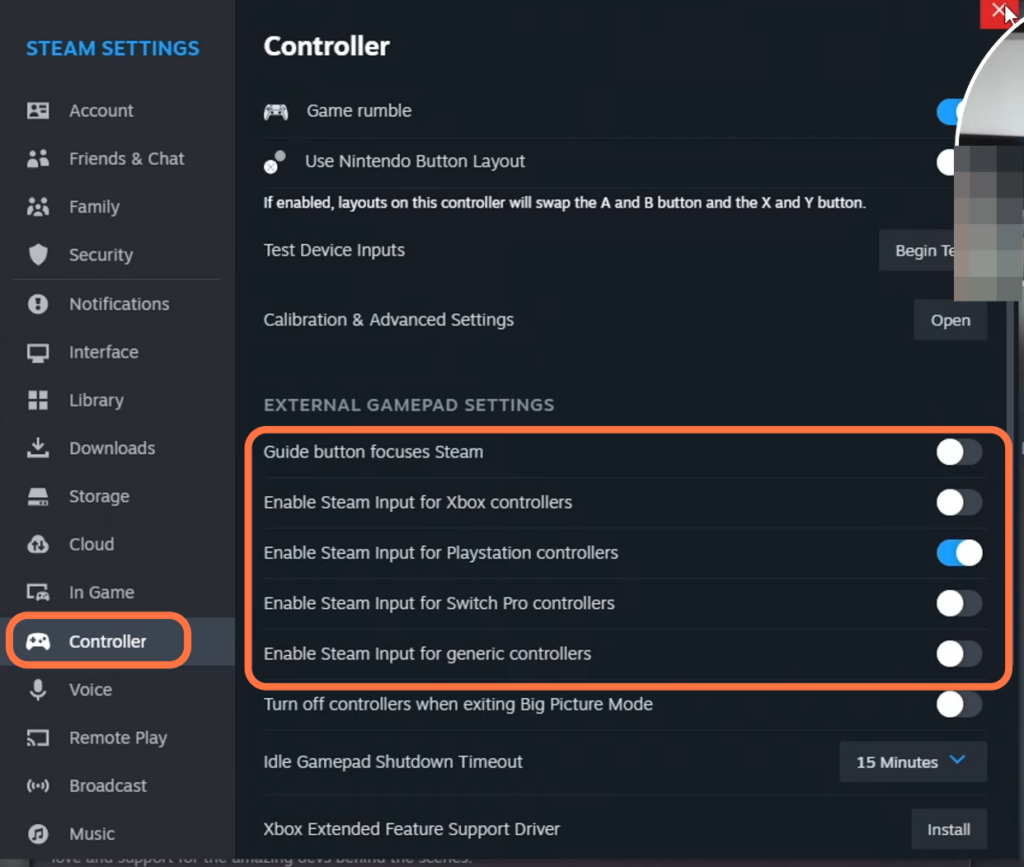
- Go to settings and click on the “Controller” tab. Look for an option that allows you to enable Steam input for your controller.
- Once you find the option, make sure it is turned on.
This will enable Steam input for the controller that you currently have plugged into your computer. - After enabling the option, close the settings menu.
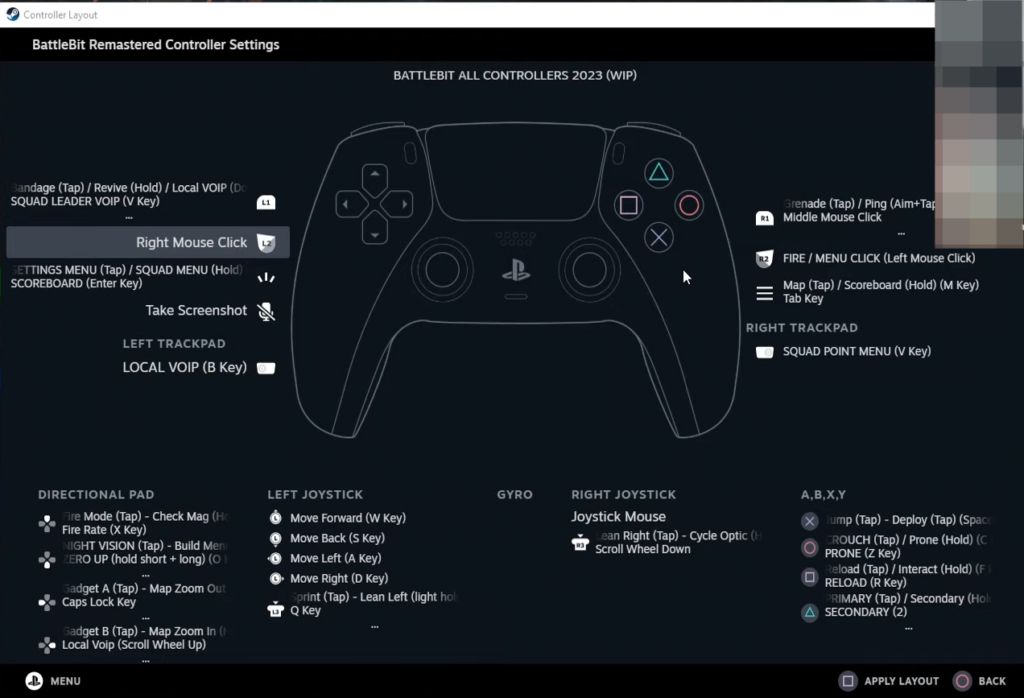
- Now you have to open up your web browser to open up the Steam controller layout.
- Once it is opened up, press the Square button on your controller to apply the layout.
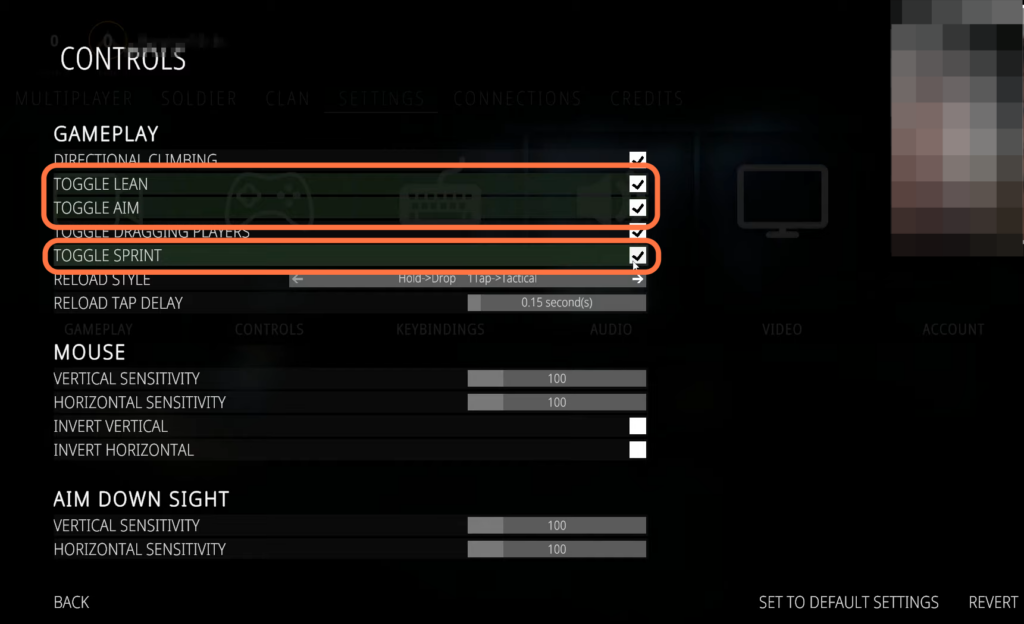
- Start the BattleBit Remastered game on your device. Once the game is launched, go to the settings menu.
- Navigate to the “Controls” section and enable Toggle Lean, Toggle Aim and also Toggle Sprint.
After that, start a multiplayer match. Now you will be able to use the controller that you enabled support for.