Xenia emulator occasionally presents users with a black screen glitch that can be frustrating, but there are several solutions to resolve this issue. Follow this step-by-step guide to get your emulator back on track. We need to make some specific adjustments within the emulator’s configuration files.
Step 1: Configure Render Target
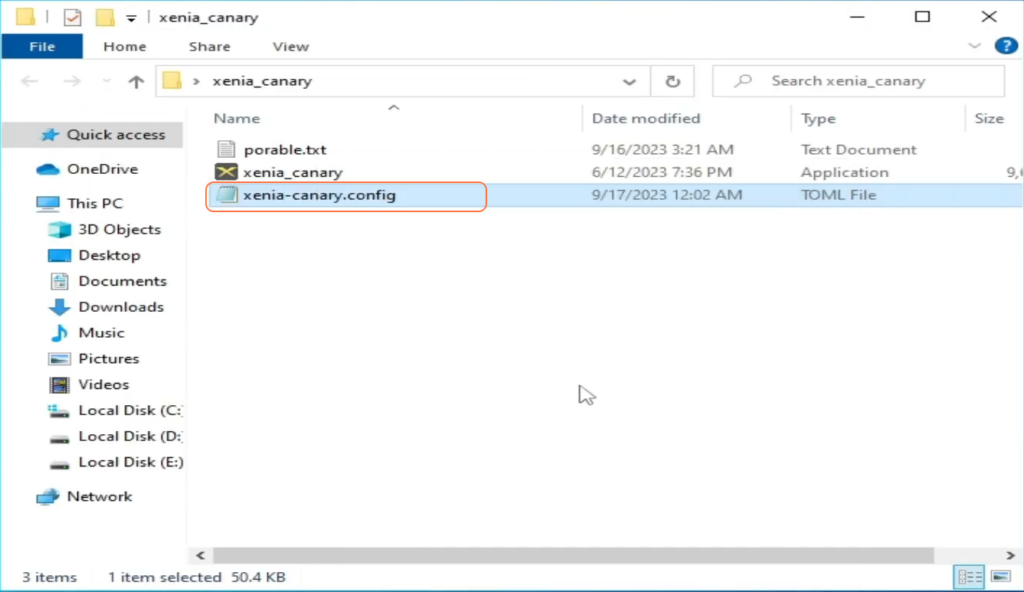
- Access Configuration File: Right-click and open your Xenia configuration file using a text editor like Notepad. Ensure you’re using Xenia Canary.
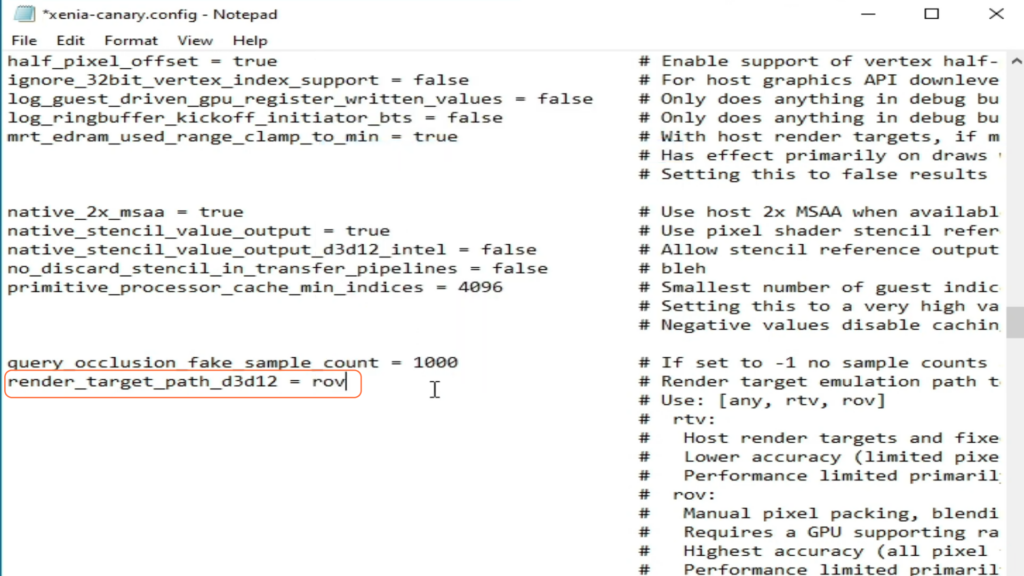
- Modify ‘renderTarget’: Locate the ‘render_target_path_d3d12=’ line of code and change its value to ‘rov’. Save the changes made and close the file.
Step 2: Adjust Max Frames
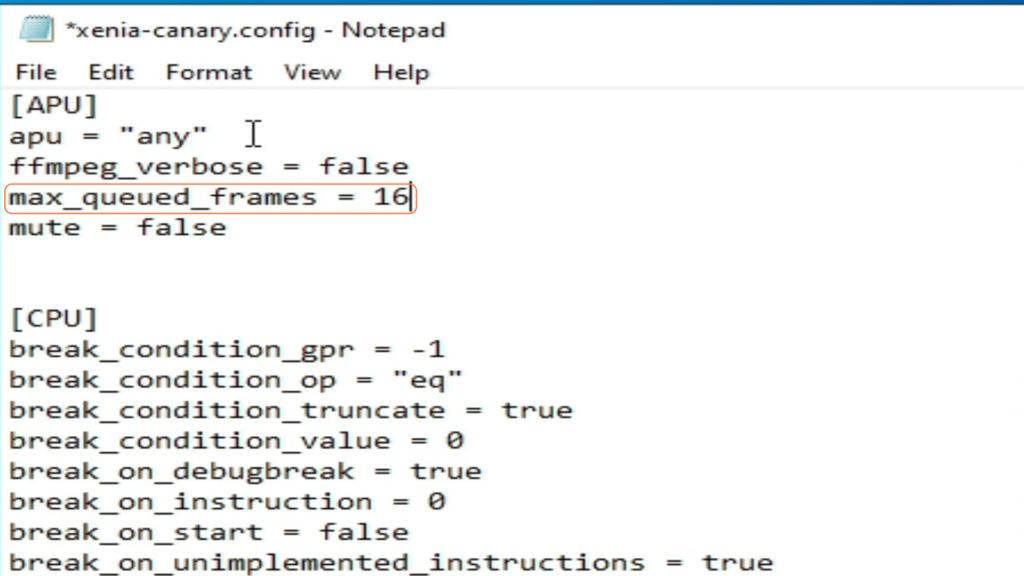
- Open the Xenia configuration file once again, find ‘max_queued_frames=’, and alter the value to 16. Save the changes and close the file.
Step 3: Modify Internal Display Resolution
- Reopen Configuration File: Access the Xenia configuration file once more.
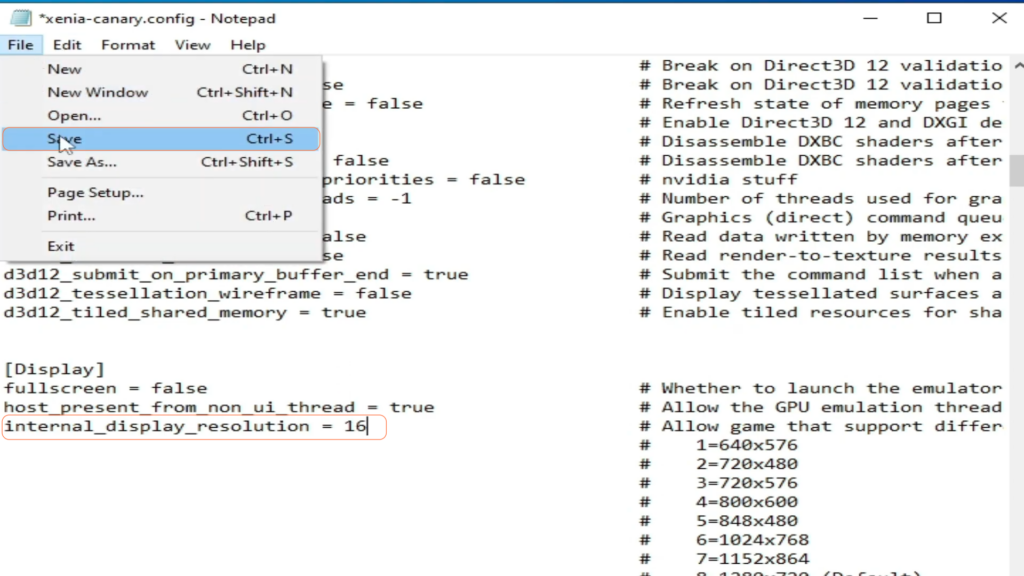
- Adjust ‘Internal Display Resolution’: Set the value to 16. Save changes and close the file.
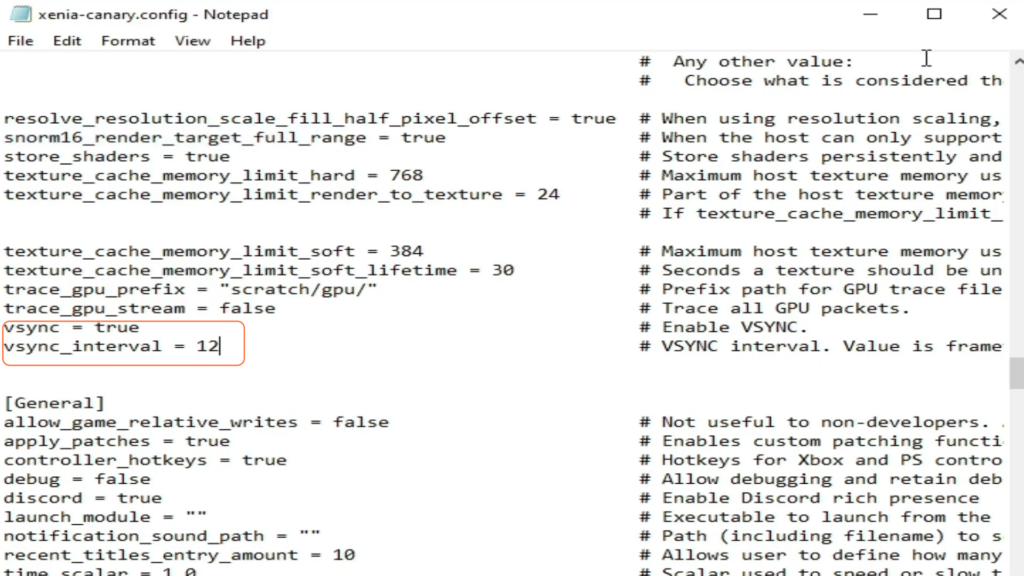
Step 4: Modify ‘vsync’ Settings
- Open the Xenia configuration and set ‘vsync’ to ‘true’ and ‘vsync_Interval’ to ’12’. Save the changes and close the file.
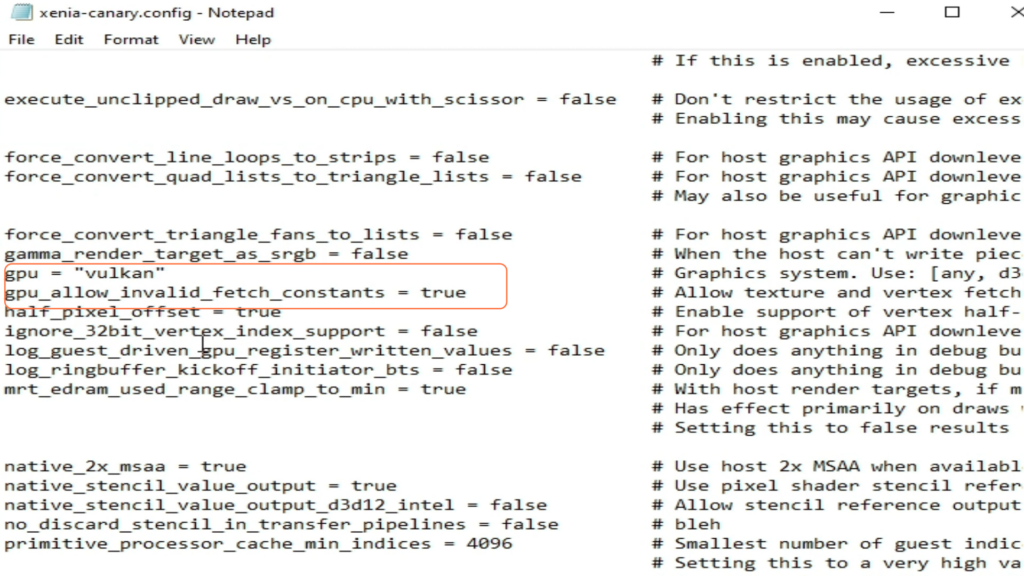
Step 5: Adjust GPU Settings
- Access the Xenia configuration file one last time and set ‘gpu’ to ‘vulkan’ and ‘gpu_allow_invalid_fetch_contants’ to ‘true’. Save the changes made and close the file.
- If you are choosing ‘Vulkan’, ensure up-to-date drivers for your GPU device to prevent compatibility issues.
By following these steps, you can effectively troubleshoot and resolve the black screen issue on your Xenia emulator.