This guide will tell you how to fix MW2 Blurry Graphics & Textures issues in Modern Warfare 2 Graphics on PC. You have to follow the step-by-step instructions below to fix it.
1- First of all, you must ensure that your Windows is fully up to date. It is a very important step, as it will give you a phenomenal increase in your game performance, and will also solve many graphic issues.
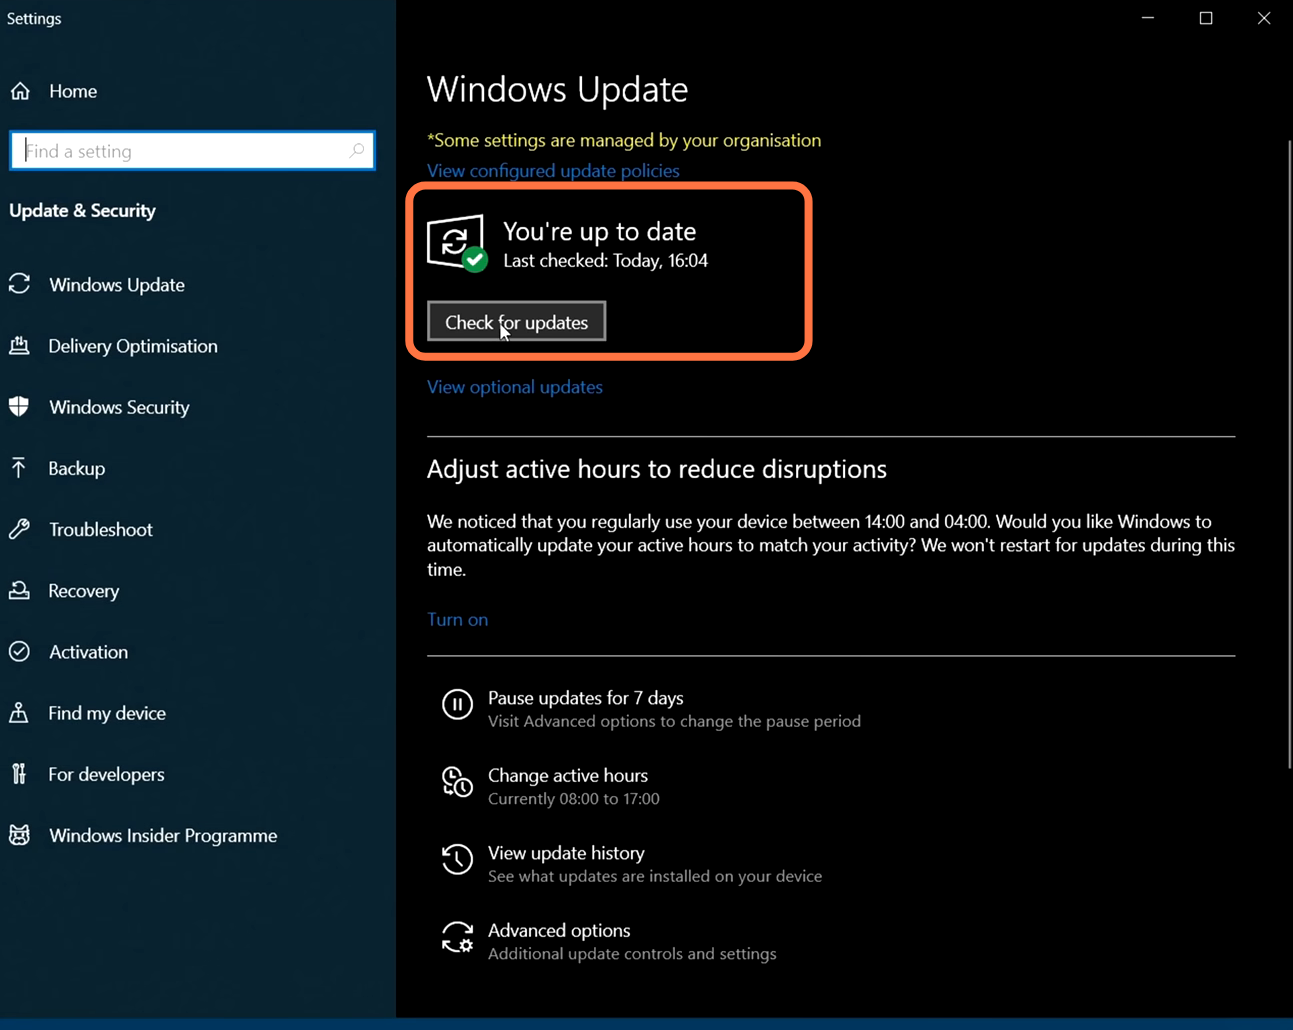
For this, you first need to go to the bottom left side of your screen to the search button, write “update” in it and then click on “Check for update.” A new window will pop up, navigate down, and click “check for updates”. It will scan your machine to see if there are any updates available.
2- After this, you have to click on the link https://www.microsoft.com/en-eg/download/details.aspx?id=35 as this will take you to the official page of the Microsoft Direct X download. After reaching this. you have to select your language and then click on the Download button.

Once the download completes, you have to install this. First, you need to agree with the agreement and then click on the Next button. The direct X will start installing on your PC.

3- Once the installation finishes, you have to make sure that you are running on the latest GPU drivers. To check which graphics card are you using, you have to right-click on the taskbar and then select Task Manager. After that, expand Display Adaptors and you will find your graphics card.

4- To update NVidia drivers as it is only for NVidia users, you have to click on the link https://www.nvidia.com/download/index… After that, select your product type, and then select your product series. At last, you have to select your operating system and click on Search.

It will take you to a new page and you have to click on the Download button. Once the download completes, you need to run the setup, then agree to the agreement, and click on Next. It will start installing.

After installing this, you have to launch Modern Warfare 2 as it will fix your issue.
5- This is for AMD processer users, you have to start the menu, then search for system information and open it. Once it is open, you need to find the processor and you will find the number of your graphics card there.

6- After finding this, you have to click on the link https://www.amd.com/en/support and it will take you to the AMD website. You will find a list of a variety of options, you have to select graphics and then find your graphics card. After this, select the version and once everything is selected, you have to click on the Submit button.

After this, you have to select your operating system for download, then expand that operating system, and click on Download.

8- Once the downloading is complete, you have to open the AMD downloaded file and then install the latest AMD drivers. You have to expand the advanced options and then select the Factory Reset option as it will install the fresh version of the drivers. After that, click on the Install button.

9- If you are still facing the issue, then you have to right-click on the desktop and tap on Display settings. Now you have to scroll down and then lower your display resolution. After this, launch the game and see if this fixes your issue.

10- If you are still facing the issue, then you have to go to display settings, scroll down and then go to advance display settings. you have to change your refresh rate and set it to 60Hz. After that, launch Overwatch 2 and check if it solves your problem.

11- If you are still facing the issue, then you have to open the NVidia control panel and expand the display on the left side of your screen. After that, select Adjust desktop and position. You have to make sure that the scaling is set to no scaling, thenlaunch the game and check if your problem is fixed.

12- If you are still facing the issue, then you have to boot up the game and click on the settings button on the top right corner of your screen. After that, select Graphics from the drop-down menu.

In the graphics settings, you have to select the display tab and set the Display mode to borderless full screen. You have to set your display adapter according to the graphics card that is installed on your PC. You have to set the refresh rate the same as the refresh rate that you changed in the windows settings earlier. Display resolution should be set according to your monitor’s native resolution. You have to ensure that the dynamic resolution is turned OFF and set the aspect ratio to automatic. You have to make sure that the v-sync(Gameplay) and v-sync(Menus) both are turned OFF.

After this, scroll down and then expand the custom frame rate limit. The gameplay custom frame rate limit should be set to 250 but in case you are facing problems then you have to set it to a lower value. You can set it to 60.

13- After this, go to the Quality tab from the top of your screen and set the quality preset to recommended. You have to set the render resolution according to your monitor’s native resolution and make sure that the upscaling sharpening is turned OFF. After that, set the anti-aliasing to Filmic SMAA T2X and the Anti-aliasing quality should be set according to the quality of your graphics card. Then you need to set the video memory to 90.

After this, go under the texture and detail settings and set the Texture resolution and Texture filter anisotropic to Normal. Nearby level of details and distance level of details both should be set to low. You have to set the clutter draw distance to short and set the particle quality to low and set the particle quality details to very low.

Now you have to navigate under the post-processing effects here you have to make sure that the NVidia reflex low latency, depth of field, world motion blur, and weapon motion blur all are turned OFF. You have to set the Film grain to 0.00.
