In this guide, you will find how to fix the Minecraft error code L-401 Bedrock on PS4. Go through the guide and follow the step-by-step instructions below to fix it.
- First, you need to navigate to the settings menu. Within the settings menu, select the “Network” option.
This is the section where you can manage your internet and network-related settings. Under the “Network” section, you will typically find various network-related options. - Look for and select the one labelled “Setup Internet Connection.”
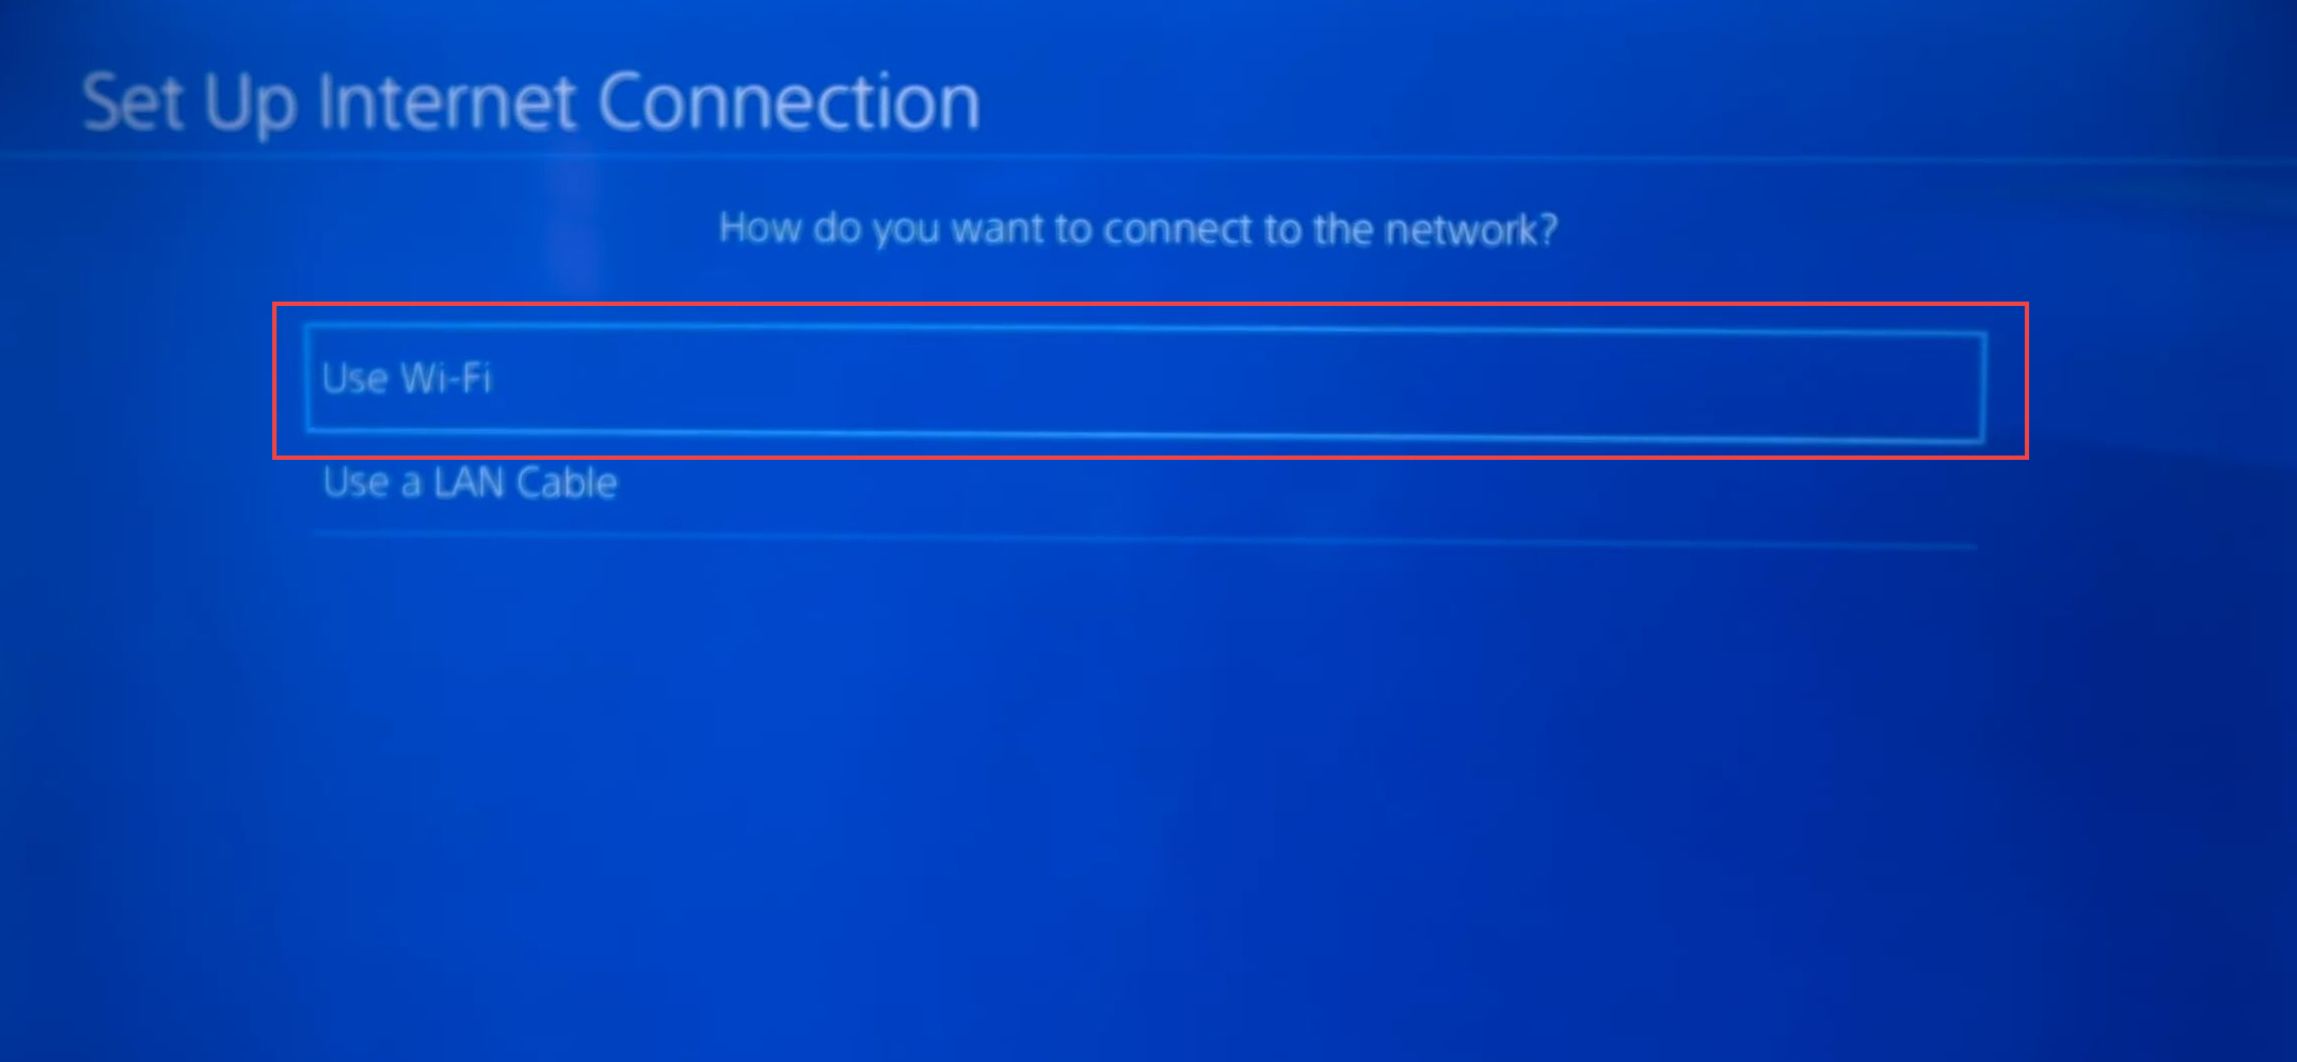
This option is used to configure your device’s internet connection settings. - Depending on your device and how it’s currently connected to the internet via Wi-Fi or Ethernet/LAN cable, choose the appropriate connection type.
- If you’re connected via Wi-Fi, select the Wi-Fi option. If you’re connected via an Ethernet cable (LAN), select the LAN option.
- After selecting your connection type Wi-Fi or LAN, you might have the option to choose “Custom” setup.
- If you’re setting up a Wi-Fi connection, you will be presented with a list of available Wi-Fi networks. Choose the network to which you’re currently connected.
This is typically indicated by the network’s name (SSID).
- Choose the option for configuring IP address settings. Typically, you’ll want to set this to “Automatic” or “DHCP” to let the network automatically assign an IP address to your device.
- For the “DHCP Hostname” option, choose “Do Not Specify“.
This prevents you from specifying a custom hostname. - Now, it’s time to configure DNS settings. Choose the option for DNS settings, and set it to “Manual” (rather than automatic).
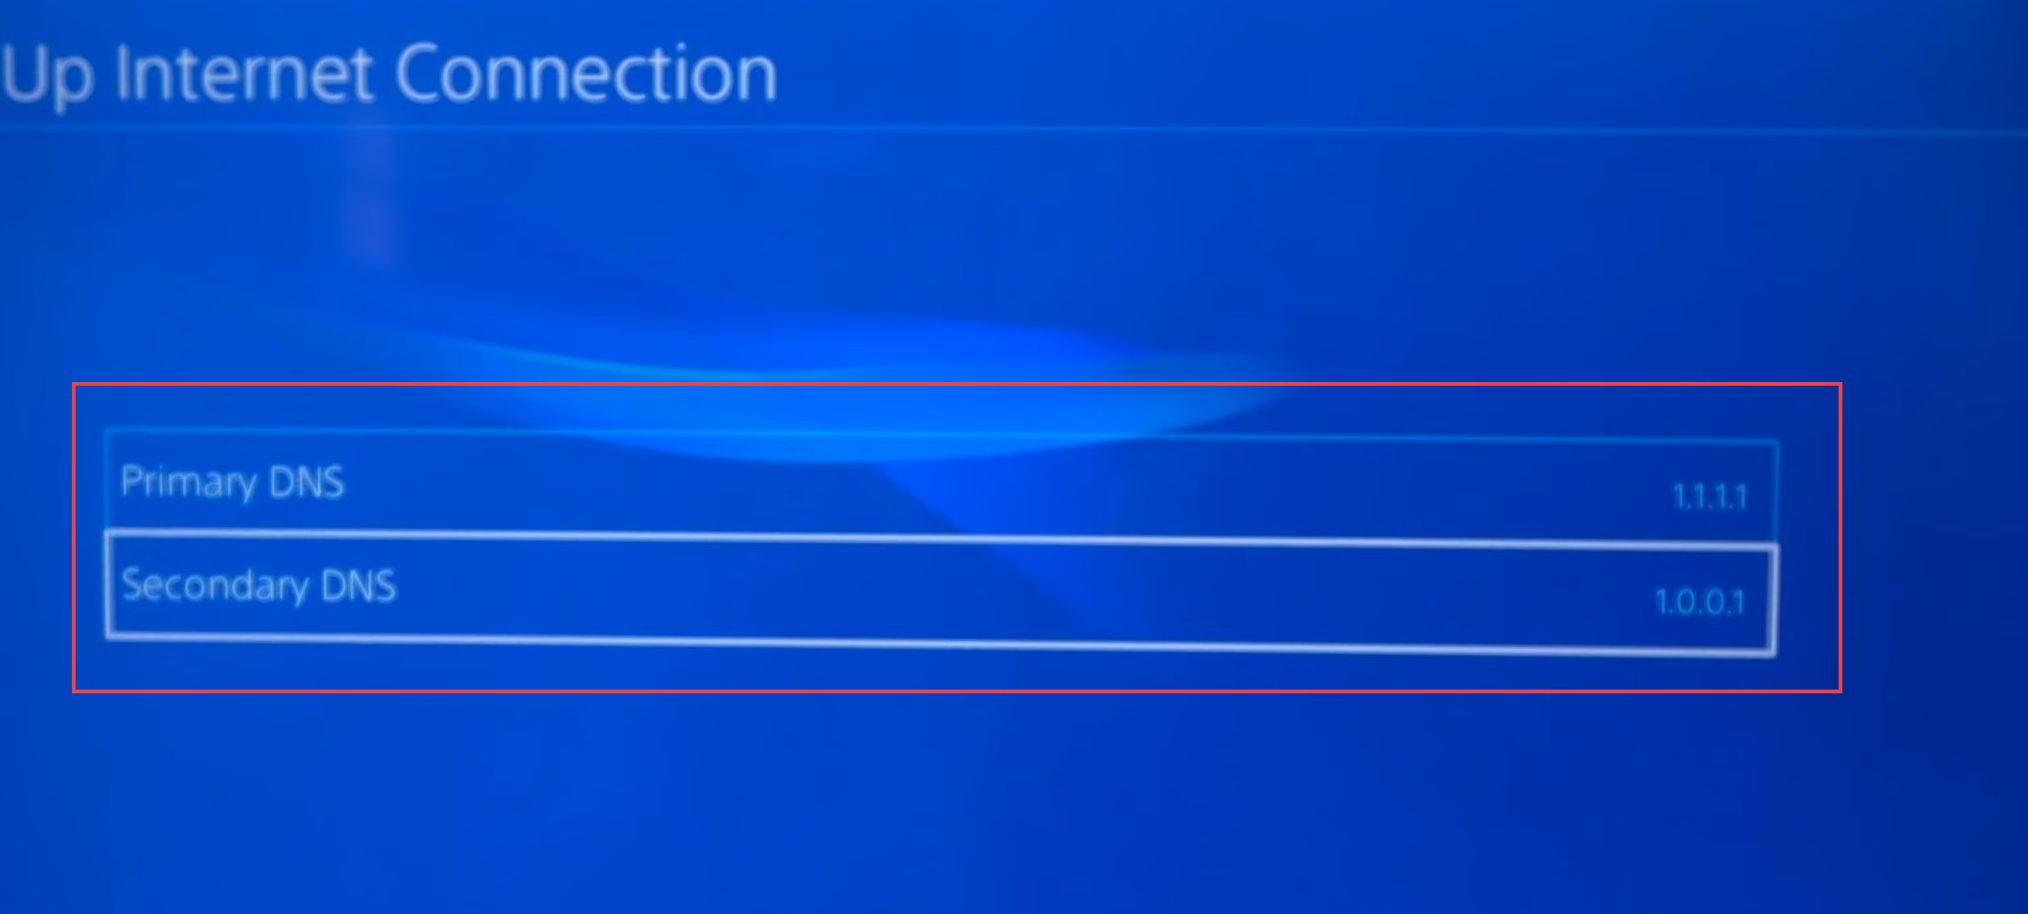
- Enter the primary DNS server address as “1.1.1.1.”
This is a widely used DNS server provided by Cloudflare, known for its speed and security. - For the secondary DNS server, enter “1.0.0.1.” This is another DNS server provided by Cloudflare and serves as a backup in case the primary server is unavailable.
- After entering the DNS server addresses, save your settings.
This will ensure that your device uses the specified DNS servers for its internet connection.
- Within the network settings, look for an option related to “MTU settings.” Set this option to “Automatic.”
MTU (Maximum Transmission Unit) determines the size of data packets used for network communication. - If you encounter an option for a proxy server, select “Do Not Use.”
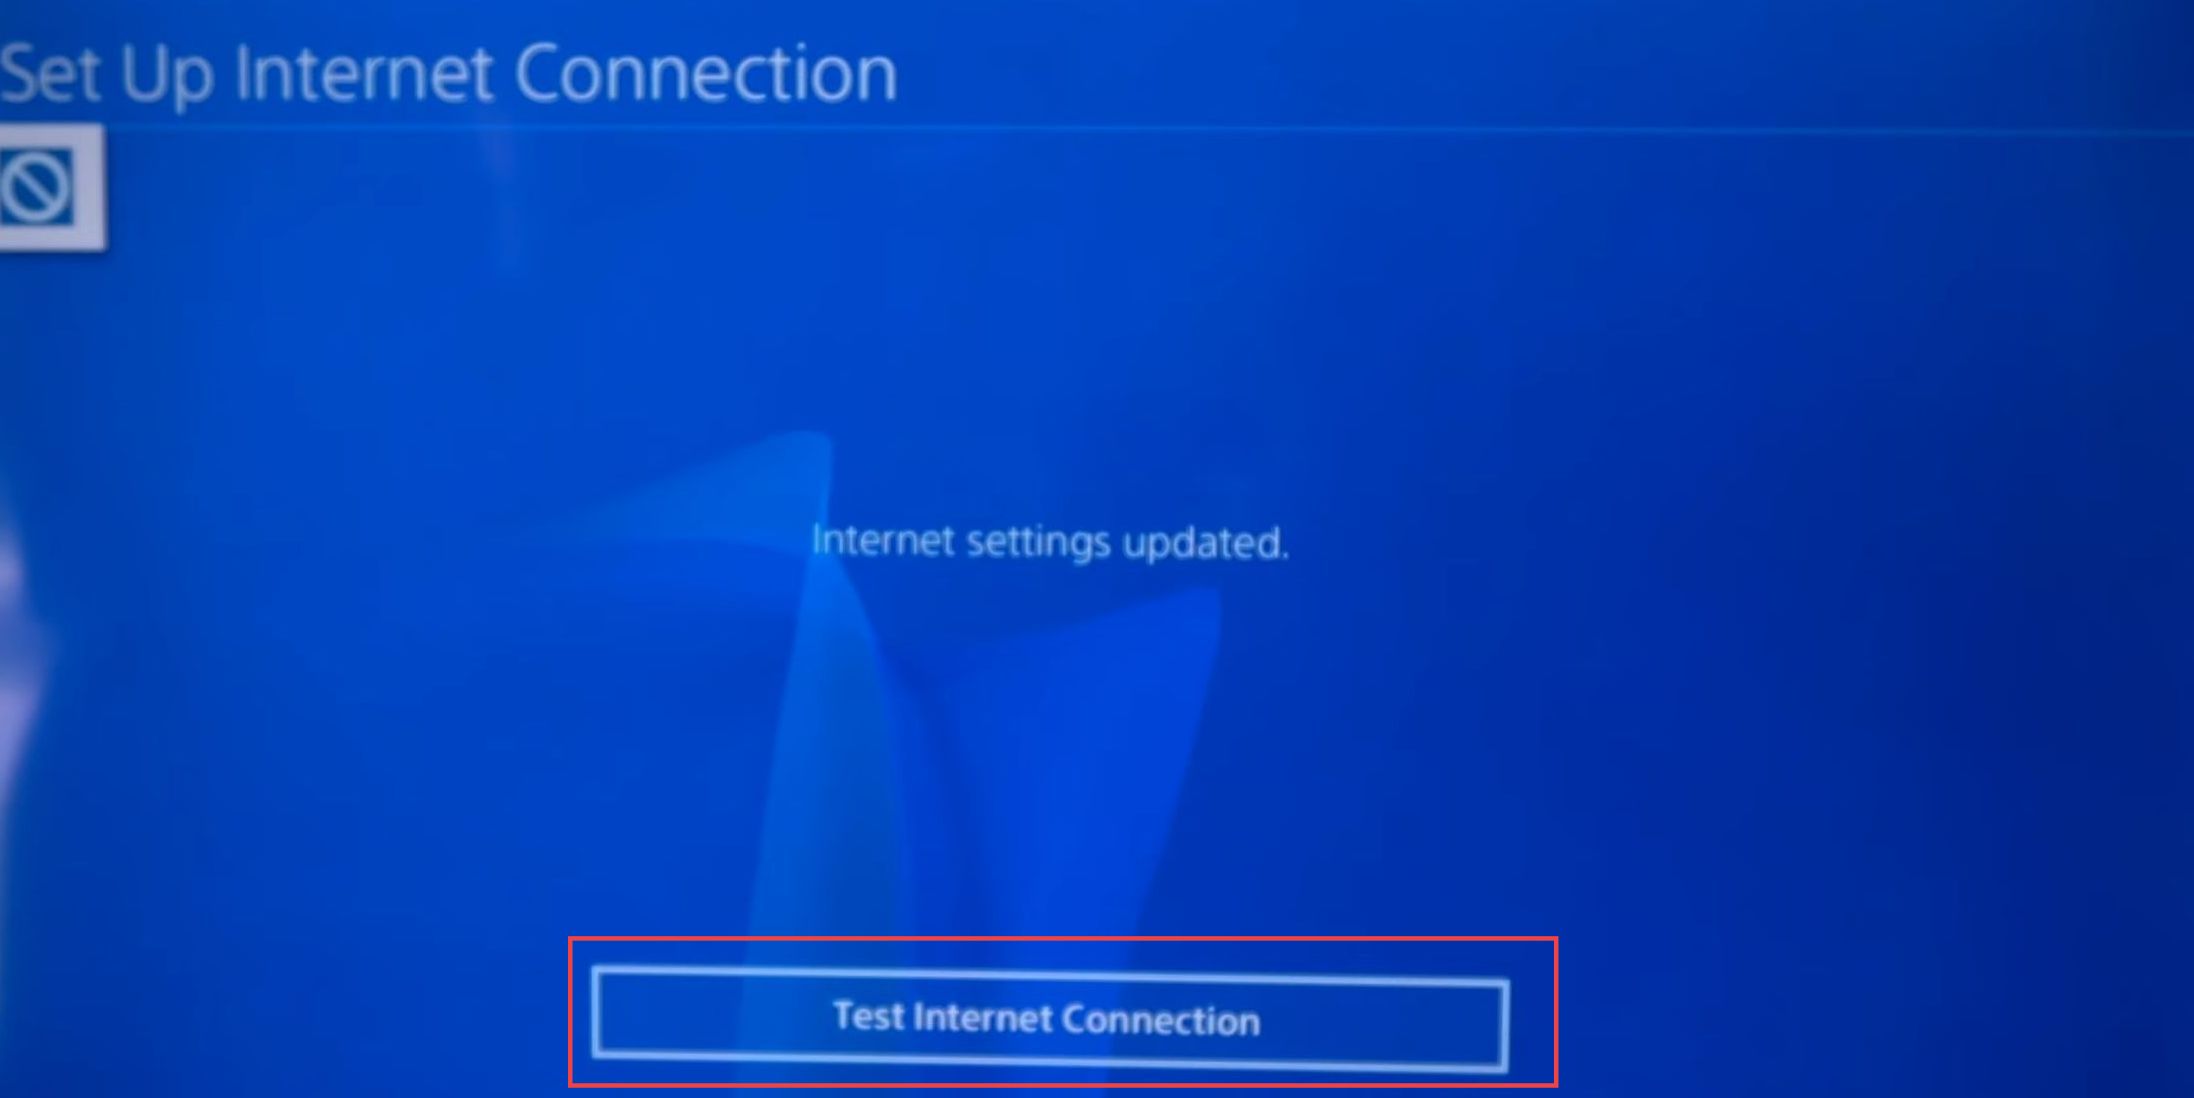
This indicates that your console should not use a proxy server for internet connections. - After configuring the MTU settings and proxy server, you can choose to test your internet connection.
This test will check the network settings to ensure that your console can connect to the internet. - Once you’ve tested your internet connection and confirmed that it’s working correctly, exit the Minecraft application. You can do this by navigating to the game’s main menu and choosing the option to exit or sign out.
- After exiting Minecraft, relaunch the game. You can do this from the PlayStation home screen by selecting the Minecraft icon or from your library of installed games.