This guide helps to fix the “Steam no internet connection error” in Windows 10 and 11. Troubleshooting the Internet Connection, Updating the Network Drivers, Checking your Firewall, Reinstalling Steam, and starting Steam using TCP are a few methods that can be followed to resolve the error.
Troubleshoot the Internet Connection
In this section, we will take you through the steps to troubleshoot the Internet Connection to resolve the error. You have to open settings from the start menu and click the Troubleshoot option. After that, run the troubleshooter for internet connections and check whether the error is fixed.
- First, you need to click the Windows button from the taskbar and then select the settings from the start menu.
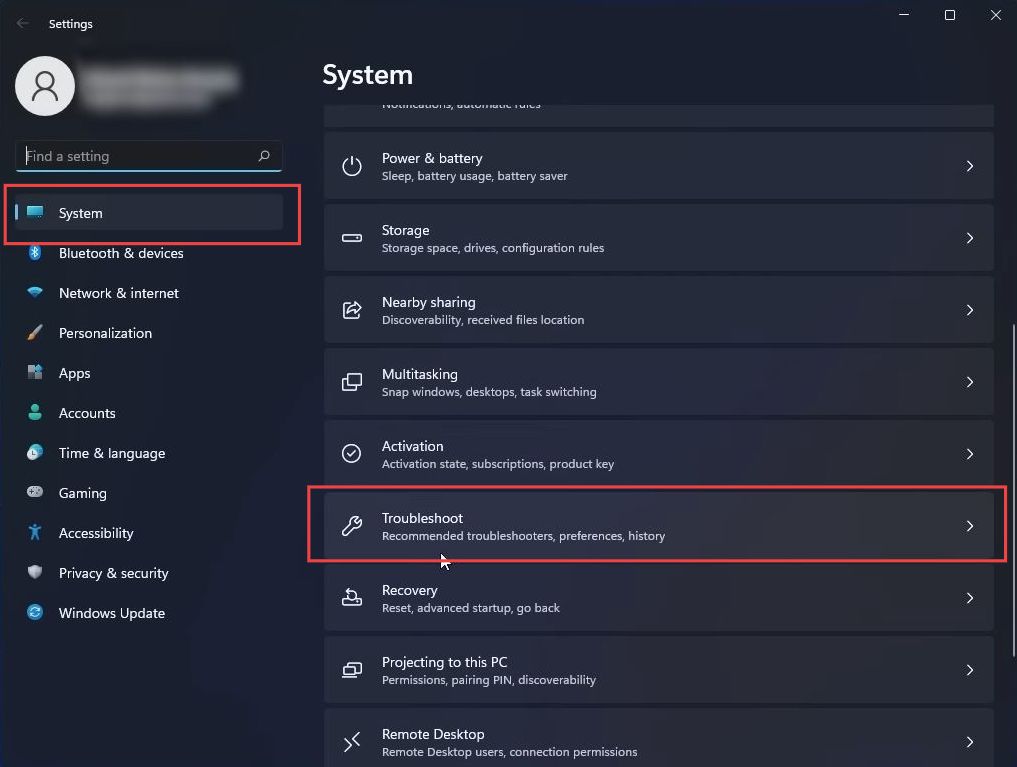
- Upon reaching the new page, click the System option from the left side panel, scroll down and select the Troubleshoot tab from the listings.
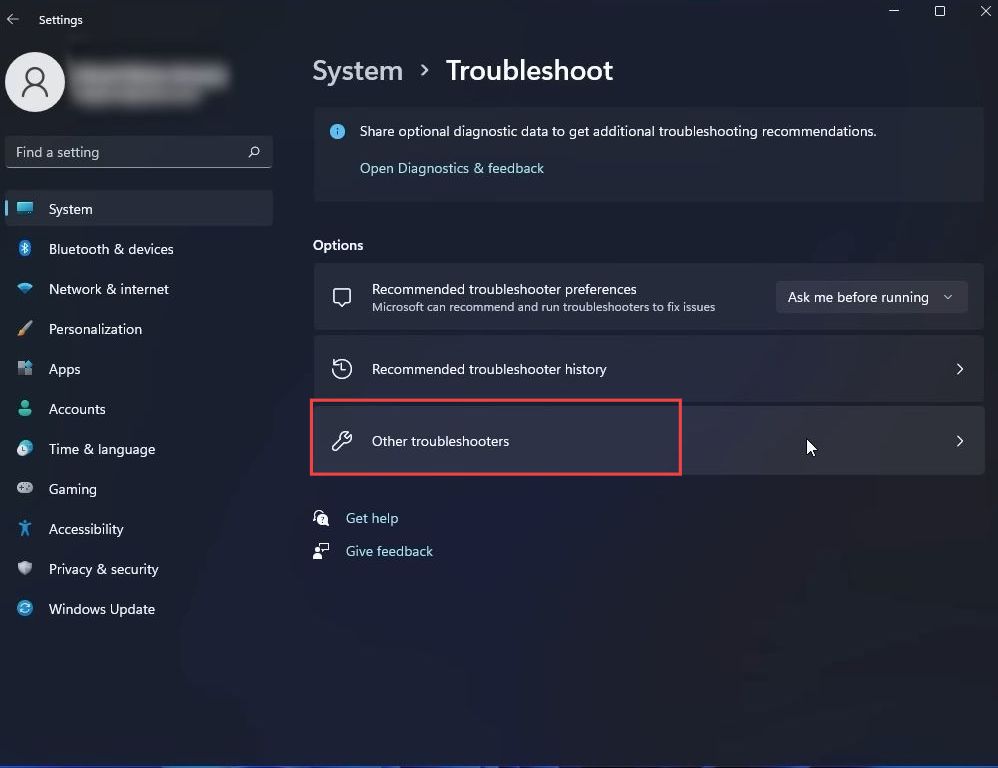
- After that, click the Other troubleshooter option from this window.
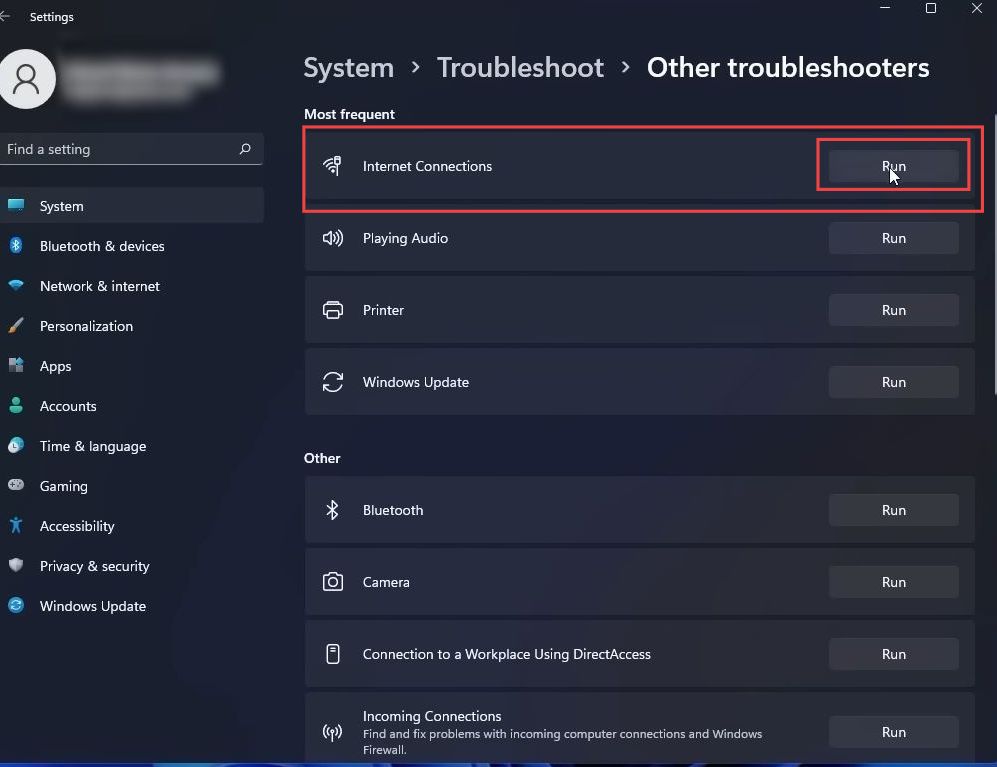
- Once this window is opened, select the Run button from the tab of Internet connection.
The window will apply the possible fixes to your issue. - After that, restart your computer and check whether the issue is resolved.
Update the Network Drivers
This section describes how to update network drivers that could assist to resolve the error.
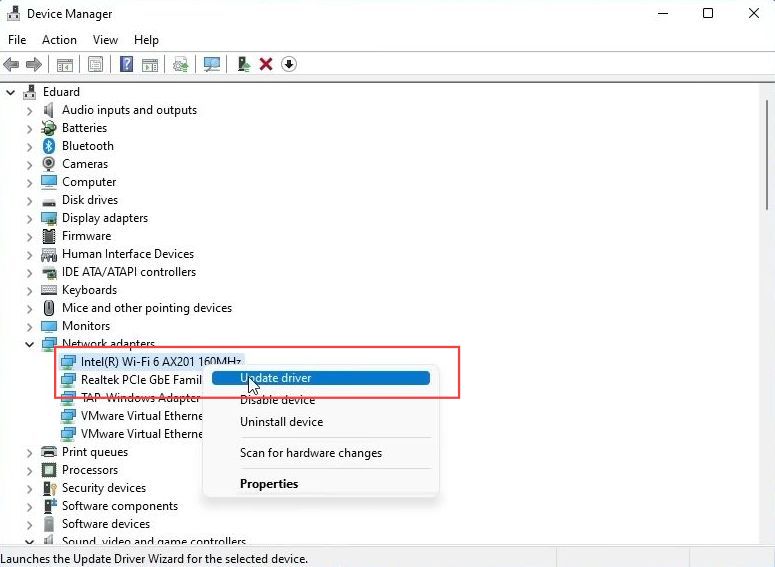
- First, you need to right-click the Windows button from the taskbar and select Device Manager from the menu.
- Upon reaching this window, click the Network Adapters tab to expand it.
- Right-click your Wifi driver and select the update driver option from the listings.
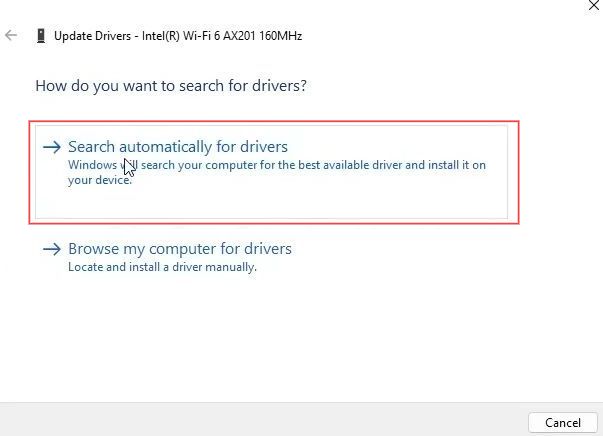
- Once this window appears, click the ”search automatically for drivers” option from the menu.
The windows will try to find and install the best possible drivers.
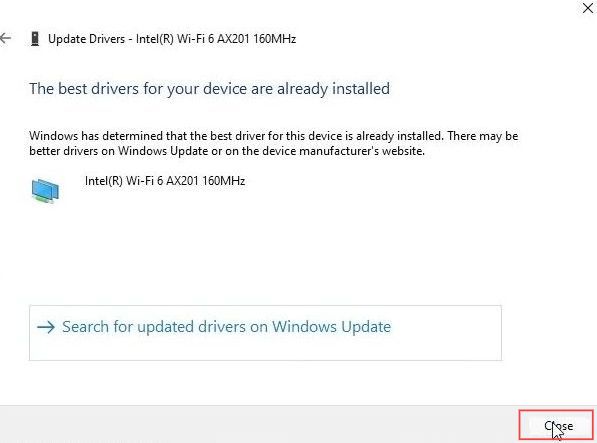
- Now you need to close this window and restart your computer to check if the problem is solved.
Check your Firewall
This section explains to check the windows defender firewall for resolving the issue. You have to open the Defender firewall from the start menu and allow the Steam app to run through the Windows Defender firewall. Then turn off the private and public network settings to check if the problem is solved.
- First, you need to click the Windows button from the taskbar.
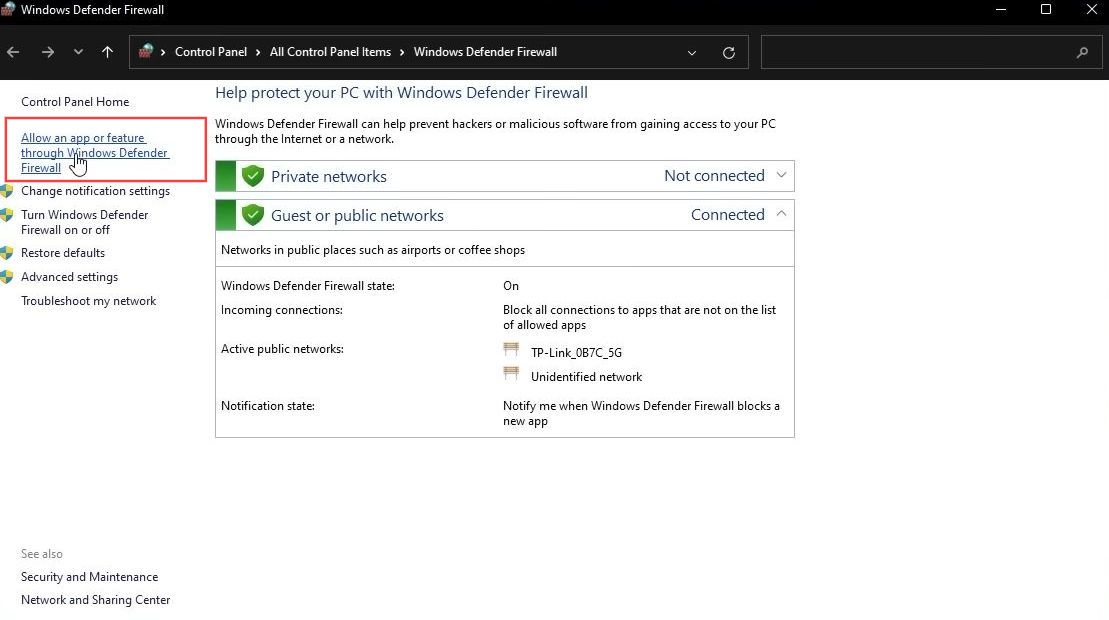
- Search firewall and click the Windows Defender firewall from the listings to open it.
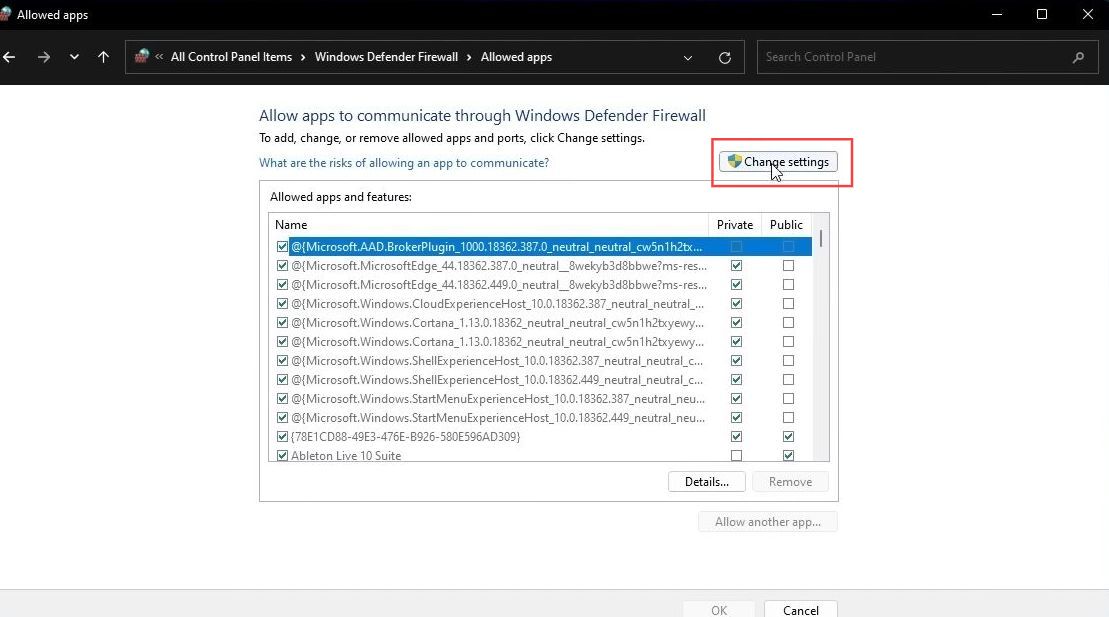
- Upon reaching the new window, click the Allow an app or feature through the Windows Defender Firewall option from the left side panel.
- If you want to exclude Steam from your Windows Defender Firewall, then click the Change Settings button from the top right side.
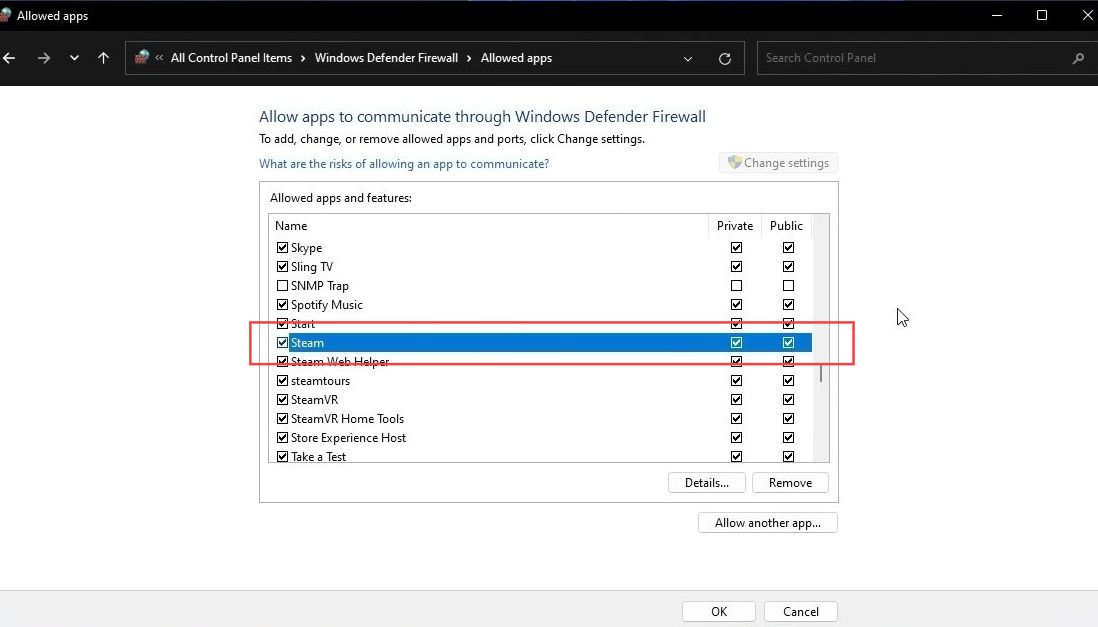
- After that, scroll down to Steam from the listings and check out the Private and Public options next to Steam.
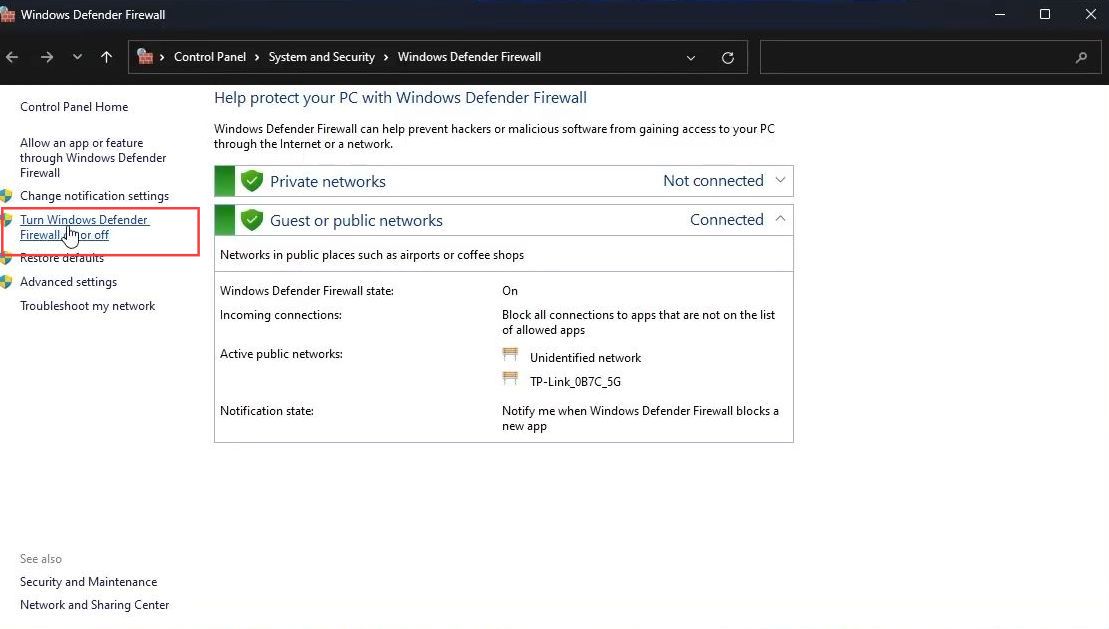
- Once it opens up, select the Turn Windows Defender Firewall on or off option from the left side panel.
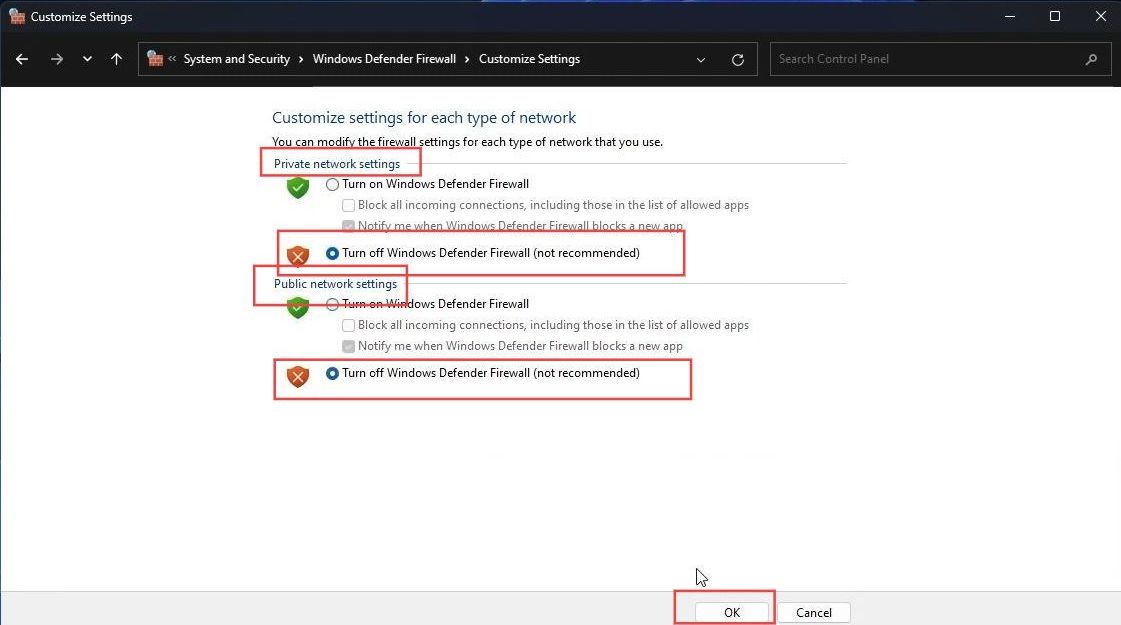
- Once the customize settings window is opened, select the turn-off windows defender firewall (not recommended) option from the private and public network settings section.
- After that, click the OK button to save the changes and restart your computer to check whether the issue is resolved.
- If the problem is not caused by the windows defender firewall, then you have to reset the settings for both private and public users as previously.
Start Steam Using TCP
This section describes how to start Steam using TCP to resolve the error. You have to go to the properties of Steam and write a certain command after the location from the target section. Then you have to check if the issue is resolved.
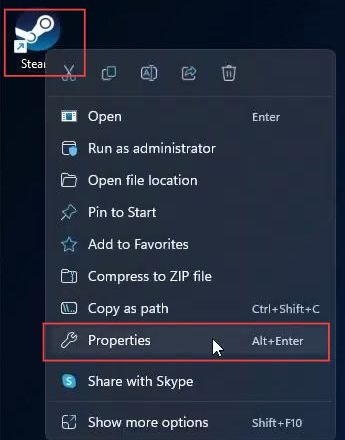
- First, right-click the Steam application from your computer’s desktop.
- Select the properties option from the extended menu.
- Upon reaching this window, click the Shortcut tab from the quick access toolbar and write ” -tcp” after the location in the target section.
- After that, click the Apply and Ok buttons from the menu. Now check if the issue is resolved.

Reinstall Steam
This section explains how to uninstall and reinstall the Steam application on your computer. You have to locate the Steam application from the settings and uninstall it. Then after restarting your computer, you need to reinstall the Steam application to check whether the issue is resolved.
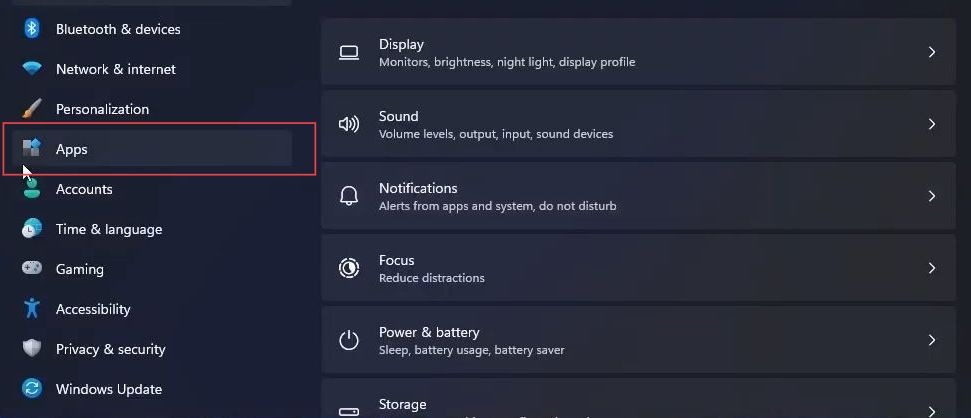
- You need to click the Windows button from the taskbar and select the settings from the start menu.
- Upon reaching this page, click the Apps option from the left side panel.
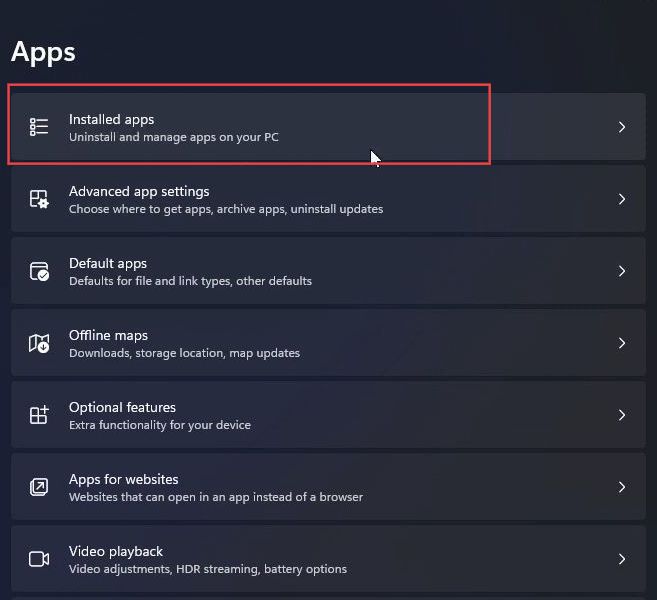
- After that, select the Installed Apps option from the listings.
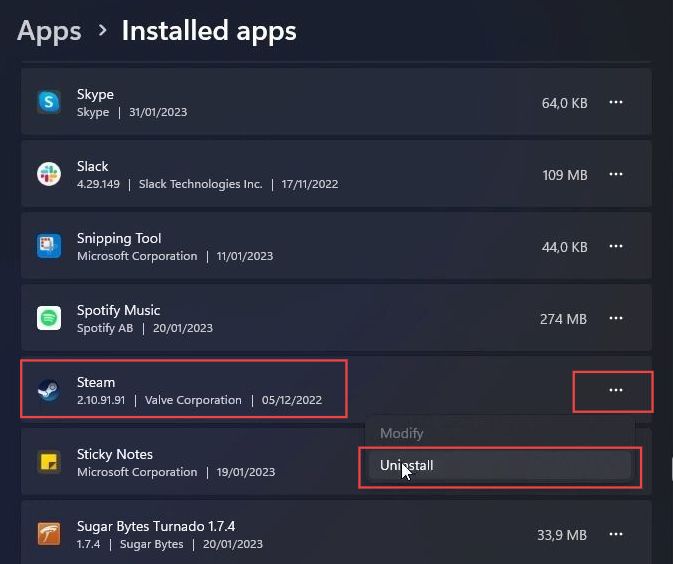
- Once the window is opened, scroll down until you find the Steam application and select Steam from the menu.
- After that, click the three dots from the extreme right side and press the Uninstall option from the extended menu.
- Later, you have to reinstall the Steam application on your computer and check if the issue has been resolved.