This guide will let you know how to install 5real/LA Revo in Grand Theft Auto 5. Go through the guide and follow the step-by-step instructions to install it.
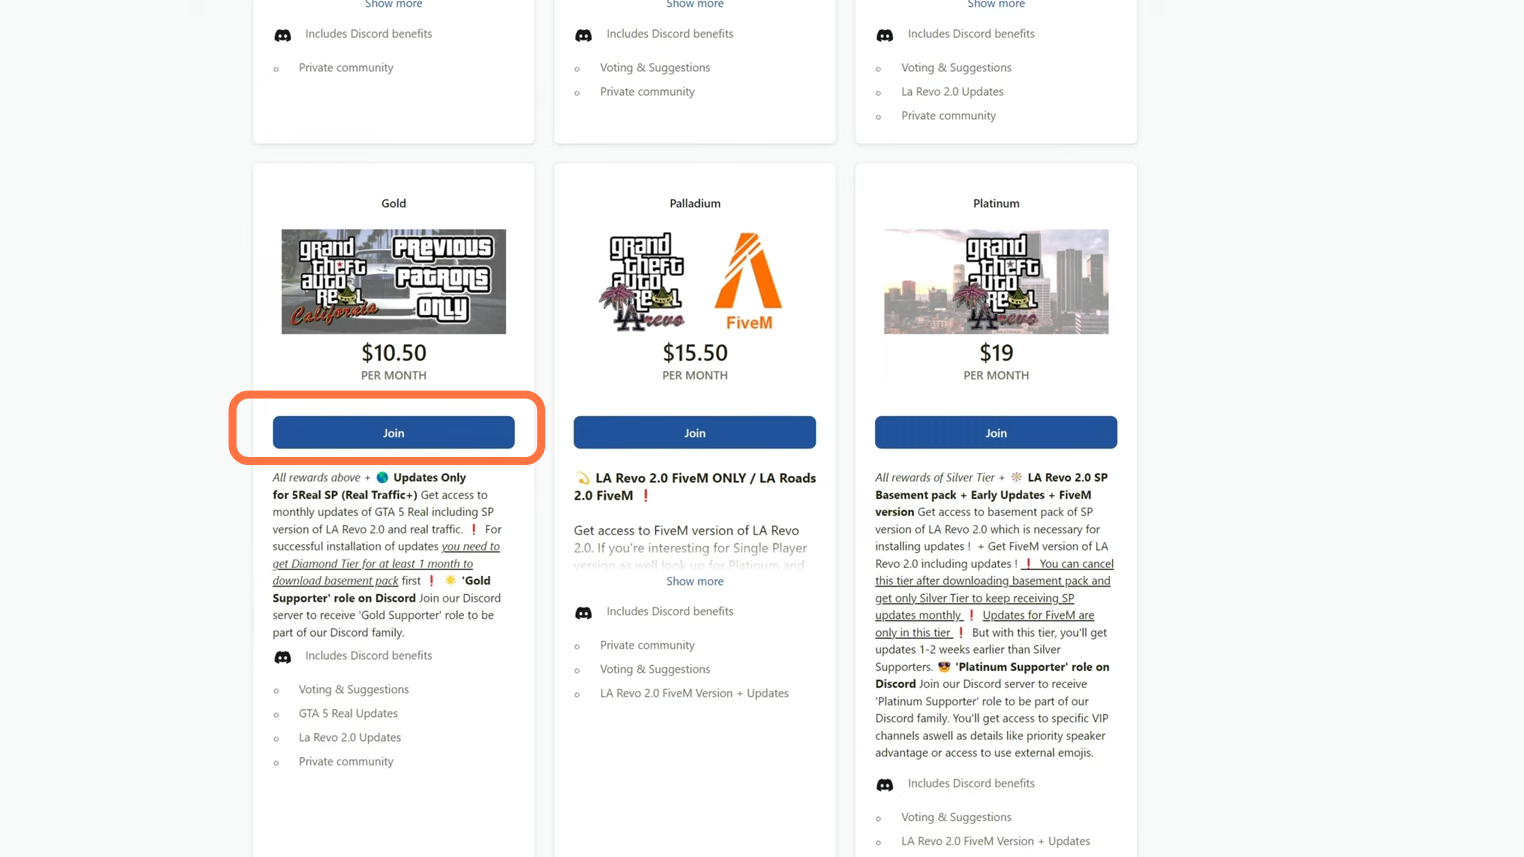
1. First, you will need to open the following link “https://www.patreon.com/join/AdnrStudio” and join any tier. Let’s go ahead and review the tiers at this Patreon by AdnrStudios. The top tier is called Diamond, meaning you’ll be able to receive real traffic which will replace all the cars in the game with real cars. You will also get LA Revo 2.0 Basement pack and all the early updates. If you join a Diamond package, you’ll receive 5 real La Revos! After getting the tier for one month, you can cancel it, then go and get the other tier like the gold tier. The gold tier will keep you updated with five real SP updates in real traffic. Inside the tier, all the information is provided. Make sure you read all these tiers and join according to your needs. Before you become a Patreon of AdnrStudios, make sure that you have your Discord connected to your Patreon as it’s very important.
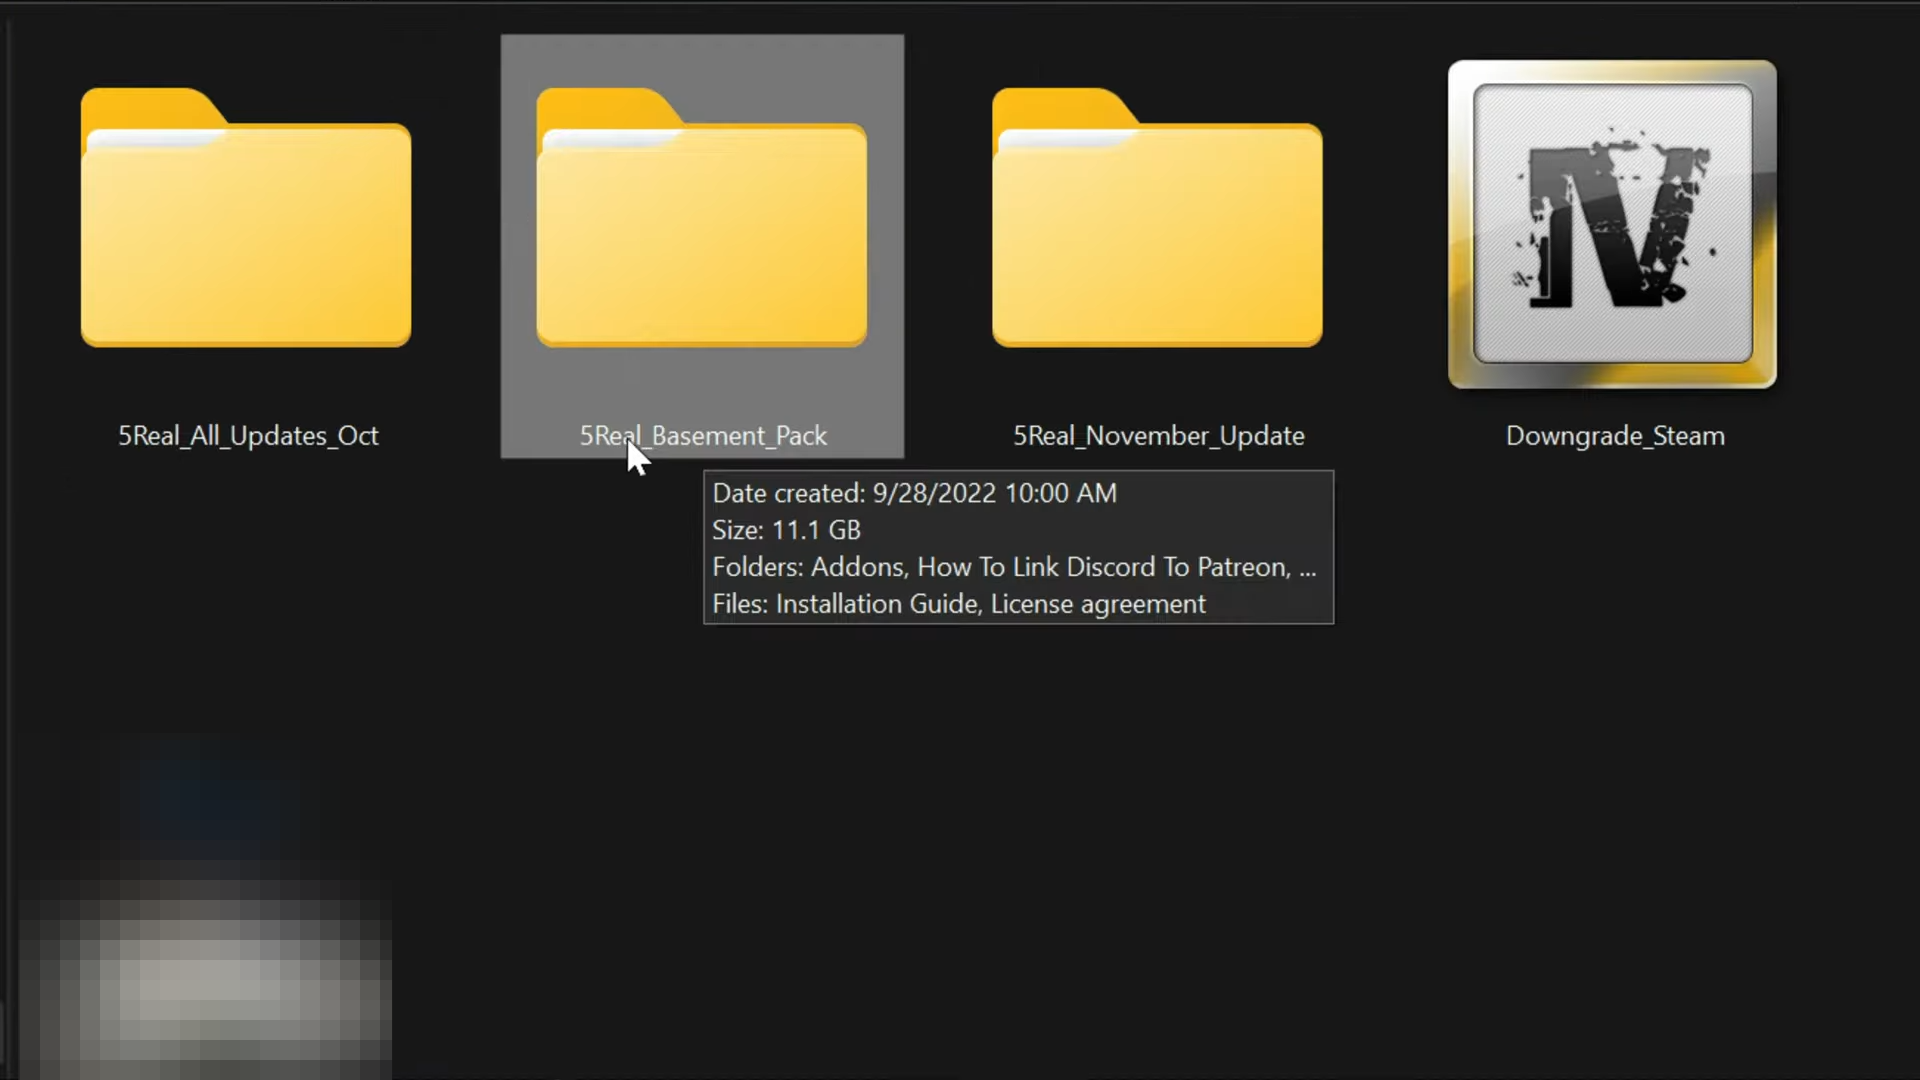
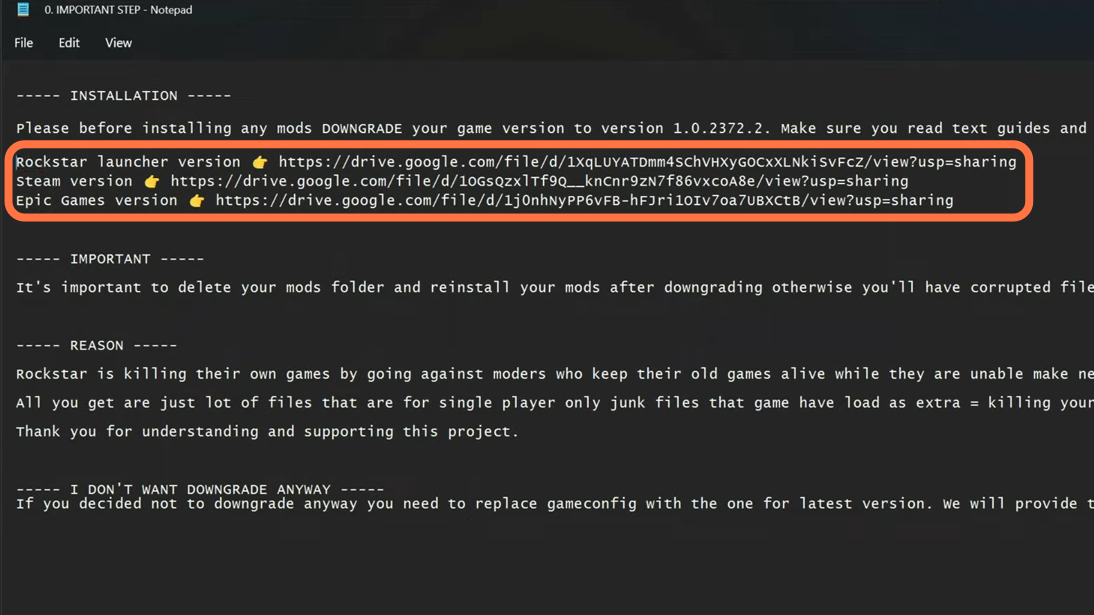
2. Once you have your diamond or any tier joined and you have all of your files downloaded it should look something like this in your downloads folder. The most important file here is the 5Real_Basement_Pack. Before getting started, you need to downgrade your game. If you don’t want to lose your mods folder with the game’s downgrade, be sure to rename it. When you downgrade the game, it will automatically delete and create a new one. It’s very important to rename your mods folder to something else if you want to keep your mods files on these occasions. There’s also a reason why you have to downgrade right here and there is a special instruction available in the readme text file for those of you that are using “lspdfr”. The author provides information that says if you decide not to downgrade, you need to replace the game config with the one for the latest version. This game config file will be there in the update files in a folder of add-ons “lspdfr” because “lspdfr” is one of the main reasons why you may don’t want to downgrade your game.
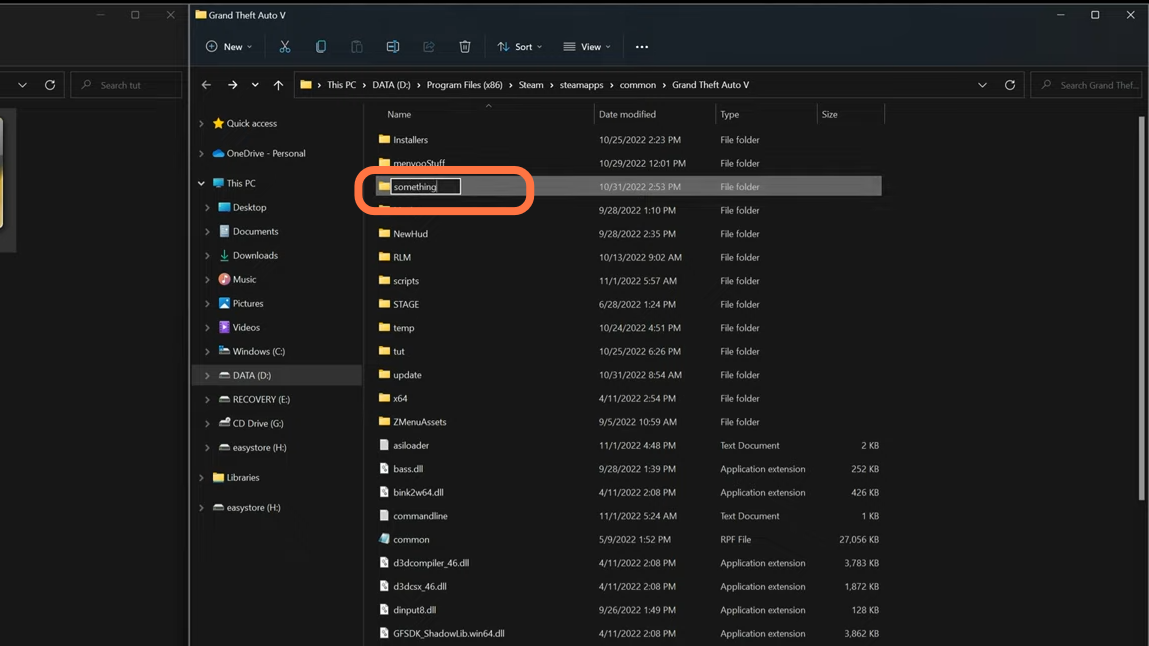
3. In this case, we don’t play with lspdfr but just in case you do, you don’t need to downgrade your game as you can mess up some files. On the other hand, open the “GTA V” directory side by side with the downloads folder. Now rename the mods folder so that changes don’t mess with your old mods of the “GTAV” and also delete the HeapAdjuster and Packfile limit adjuster if you have them. It is also recommended to change the name of the scripts folder as well so that it would not be called automatically. The reason is that you want to make sure after you install five real completely you want everything running smoothly. anything in your scripts folder won’t conflict with anything that comes with five real.
4. Inside the readme file, there are three versions of downgrades mentioned here. So if you have a Rockstar launcher version of GTAV which means you bought your GTAV through the Rockstar launcher, then you would use the first link right here in order to download your downgrade files. You also have one for Steam and one for the Epic Games version, so make sure that you get the correct version of the downgrade.
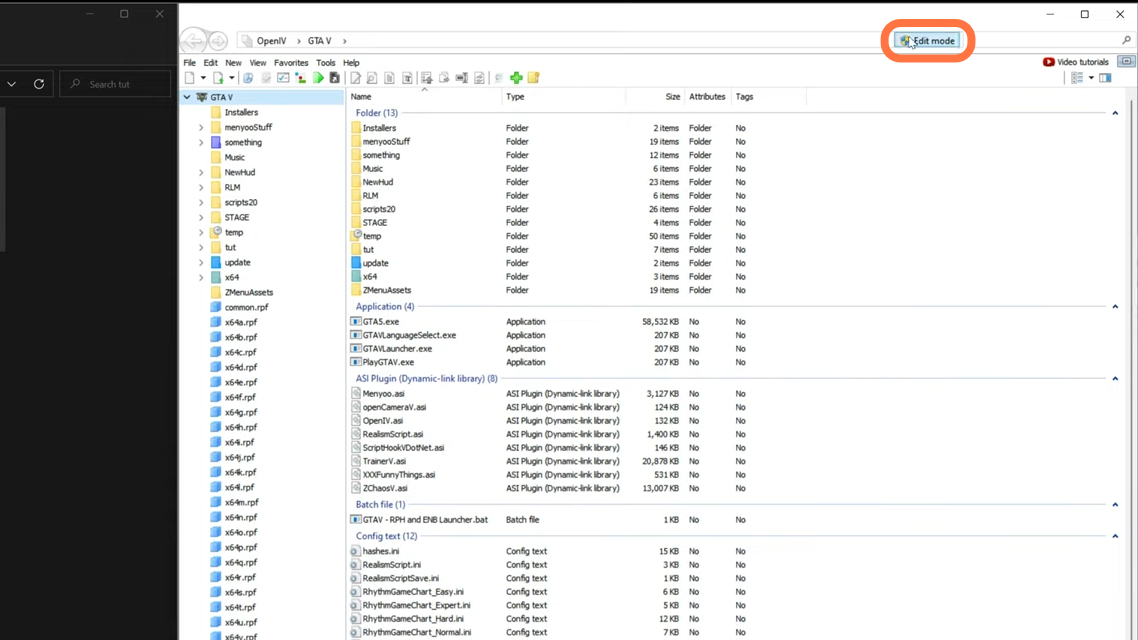
5. In this case, the steam version has been used, and have installed the required archive manager “Open IV” for this 5real mod to install successfully. You can download it from “https://openiv.com/“. Now you need to open the ‘Open IV’ editor and make sure to click on the ‘Edit Mode’ to enable it.
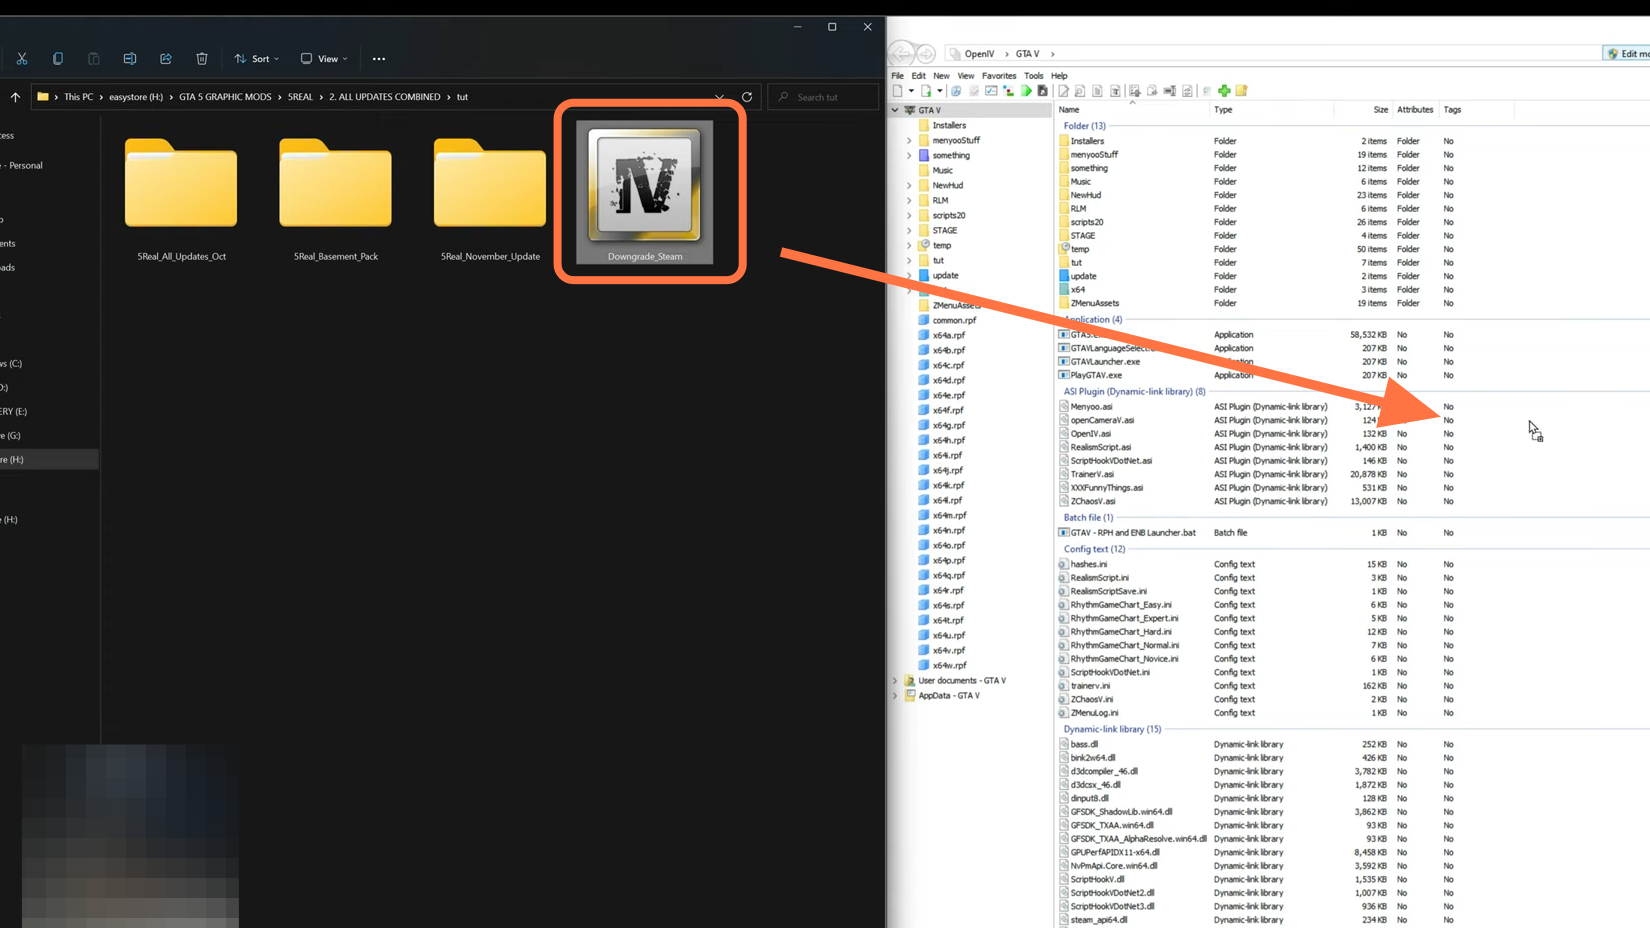
6. Select the downgrade OIV file and drag & drop this into the Open IV.
7. A Window will appear where you need to click on the Install button and you can also read the purpose of this file in its description.
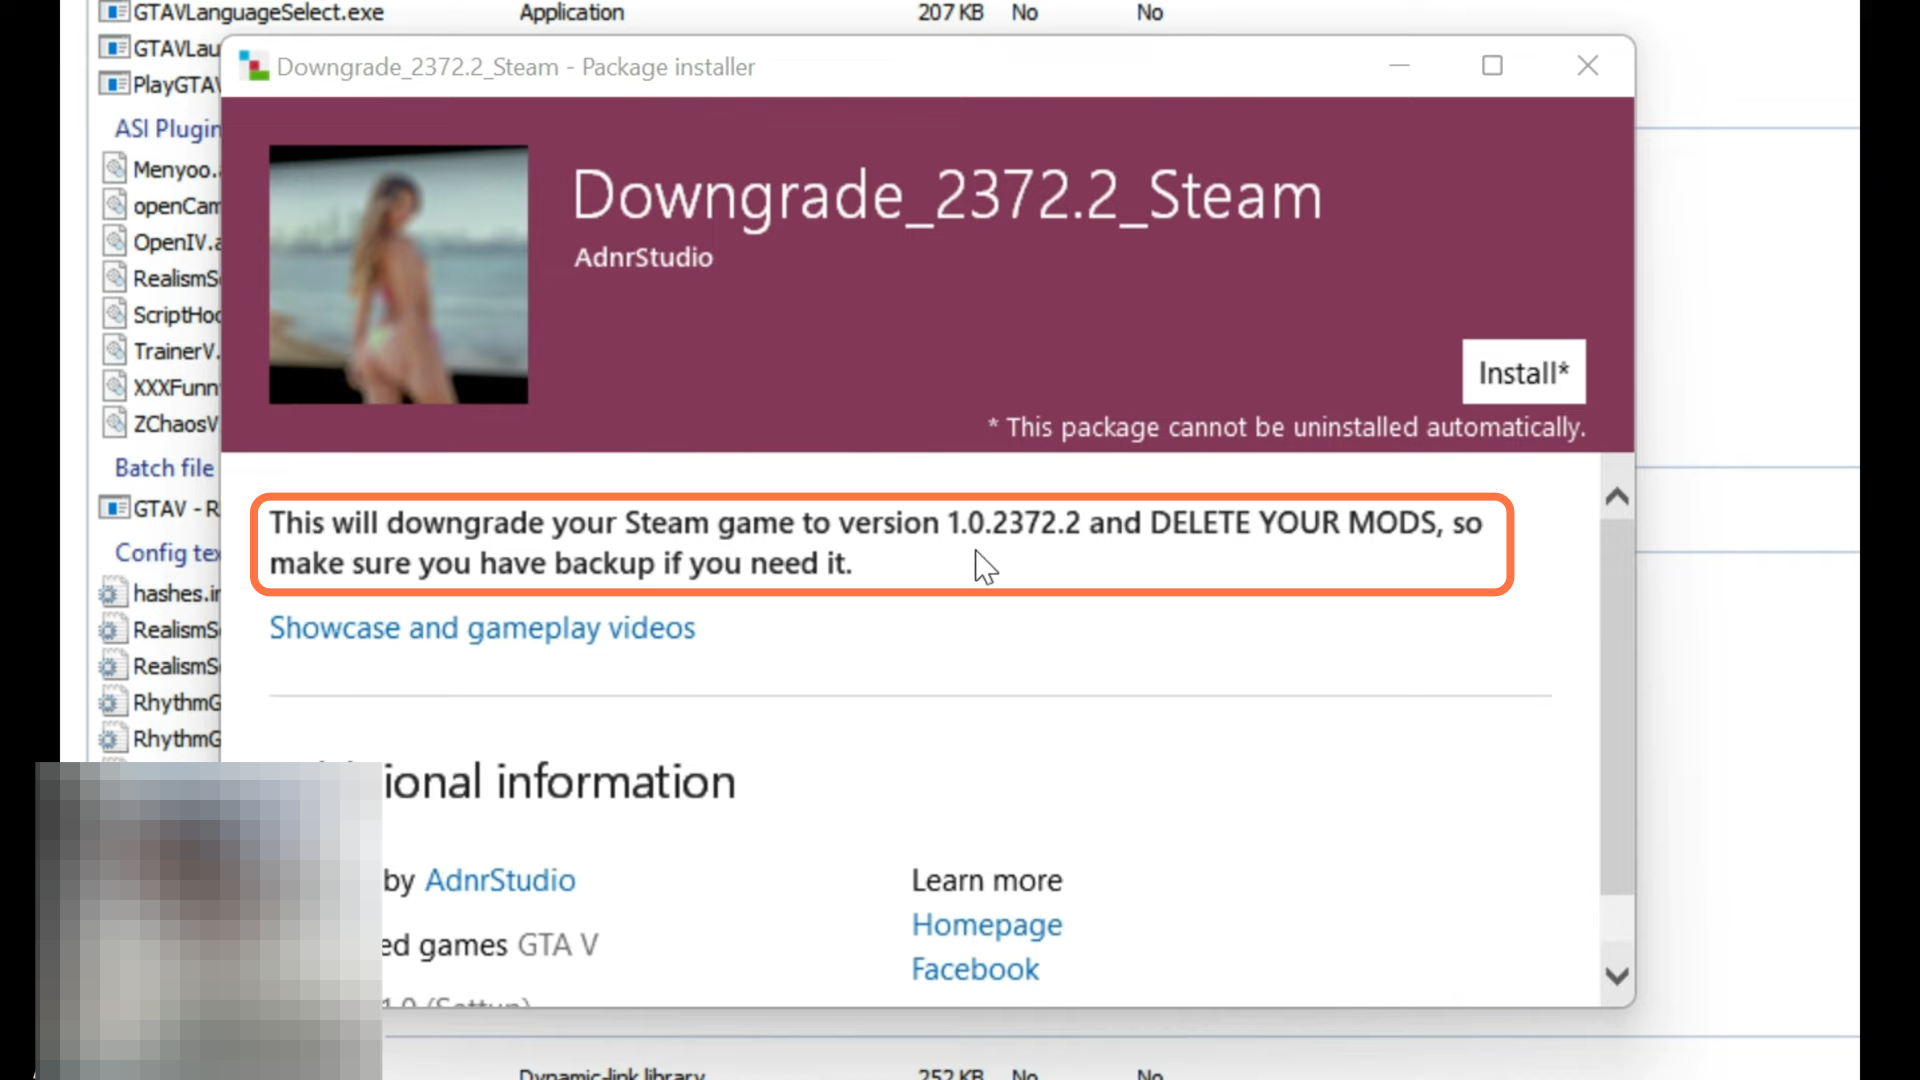
8. After that, select the “Game Folder” as a destination location to install this mod.
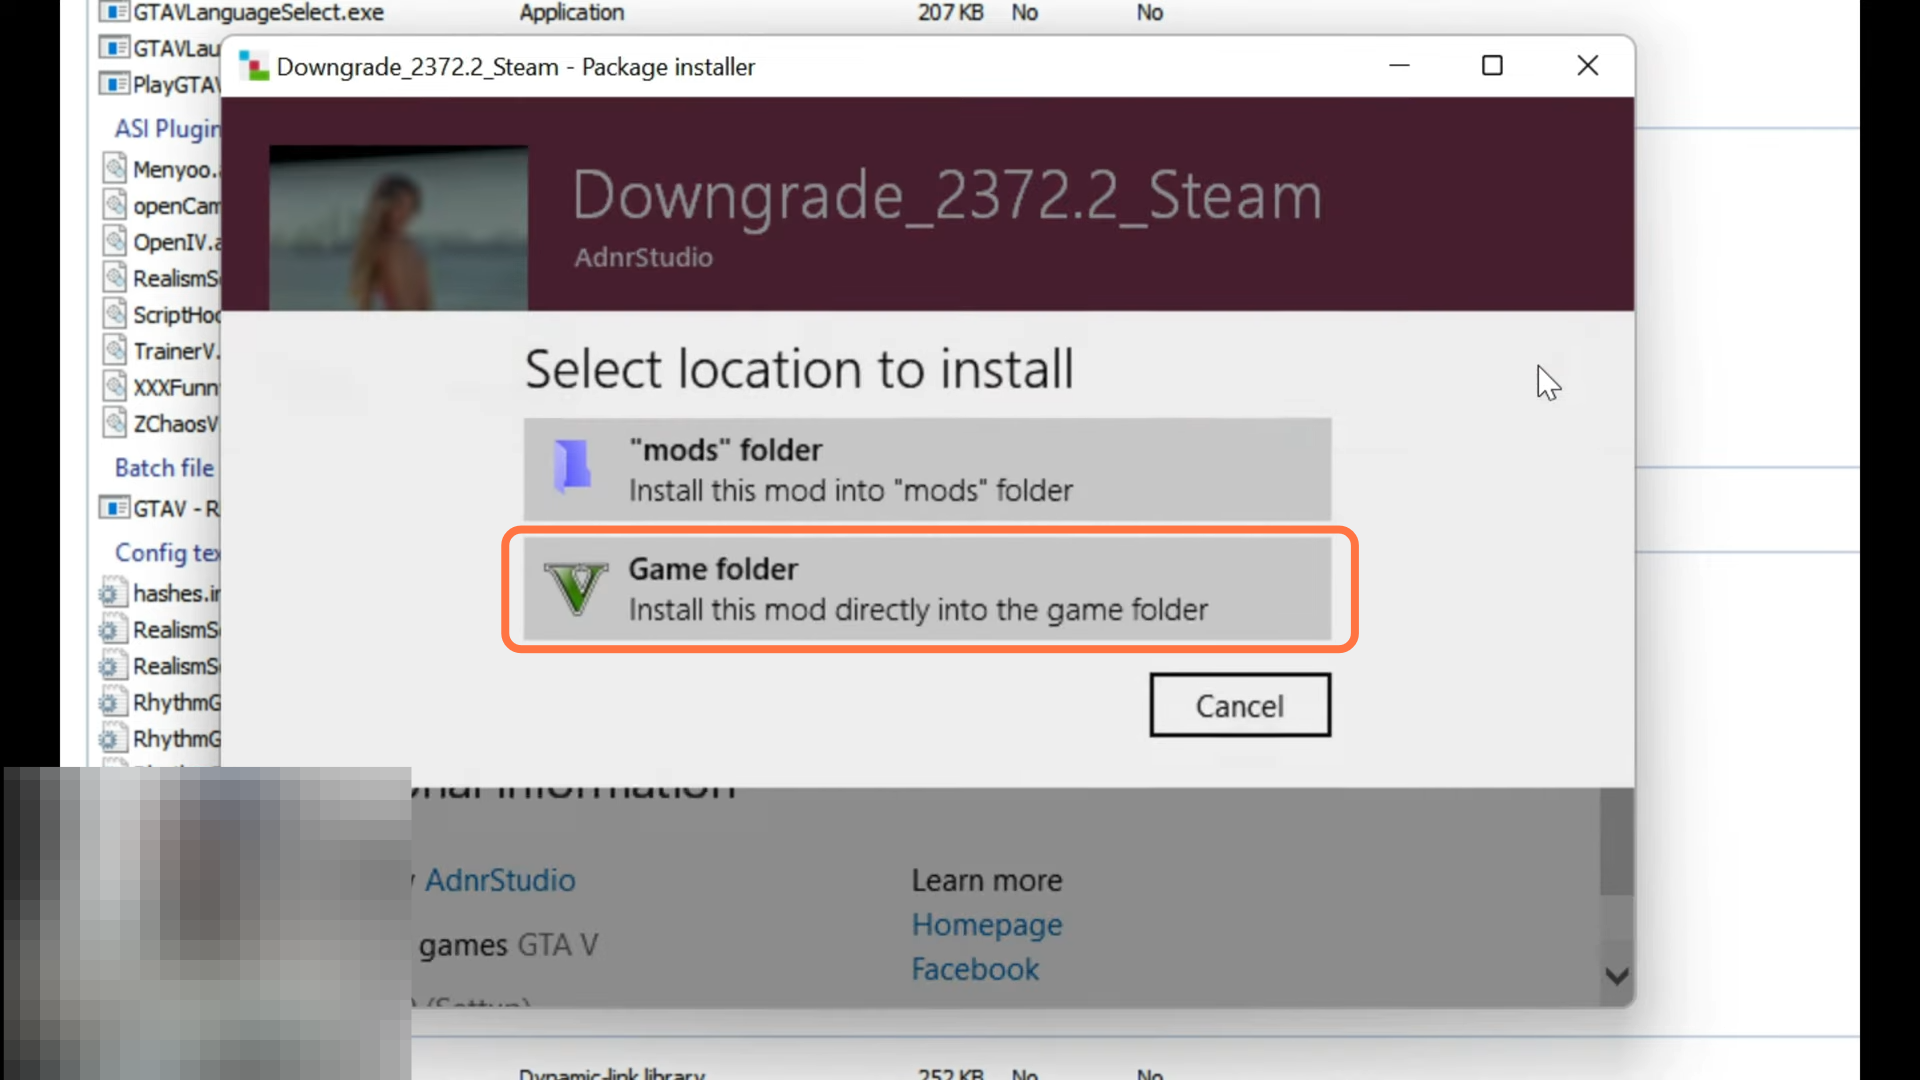
9. Finally, select the Install (Confirm installation) option.

10. Now move towards the basement pack as you have to install the basement pack first before any updates. So open up the 5Real_Basement_Pack and inside that basement pack, you need to have a folder named add-ons.
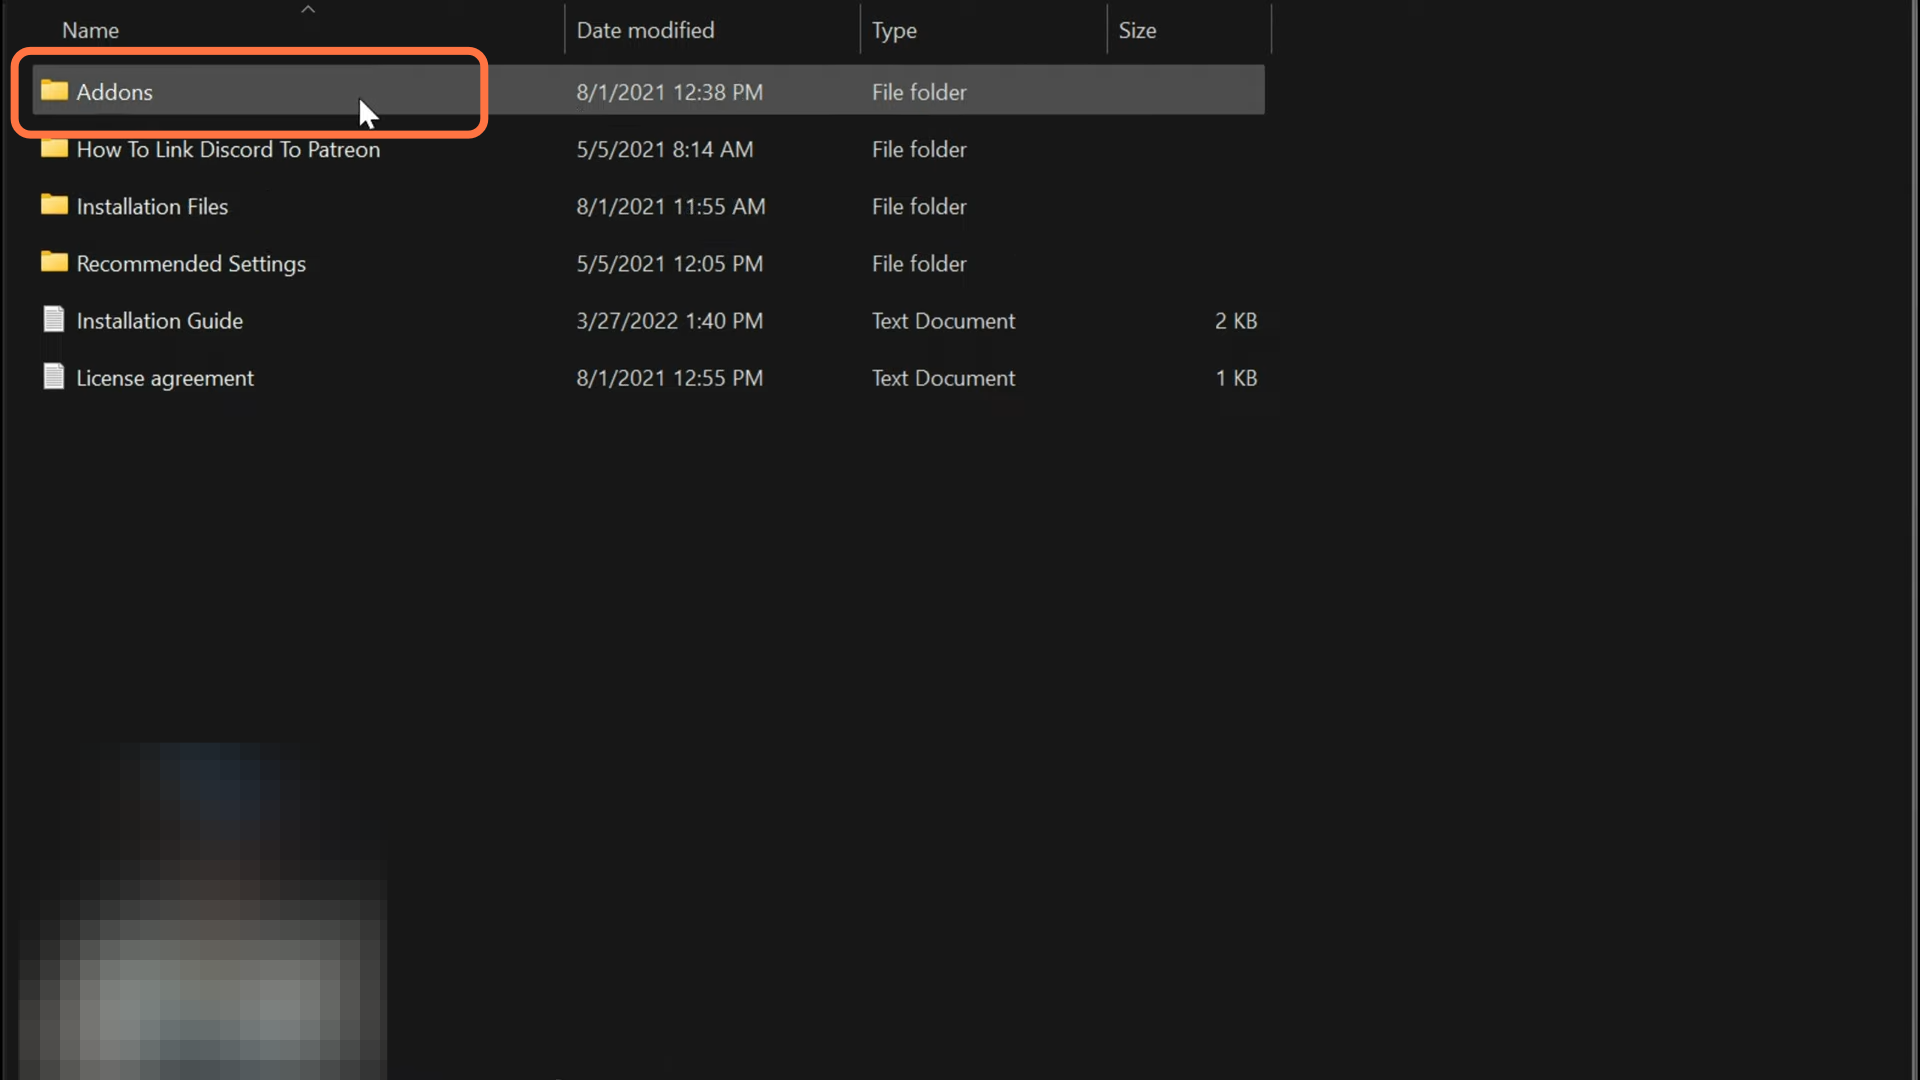
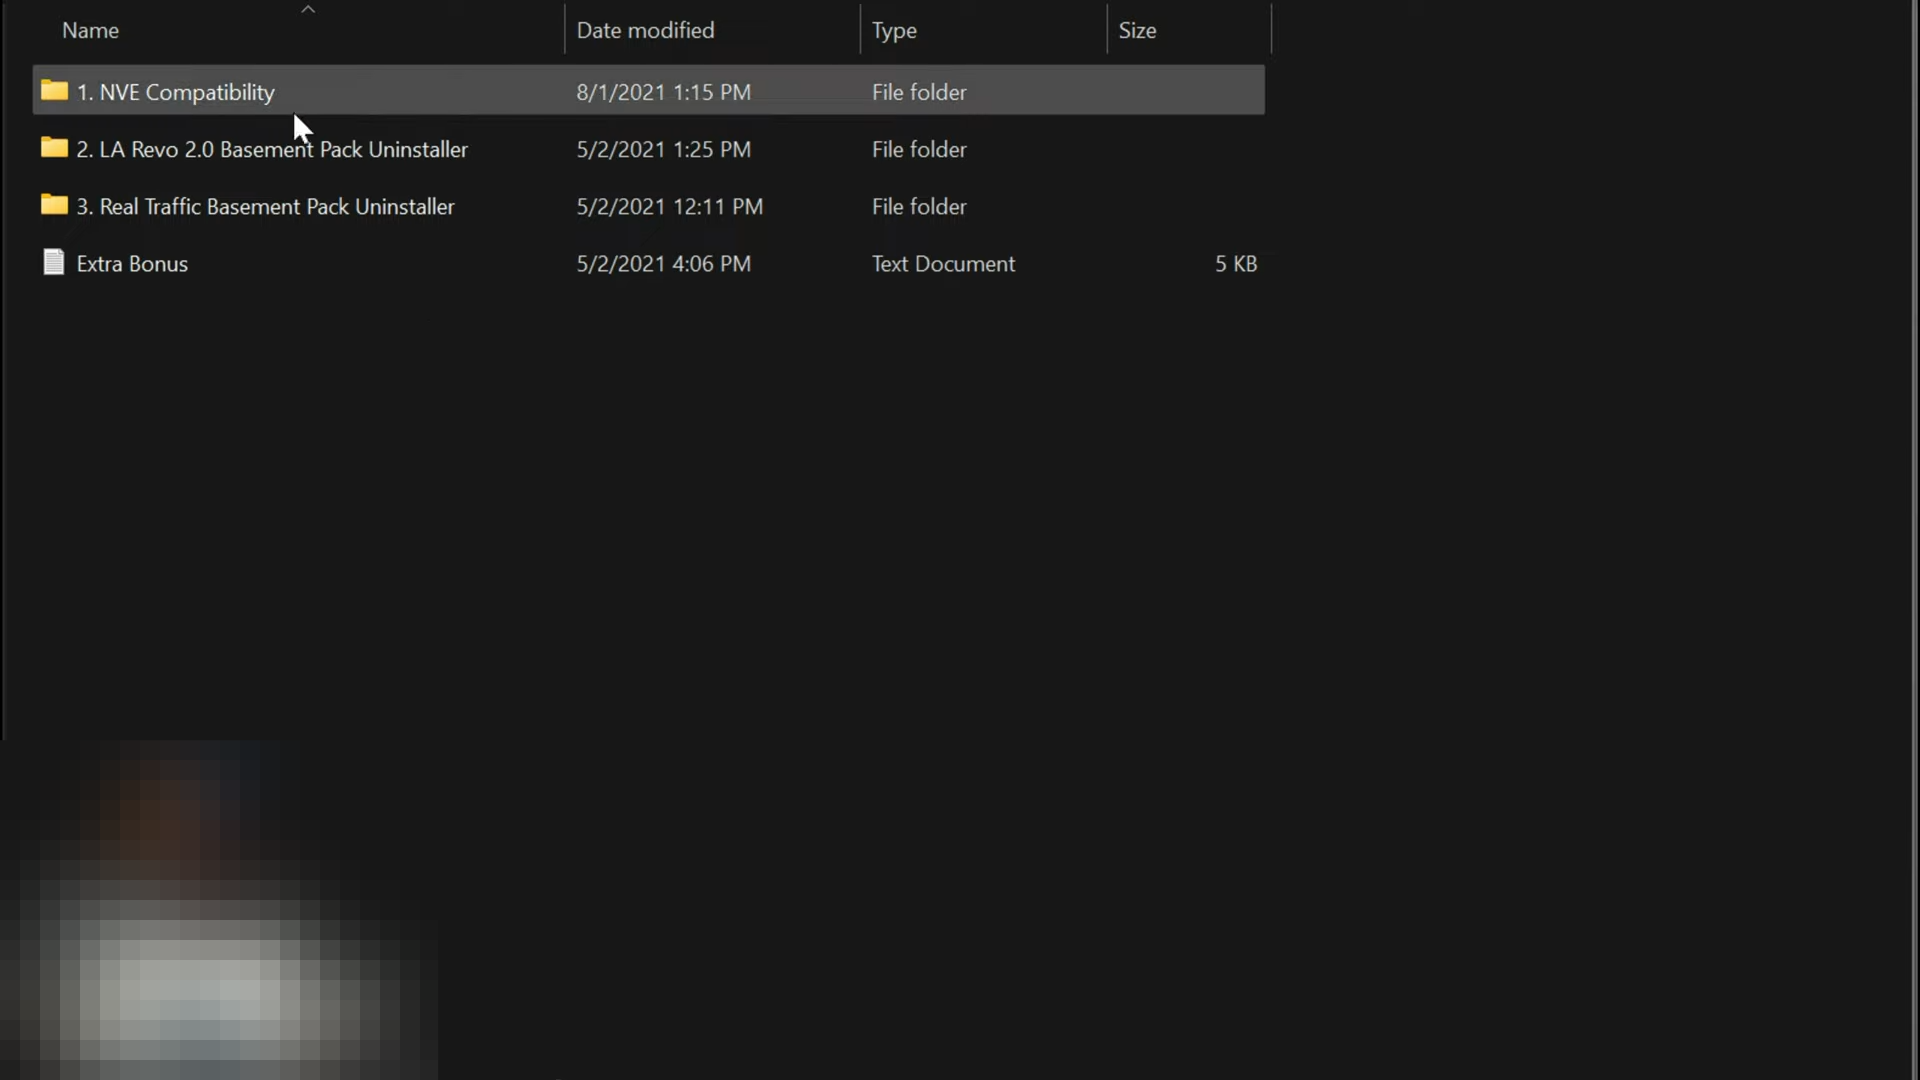
11. Open up this Addon folder and go through everything inside it. You will have NVE compatibility, LA Revo 2.0 basement pack Uninstaller, Real Traffic Basement Pack Uninstaller, and Extra Bonus text file. If you need some compatibility then NVE can run smoothly with 5Real or vice versa. Just in case you want to install it, then you can go inside NVE and read the installation text document. The next one down is going to be LA Revo 2.0 basement pack uninstaller. You can use it after you have installed 5Real in LA Revo and you want to uninstall it, they do have uninstaller packages for LA Revo. And for a similar purpose, you will have Real traffic Basement Pack Uninstaller inside of the add-ons folder.
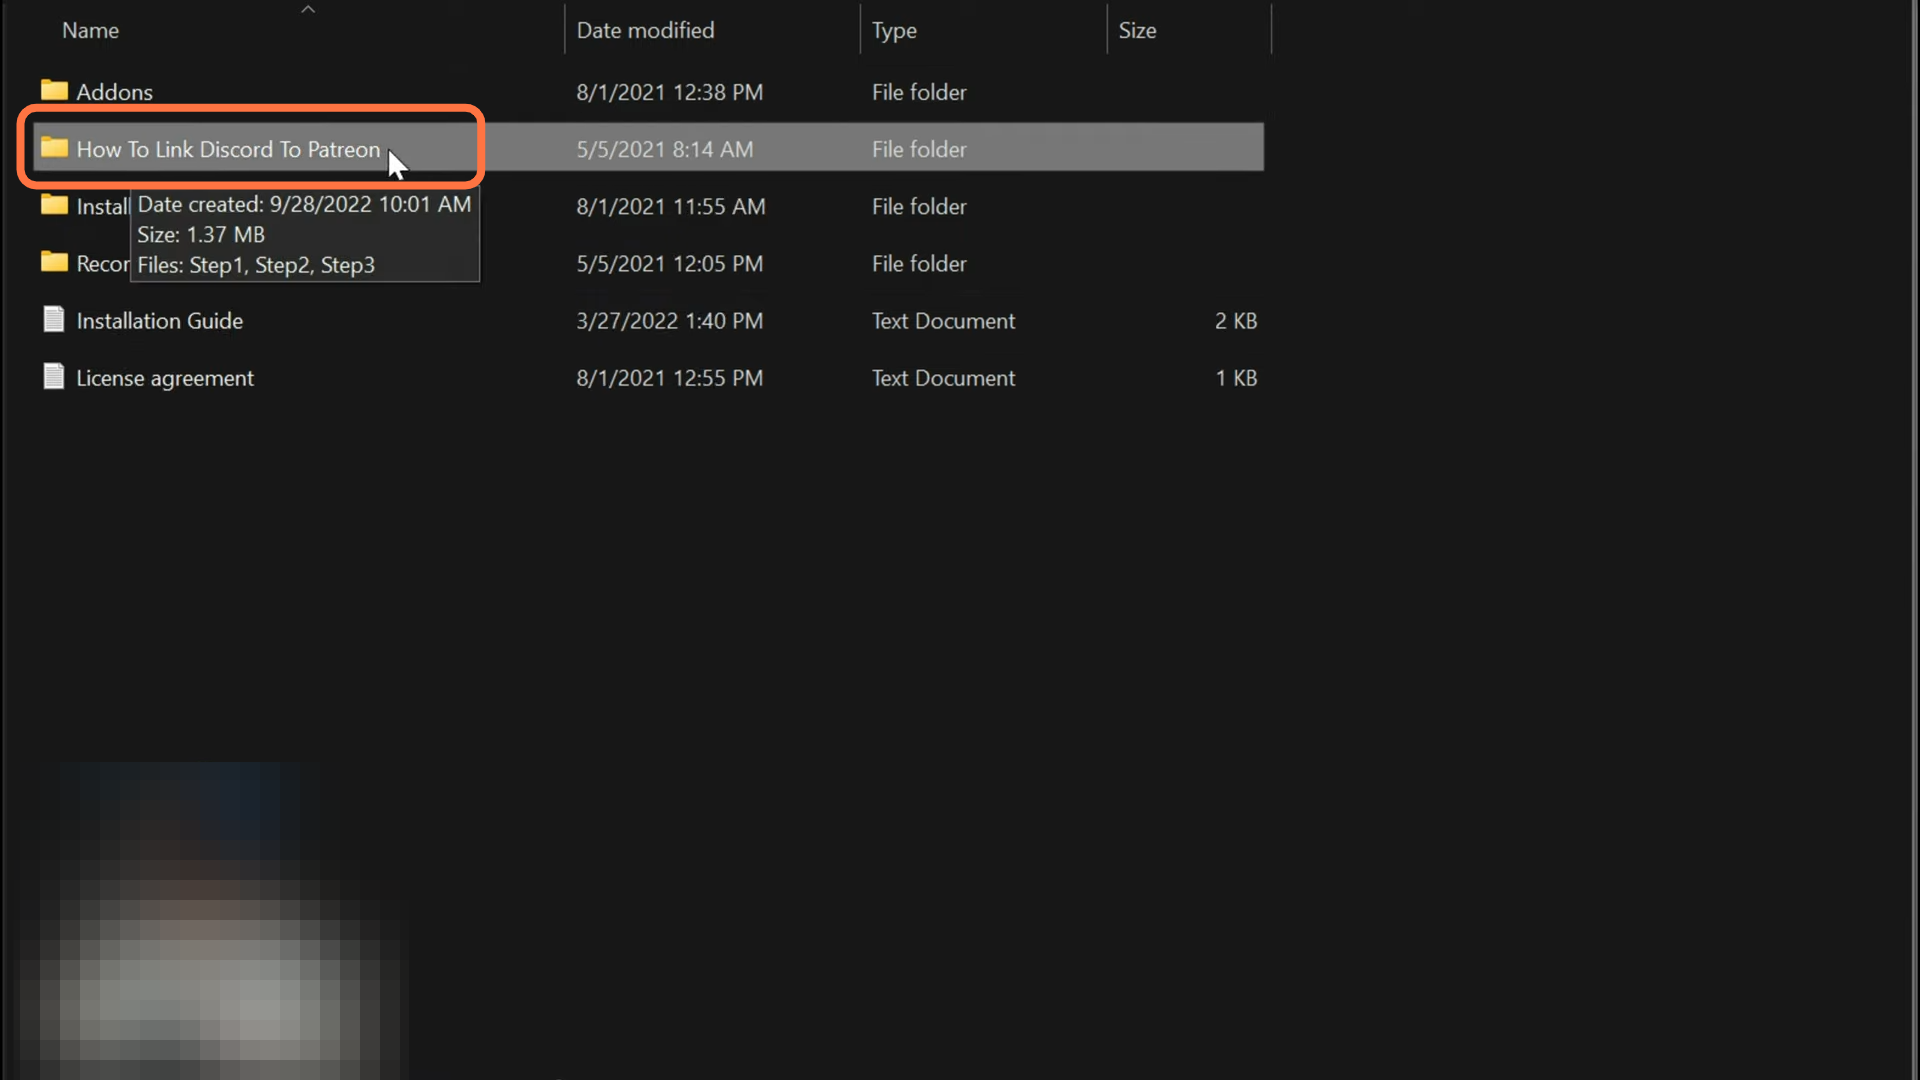
12. Now go back to the previous directory and you will have “How to link Discord to Patreon” folder. Inside this, you will find the images explaining the steps to link your discord to Patreon so that you can get important downgrading files.
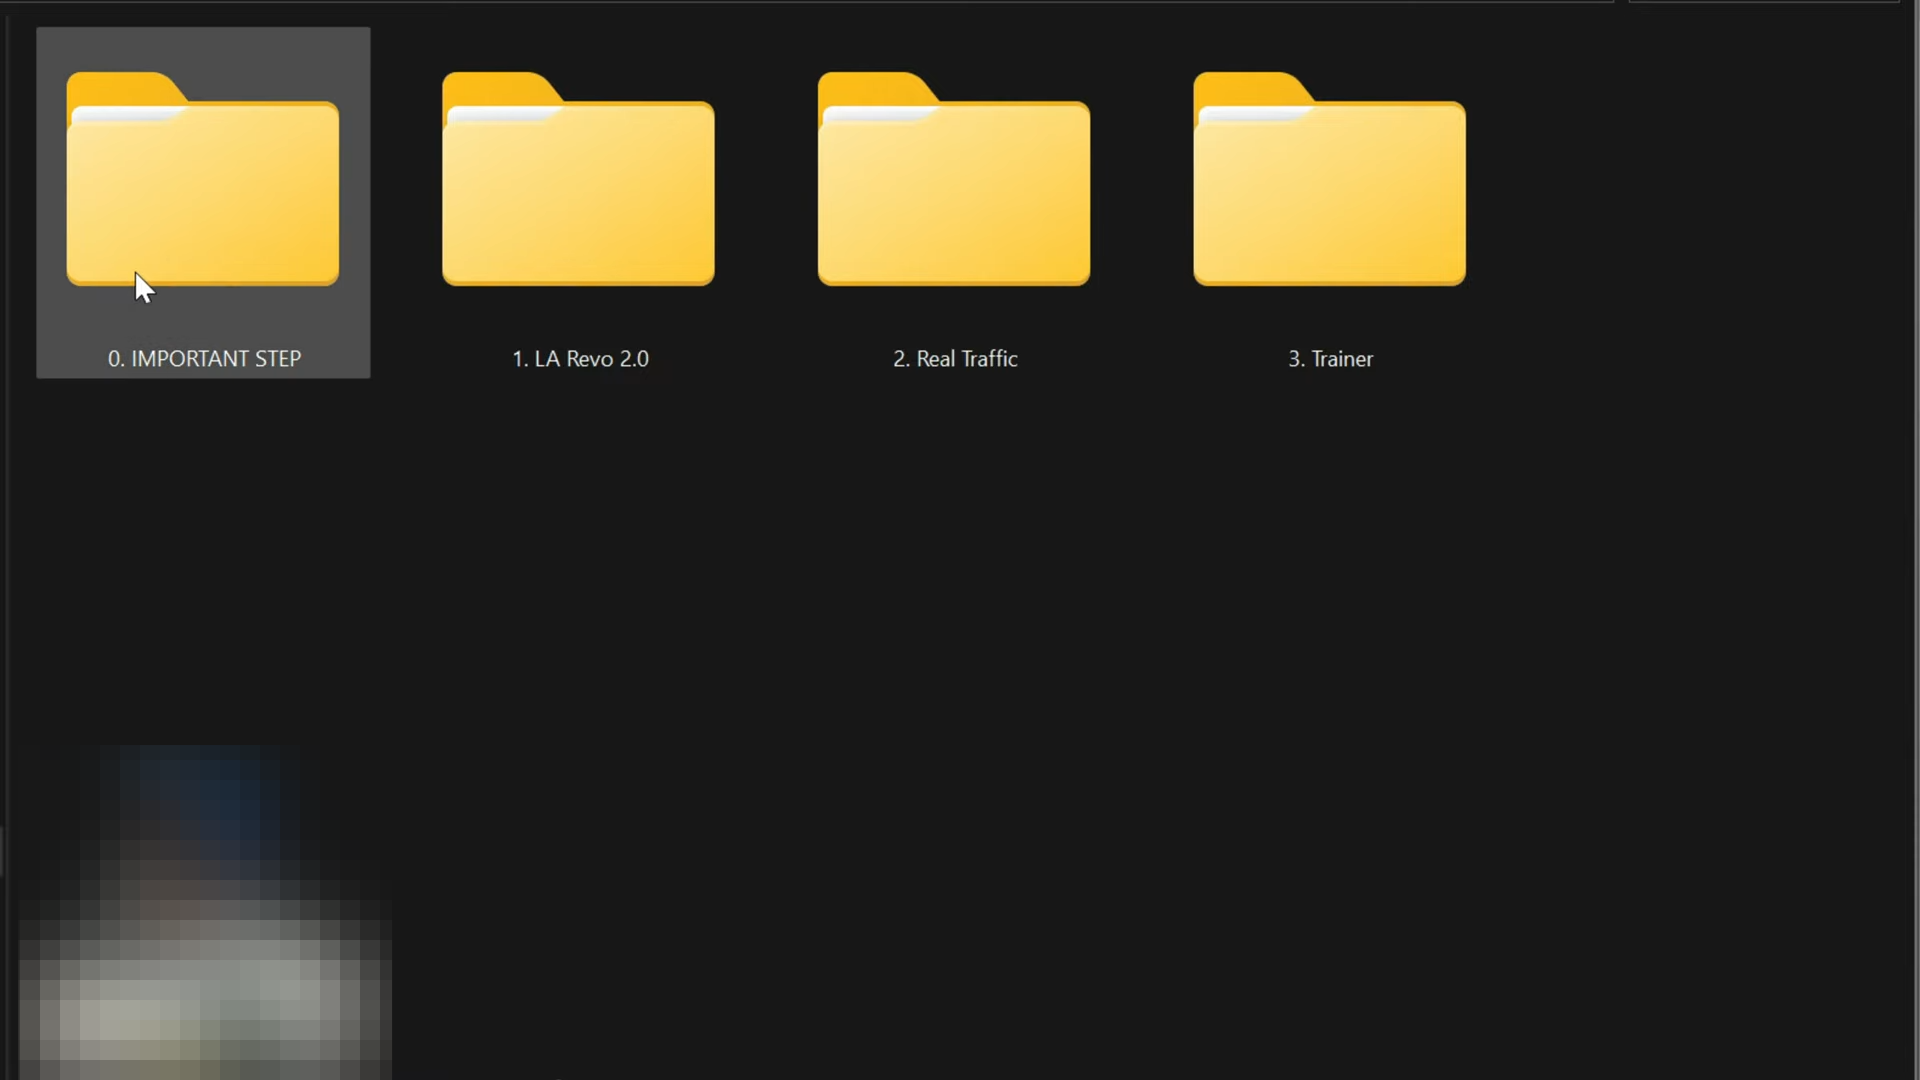
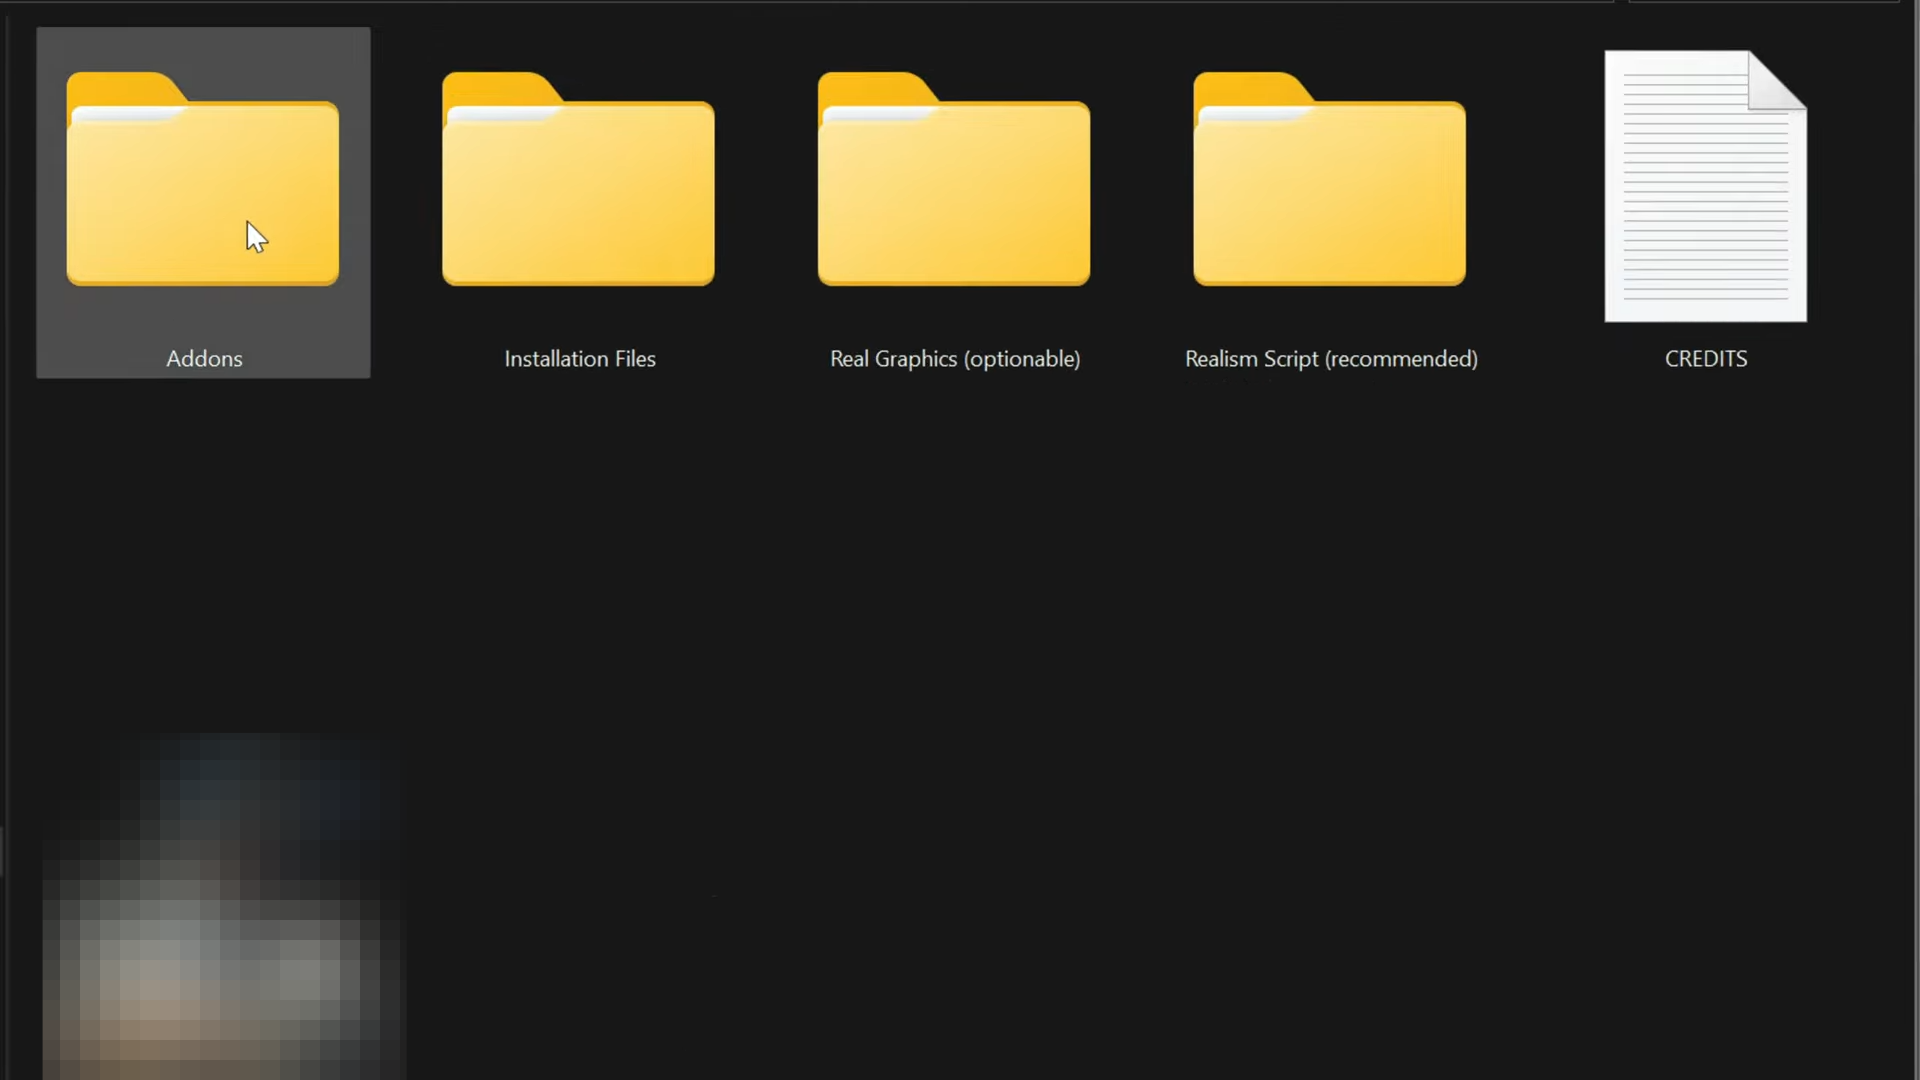
13. Now move to the next folder which is the Installation Files. And inside it, you will have four folders named Important Step, LA Revo 2.0, Real Traffic, and Trainer. You need to start installing in a sequence as you can see they’re numbered right here it says zero to important step number one to LA Revo 2.0 number two is with Real Traffic and three is with the Trainer so you are going to install them in order.
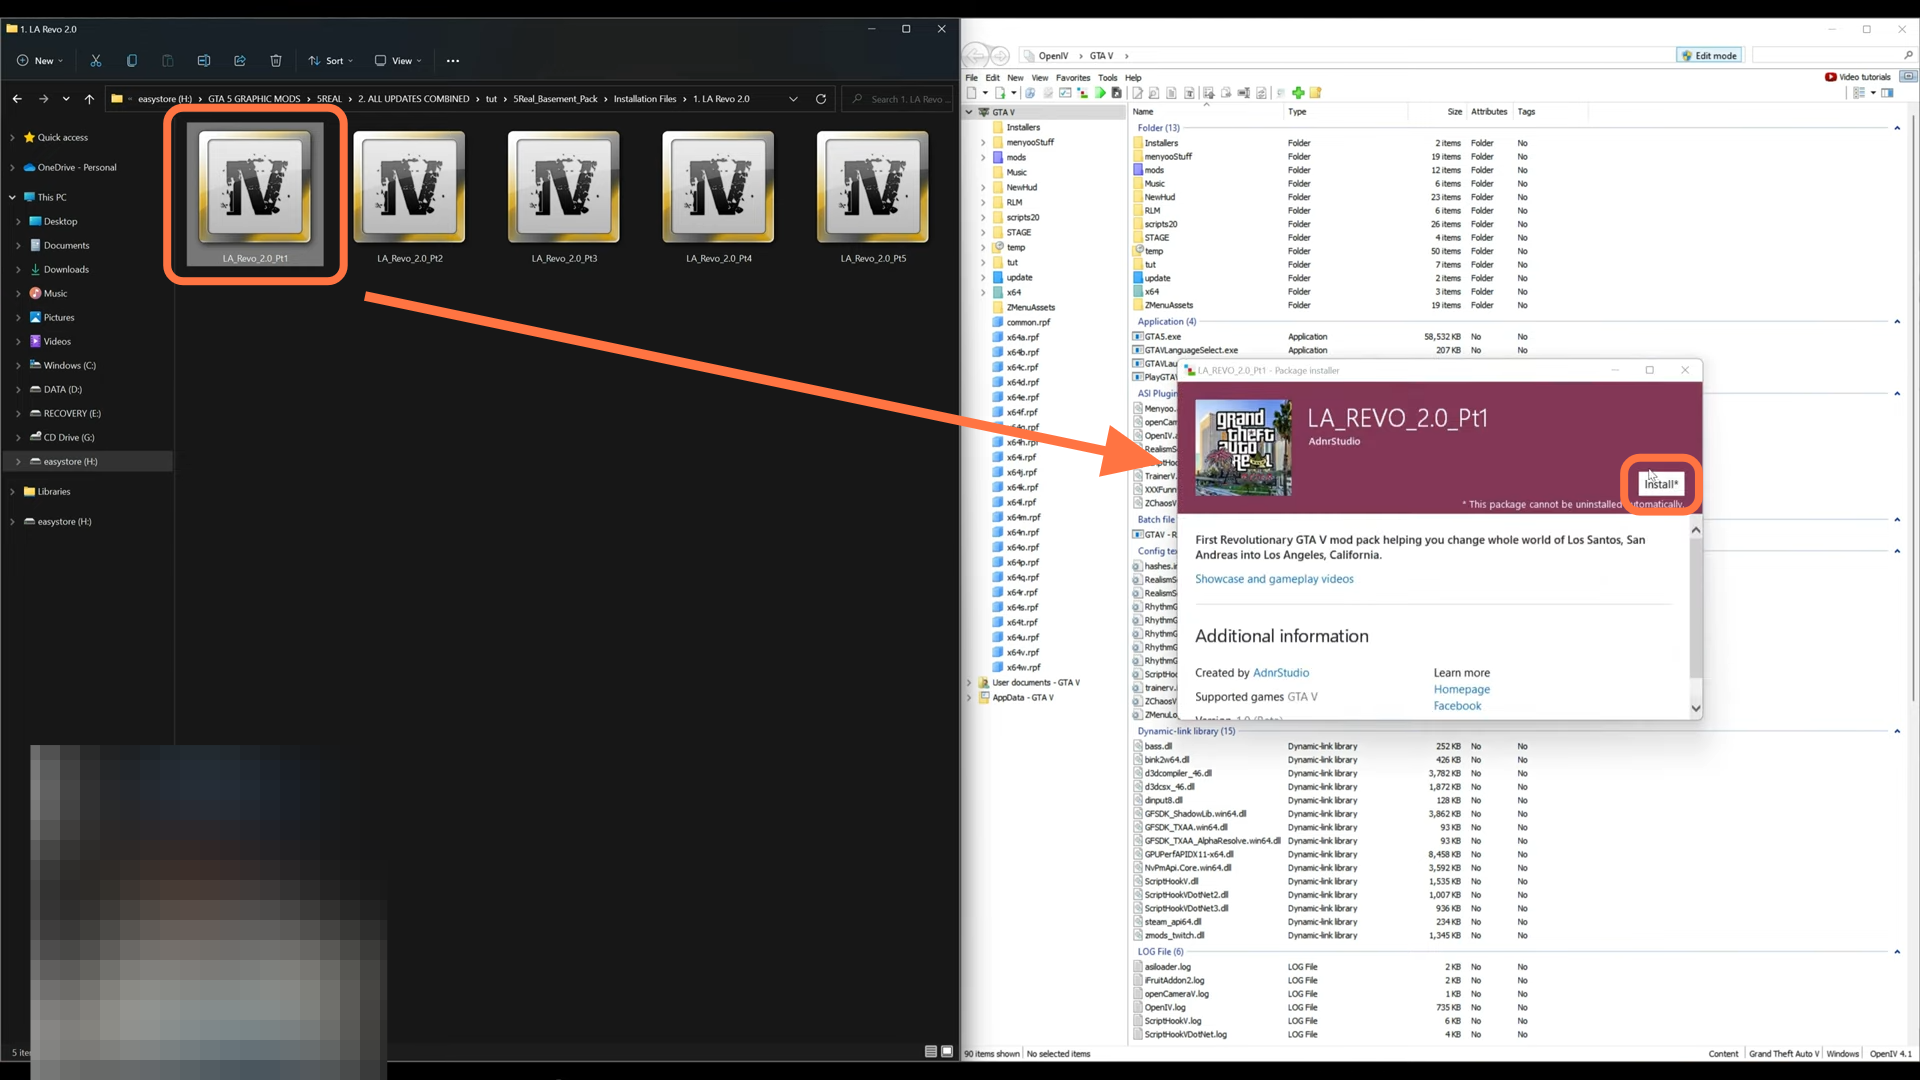
14. So open up the LA Revo 2.0, and you will find five OIV packages inside it which are also divided into five parts. You need to install them in order.

15. Drag and drop part one of the LA Revo OIV file into Open IV. A package installer window will open up where you need to select ‘install’ and then select “mods folder”. Finally click on install (confirm installation) and then install the other parts following the same process as well.
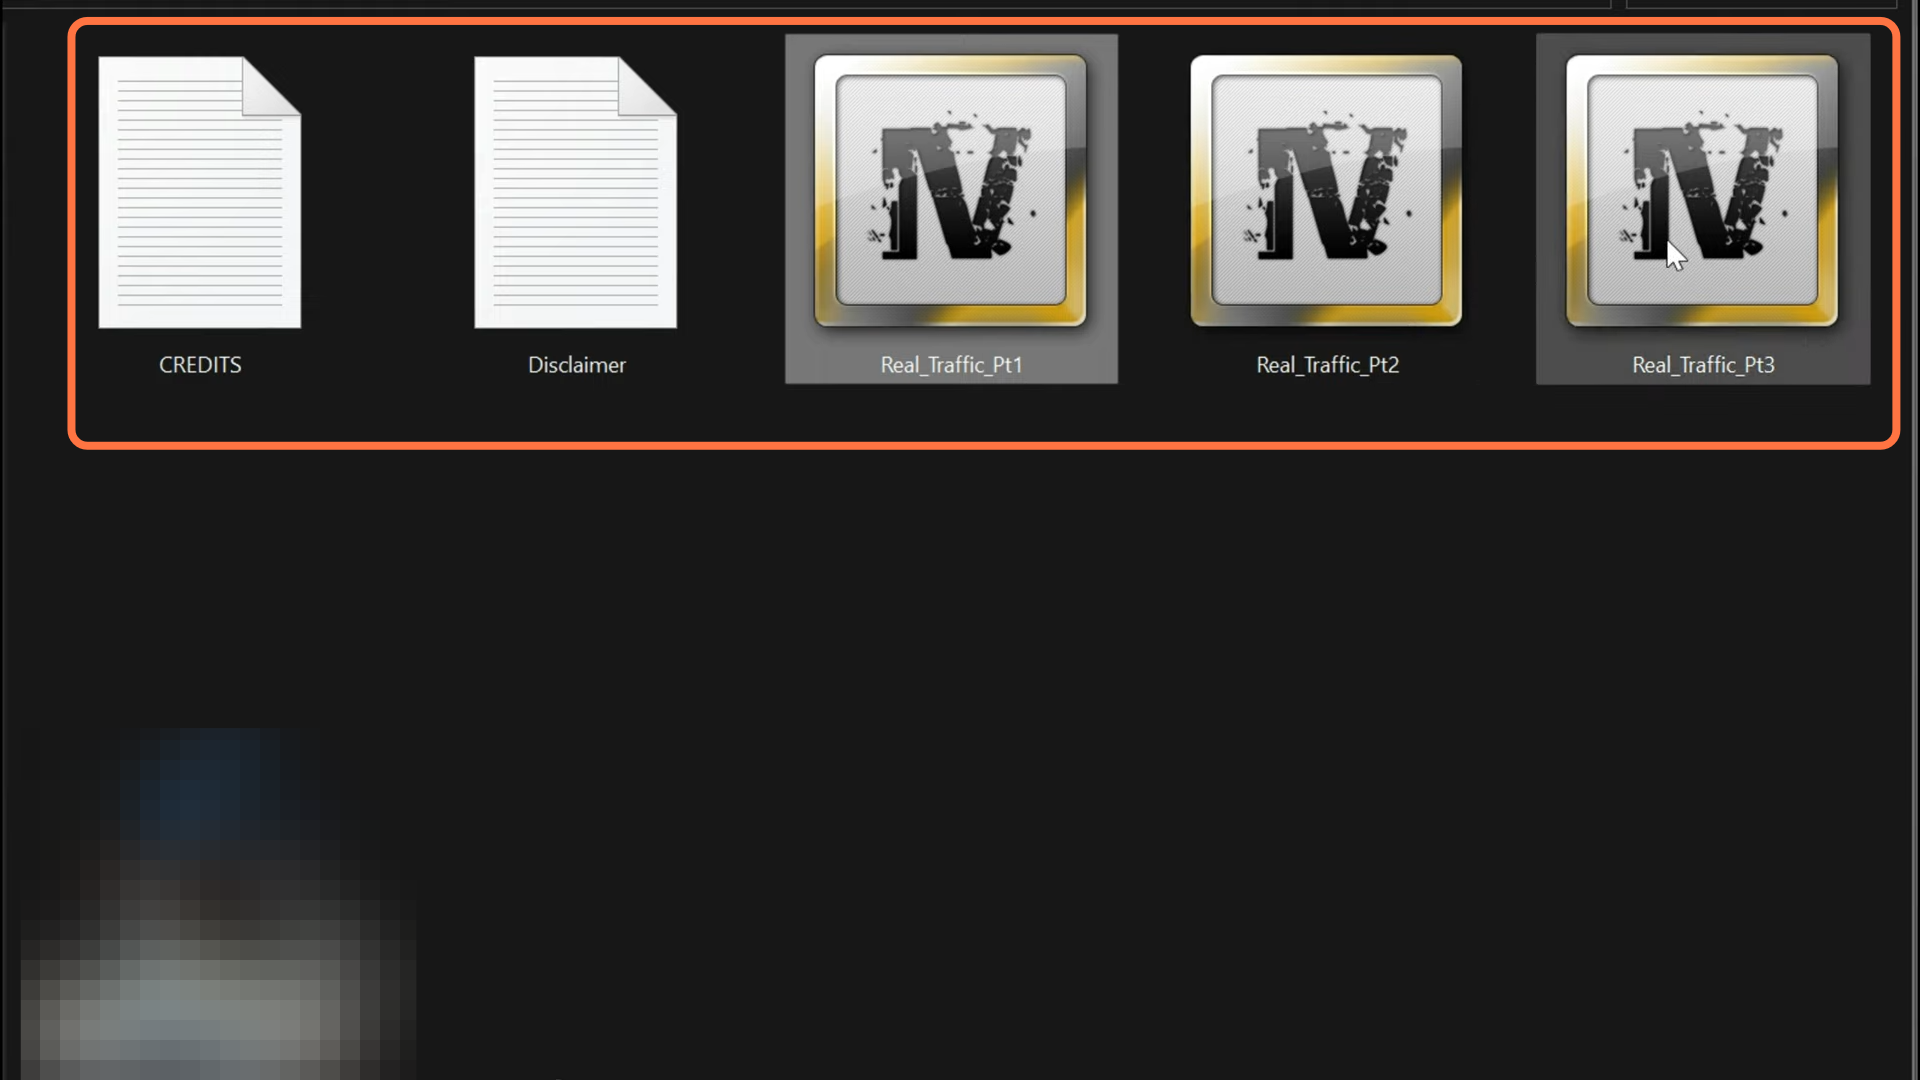
16. After that, open the second folder in order which is Real Traffic. And you will find two text documents (Credits and Disclaimer) and three OIV packages which are also divided into three parts. So you have to install them in order.
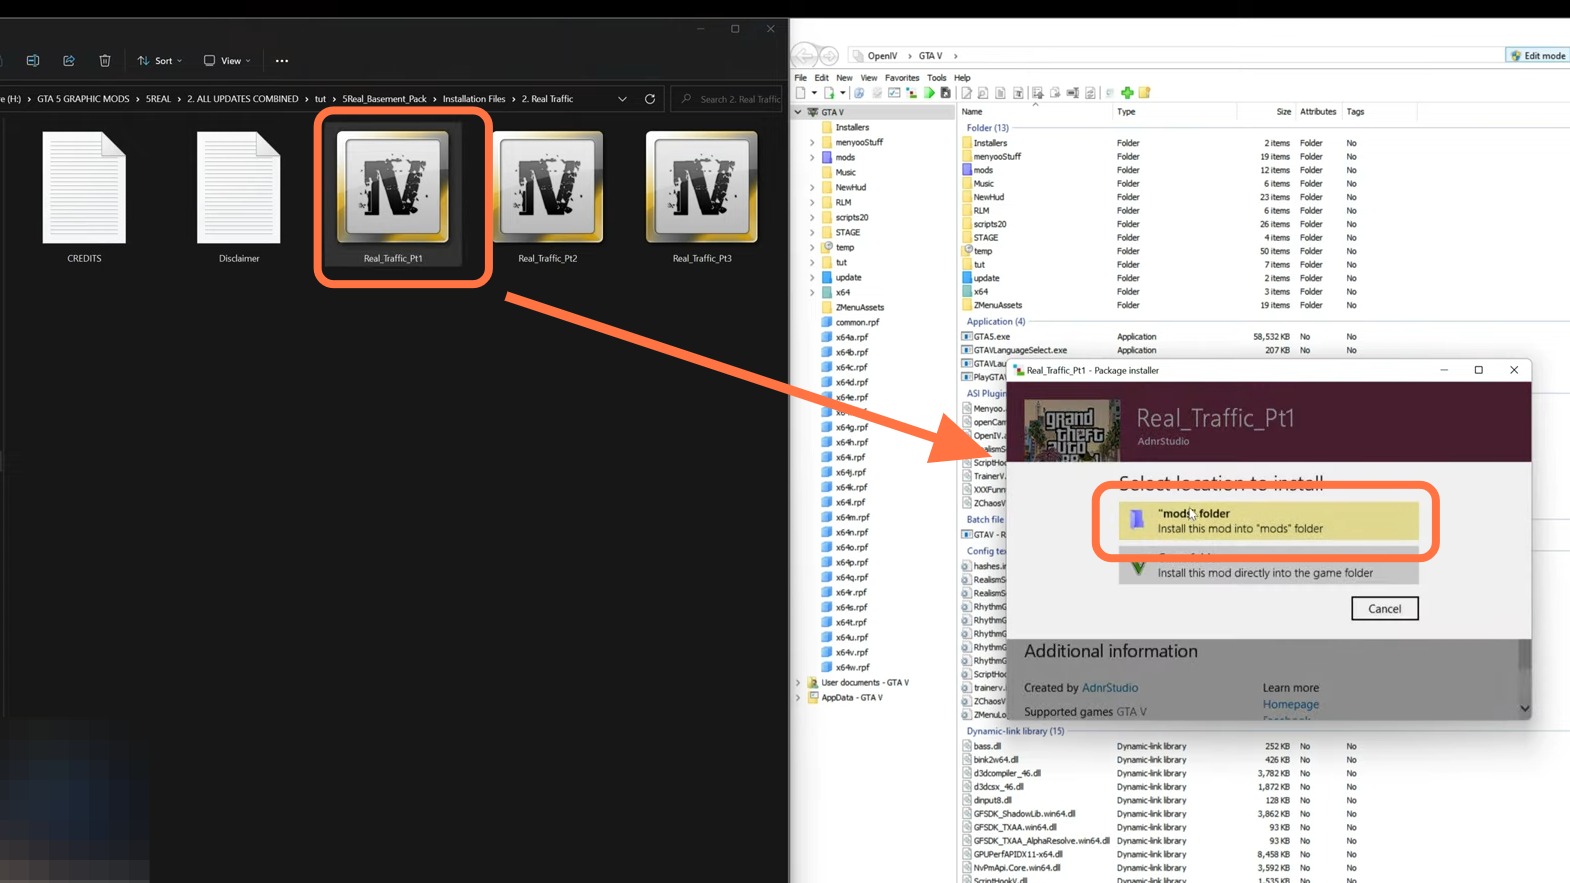
17. Let’s start off with part one. Drag and drop part one of the Real Traffic OIV file into Open IV. A package installer window will open up where you need to select ‘install’, then select “mods folder” and finally click on install (confirm installation). Now install the other parts as well following the same process.
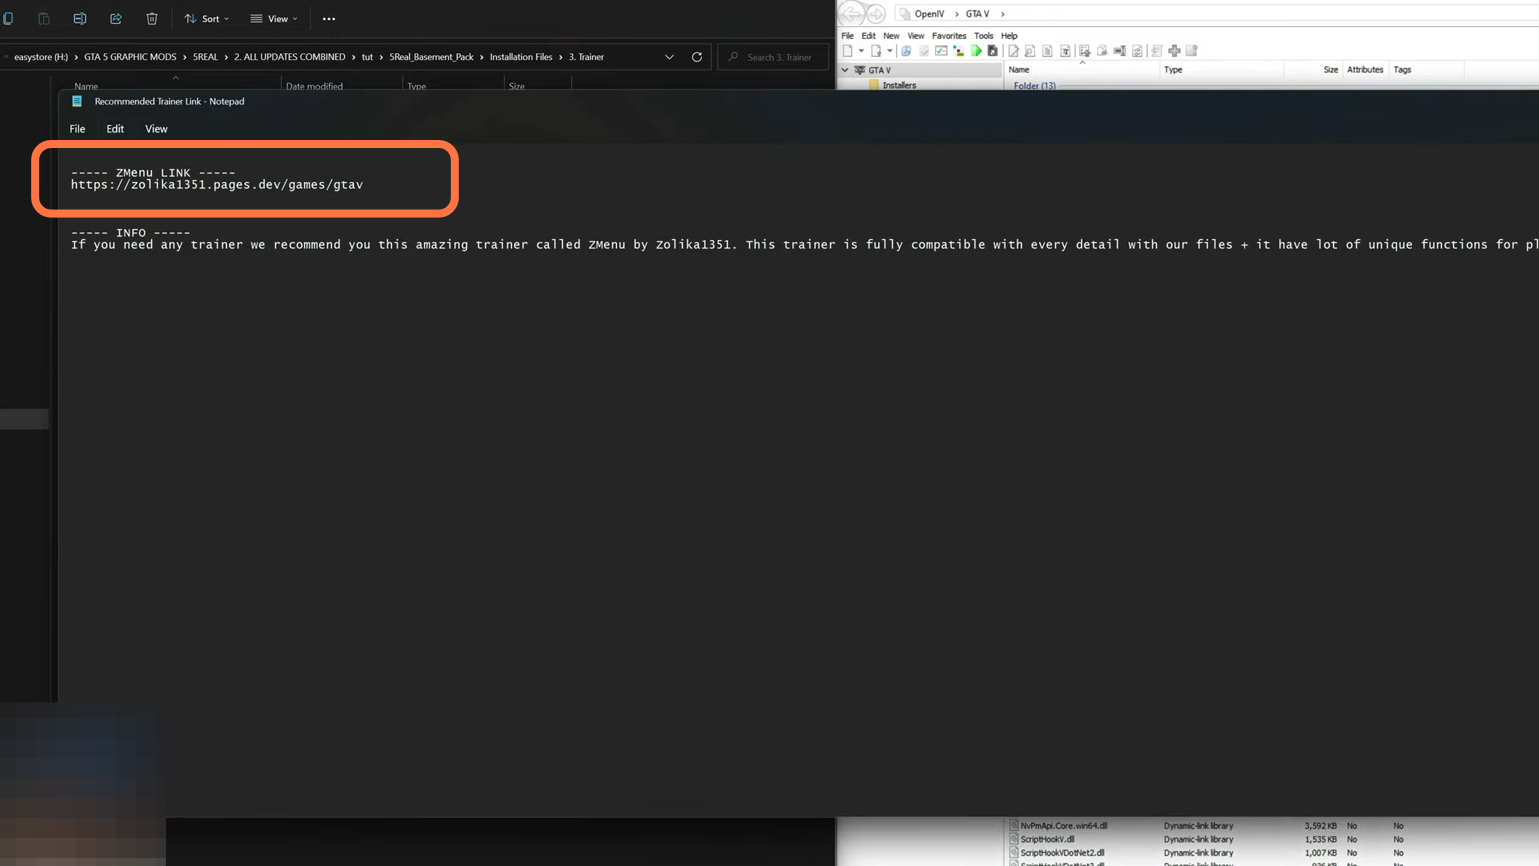
18. Now come to number three which is the Trainer folder inside which you will have a text document with a link to a trainer ‘Z Menu’ by Zolika, which they suggest that you should have. Now you are done with the Installation Files in the basement pack.
19. Go into the Recommended settings folder inside the 5Real_Basement_Pack. You will get the recommended Settings for all Gaming PCs (Low, Mid, and High-End).

20. Inside this folder, you will get images of the settings recommended by the creator for all types of computers. So depending on what type of computer you have, you need to adjust settings relating to graphics and advanced settings to these recommended settings provided in these pictures.

21. Now go back to the downloads folder to Install 5Real_All_Updates.
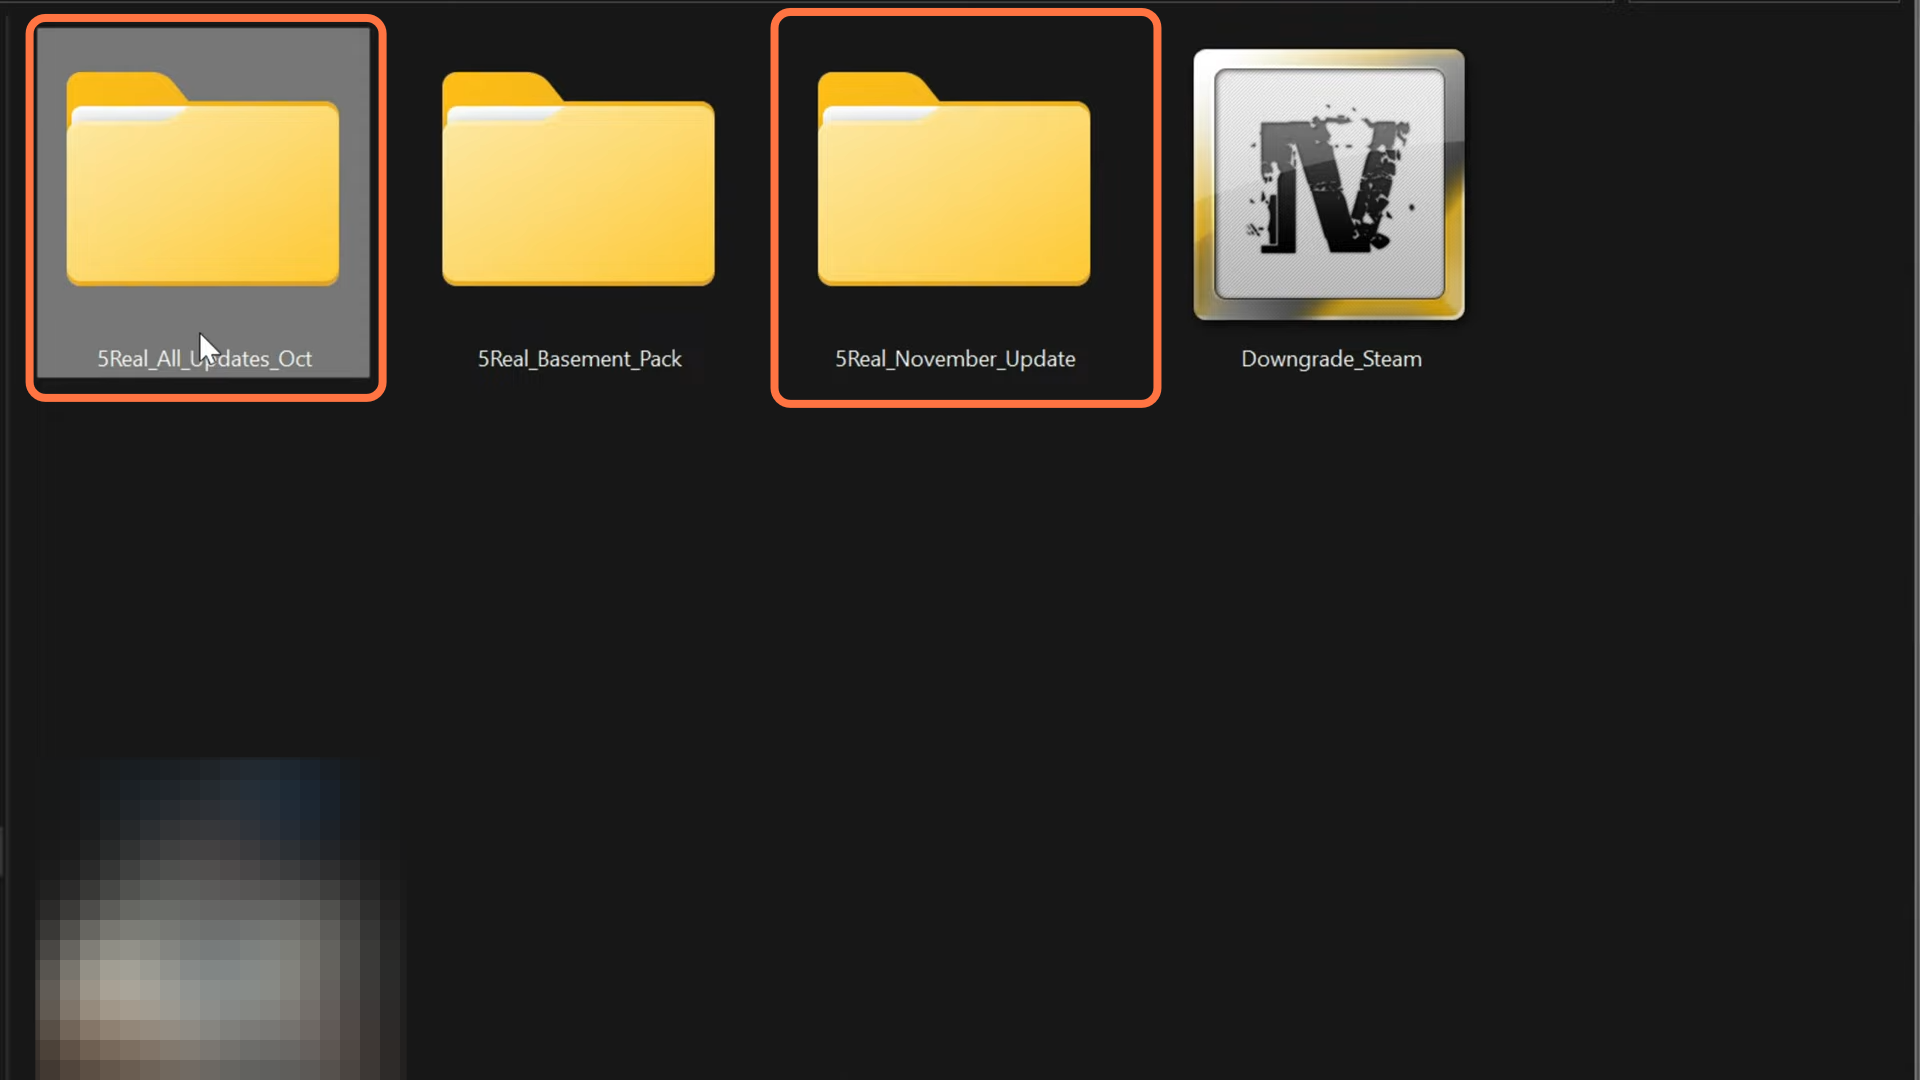
22. Open the Updates folder and inside it, you will get another folder that says 5Real_All_Updates. Open that one up and you will find a somewhat similar thing to the basement pack. You need to go through all the folders and files to install the relevant things. You will get all the files needed to be installed in the Installation Files folder, just remember to install them in order.
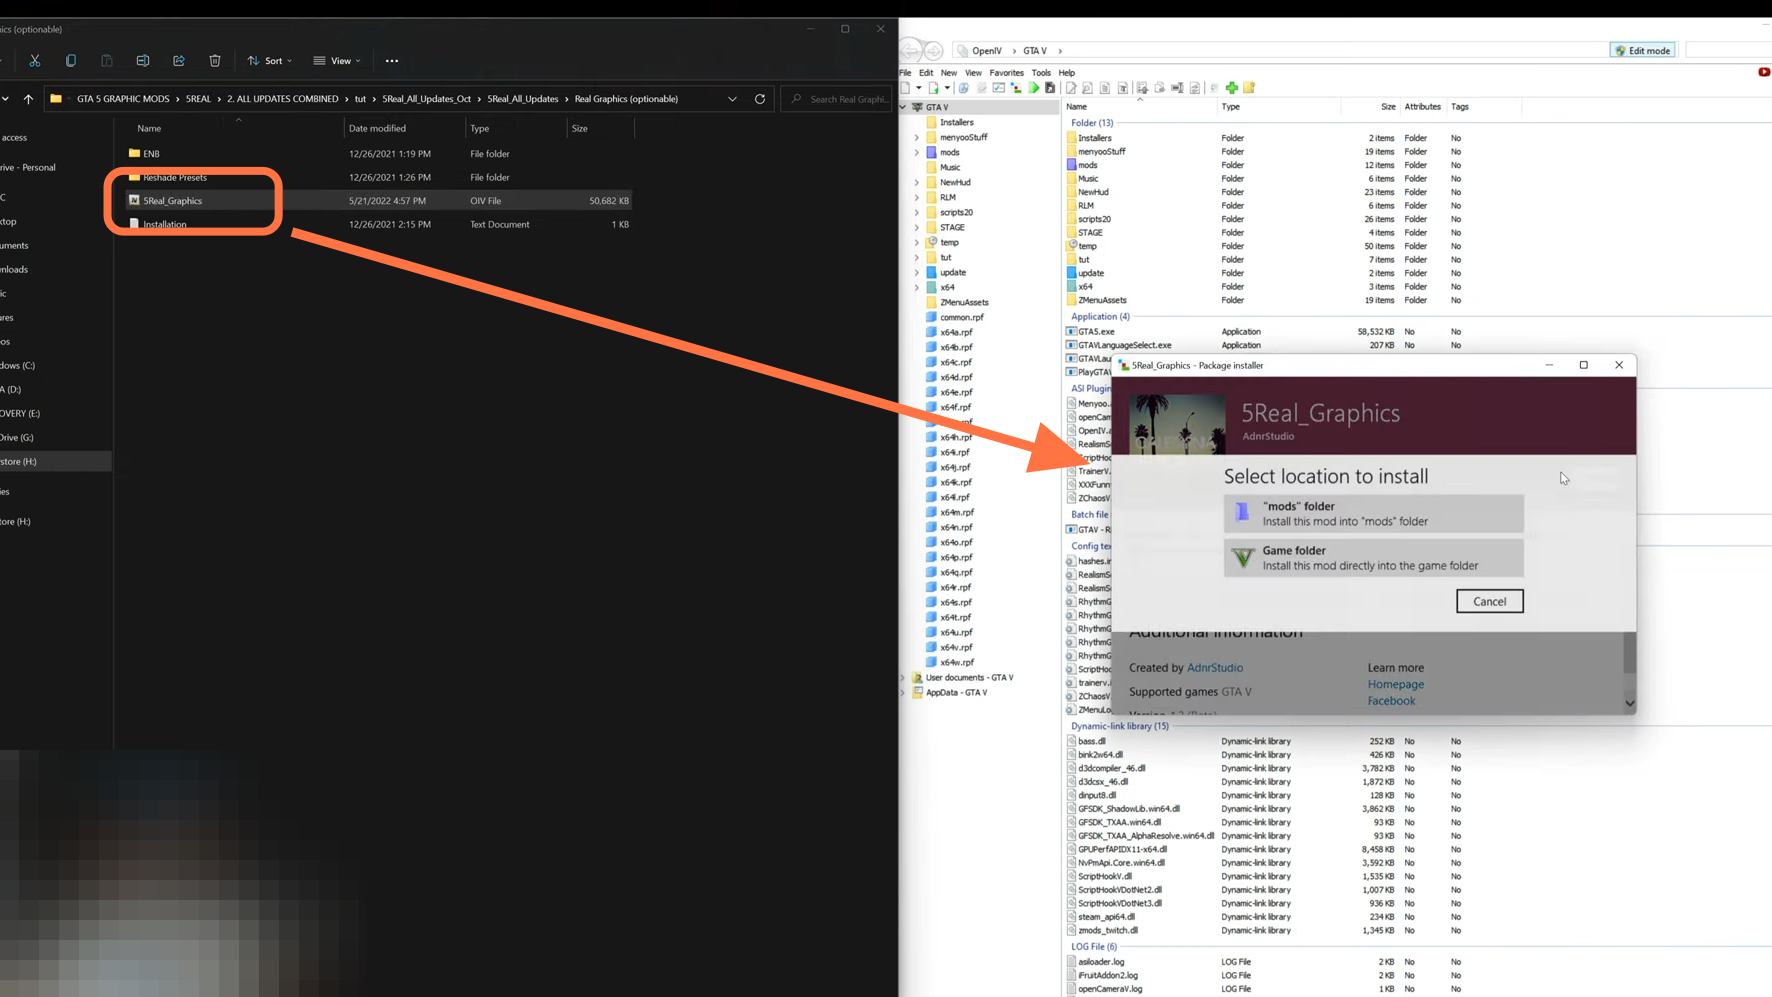
23. After that, install the 5Real Real Graphics if you want some little extra Graphics in your game.
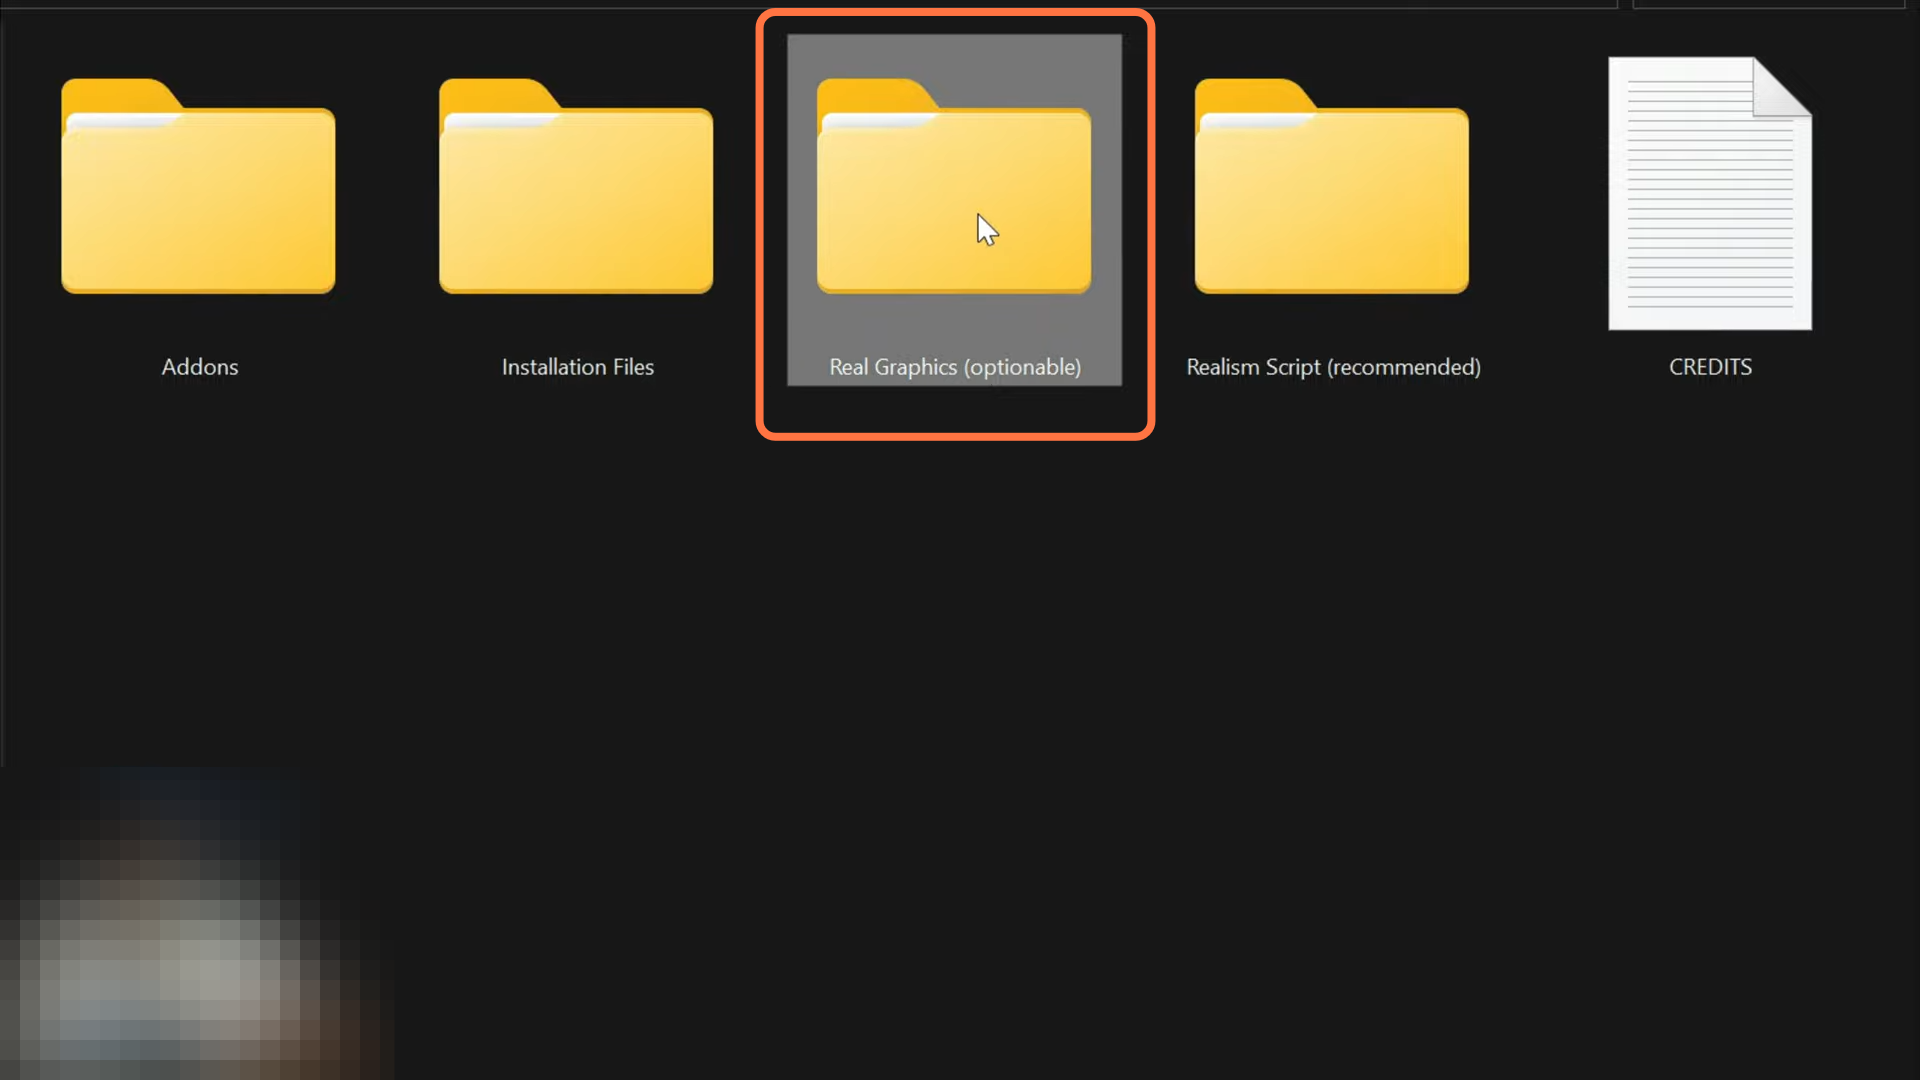
24. Open up the folder and select the OIV package and drag it into the Open IV main directory. A package installer window will open up where you need to select ‘install’ then select “mods folder” and then finally click install (confirm installation).
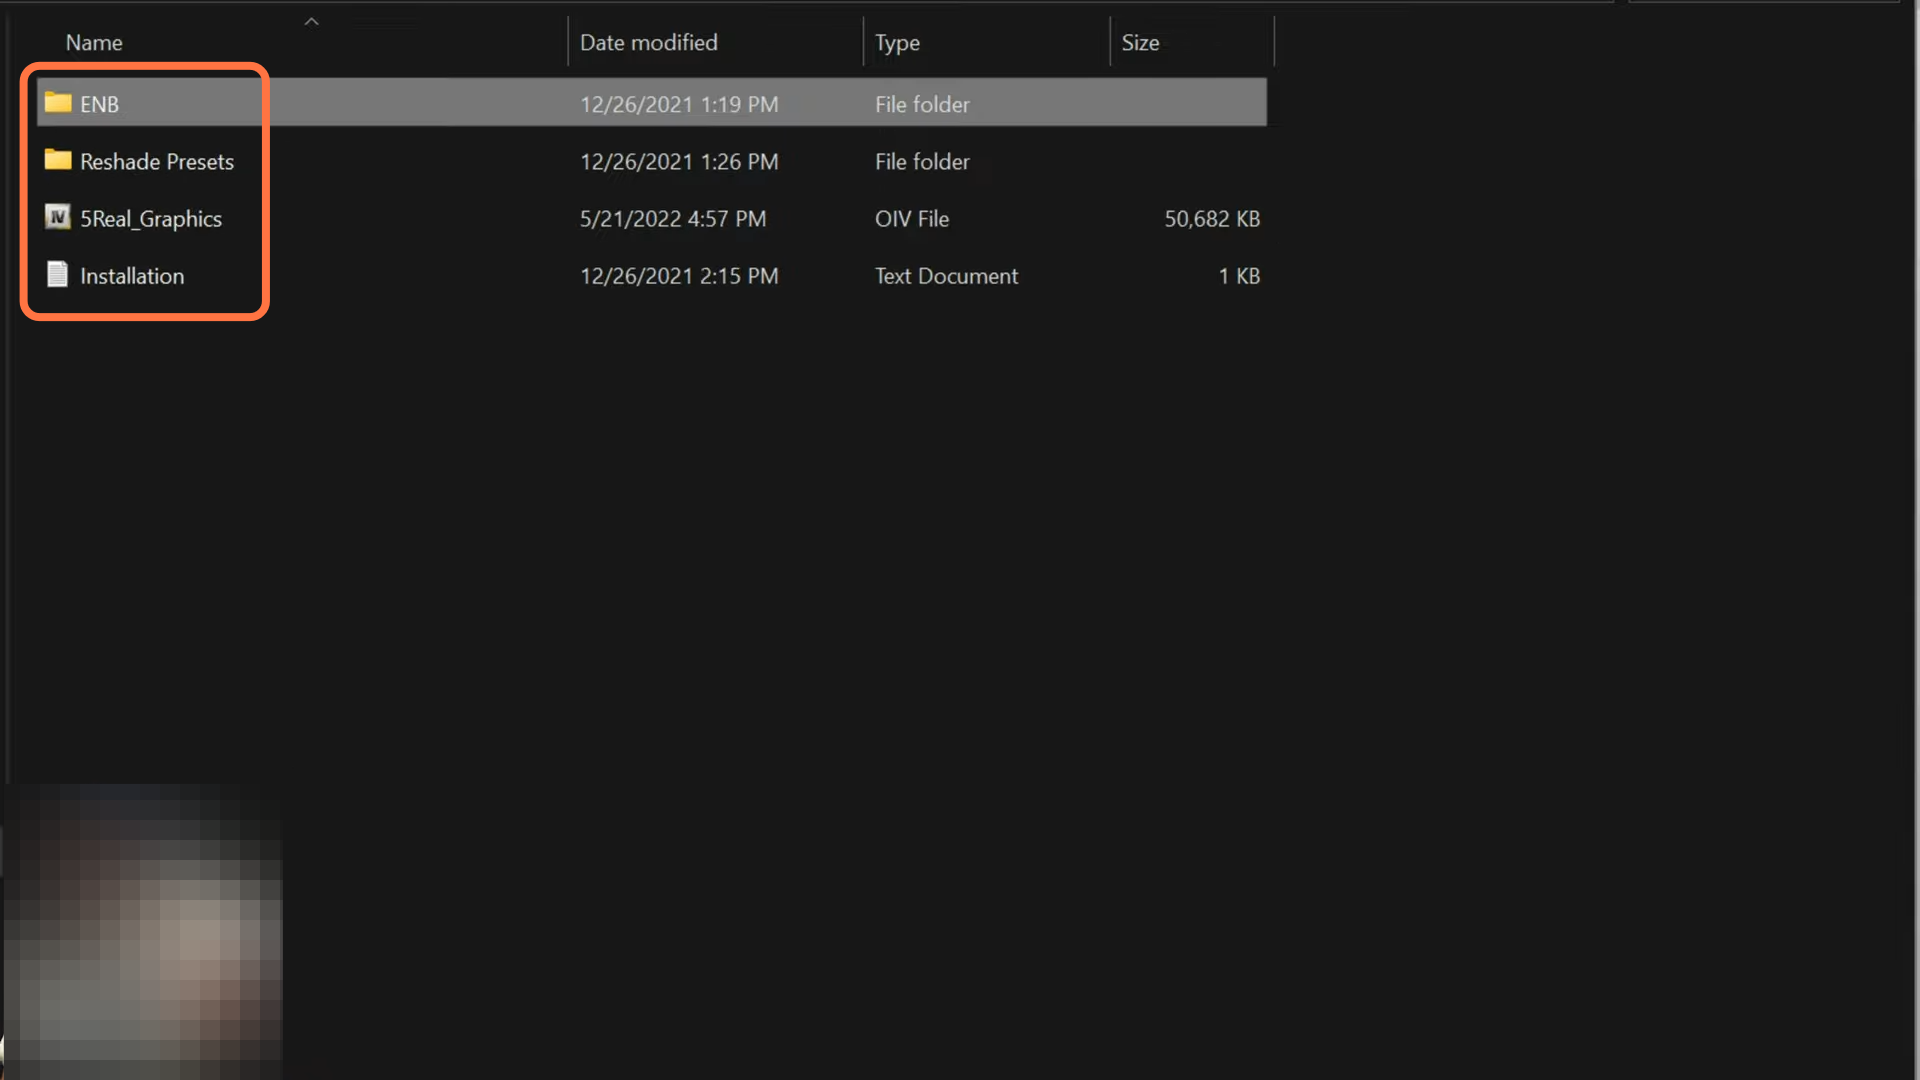
25. Then you also have some Reshade presets, ENBs inside which you will get main files and some presets (FPS friendly, movie preset, and a ray tracing preset). so if you are interested in using them you can install these as well.
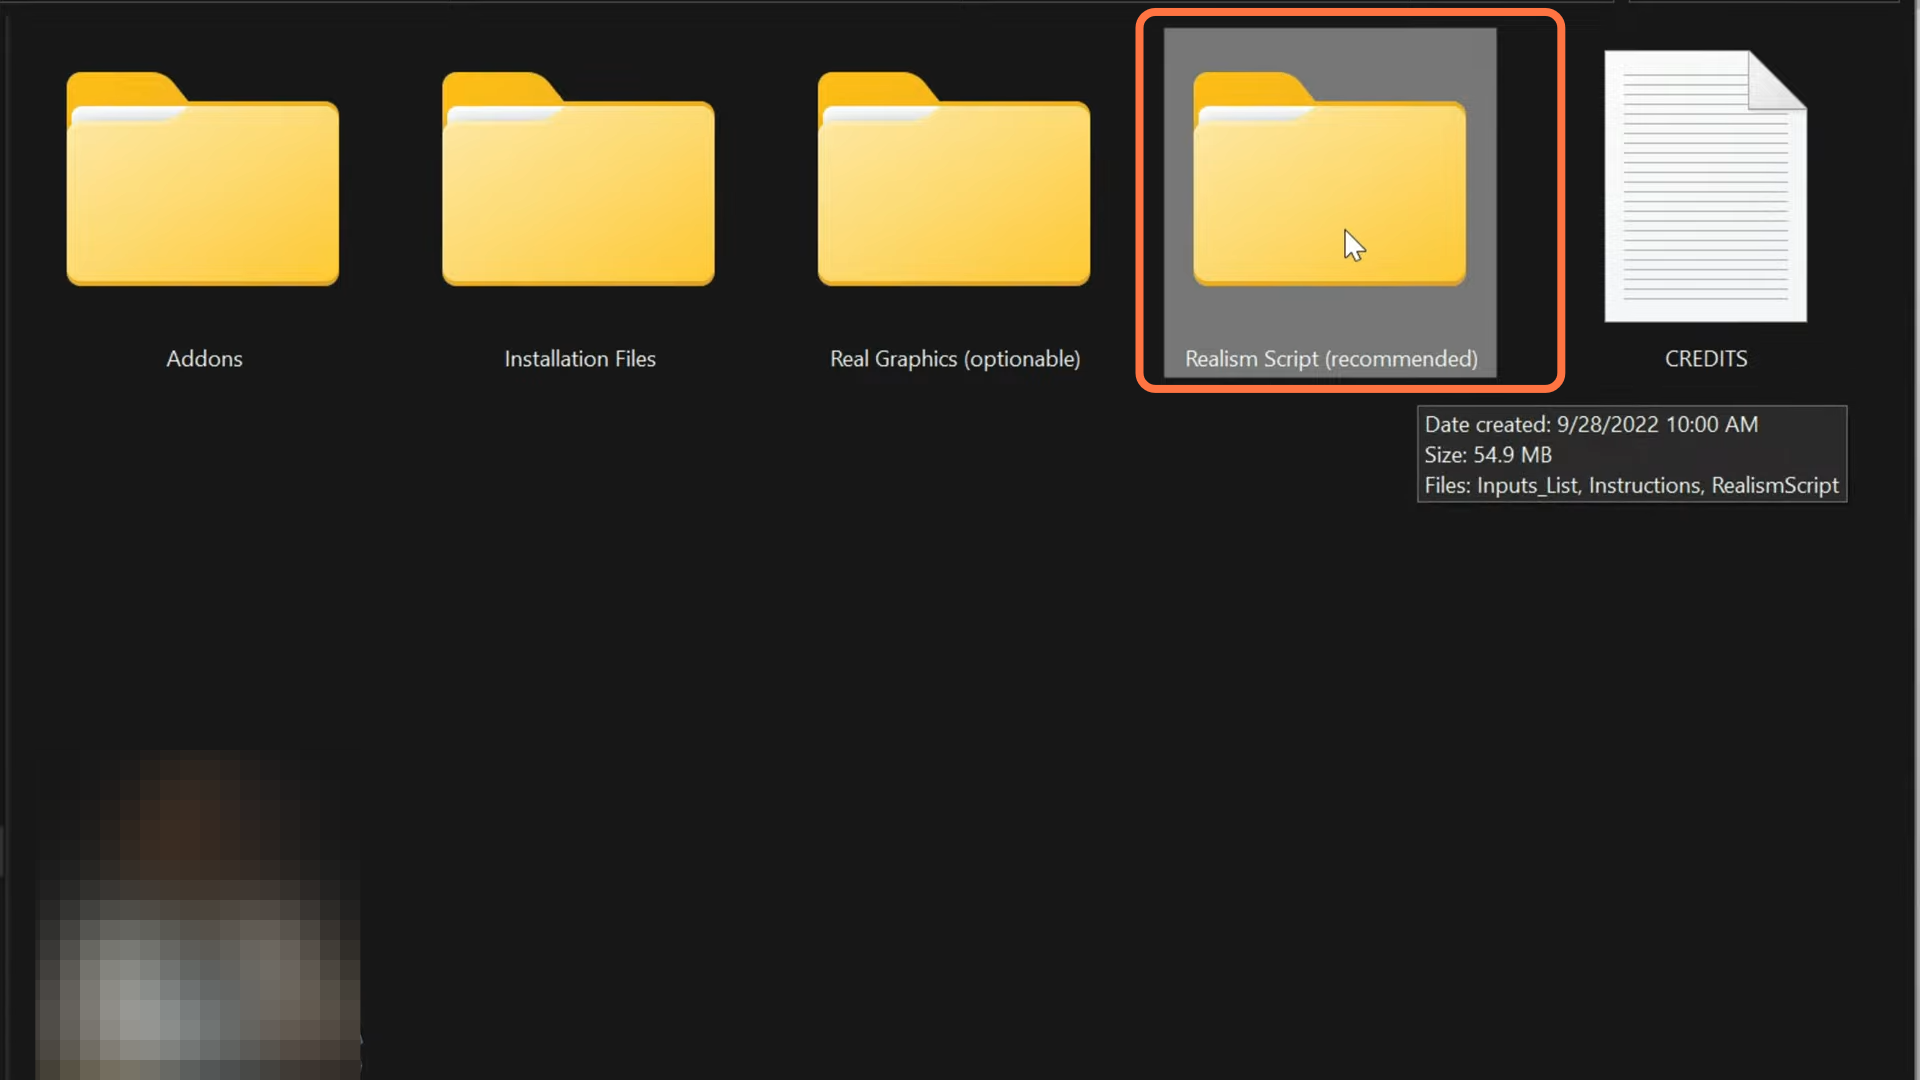
26. Next, you can consider installing Realism Script which will allow you to eat and go inside different hotels and apartments. It’s stuffed with highly detailed content, so it’s worth installing as with it you will get the full experience of the 5Real.
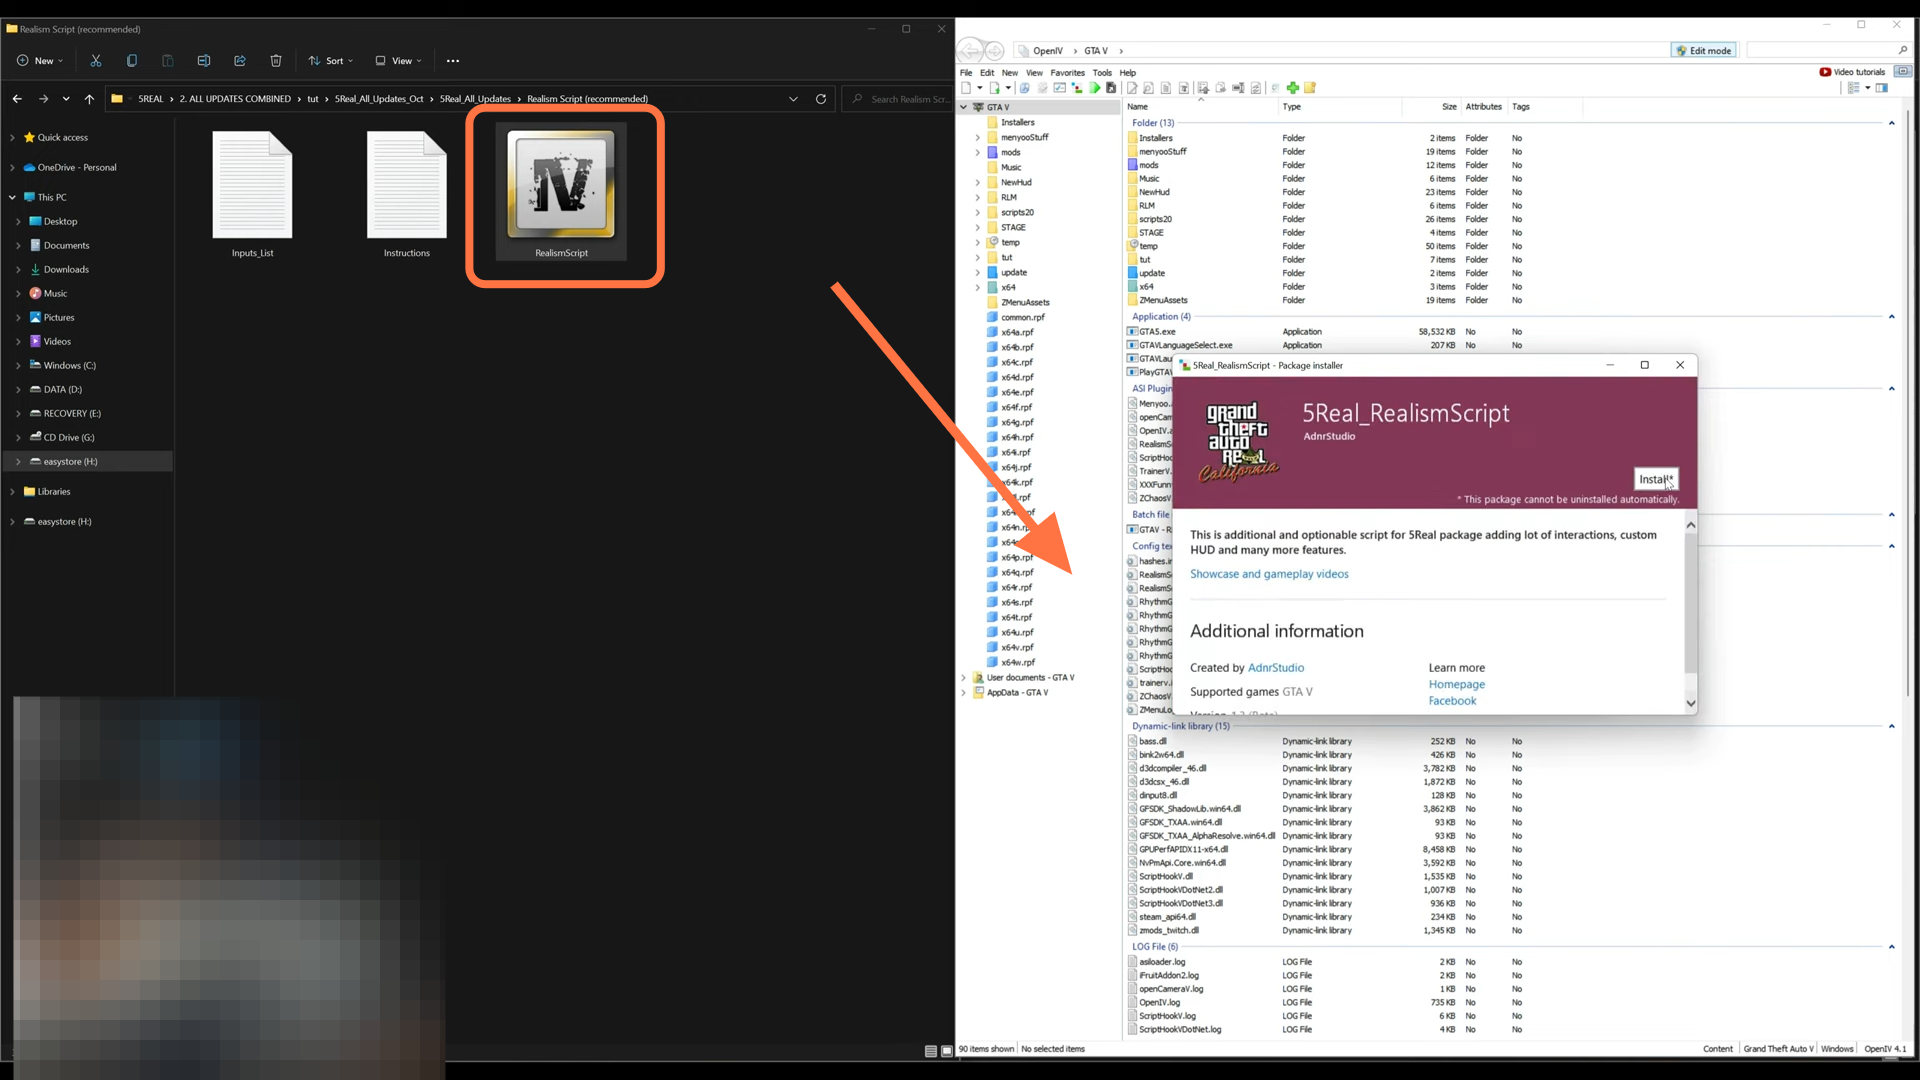
27. Open up the folder and you will get two documents files and one OIV package. Select the RealismScript OIV package and drag it into the Open IV main directory. A package installer window will open up where you need to select ‘install’ then select “Game folder” and then finally click install (confirm installation).
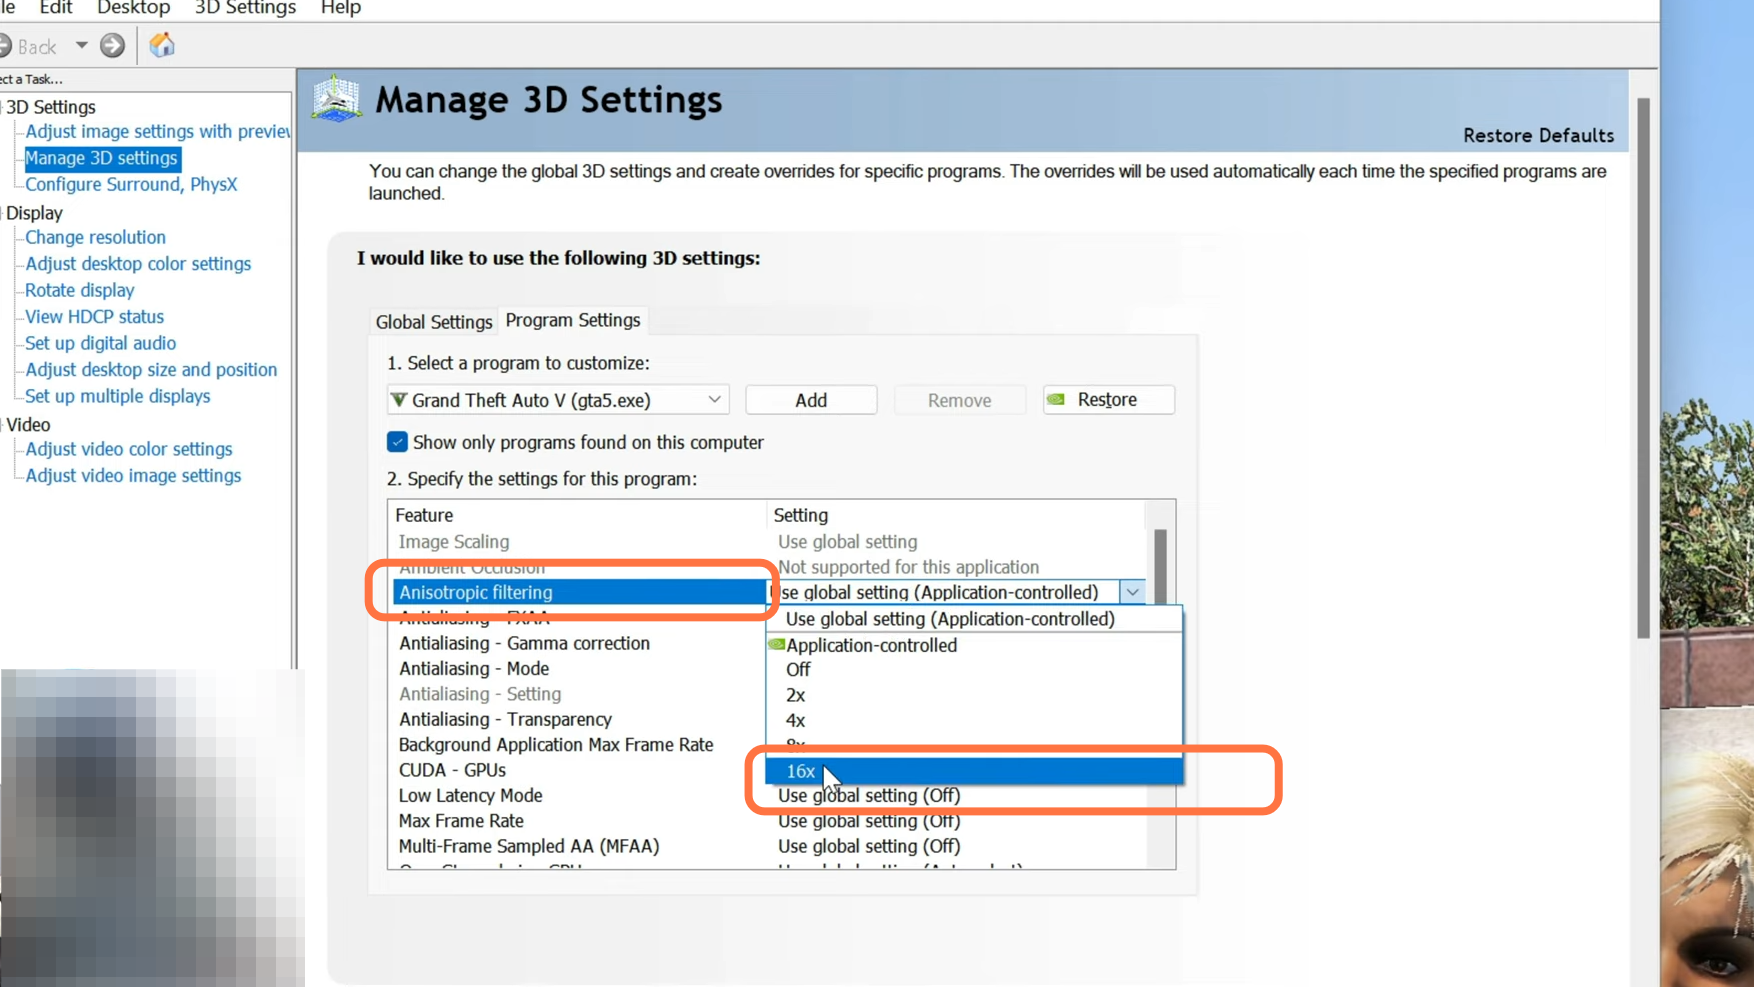
28. There are also many issues and troubles with yellow roads, and it’s actually caused by the graphics modifications. Many graphic mods have presets which bring out specific things in the game. Open up your graphics setting like open your Nvidia control panel and select manage 3D settings then select program settings then you want to go to select the program to customize and you want to find your game which is GTA 5, now open up the drop-down menu and find your game.

29. Once you select GTA 5, you’re going to have all of your settings down here and a lot of these settings can be found within the in-game graphics settings. Then the setting you want to change it’s this one right here Anisotropic filtering, click on it and select the drop-down menu, and select 16x. After that, click on Apply to save changes.