If you’re looking to enhance your GTA V experience with the latest Mercenaries update by installing the ‘All MP Vehicles in Single Player’ mod, you’re in the right place. This comprehensive guide will walk you through the process step by step, ensuring a smooth installation and seamless integration of this exciting mod.
Step 1: Downloading the Mod
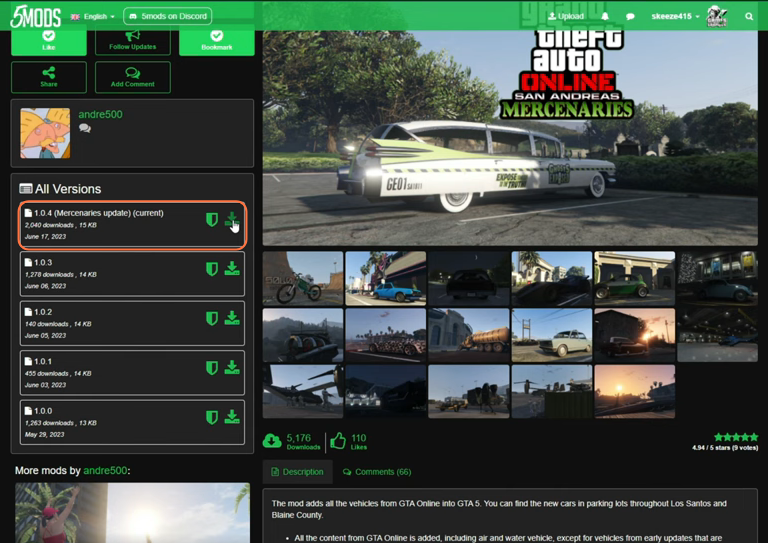
- First of all you need to download the ‘All MP Vehicles in SP’ mod from a trustworthy source such as gta5-mods.com.
- Head to the designated website, and under the ‘All Versions‘ section, click the green download arrow icon corresponding to the current version. This will initiate the download of a compressed zip file containing the mod’s contents.
Step 2: Gather and Configure Essential Components
- To ensure a seamless fusion of the mod’s expansive features, a handful of prerequisites must be in place. The mod calls for the incorporation of Script Hook V , Script Hook VDotNet , and the Native UI library.
- Additionally, it’s advisable to install the Add-On Vehicle Spawner, particularly if you’ve encountered issues with vehicle disappearance during gameplay.
- Procure these files and then proceed to your downloads folder to initiate the installation process.
Step 3: Accessing the Scripts Directory
With the essential files in your possession, navigate to the core directory where GTA V is installed. Within this context, identify the existing “scripts” folder or create one if it’s absent. This step is crucial for accommodating the mod’s functionalities.

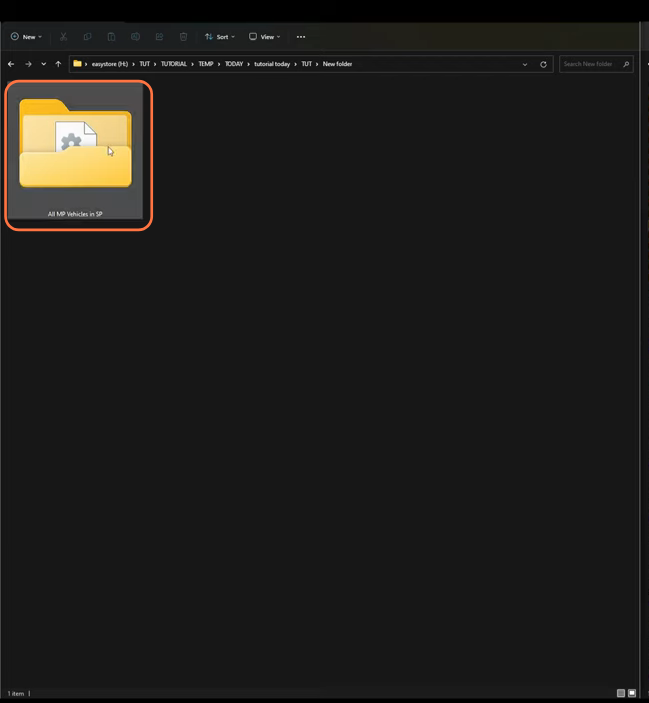
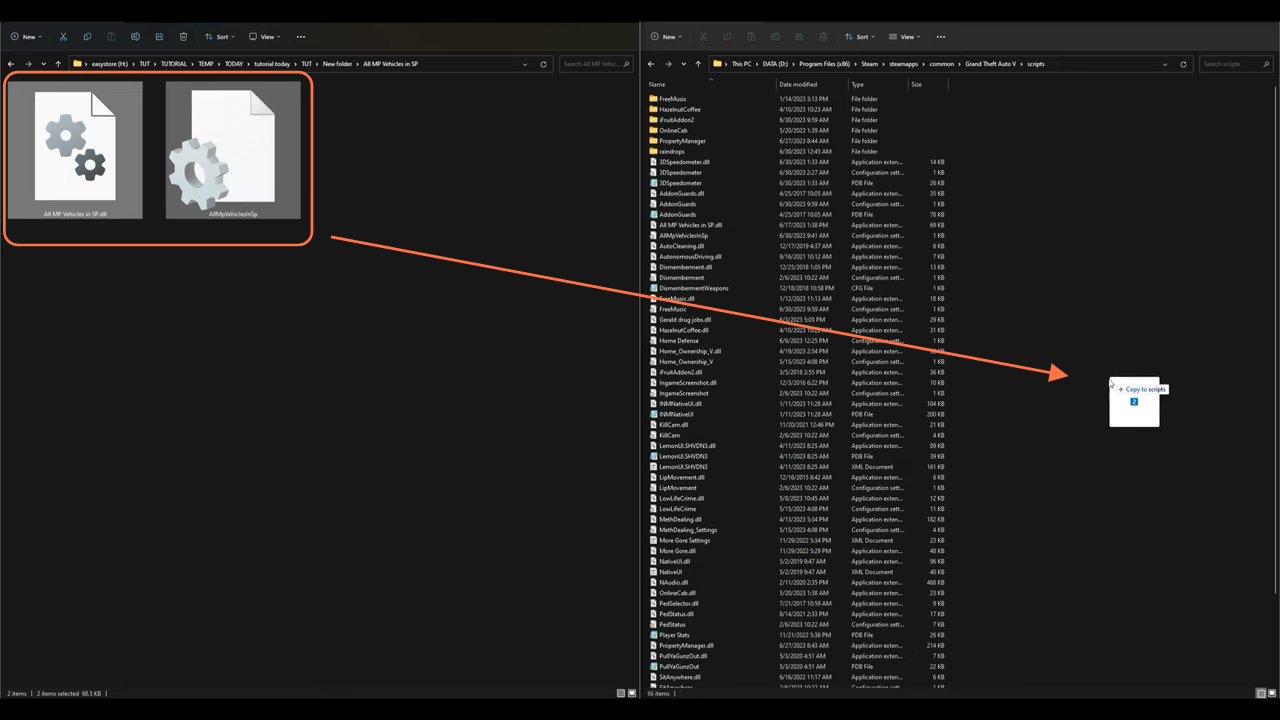
Step 4: Exploring and Integrating the Mod’s Files
Open the downloaded mod’s folder, housed within your downloads directory. Within this folder, you’ll discover two crucial files. Without hesitation, transfer these files into the “scripts” folder located within your GTA V directory. This seamless integration sets the stage for the mod’s features to come to life.
Step 5: Access the Configuration Settings File
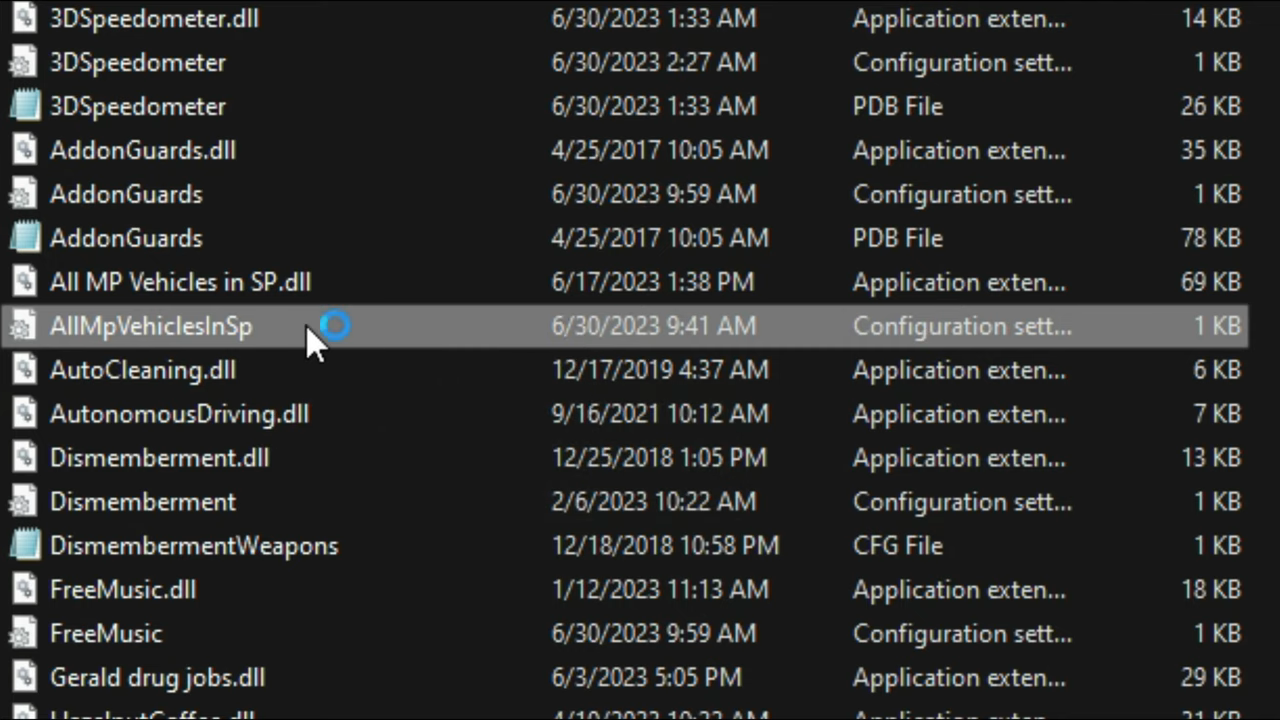
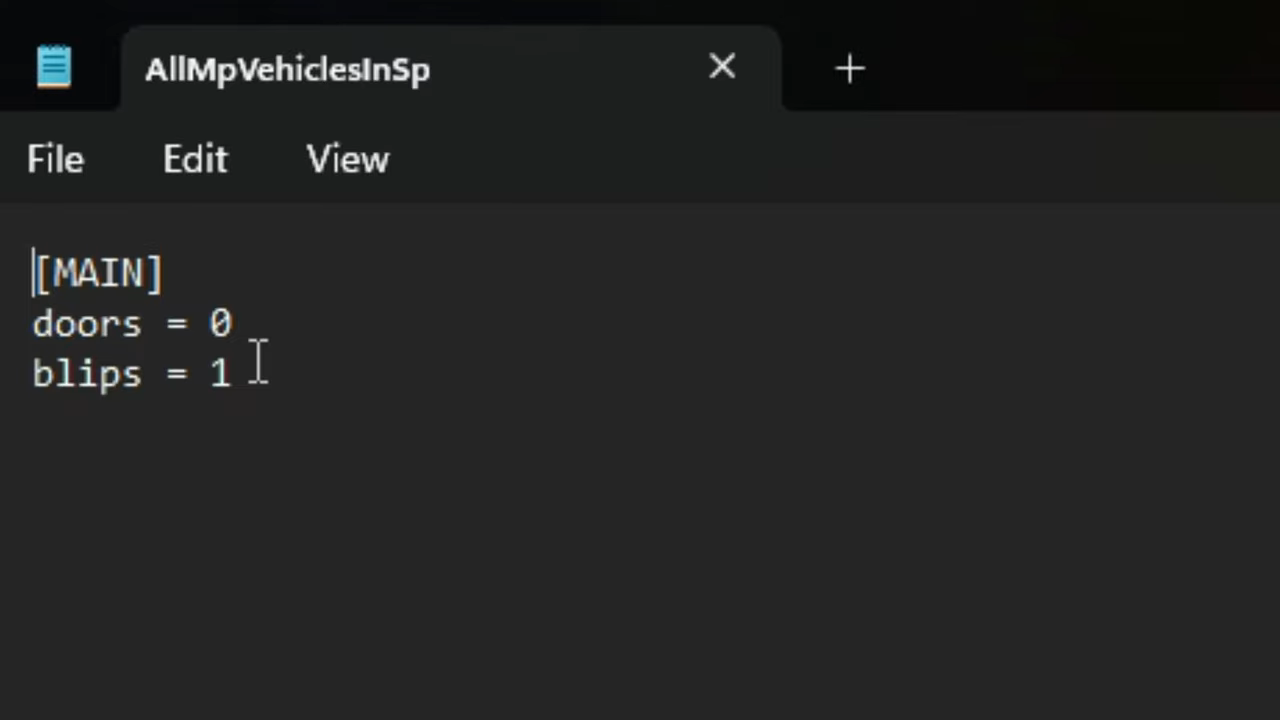
Proceed to find the ‘AllMpVehiclesInSP’ configuration settings file within the Scripts folder.
Step 6: Configuring the Mod’s Settings
With in the file you will unveil two significant options. The first option pertains to the vehicle doors and is typically set to ‘0’, signifying unlocked doors. The second option, blips, is similarly set to ‘0’. Adjust this to ‘1’ to witness DLC cars’ spawn locations through blips on the in-game map. Don’t forget to save your changes by selecting the File option and hitting Save.
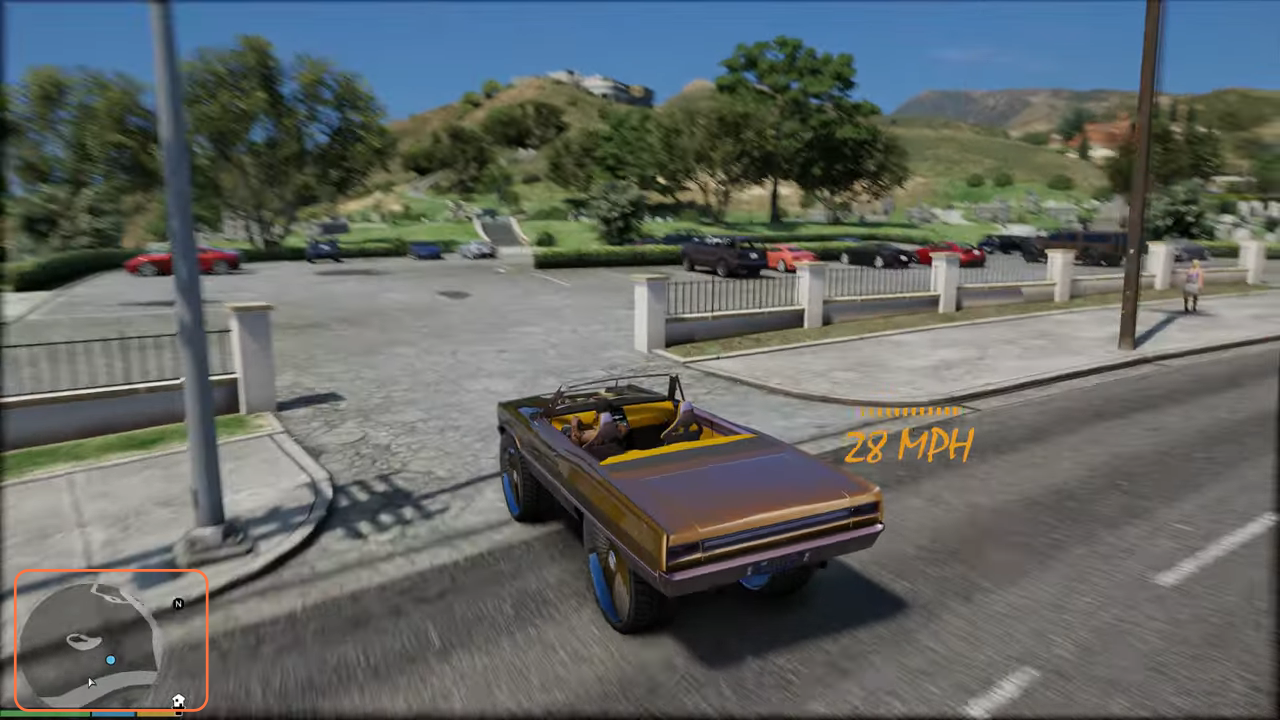
Step 7: Testing and Exploring the Mod
With all the adjustments made, it’s time to put the mod to the test. Close any open windows and launch GTA V. Once in the game, locate a DLC vehicle and take it for a spin around the map. You’ll notice blips marking the locations of various vehicles. These blips will be labeled as ‘Unique Vehicle’. When you approach one of these blips and interact with the vehicle, the blip will vanish, indicating your success in acquiring that particular vehicle.