In this guide, you’ll learn how to install and run xEdit in Skyrim LE/SE.
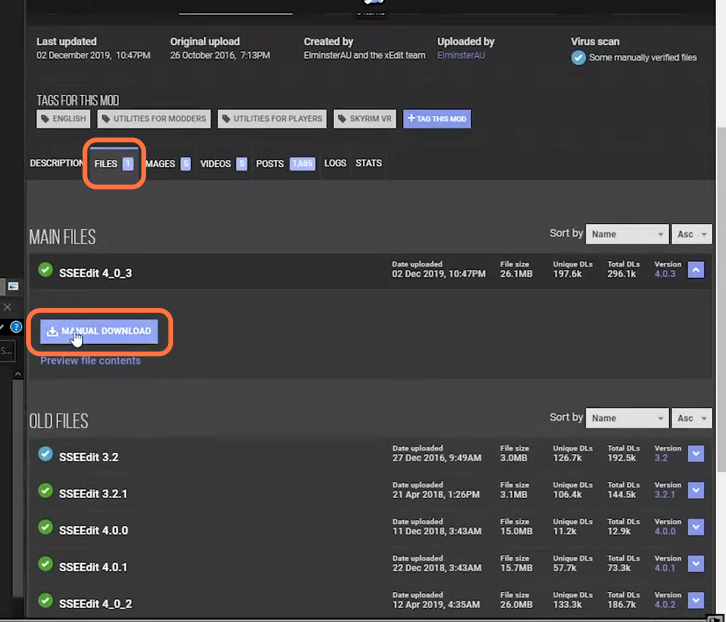
1. SSEEdit/TESVEdit is a more game-specific tool for modding in the Skyrim special edition and Legendary edition respectively. It is an advanced version of the xEdit. You will require the Mod Organizer before you can begin with the installation. In this guide, you will be installing the xEdit for the Skyrim Special Edition. Download the SSEEdit for the special edition and TESVEdit for Legendary Edition. You can download the SSEEdit from “https://www.nexusmods.com/skyrimspecialedition/mods/164“. Click on the Files tab and then press the Manual download button to get the mod file.
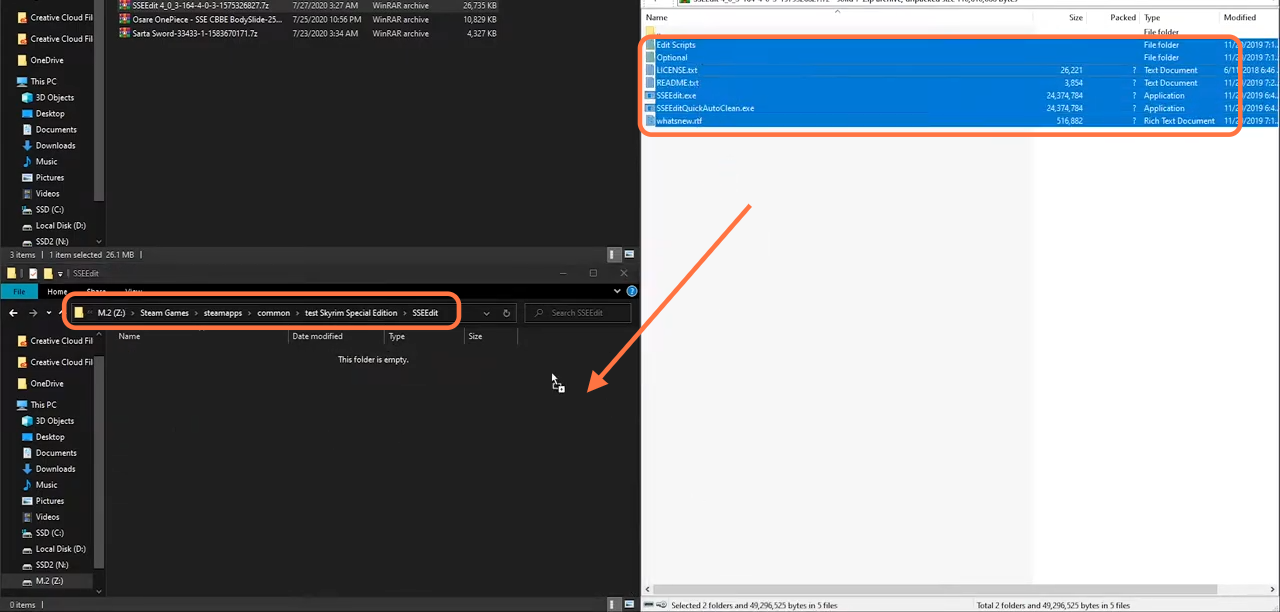
2. Open the downloaded file of the mod using the Winrar archiver and then make a folder in your Skyrim directory. Name it something “Skyrim SSEEdit” and drag all the content from the downloaded file into the newly created folder.
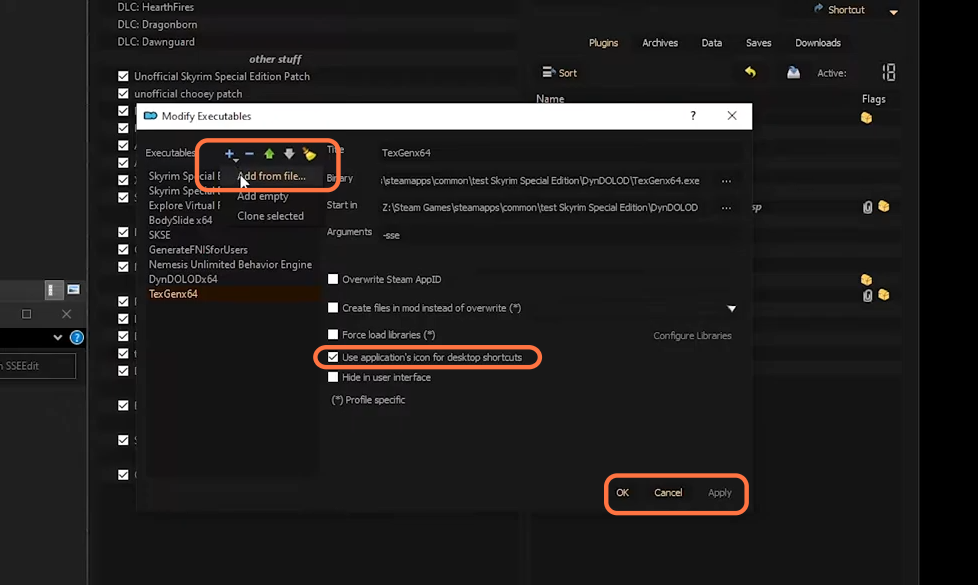
3. After installation, it’s time to set up the SSEEdit tool so open the mod organizer and click on the drop-down menu and select the <Edit> option. You will get to see Modify Executables window where need to click on the Plus icon and then select “Add from file”. Go to the directory where you have installed the tool, select the SSEEdit.exe file and click the open button. Then check the box against the “Use application’s icon” and press Apply button.
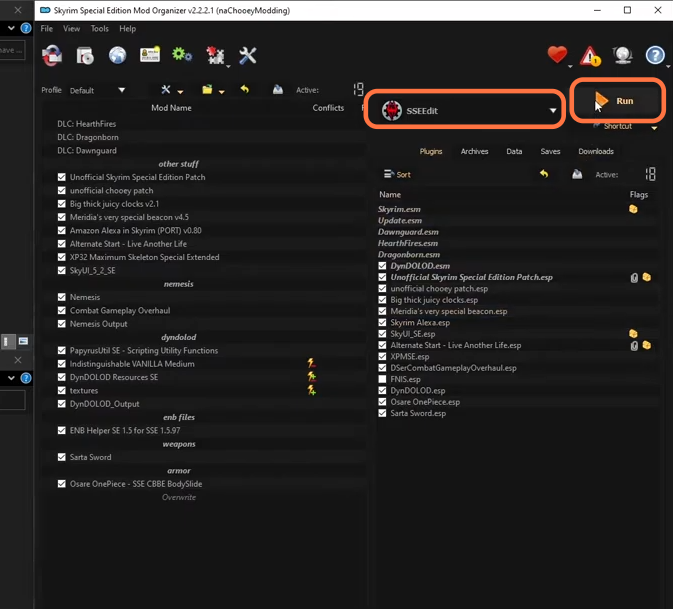
4. Now in the Mod organizer, click go to the drop-down menu, select the SSEEdit/TESVEdit and press the Run button.
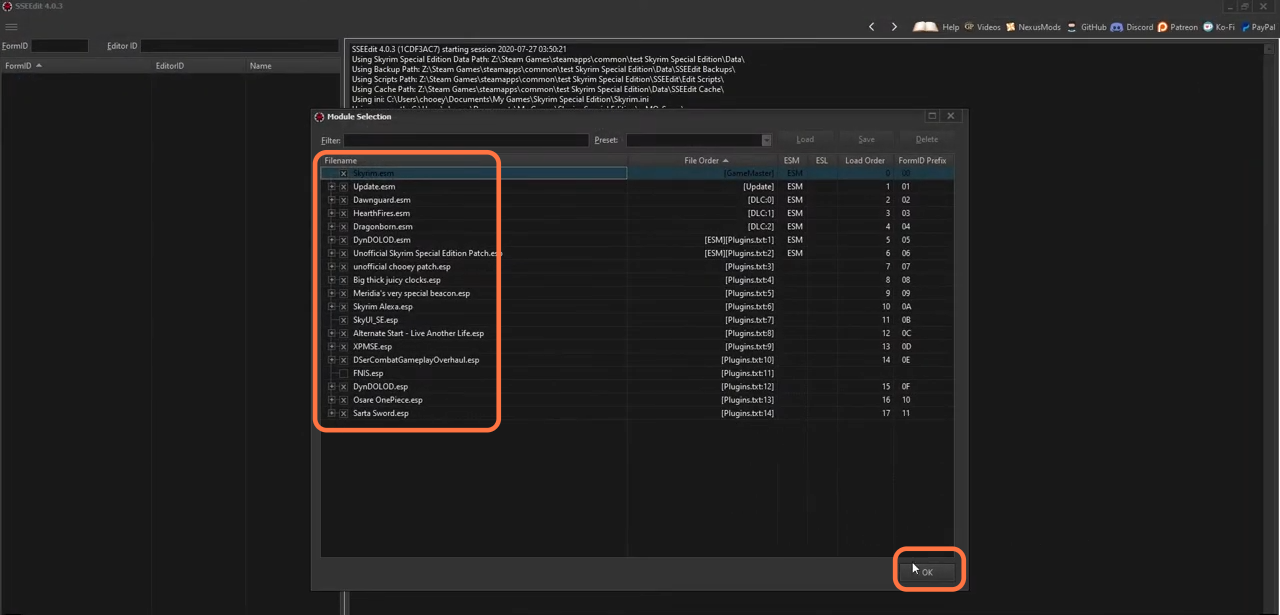
5. Select the ESPs, ESLs, and ESMs you want to work with and then press Ok.