In this guide, you will find out how to install Custom Combat and Idle Animations for the Nemesis engine for Skyrim. Go through the guide and follow the step-by-step instructions to install it. You must have already installed the XPMSSE skeleton replacer.
1. There are certain mods that are recommended to be installed. The first one is the Smooth Cam mod which you can download from “https://www.nexusmods.com/skyrimspecialedition/mods/41252“. Click on the Files tab, then press the Manual Download Button to get it for free. This mod will improve the animation quality of your game by giving you the ability to modify camera positions to match what your character is doing. This can take a little getting used to at first, but since the animations are already so complicated, it might make your head spin a bit with a close view.

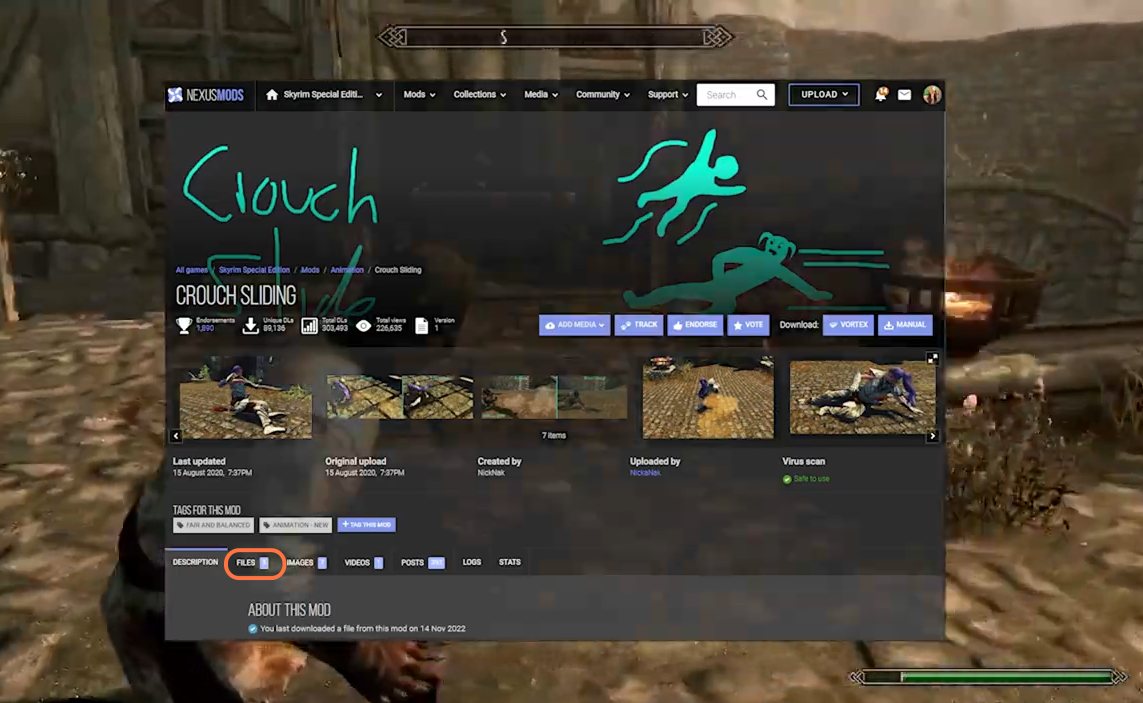
2. The Next one is the Crouch Sliding. You can download it from “https://www.nexusmods.com/skyrimspecialedition/mods/39157“. Click on the Files tab and then press the Manual Download Button to get it for free. The Crouch Sliding mod improves your character’s movements during battle. It is especially helpful for players who want to slide under opponents and trip them up.
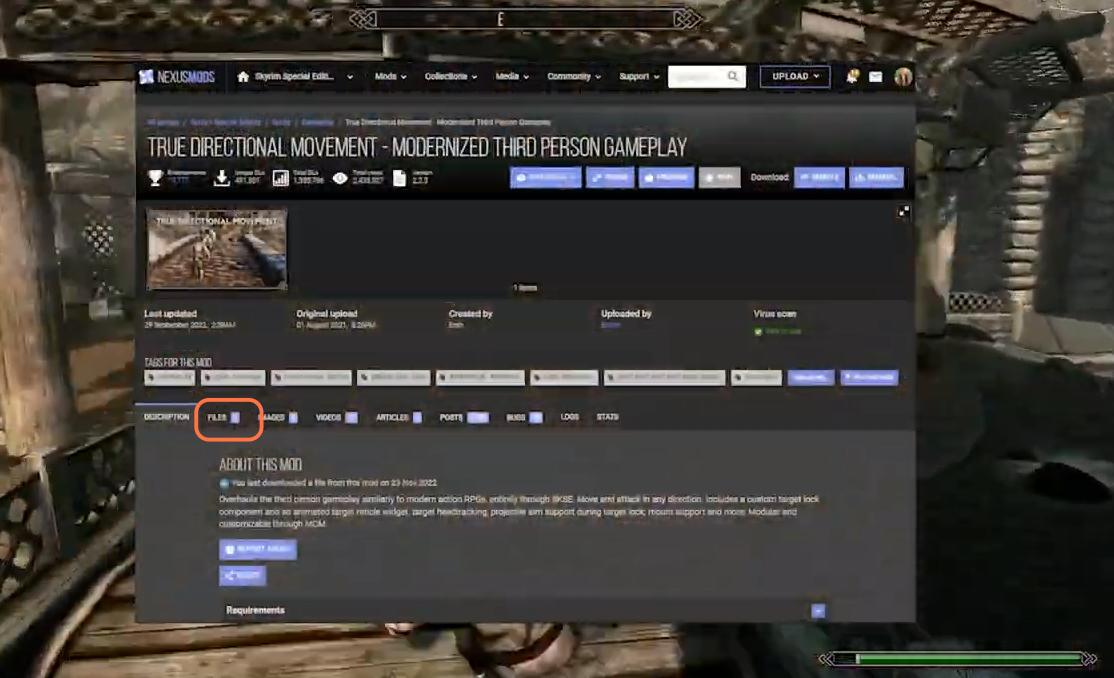
3. After that, you have to go for the True Directional Movement – Modernized Third-Person Gameplay Mod. You can download it from “https://www.nexusmods.com/skyrimspecialedition/mods/51614“. Click on the Files tab and then press the Manual Download Button to get it for free. True Directional Movement is the foundation for 3rd person’s character movements by making them more fluid and natural. This is what you need to give your animations an overhaul.
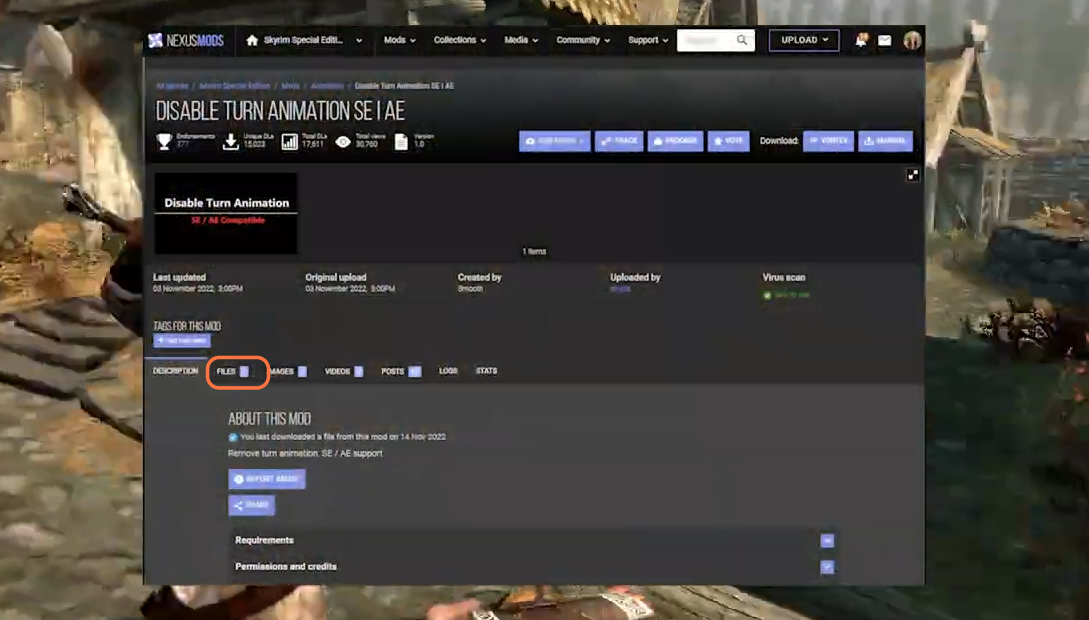
4. The next mod is Disable Turn Animation SE. You can download it from “https://www.nexusmods.com/skyrimspecialedition/mods/78106“. Click on the Files tab then press the Manual Download Button to get it for free. With the Disable Turn Animation Mod, you’ll be able to control your character and have more options when it comes to movement. You’ll also have the option of turning 180 degrees instantaneously.
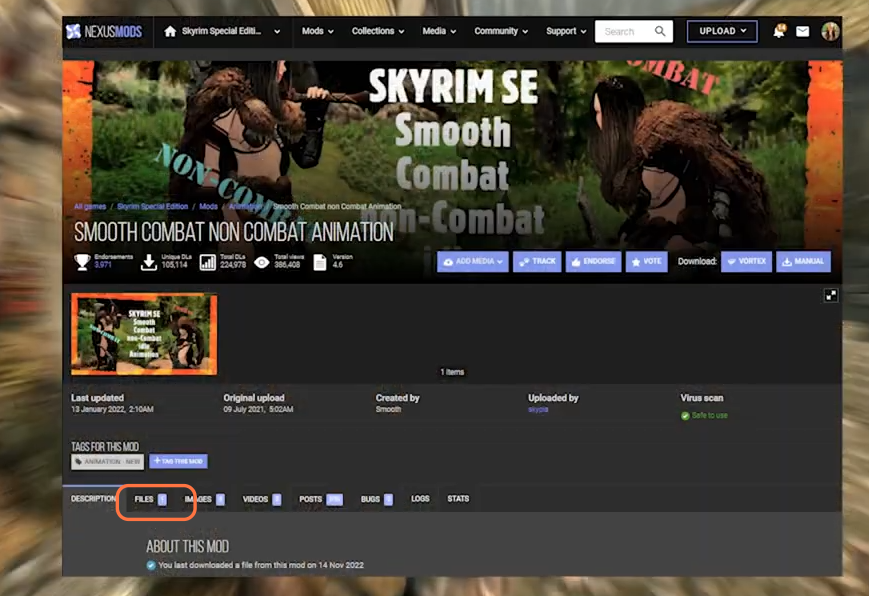
5. After that, you need to install the Smooth Combat non-Combat Animation Mod. You can download it from “https://www.nexusmods.com/skyrimspecialedition/mods/52145“. Click on the Files tab then press the Manual Download Button to get it for free. This mod will connect the combat and idle animations, so they’ll happen simultaneously. It means that instead of switching back and forth between sets, you’ll see the same animation in both modes.
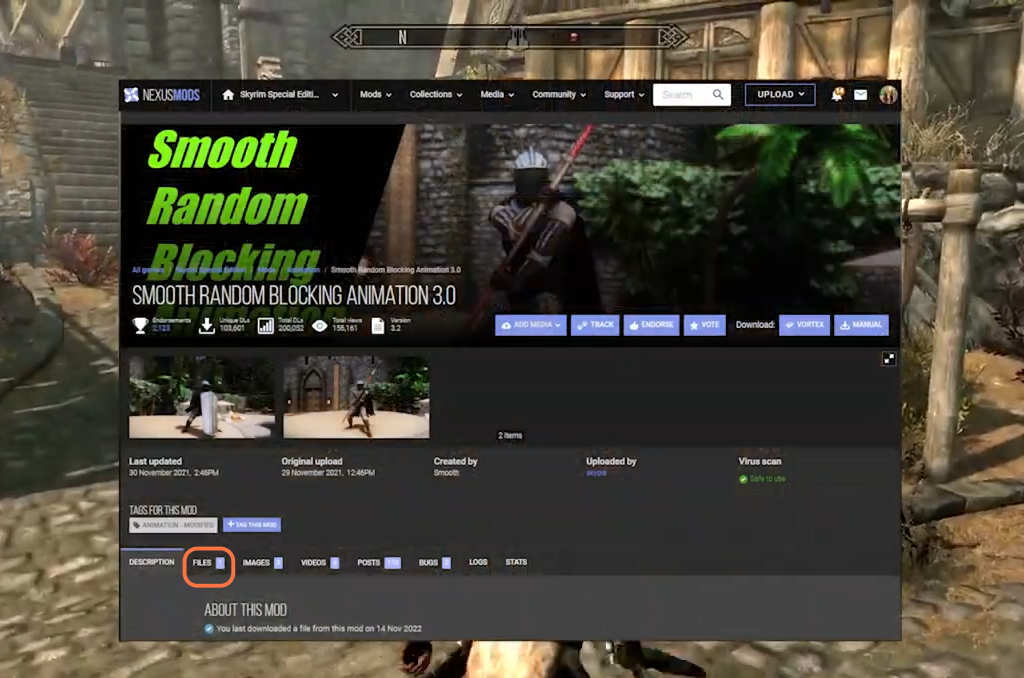
6. Now the next one on the cards is the “Smooth Random Blocking Animation 3.0” Mod. You can download it from “https://www.nexusmods.com/skyrimspecialedition/mods/59239“. Click on the Files tab then press the Manual Download Button to get it for free. With Smooth Random Blocking, you’ll get some awesome animations to go with your combat skills. It’s a perfect complement to the Smooth Combat, providing all kinds of unique animations that are tailored to the weapon you’re using.
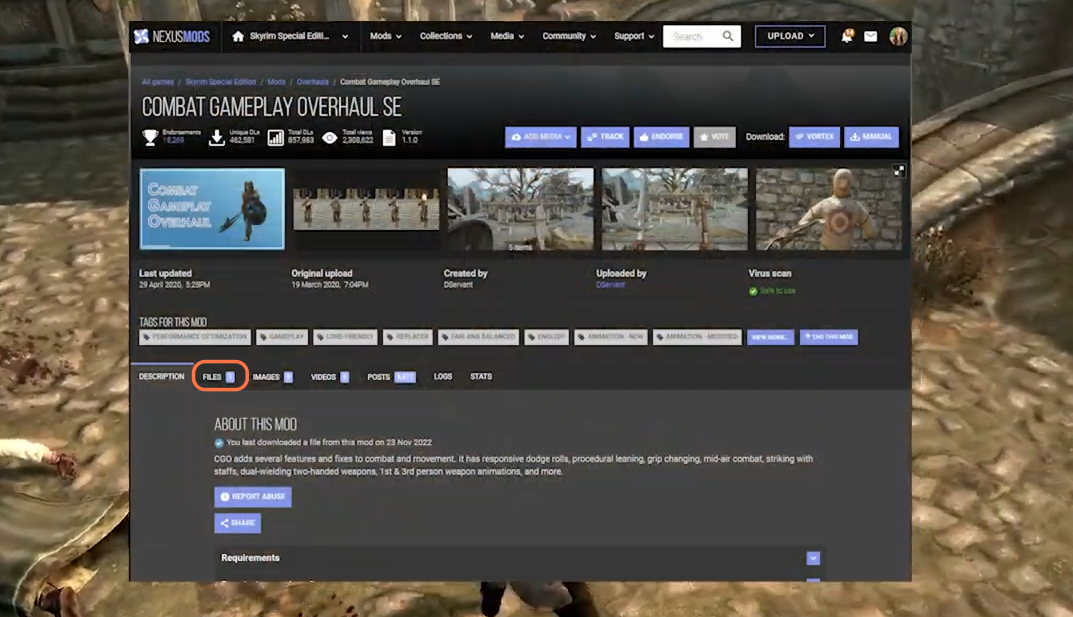
7. The final mod to install is the “Combat Gameplay Overhaul SE” Mod. You can download it from “https://www.nexusmods.com/skyrimspecialedition/mods/33767“. Click on the Files tab and then press the Manual Download Button to get it for free. The Combat Gameplay Overhaul grants a more natural connection between each strike including grip changes, swing direction, and the use of one or two hands on the weapon. Not only will this provide variety in battle sequences, but it’ll also encourage players to fight strategically to take advantage of various grips.
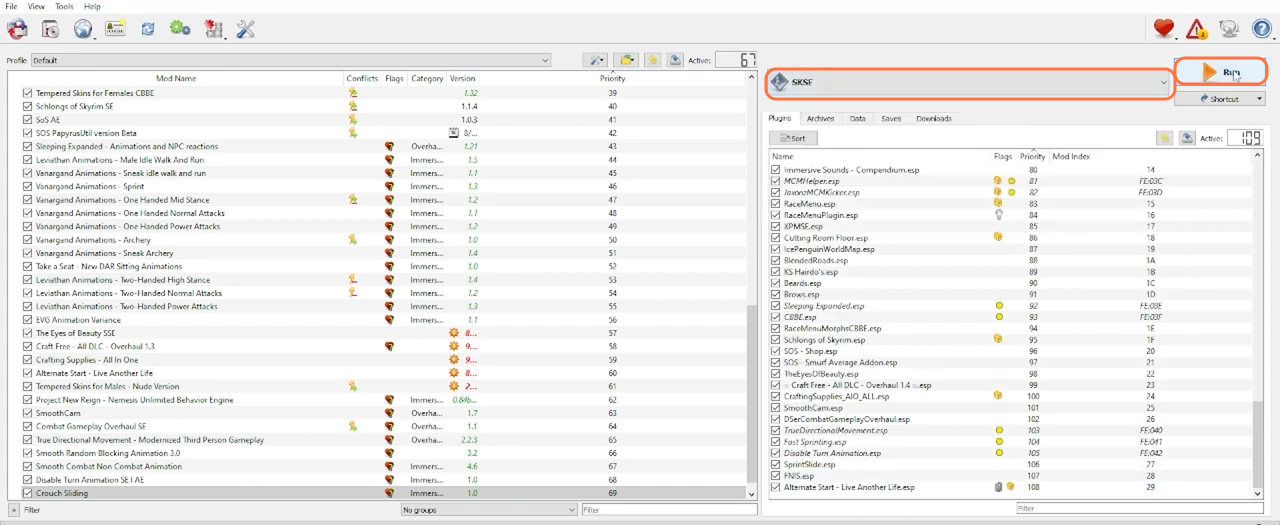
8. You can download these mods manually and then transfer them into the Mod Manager or download them directly into the Mod Manager. Open your Mod Organizer 2 and navigate to the downloads tab in the right side pane.
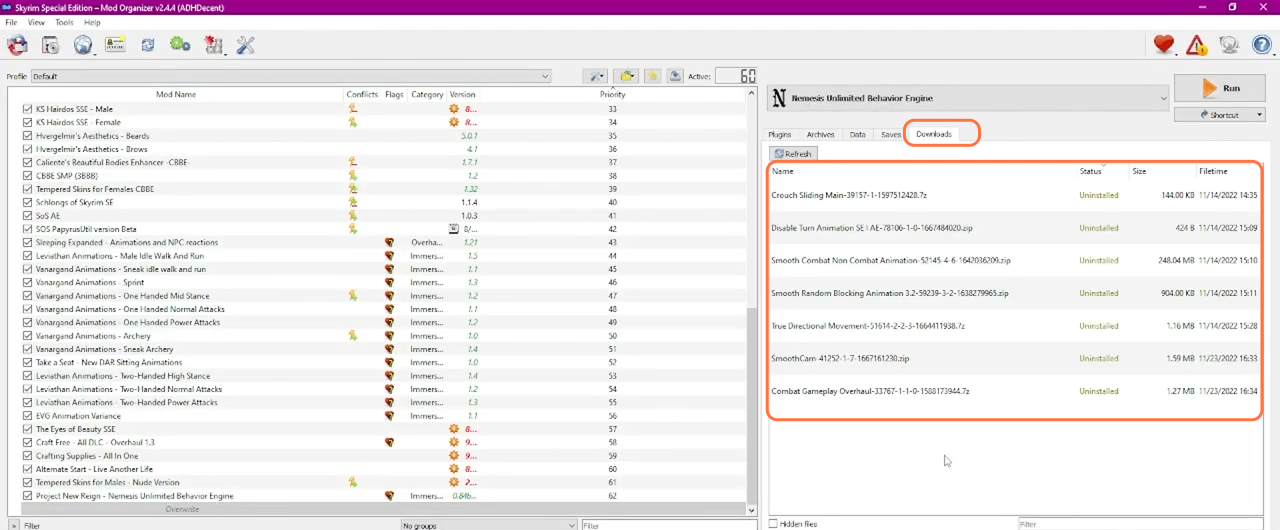
9. To Install them double-click on the mods one by one. Once installation completes, make sure they are enabled in the main left-hand pane.

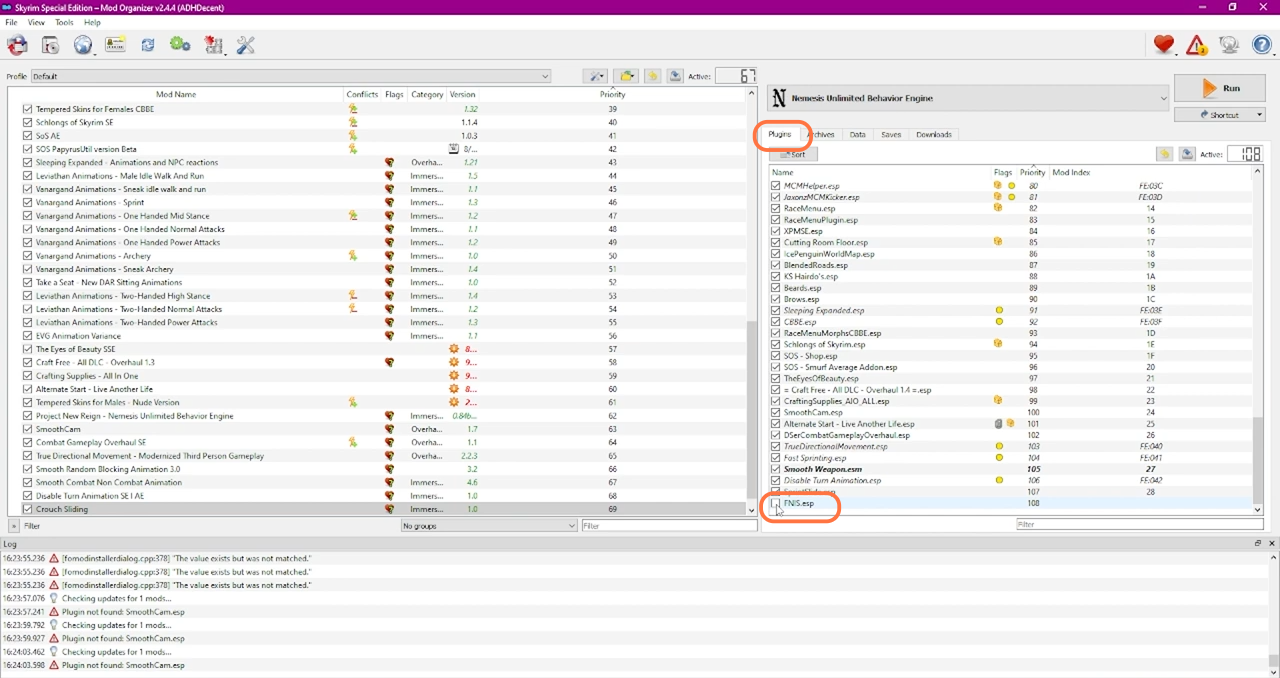
10. Once enable navigate to the “Plugins” tab on the right pane and click the sort to sort out your load order
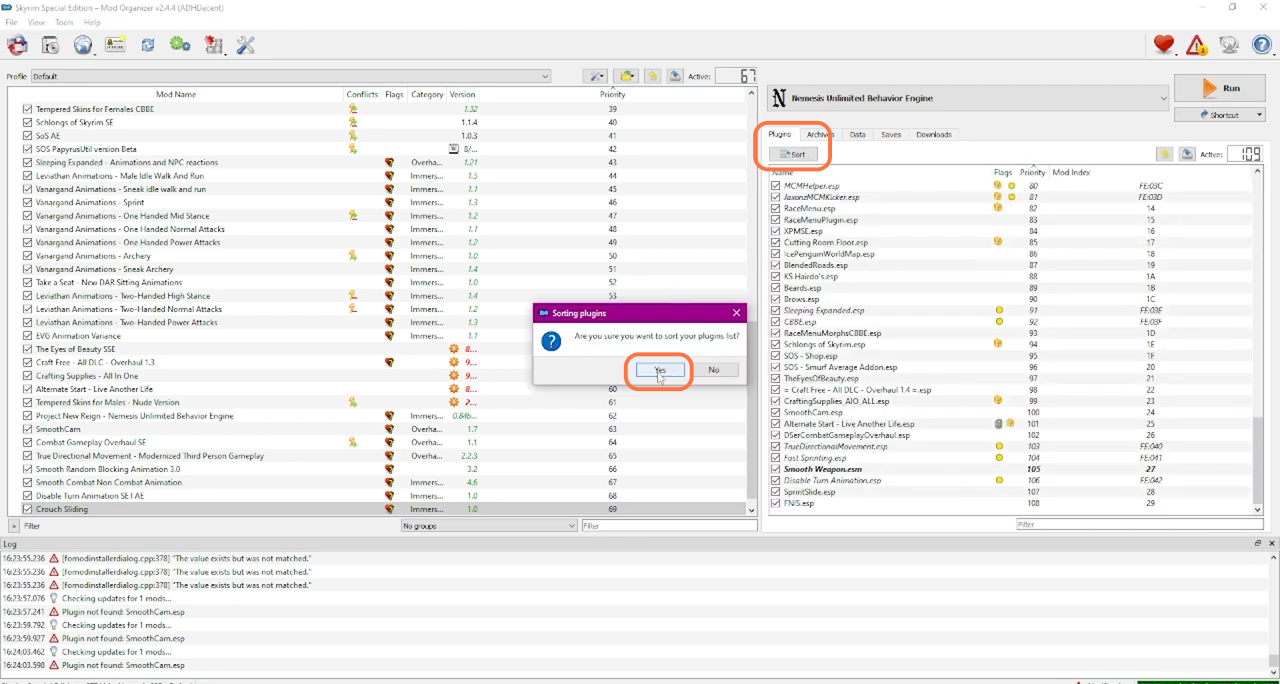
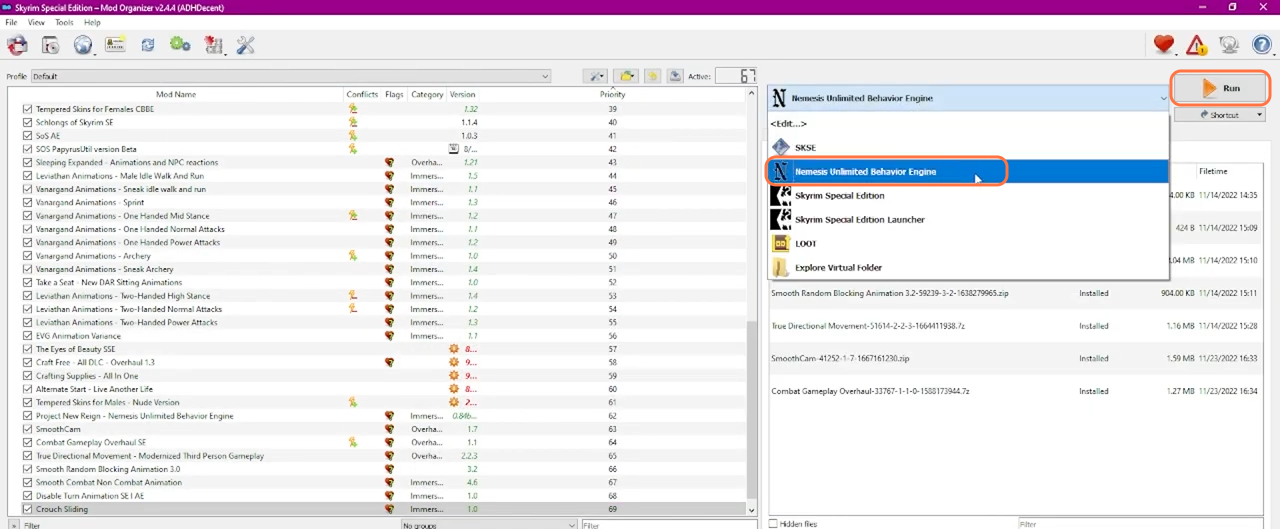
11. After that, select Nemesis from the drop-down list and then click Run.
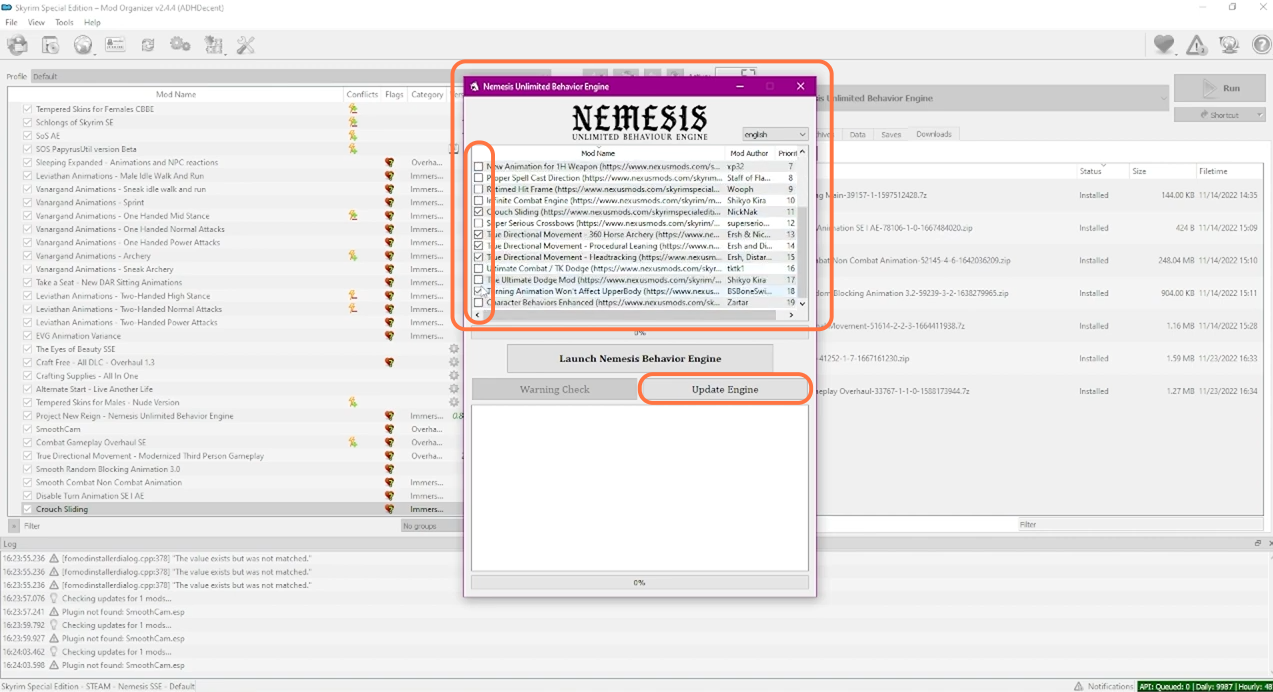
12. Then from the main pane in Nemesis, enable all the mods we have just installed by checking the box to the left of the mod name. After that, select Update Engine.
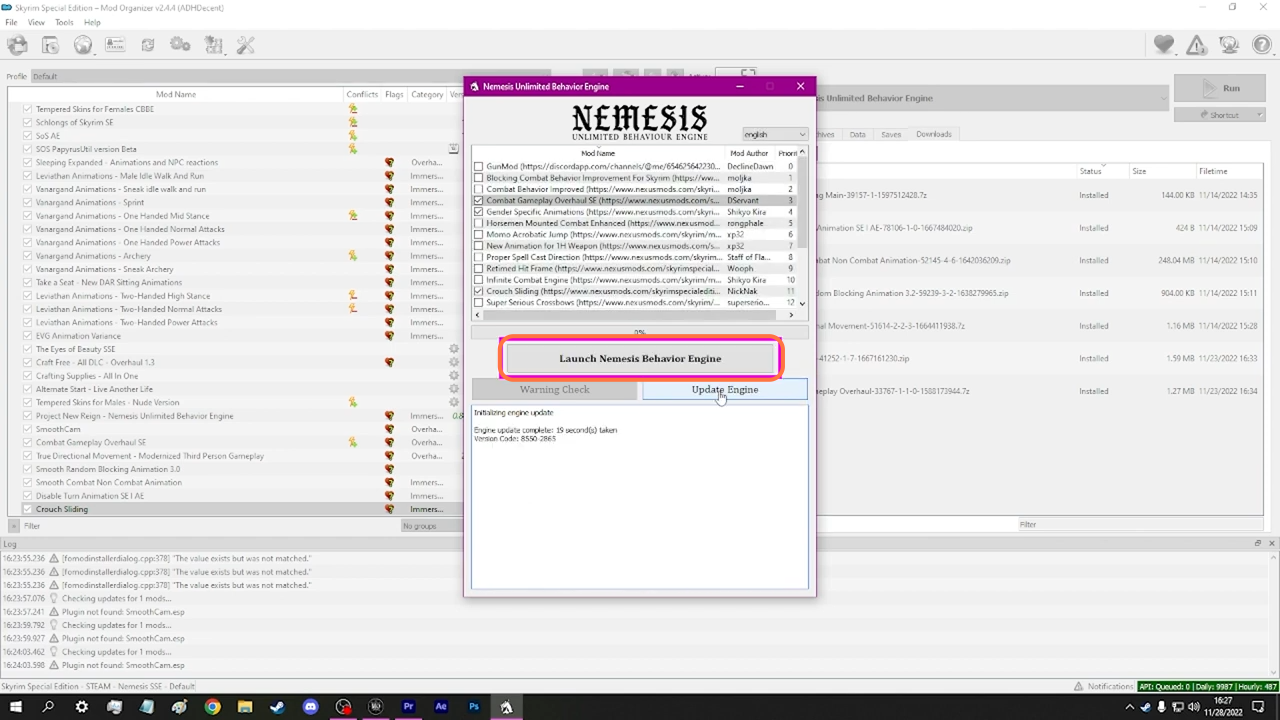
13. Once that completes, you need to click on the “Launch Nemesis Behaviour Engine” tab.
14. Now go back to the plugins tab, scroll to the bottom, and locate the FNIS dummy plugin created by Nemesis. Enable it by checking the box.
15. Now launch Skyrim through SKSE in Mod Organizer 2.