The recently launched Evolved Police Response mod is here to redefine police behavior and interactions within the game. This mod will put more officers and staff in the playing area with a strong chase up on crime activity. Follow this comprehensive guide to install this mod effortlessly to experience the virtual world with heightened realism and intensity.
Step 1: Download the Mod
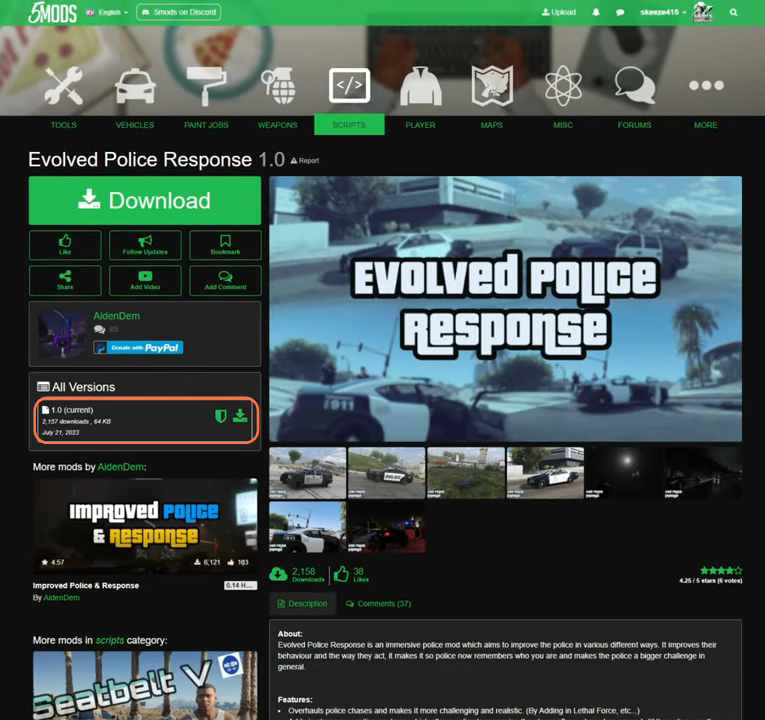
- The first step is to download the Evolved Police Response mod from this page.
- Open the link and click on the green download arrow icon for the current version under the ‘All Versions‘ section to get the mod’s compressed zip file.
Step 2: Downloading and Installing Prerequisites
- For the seamless integration of the mod’s features, specific prerequisites are essential. It requires Script Hook V, Script Hook VDotNet, and the Lemon UI library for this mod to work seamlessly.
- These tools are commonly used together for modding in the Grand Theft Auto V (GTA V) game. The Script Hook V essentially acts as a bridge between the game’s code and external scripts. Once you have downloaded the required files, you have to go to the downloads folder to proceed with the installation.
Step 3: Accessing the Scripts Directory
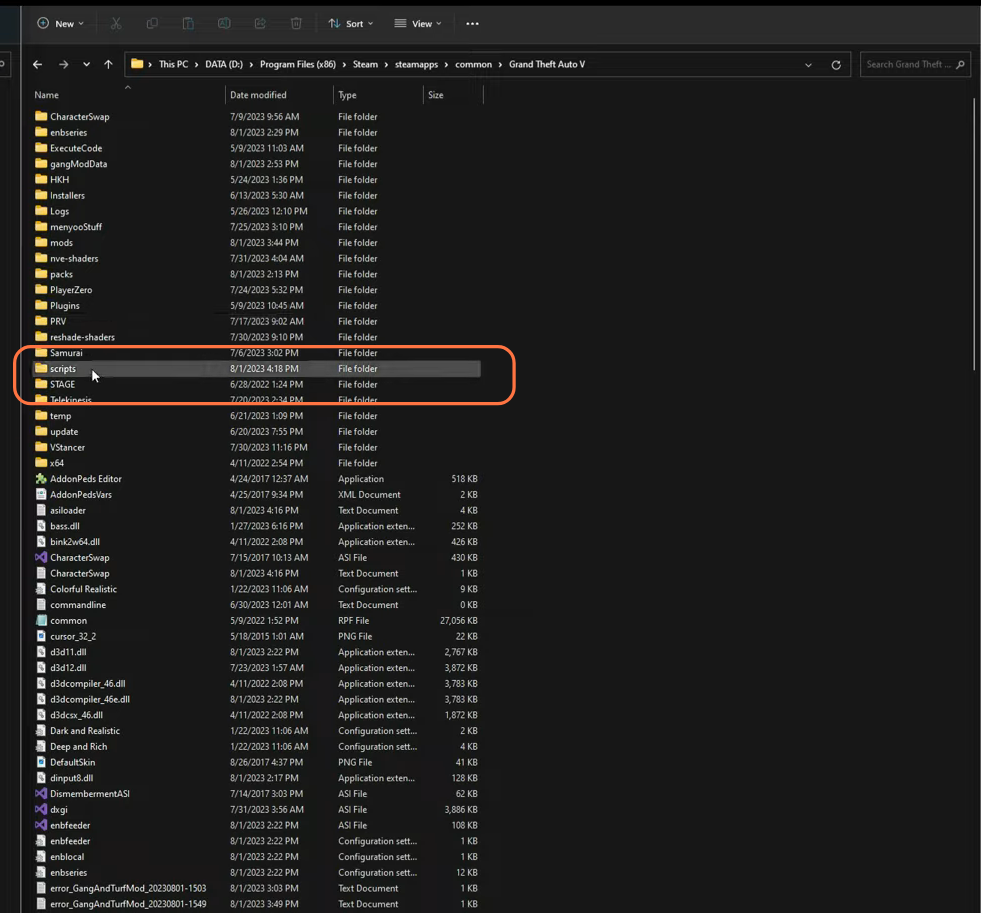
Open the main directory of your GTA V installation alongside the downloads folder. Within this context, navigate to the scripts folder within the GTA V directory. If a script folder does not already exist, create one.
Step 4: Exploring the Mod and Lemon UI
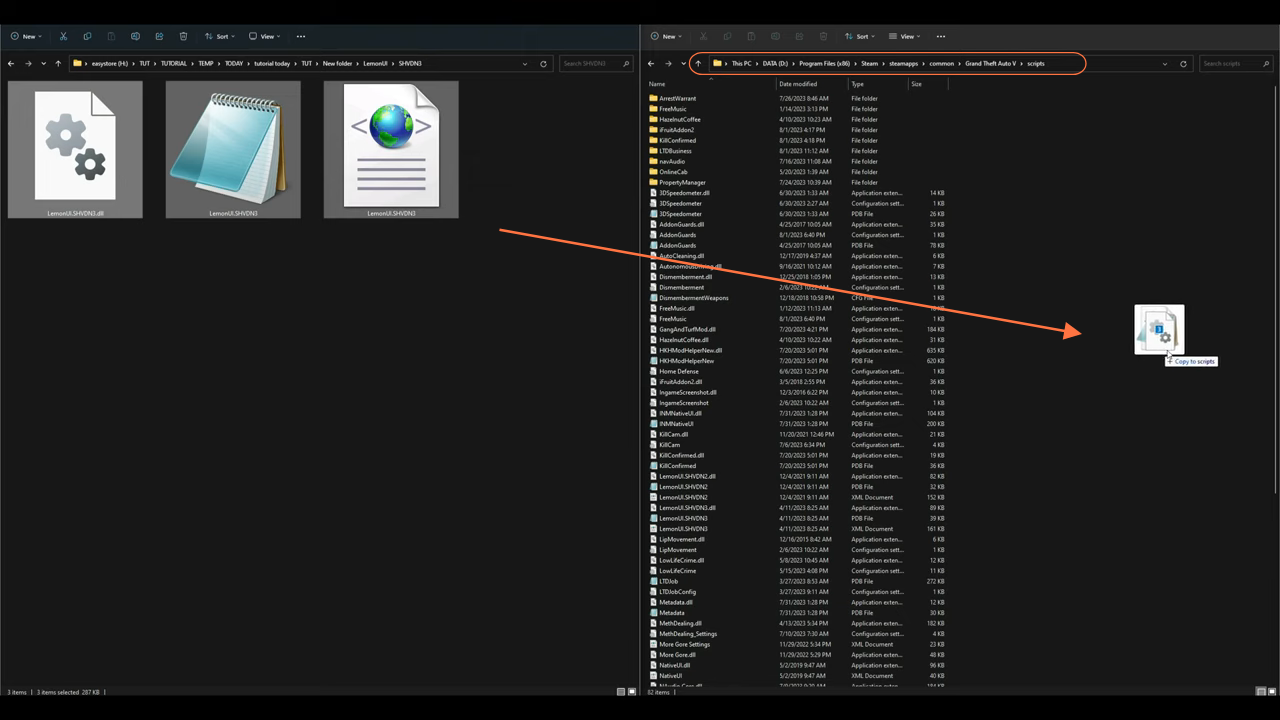
Inside the downloads folder, locate the Lemon UI folder. This folder reveals a series of subdirectories. Your target is the SHVDN3 folder, housing vital dll and text files.

Step 5: Integration of Lemon UI Files
Select all files within the SHVDN3 folder and seamlessly copy them into the scripts folder within your GTA V directory.
Step 6: Immerse in the Mod Content
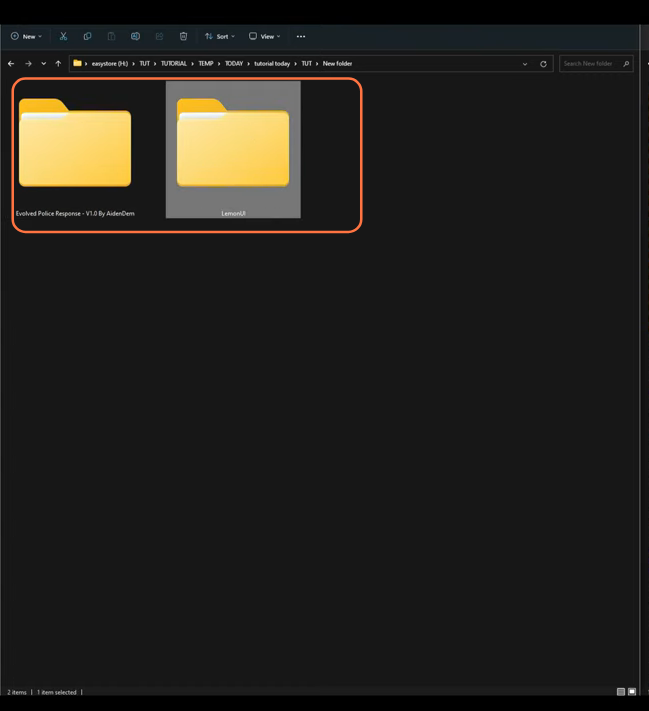
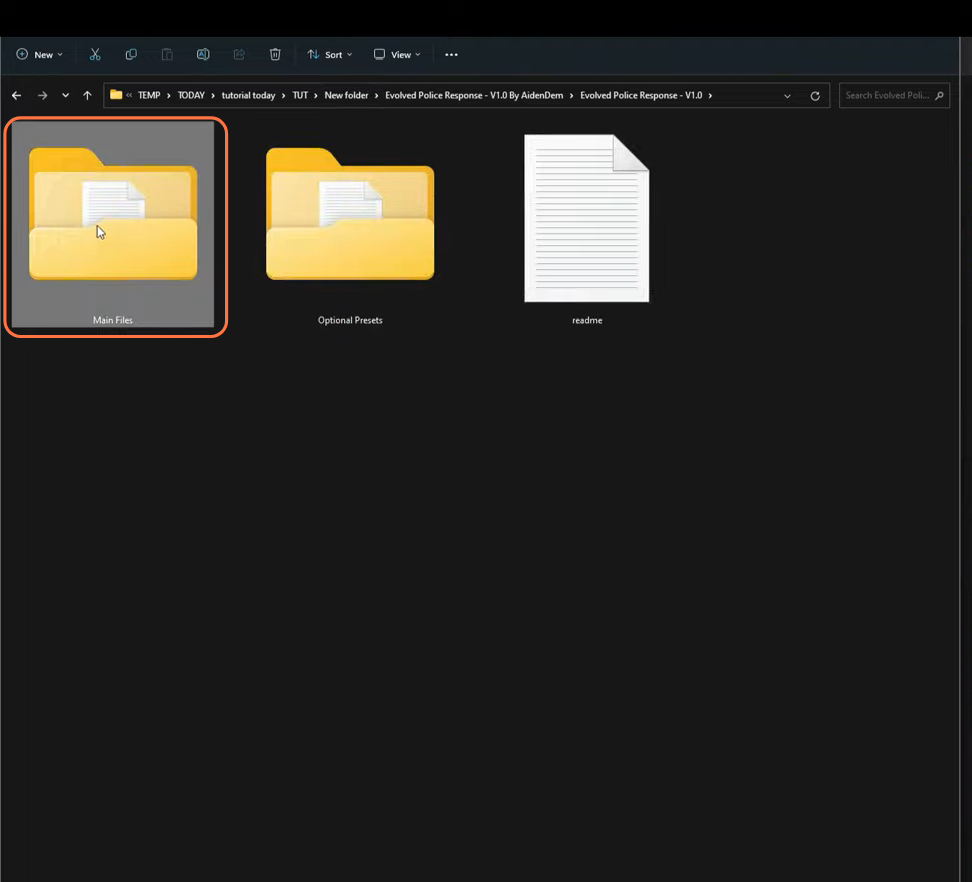
Return to the downloads folder and access the Evolved Police Response folder. Herein lies another subfolder, waiting to be explored. Open this subfolder to uncover its contents, which include the Main Files folder, the Optional Presets folder, and a Readme text document.
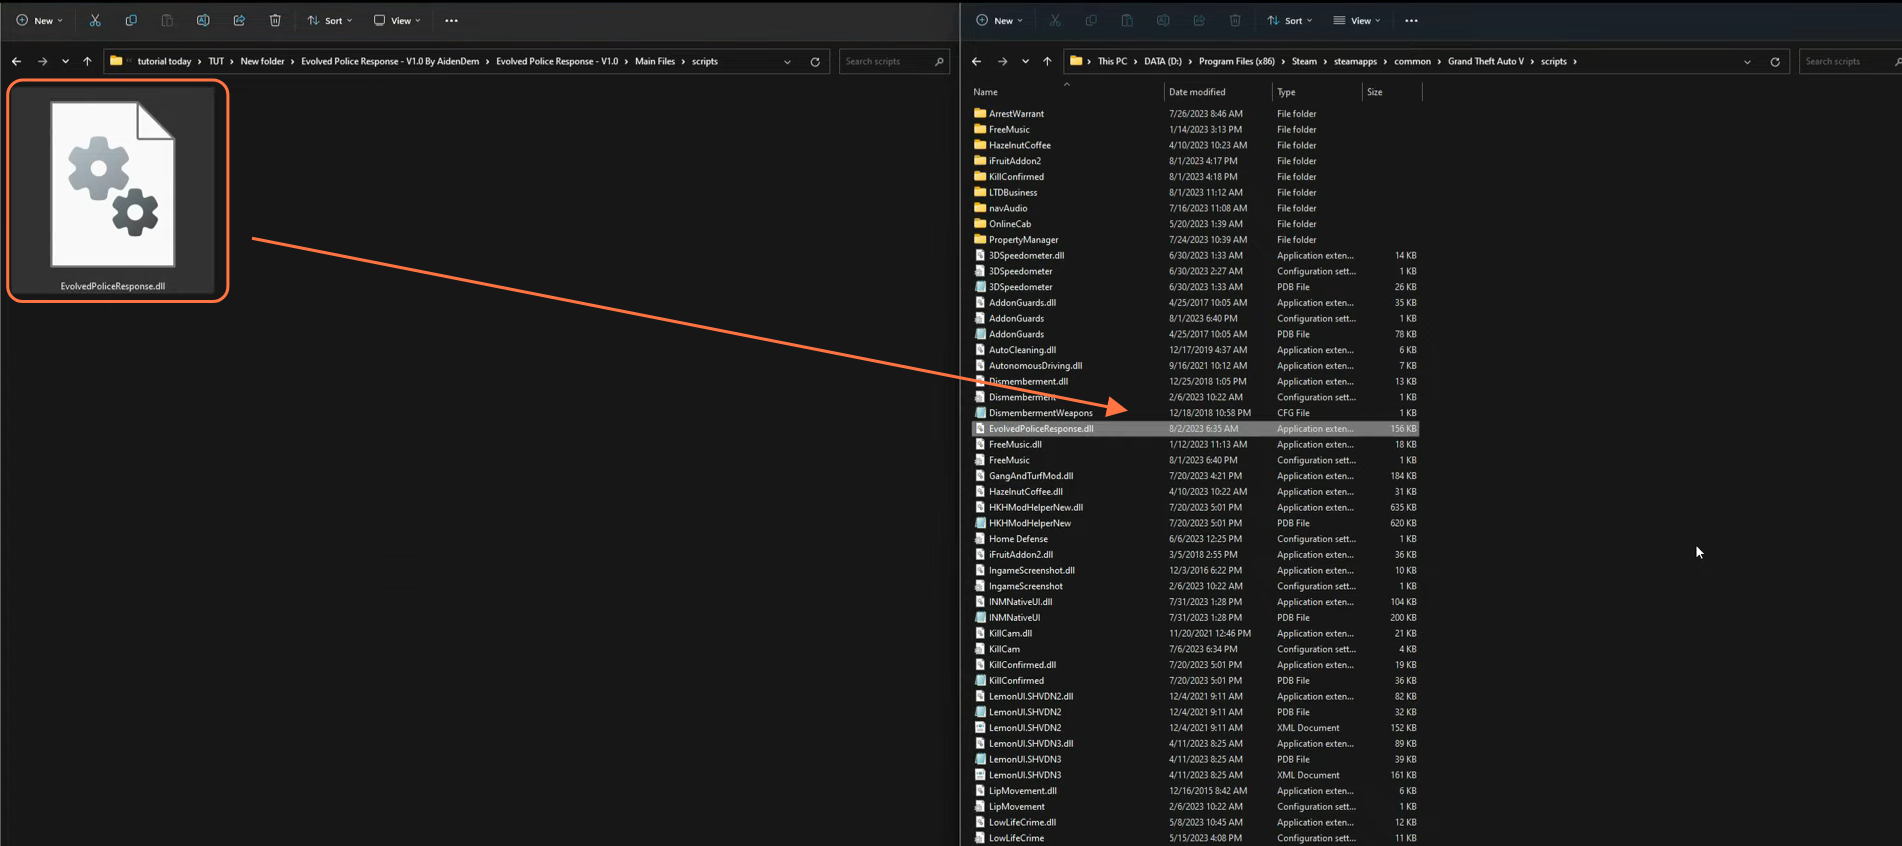
Step 7: Integrating Mods Files
Venture into the Main Files folder, where the Scripts folder takes center stage, housing a crucial dll file. Move this file with a simple drag-and-drop maneuver, placing it within the scripts folder of your GTA V directory.
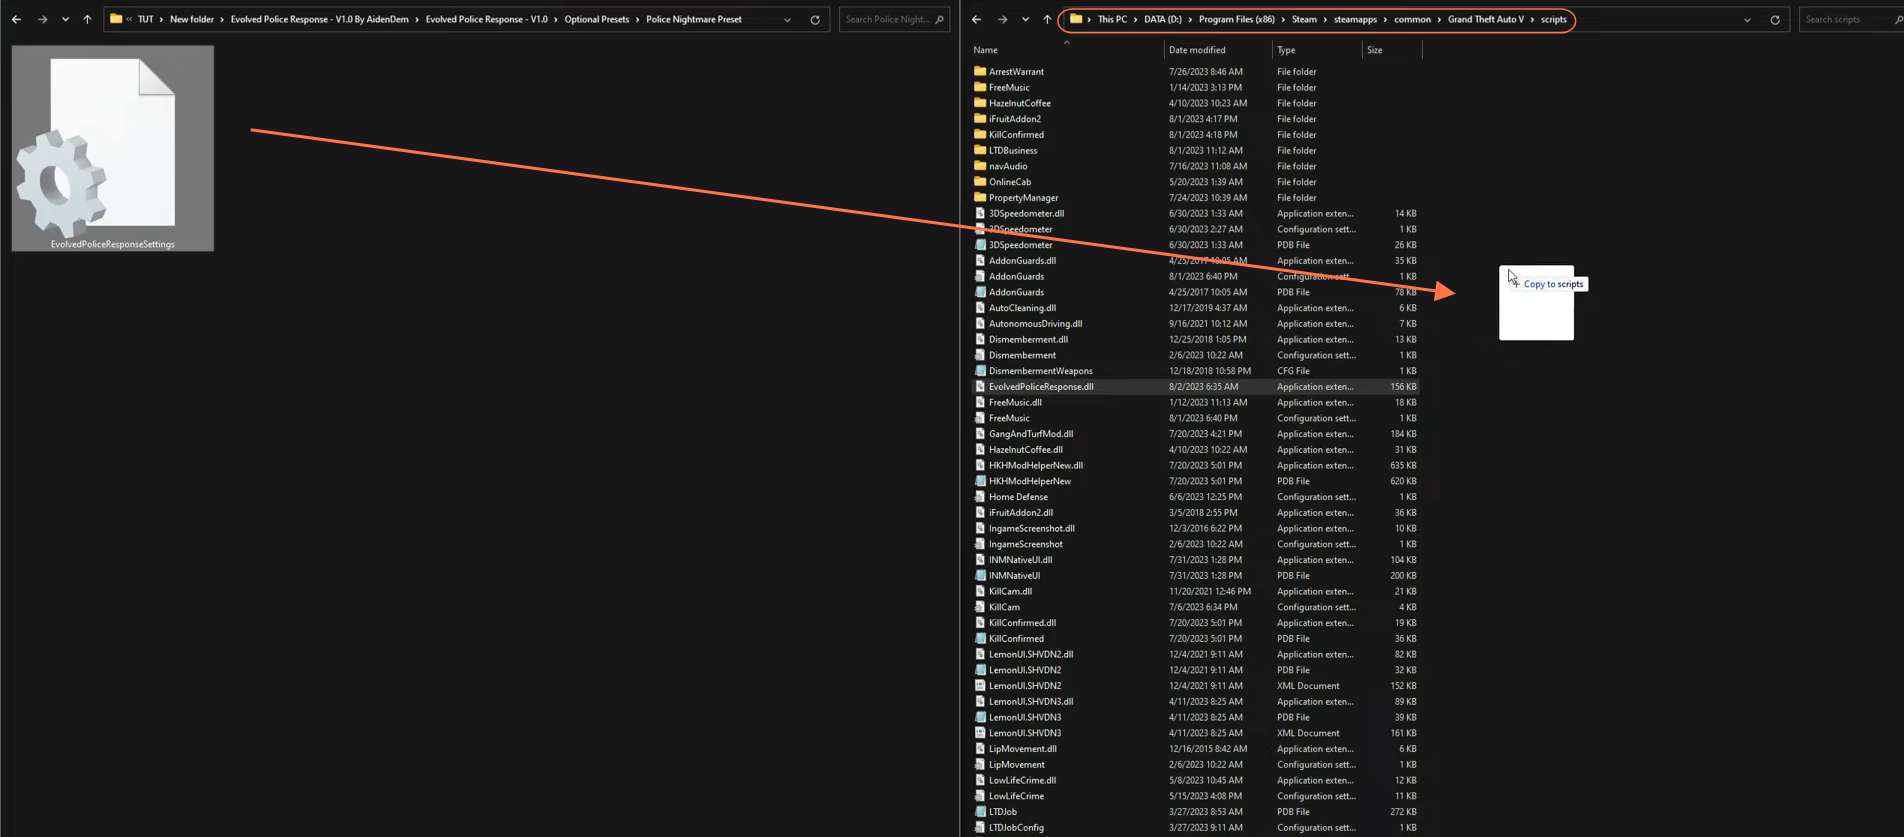
Step 8: Customizing with Presets
Still within the downloads mod’s folder navigate to the Optional Presets folder, where an array of preset choices awaits – My Personal Preset, Police Nightmare Preset, and The Hood Preset. Alongside these presets there is also an informative text document detailing each option. Opt for the Police Nightmare Preset for a bustling police presence. Open the corresponding preset folder and select the settings file. Drag this file into the scripts folder of your GTA V directory.
Step 9: Initiating and Testing the Mod
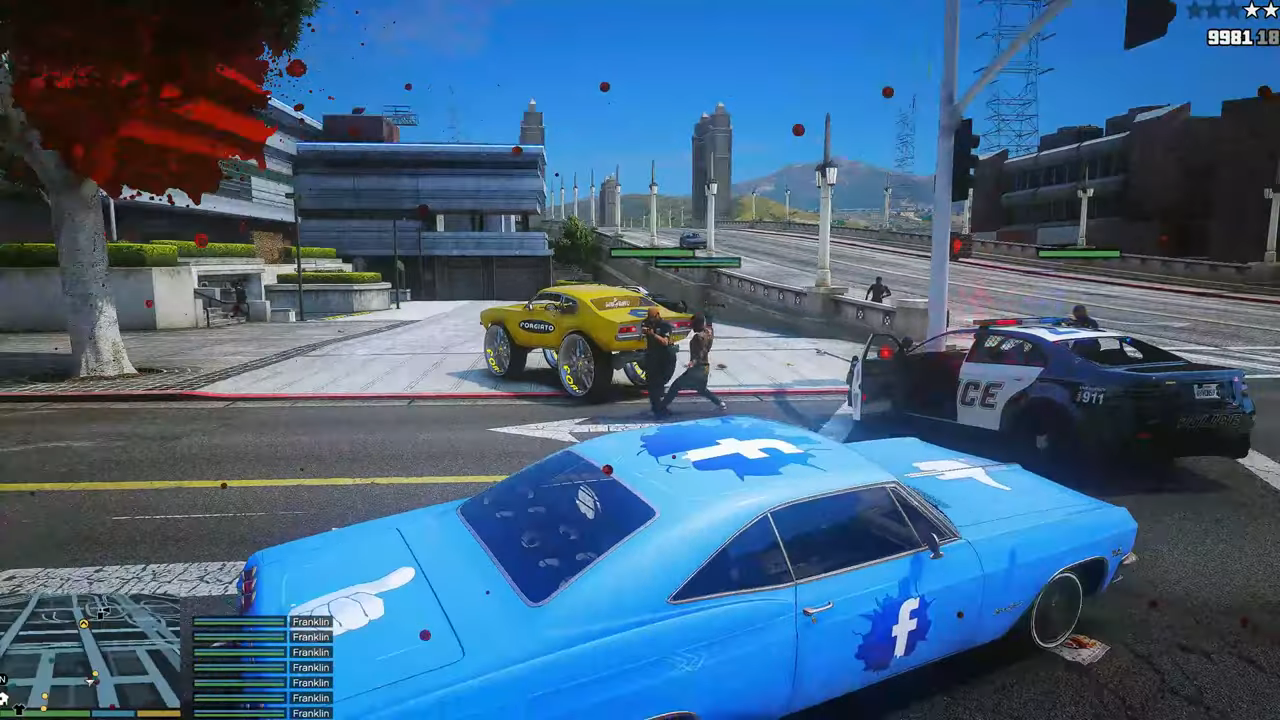
With all the components seamlessly integrated, launch GTA 5. Upon entering the game, you’ll immediately notice an intensified police presence following any in-game criminal activity. This enhanced mod injects a fresh layer of realism and excitement into your gameplay.