In this guide, you will find out how to install Mod in Organizer 2.
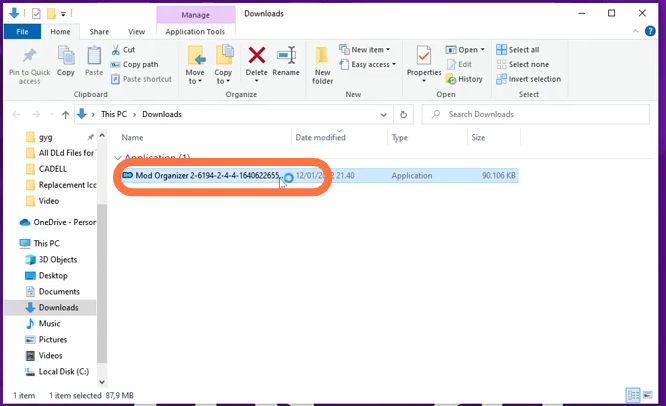
2. Now go to your Downloads folder and double-click the Mod Organizer 2 executable.
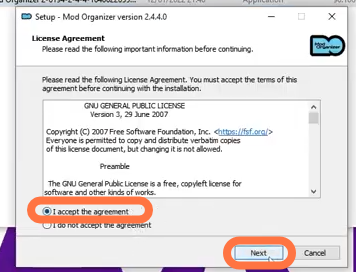
3. Accept the Agreement by selecting the radio button and clicking ‘Next’. Then choose your installation path.
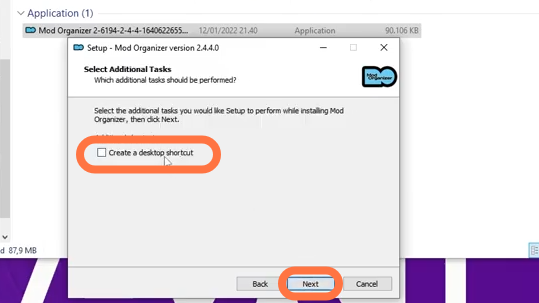
4. Check the box if you want to create a desktop shortcut, and then click Next. Finally, you have to click Install and wait until the installation completes.
5. After installation completes, a pop-up window will appear. Click ‘Next’ and then click ‘Create A Global Instance’.

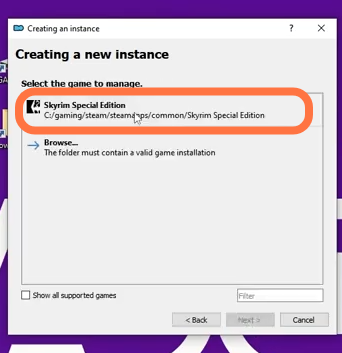
6. Now, select “Skyrim Special Edition” and click “Next.”
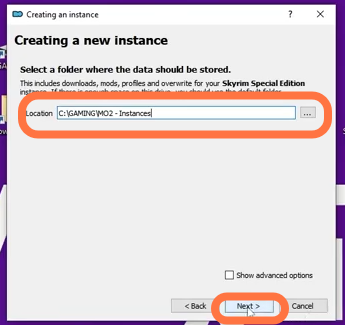
7. You have to choose the location for your modding profile data.
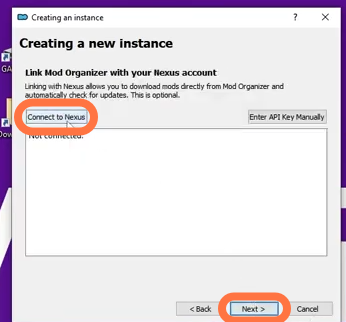
8. To connect to Nexus Mods, click ‘Connect To Nexus’ in the top left corner. A pop-up window will appear and then take you to the site.
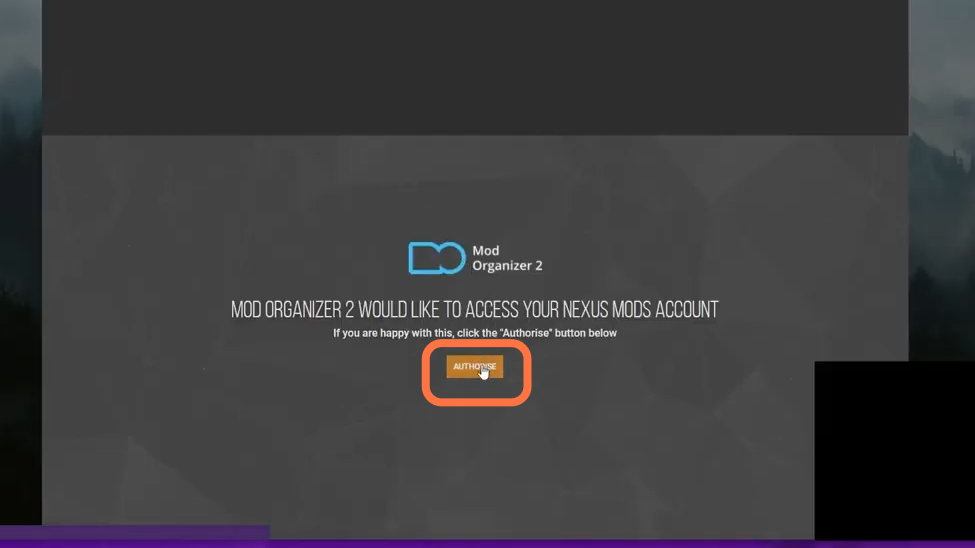
9. On the next page, it will ask you to authorize Mod Organizer 2 to access your Nexus Mods account. You need to click on the Authorize button to give access.
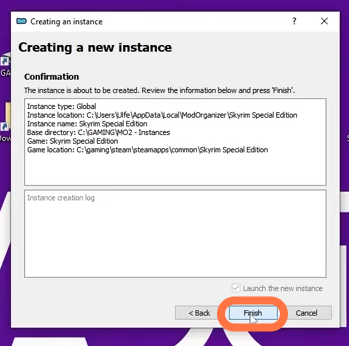
10. Then click Next and Finish to complete the installation.
11. Now the Mod Organizer will launch and you will find the main Skyrim Special Edition content pre-loaded.

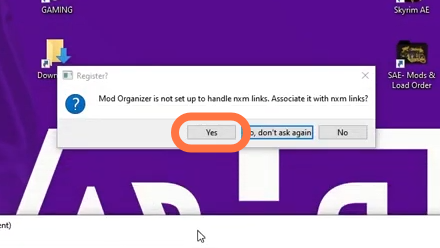
12. Another pop-up window will appear and ask you if you want to associate MO2 with ‘NXM Links’. It will allow you to download mods directly into the Mod Organizer 2.
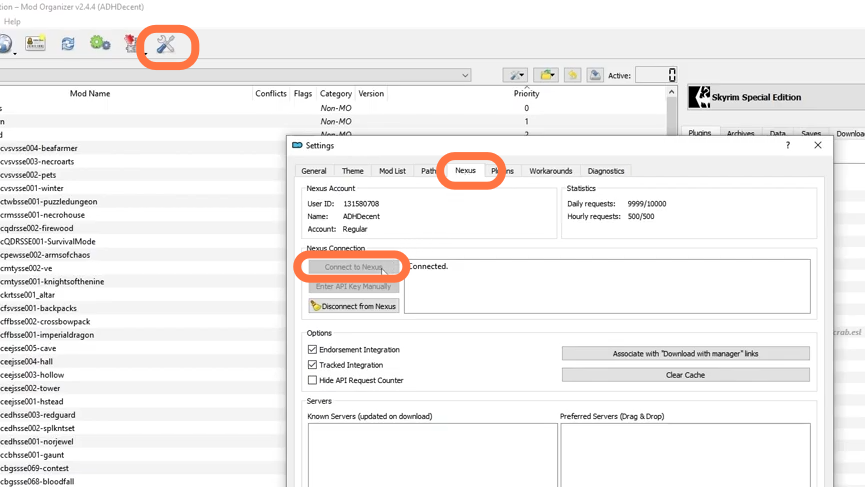
13. Now if this pop-up doesn’t appear, you can navigate to the settings icon and select the Nexus tab. There, you can click connect to Nexus.
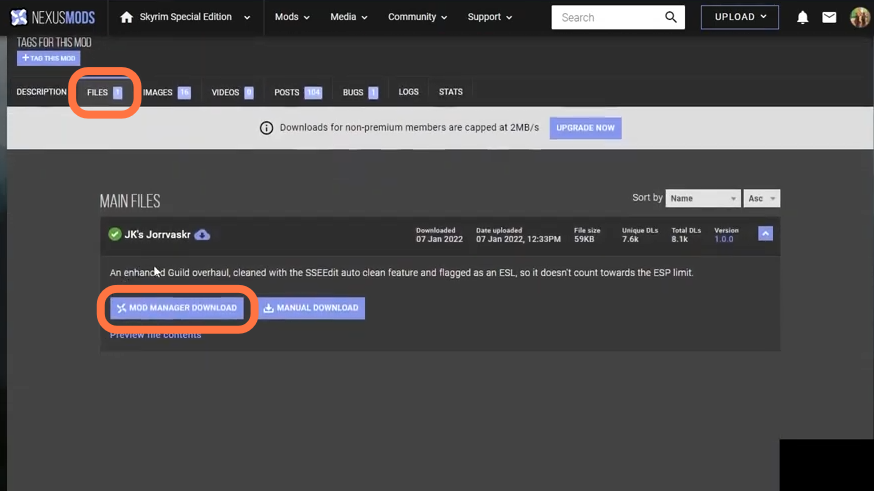
14. Once you have connected your Nexus account with Mod Organizer, you will find an option to download the mod through Mod Manager/Organizer.