This step-by-step guide will let you know how to install mods in Planet Zoo Ultimate Edition. Before we start the mod installation process, remember that if a mod is broken or uninstalled incorrectly, it may lead to map loss. So, proceed with caution and back up your game data before installing any mods.
Step 1: Join the Modding Community
- Join the ‘Open Naja Modding Server‘ on Discord, where you can connect with modders and get help if you encounter any issues with mods.
Step 2: Use Nexus Mods
- Nexus Mods is the best platform for hosting Planet Zoo mods. It offers a safe environment for both users and creators. Only download mods from Nexus Mods to ensure their safety. You can find every single mod ever created for this game on the Nexus mods website.
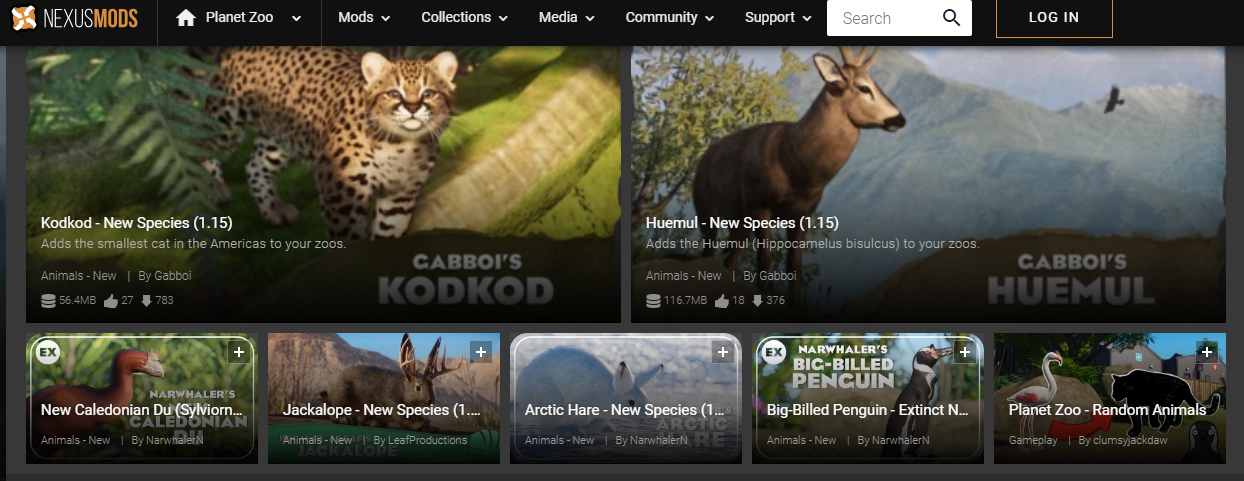
Step 3: Locate Your “ovldata” Folder
- Find your “ovldata” folder where you’ll install your mods.
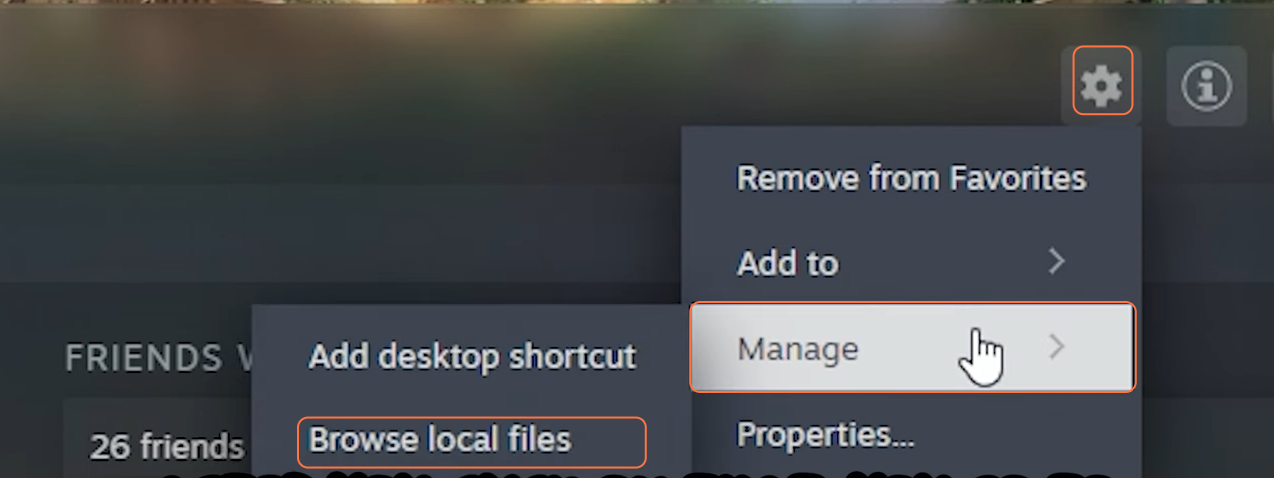
- Open the Steam application and go to your Planet Zoo library.
- Click on the gear icon, select “Manage”, and then choose “Browse Local Files”.
- This will open the Planet Zoo folder in your Steam common folder.
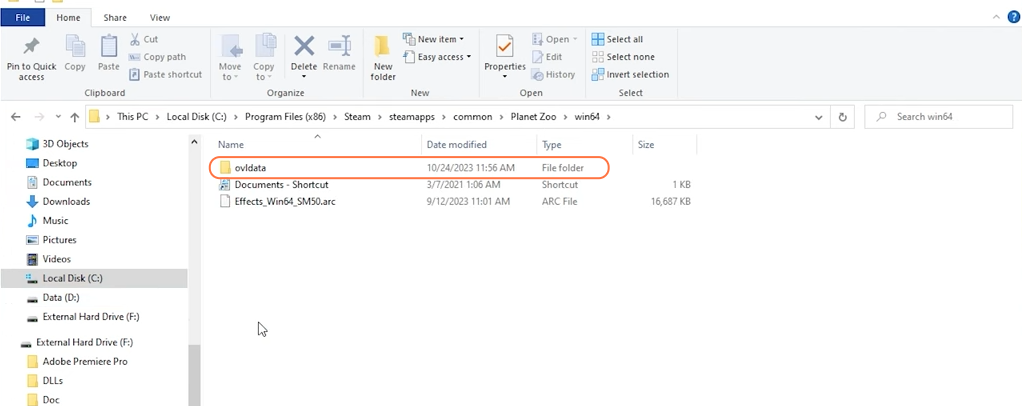
- Typically, it’s located in your C drive, but make sure you know where your game is installed.
- Inside the Planet Zoo folder, you’ll find a “win64” folder, and within that, you’ll see the “ovldata” folder.
- To make it easily accessible, consider creating a shortcut to the “ovldata” folder by dragging it into the Quick Access column.
Step 4: Download Mods
- Choose the mods you want to install from Nexus Mods. Some popular mods include ACSE, KaiCore – General, Freebuild, Sheep – New Species, Gorilla Remasters, New Paths and Props, and Planet Zoo Plus.
- Click on the “Manual Download” button under the “Files” tab for each mod.
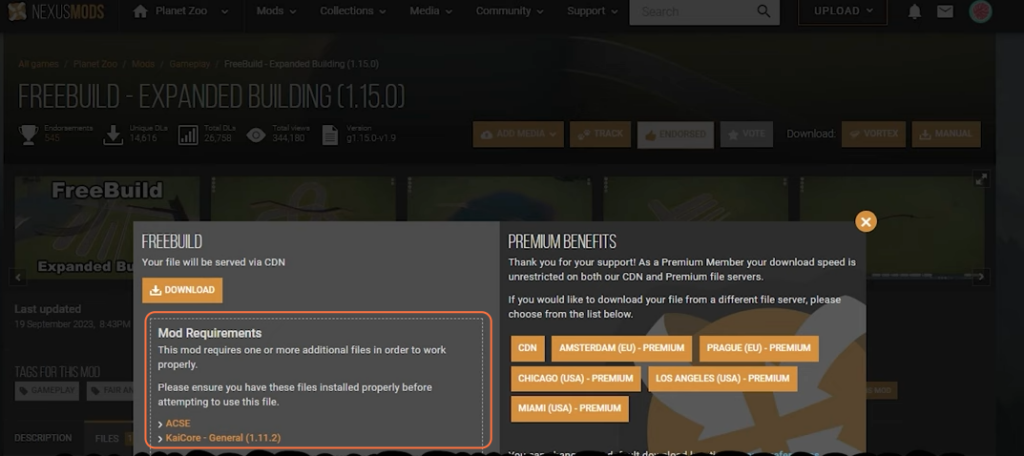
- Make sure to check and install the Mod requirements before heading towards the main mod as some mods may rely on other mods or specific DLCs.
Step 5: Get a File Extractor
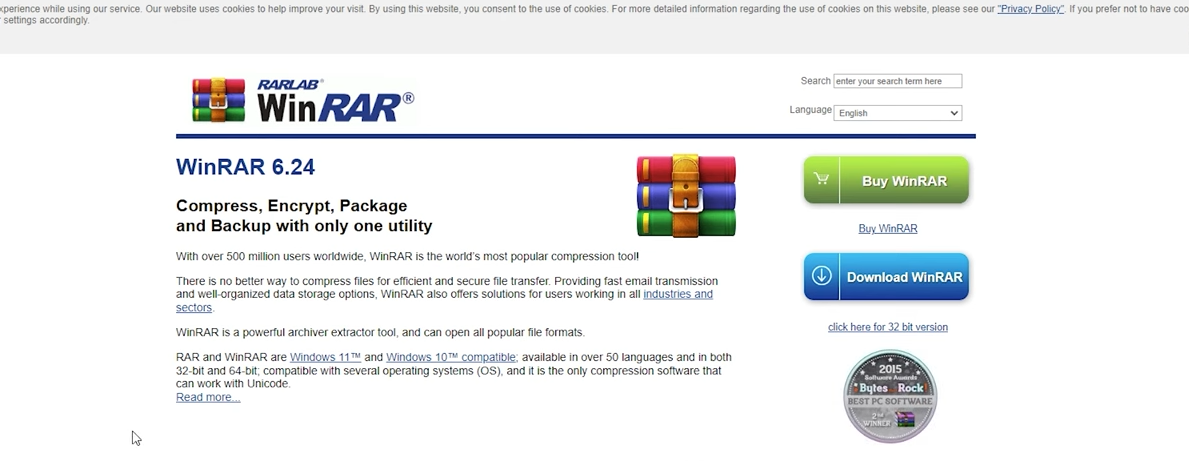
- You will need a program to extract compressed files (Zips or RAR). It’s highly recommended to use WinRAR, which is available in different languages and Versions (32 or 64-bit).
Step 6: Install Mods
- Now, let’s install the mods. We’ll use ACSE as an example:
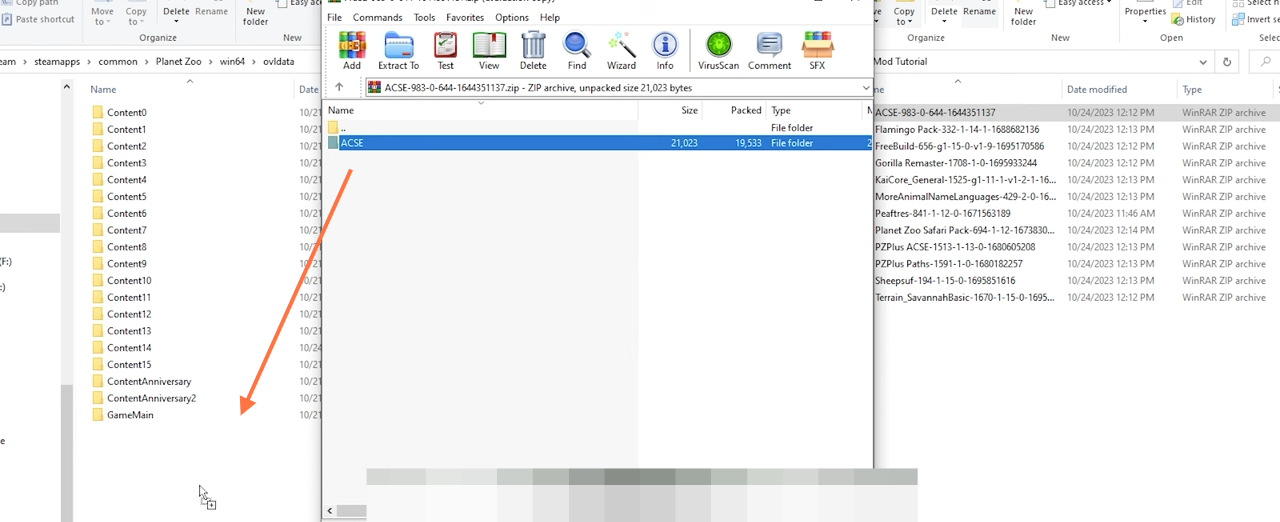
- Open the ACSE’s mod folder with your WinRAR file extractor.
- Copy the contents of the mod folder and paste them into your “ovldata” folder.
- Do not open the mod files individually within the ACSE folder, simply paste the main ACSE folder.
- Repeat this process for other mods, such as KaiCore, Freebuild, and any other mods you’ve downloaded.
Step 7: Customize Settings (Optional)
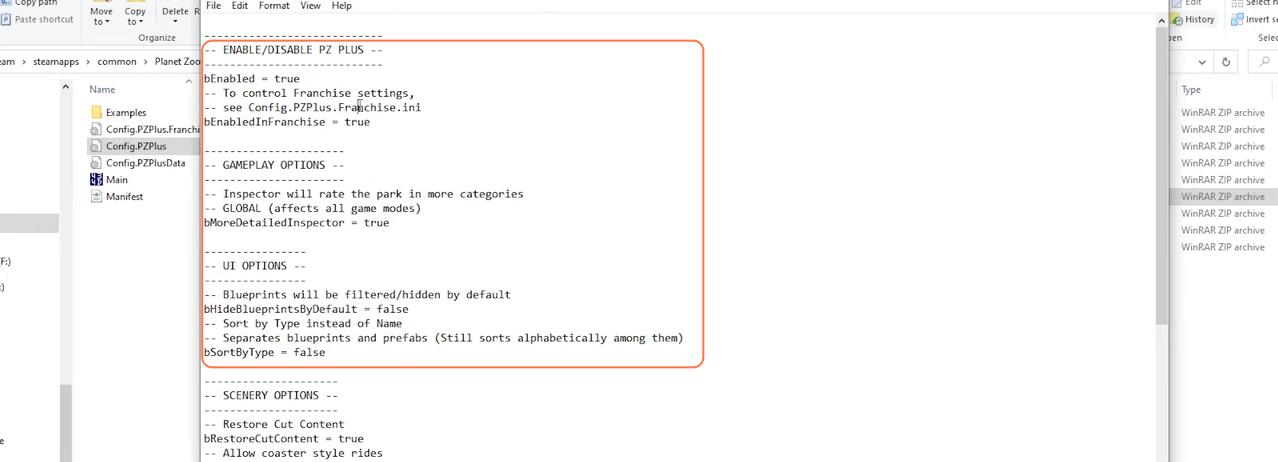
- Some mods, like Planet Zoo Plus, might require additional configuration settings. Check if the mod comes with a .ini file and edit it as needed.
- Enable or Disable the settings that affect your gameplay and what Planet Zoo Plus does.
Step 8: Verify Mod Installation
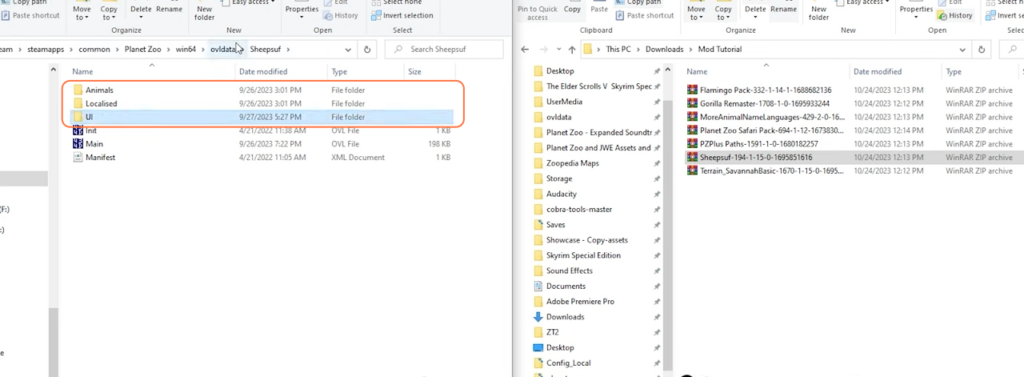
- To ensure the mods are correctly installed, open your “ovldata” folder.
- Check if each mod’s folder contains “Animals”, “Localized”, and “UI” folders.
- This indicates that the mod is installed correctly.
Step 9: Enjoy the Mods
- Launch Planet Zoo and enjoy the new content and features that the mods provide. You should be able to access the new animals, props, paths, and other enhancements within the game.

By following the above steps one can successfully install mods in Planet Zoo Ultimate Edition.