In this brief guide, you will get to know how to install Optifine for Minecraft 1.18 on MAC.
1. First, you will need to install Java from the following link “https://www.oracle.com/java/technologies/downloads/#jdk19-mac“. Open it up, select the Java 18 tab, then press the MacOS option and you’ll find four different files here. If you have MAC with an intel chip, then download the “x64 DMG Installer” or if you have a Mac with m1 chip, then go for the “Arm 64 DMG Installer”. Click on the download link and the process will be the same for all these files.

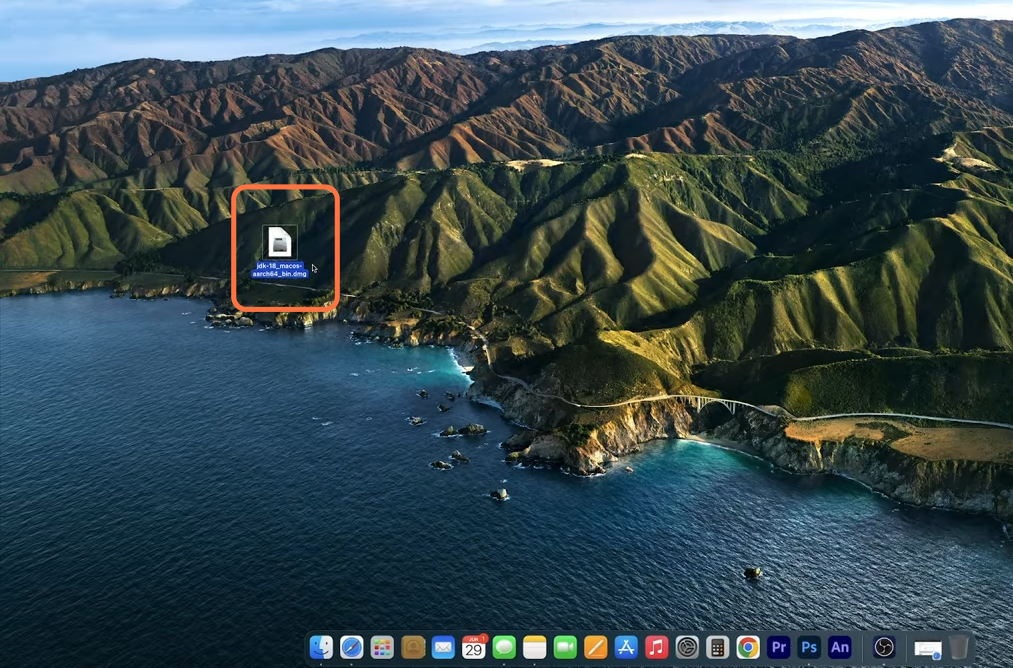
2. Go to your downloads folder and drag the downloaded java file into your desktop.
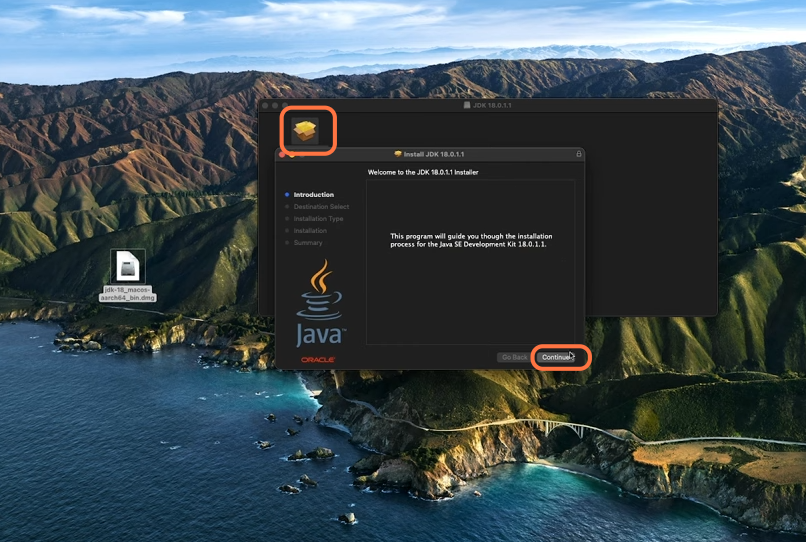
3. Now right-click on this file and select open and a little window will show up with a package. Double-click this package to run it and an installer window will appear where you need to click the Continue button and then press Install.
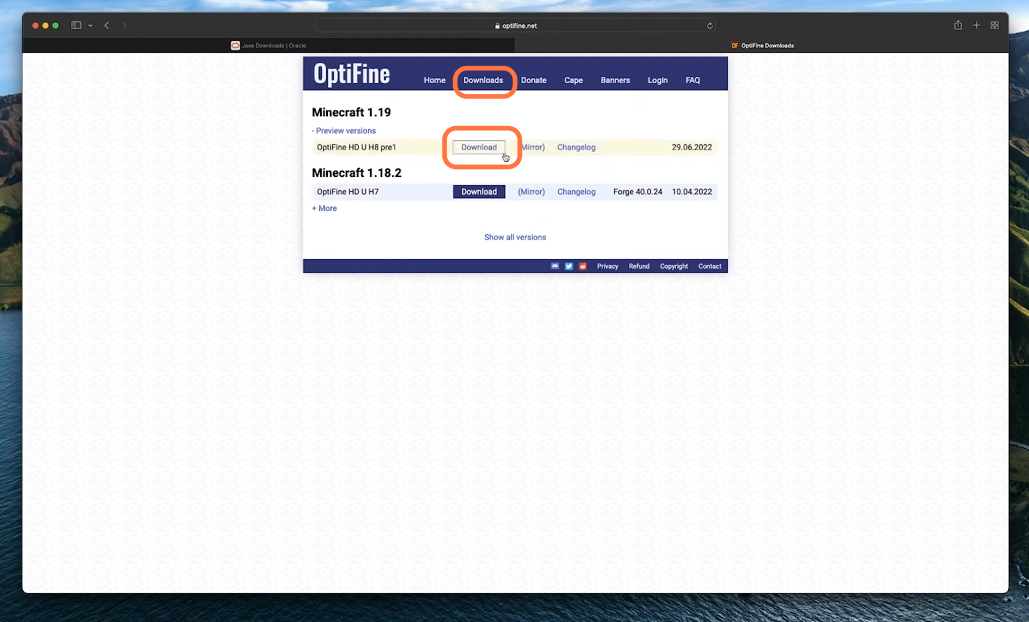
4. Once it’s done, you will need to get the optifine file. Open your browser again and now go to this link “https://optifine.net/home“. Click on the downloads tab then open Minecraft 1.19 preview versions and hit the download button here.
5. Go to your downloads folder and drag the downloaded OptiFine file into your desktop.

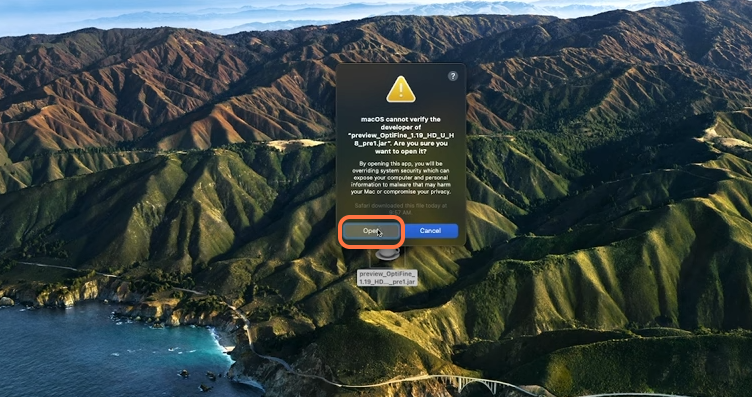
6. Right-click on this optifine file and select open with java launcher then a pop-up window will show up. You need to click the “Open” button.
7. After that, an optifine installer pop-up window will appear, click the install button on it.

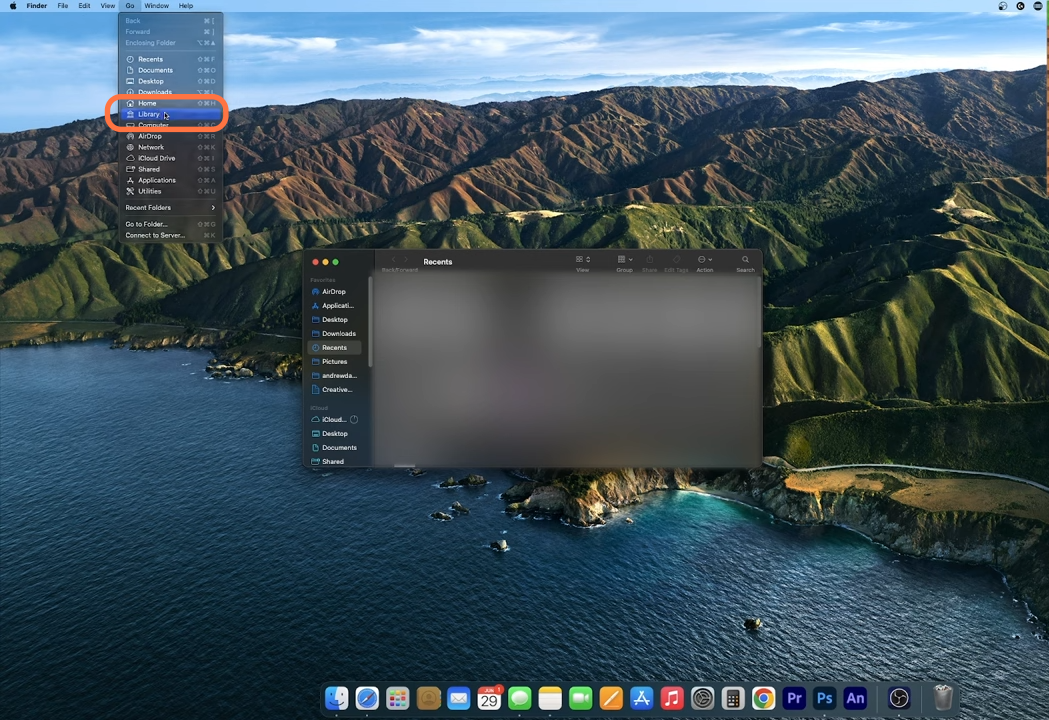
8. Now open up the finder application then click go and scroll down to select the library option.
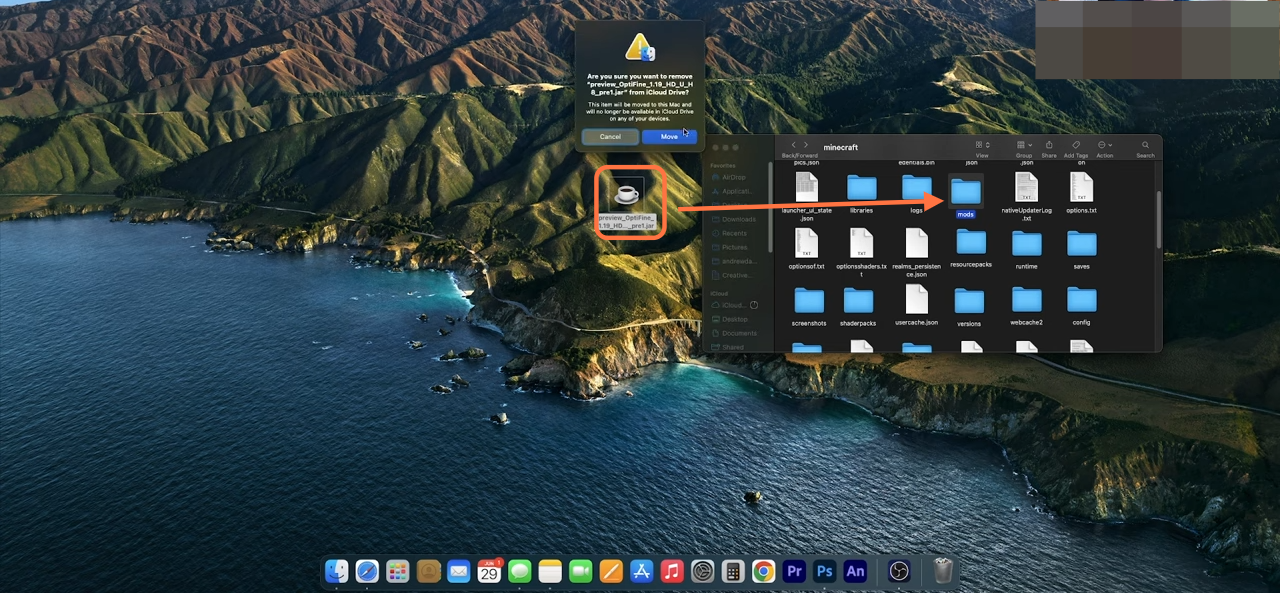
9. After that, open the application support folder and then find the Minecraft folder from it.

10. Then find and open the mods folder and if you don’t see it, then create a new folder and name it mods.

11. Now drag the OptiFine file into the mods folder.
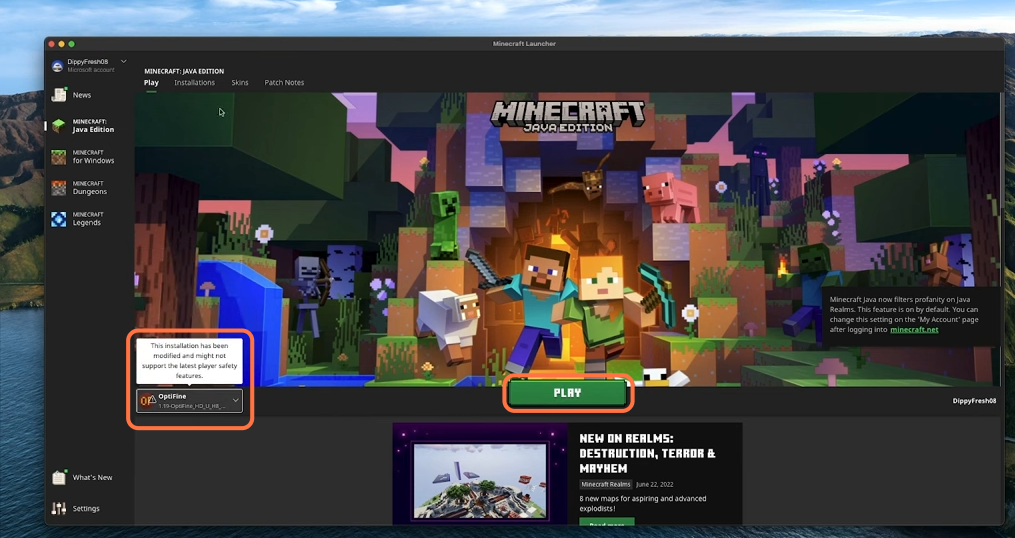
12. Now you have completely installed the OptiFine into your Minecraft. Close out all the windows and open up the Minecraft Launcher. Now make sure to choose Optifine installation and click on the Play button to run the game.