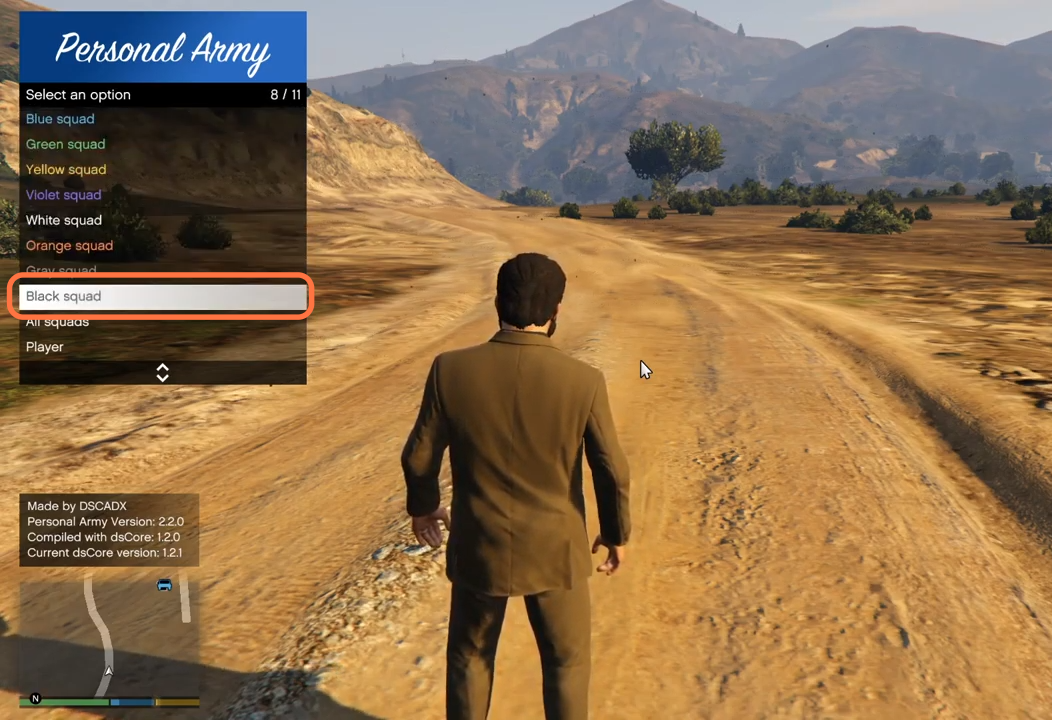
This guide will tell you how to install a personal army (Active Bodyguard) mod in your GTA 5 game.
1. The first thing you will need to do is download the Personal army (Active Bodyguard) Mod from “https://www.gta5-mods.com/scripts/active-bodyguards-squads-and-teams“. Open the link and click on the green download arrow icon for the current version under the ‘All Versions’ section to download the mod.
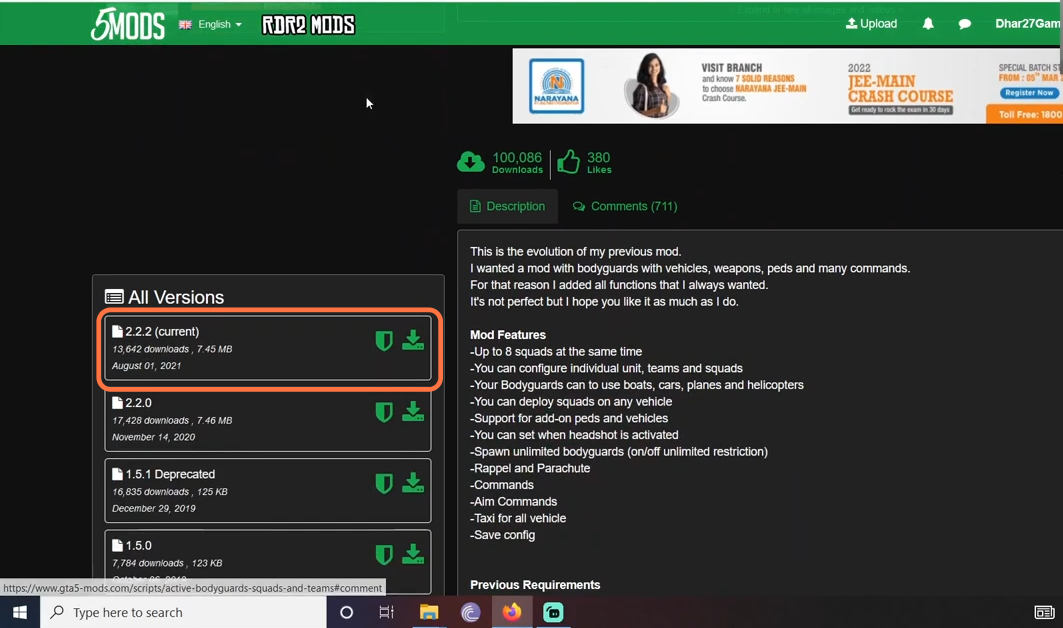
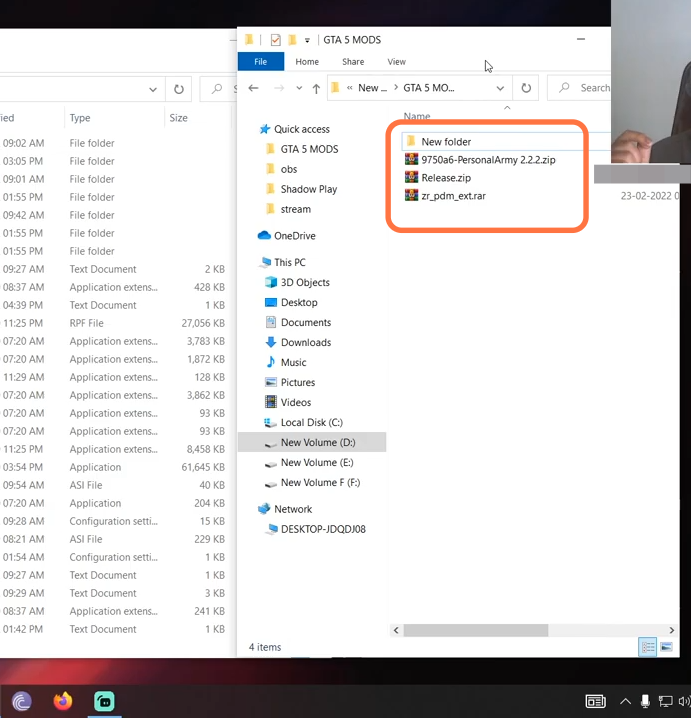
2. You will require a ScripthookV Library, Community ScripthookVDotNet ASI plugin, and NativeUI for this mod to work. You can download these files from these links “https://www.gta5-mods.com/tools/script-hook-v“, “https://github.com/crosire/scripthookvdotnet/releases/tag/v3.5.1” and “https://gtaforums.com/topic/809284-net-nativeui/” respectively. Once you have downloaded the required files and the Personal army Mod, you have to go to the downloads folder to open the files.
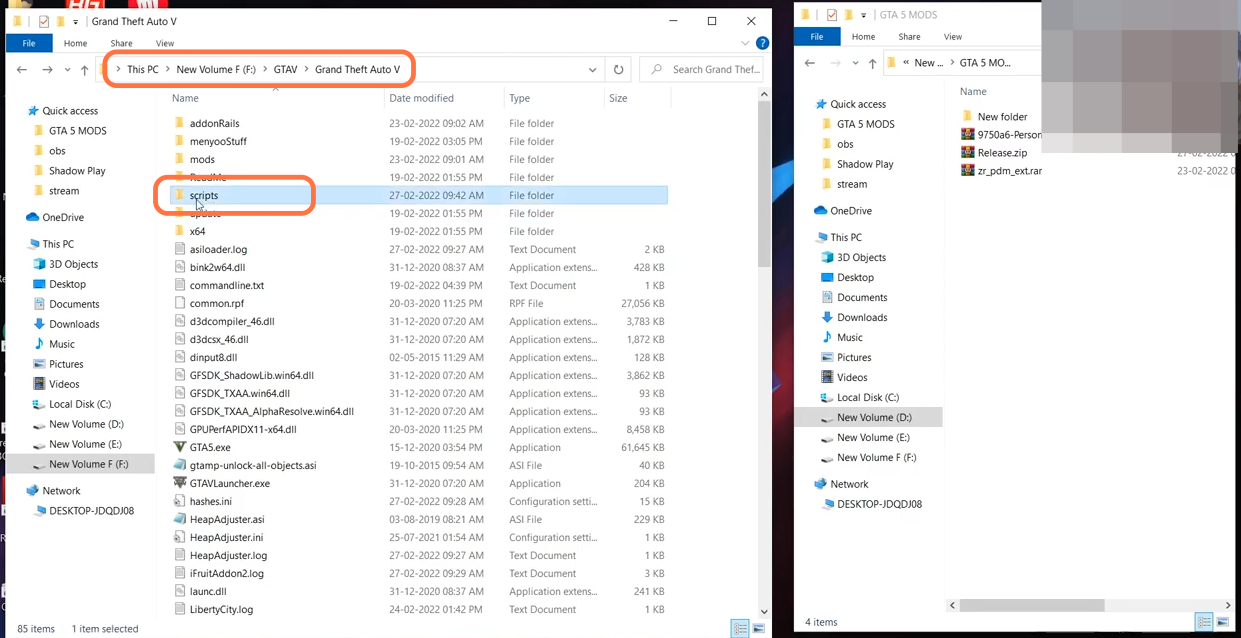
3. On the other hand, open the “GTA V” directory side by side with the downloads folder. Now open the scripts folder of the “GTAV” and if you don’t see this folder here, then you need to create an empty folder and name it scripts.
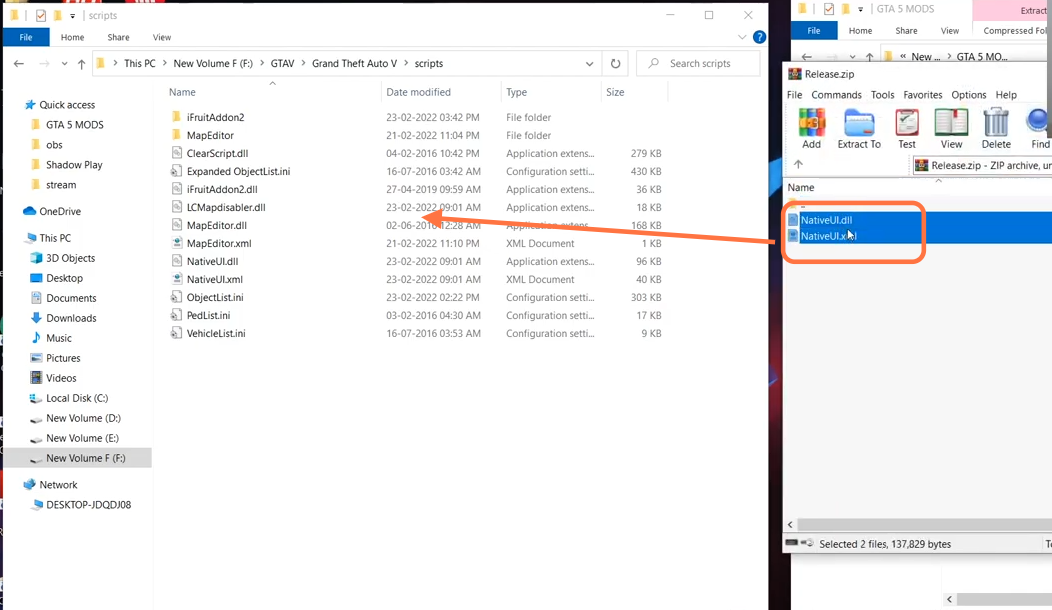
4. First, open the NativeUI downloaded file from the downloads folder using the 7zip archiver and drag both files from it and drop them into the scripts folder of the GTAV directory.
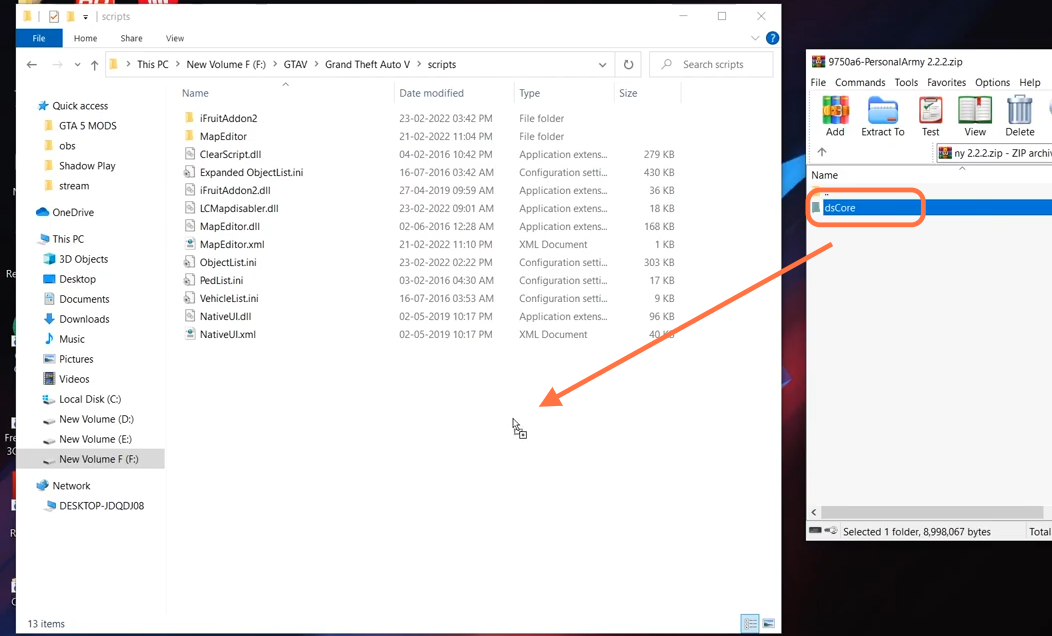
5. Now open the Personal Army downloaded file and drag the ‘dsCore’ folder from it. You need to drop it into the scripts folder of the GTAV directory.
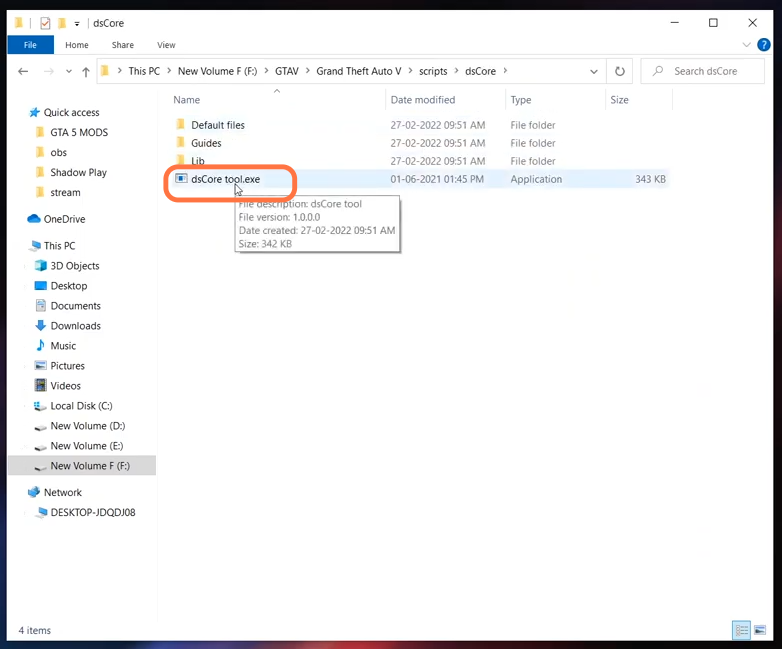
6. After that, open the dsCore folder from the scripts and run the dsCore.exe application file.
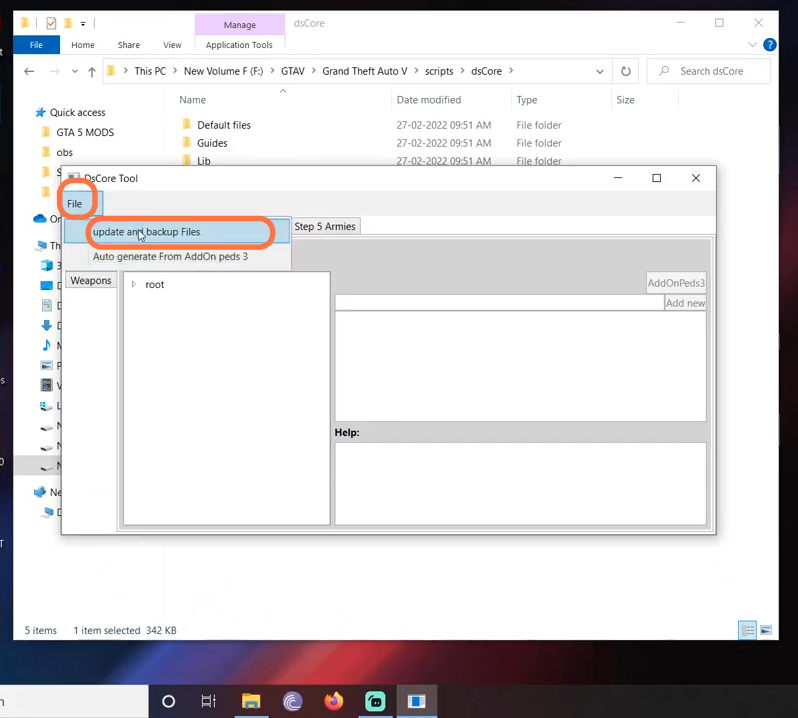
7. An interface will appear where you need to click on the File option at the top left corner of the window and then press the “update and back up files” option. It will update the configuration files of the mod.
8. Now the mod has been installed so you can run the game to test the mod. Press the T on your keyboard to open the menu of the personal army and you can select different color squads from here.
