In this guide, we’ll walk you through the process of setting up an Icarus dedicated server using Windows GSM. If you’re eager to explore the world of Icarus with your friends, this step-by-step walkthrough will assist you in seamlessly configuring your spare PC into a server hub for your gaming adventures.
Step 1: Installing Icarus Server using Windows GSM
First, download and install the Windows GSM.
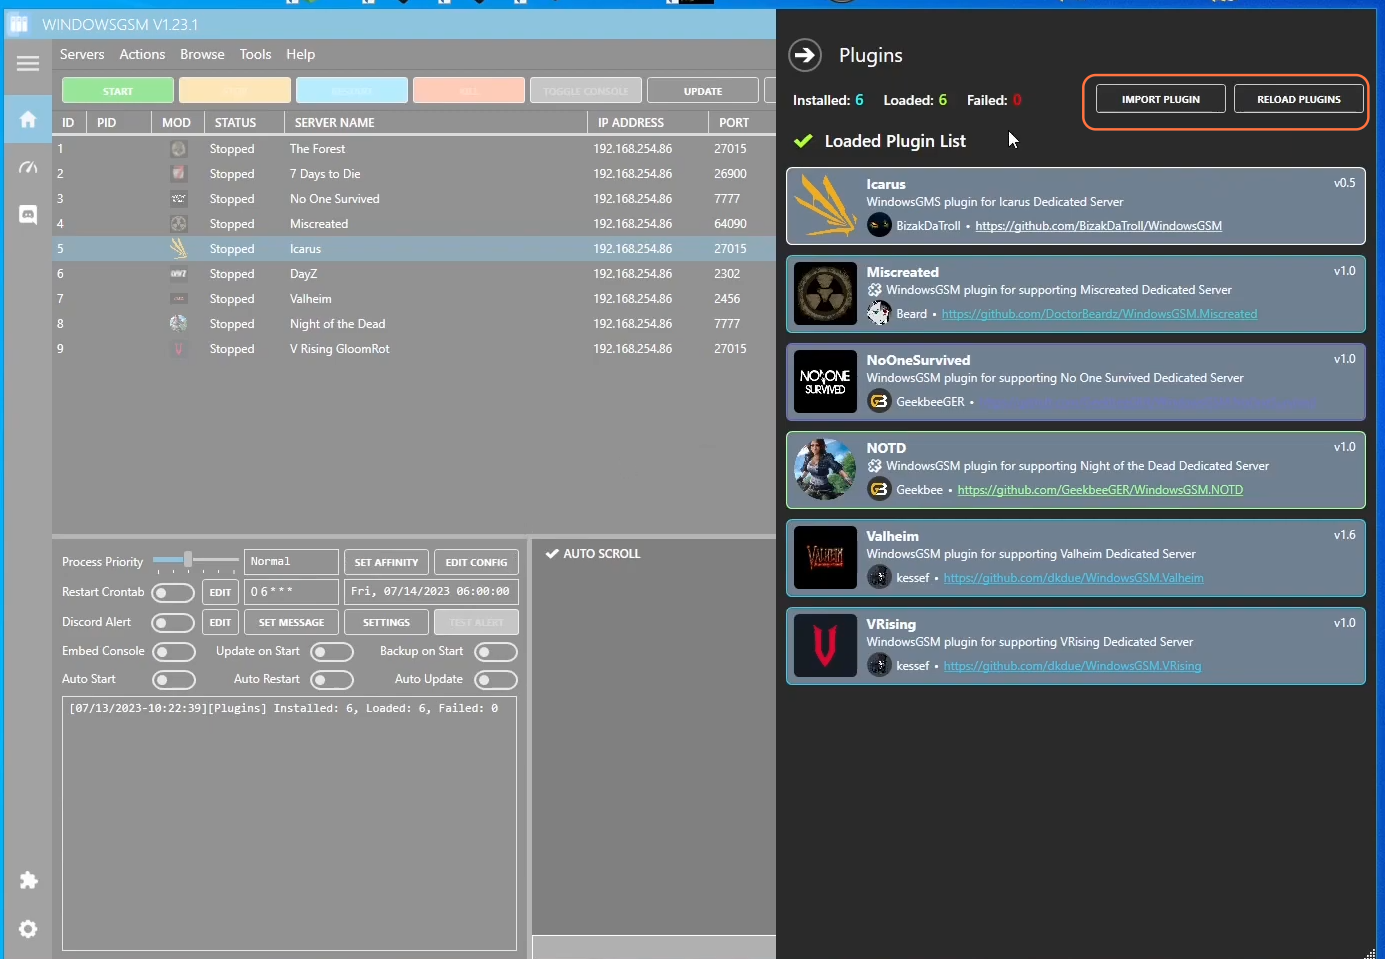
Installing the Icarus Plugin:
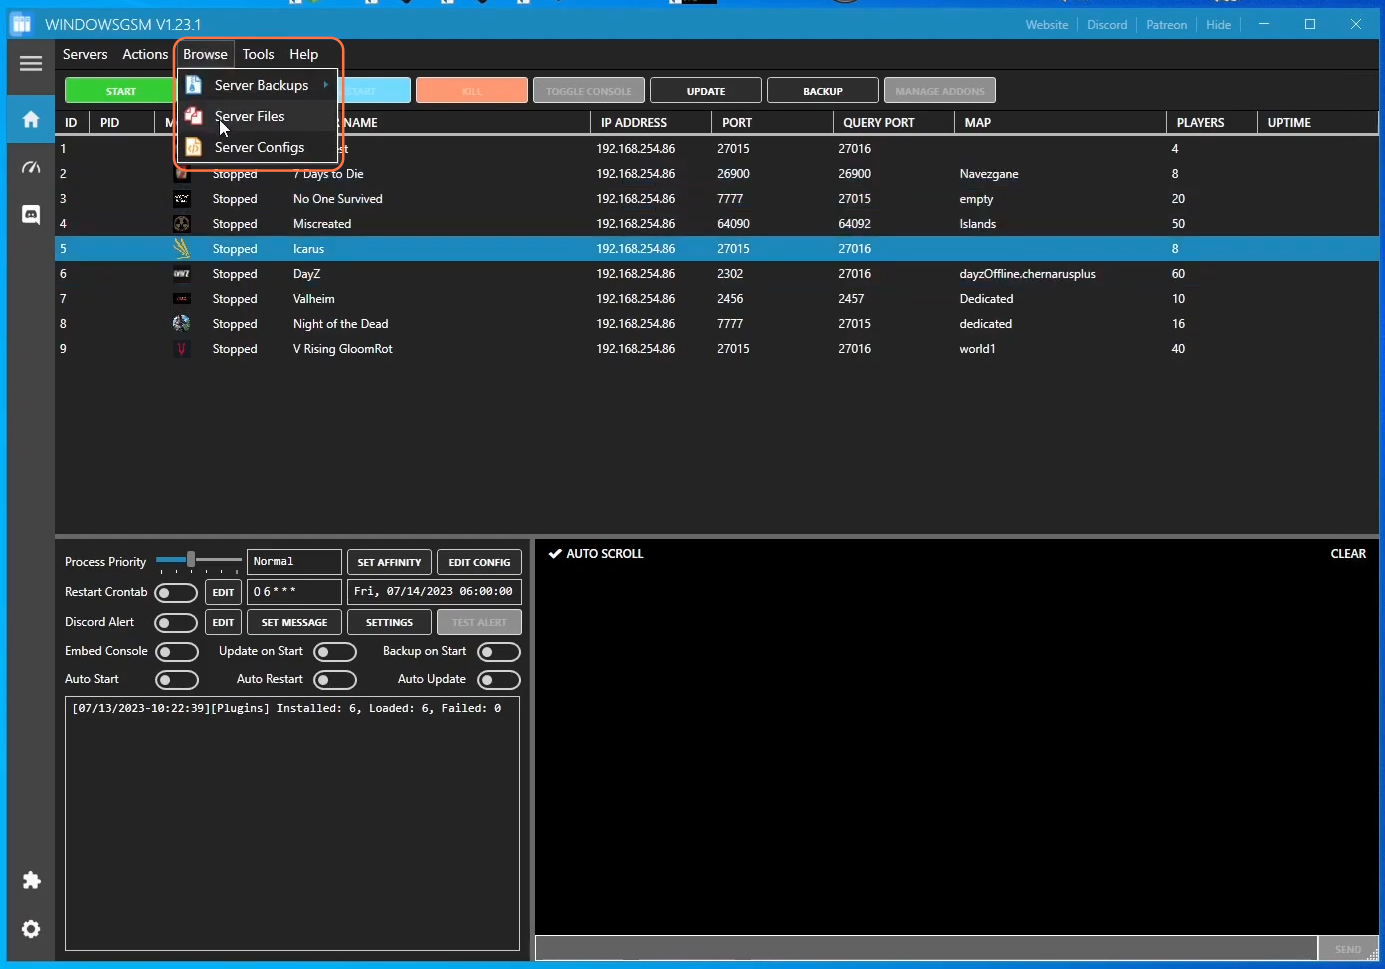
Once within Windows GSM, installing the Icarus plugin is akin to other plugins. After installation, locate the plugin in the server files by navigating through “Browse” > “Server Files”.
Editing Icarus Plugin Code:
- Within the Icarus plugin folder, locate and right-click the ‘Icarus.cs’ file to edit it using Notepad++.
- Go to line 99 and paste the following code into the file to ensure correct server name display.
string param = $"{_serverData.ServerParam}";

param += "-NOSTEAM -log";

param += string.IsNullOrWhiteSpace(_serverData.ServerPort) ? string.Empty : $" -PORT={_serverData.ServerPort}";

param += string.IsNullOrWhiteSpace(_serverData.ServerQueryPort) ? string.Empty : $" -QueryPort={_serverData.ServerQueryPort}";

param += string.IsNullOrWhiteSpace(_serverData.ServerName) ? string.Empty : $" -SteamServerName={_serverData.ServerName}";
Saving Changes:
After updating the code, save the changes made and ensure the updated plugin is imported or reloaded within Windows GSM.
Step 2: Configuring Icarus Server Settings
- Once the plugin gets updated, click the ‘Edit Config’ button to set your server name.
Accessing Config Files:
Navigate to “Browse” > “Server Files” again to access Icarus saved config files in the “WindowsServer” directory.
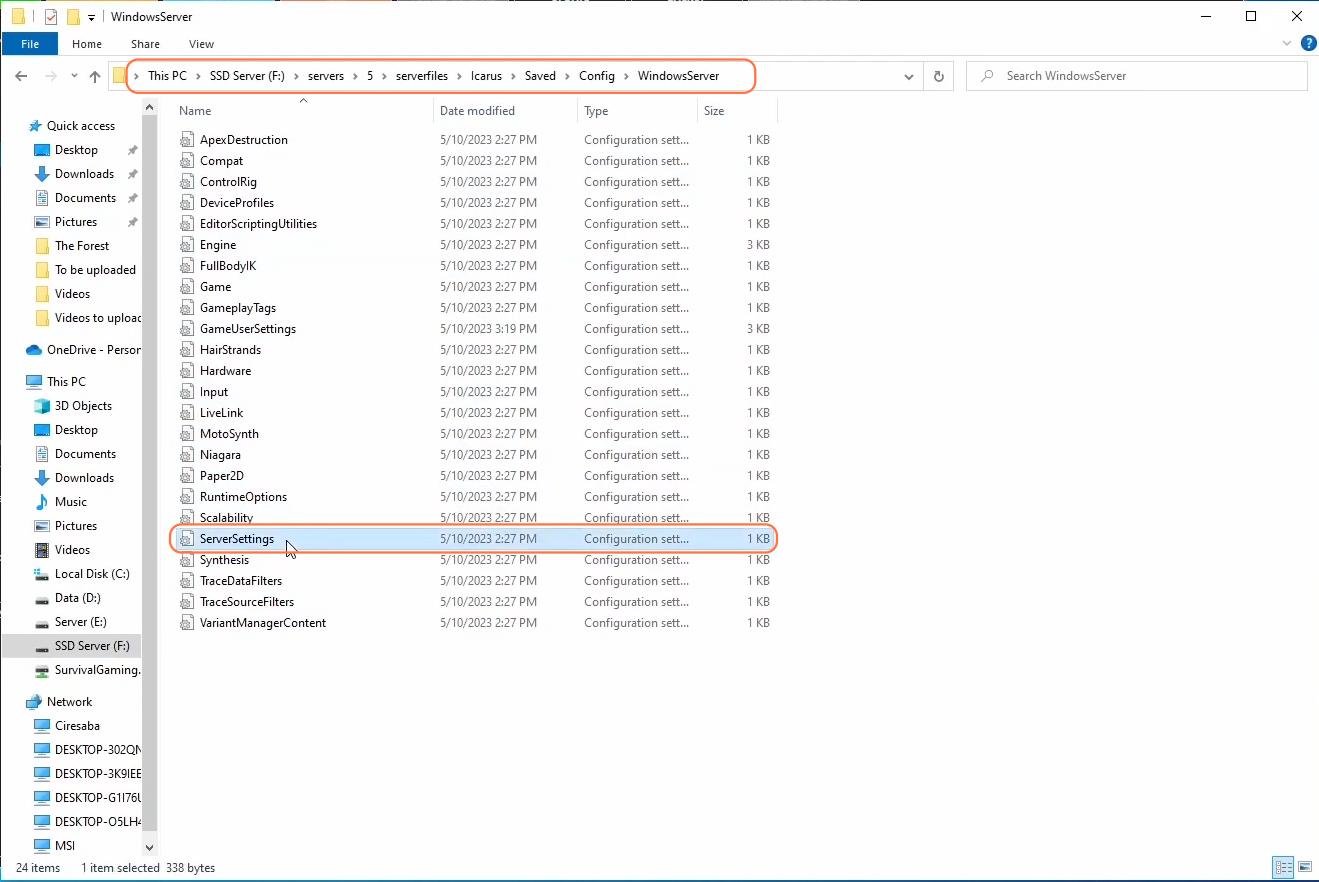
Editing Server Settings:
Open the “Server Settings” file using Notepad++ for a clearer view. Here, you can adjust various server configurations like server name, ports, etc., to suit your preferences.
Save Changes:
Once modifications are made, save the file to lock in the adjustments.

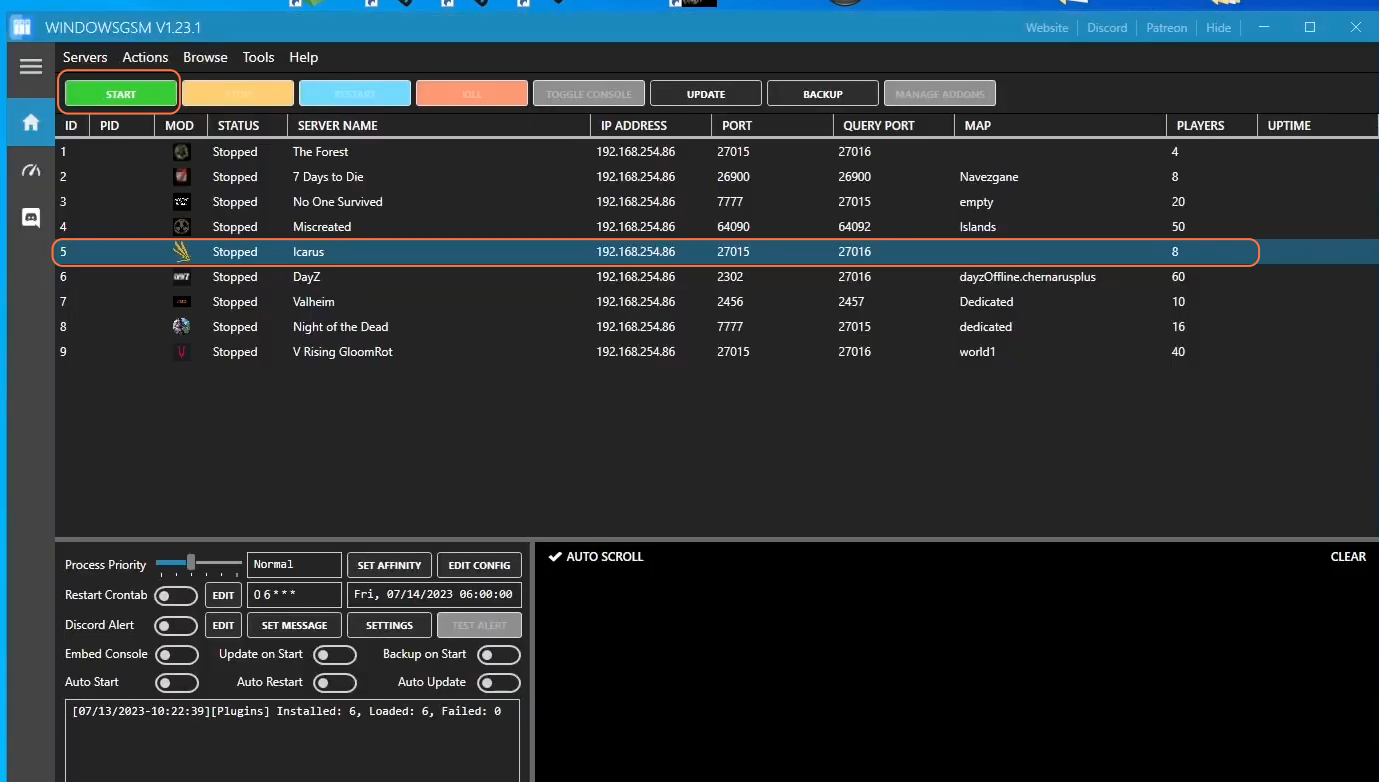
Step 3: Starting Your Icarus Server
Verifying Changes: Ensure all modifications are saved and imported within Windows GSM.
Initiating Server: With all settings in place, start your Icarus server through Windows GSM, and you’re all set to hop into your gaming journey.
If further adjustments or edits are required, repeat the steps accordingly.
By following these steps, you can successfully transform your spare PC into a dedicated Icarus server.