It is hard to find a HUD that does not overwhelm you in-game. With the Limited HUD, you can finally enjoy games without being distracted by the HUD element. It has customizable widgets, hotkeys, and settings so you can tailor your experience to what you prefer.
Before installing the Mod, make sure that you have a mod folder in the directory (Cyberpunk2077/archive/pc), if you don’t have a mod folder then create a new folder and name it “mod”. In case, if you have a patch folder in the directory(Cyberpunk2077/archive/pc), then rename it to mod.
Now, in order to install the Limited HUD mod in Cyberpunk 2077, follow the following steps:
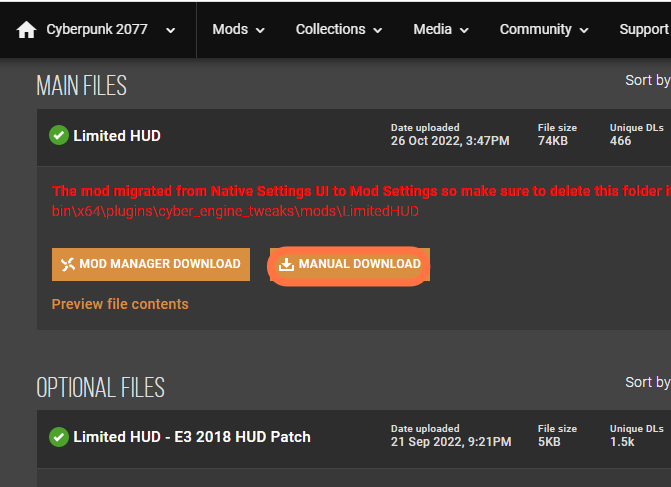
- Firstly, You need to download the required mod from here “https://www.nexusmods.com/cyberpunk2077/mods/2592?tab=files&file_id=30900“. Click on the Files tab, choose the latest version and then click on the Manual download button to get it for free. You also need to download two more files from the same page (Limited Hud – E3 2018 HUD patch and Limited Hud Native settings UI).
2. Open the downloaded file (Limited HUD) using WinRAR and drag both the ‘r6’ & ‘archive’ folders from it into the main directory of cyberpunk 2077.
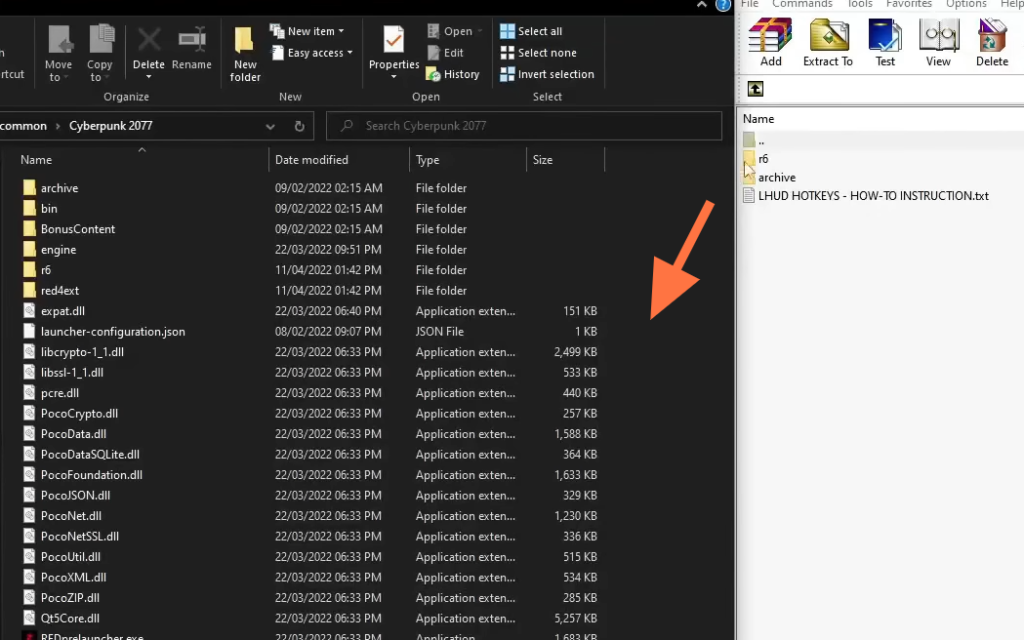
3. After that open the ‘E3 2018 Hud patch’ using WinRAR and drag and drop the ‘archive’ folder from it into the main directory of cyberpunk 2077.

4. Now open the Limited Hud Native settings UI using WinRAR and drag and drop the ‘bin’ folder from it into the main directory of cyberpunk 2077.
Now, the mod is installed successfully.