The Simon Ghost Riley Mod is a popular modification for the game “Ready or Not”. This step-by-step guide will walk you through the process of installing the mod to enhance your gaming experience. Please follow these steps carefully to ensure a successful installation.
Requirements: Before you begin, make sure you have the following prerequisites:
- A copy of the game “Ready or Not” is installed on your computer.
- The Simon Ghost Riley Mod files can be downloaded from a trusted source.
Step 1: Download the Mod Files
- Visit the Nexus Mods website to download the Simon Ghost Riley Mod files.
- Make sure you’re downloading the correct version of the mod that is compatible with your game version.

Step 2: Extract the Mod Files
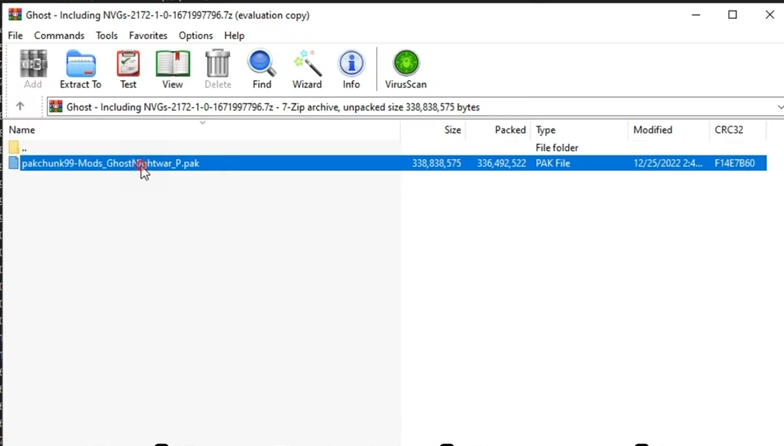
- Locate the downloaded mod files, which are typically compressed into a ZIP or RAR archive.
- Extract the contents of the archive to a folder on your computer using a program like WinRAR or 7-Zip.

Step 3: Locate the Game Directory
- Open the file explorer on your computer.
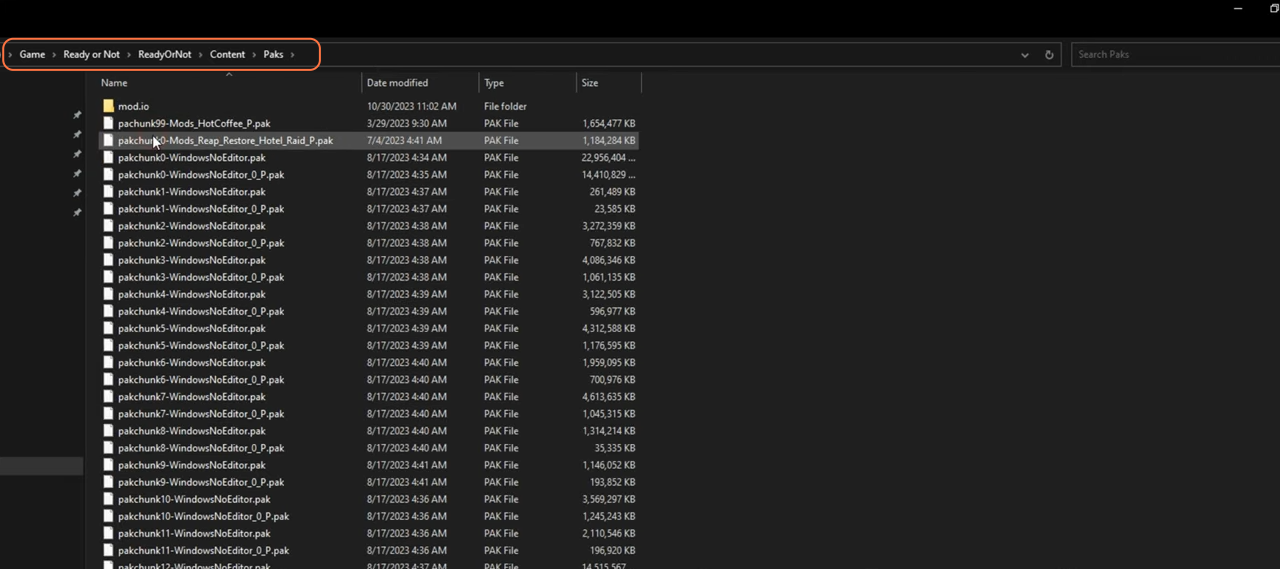
- Navigate to the directory where you have “Ready or Not” installed. This is typically in the Steam folder, which may be located at
- “C:\Program Files (x86)\Steam\steamapps\common\Ready or Not\ReadyOrNot\Content\Paks”

Step 4: Install the Mod
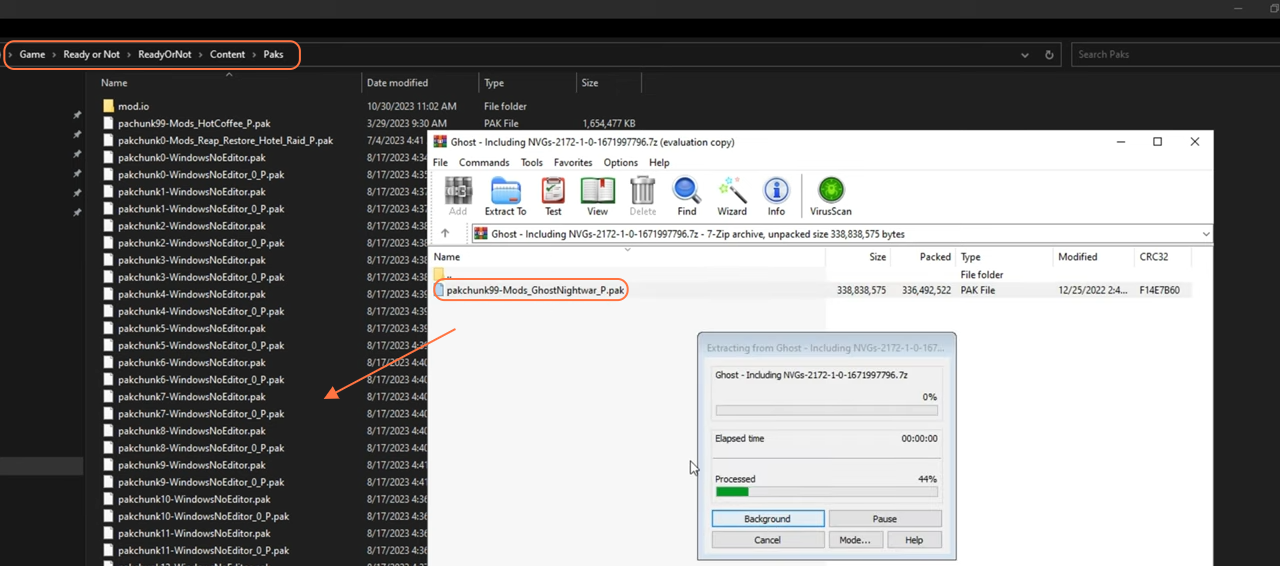
- In the mod files you extracted, you will find a file with the .pak extension.
- Copy this file and paste it into the “Ready or Not” game directory you located in Step 3.

Step 5: Enable and Test the Mod
- Launch the game “Ready or Not”.
- Go to the in-game settings or mod menu to enable the Simon Ghost Riley Mod. This process may vary depending on the mod manager or in-game mod options.
- Start a new game or load an existing one to see the changes made by the Simon Ghost Riley Mod.

By following the above steps you can install the Simon Ghost Riley Mod in “Ready or Not”.