This guide will let you know how to install XBSX2 for XBOX without developer mode. You first have to open the Microsoft Store, download and copy emulator files and then configure bios and games files.
Open Microsoft Store
In this section, we will take you through the steps to open the Microsoft Store to accomplish the task.
- First, you need to open the Microsoft Edge on your Xbox.
- If you are using the Xbox series X or S, then go to the Microsoft store and press enter from your keyboard.
- After that, click the Open Microsoft button when a window pops up.
- You have to click the install button from the screen.
The installation of the emulator will take a little time.

Download and copy emulator files
This section describes how to download and copy emulator files to play the game at its best performance. You need to plug in a USB or external drive in which you want to copy the emulator files.
- Now you have to plug in a USB device or an external hard drive on your computer to get the game and bios folder.
- Once the USB is connected to your computer, right-click on it and choose the format option from the listings.
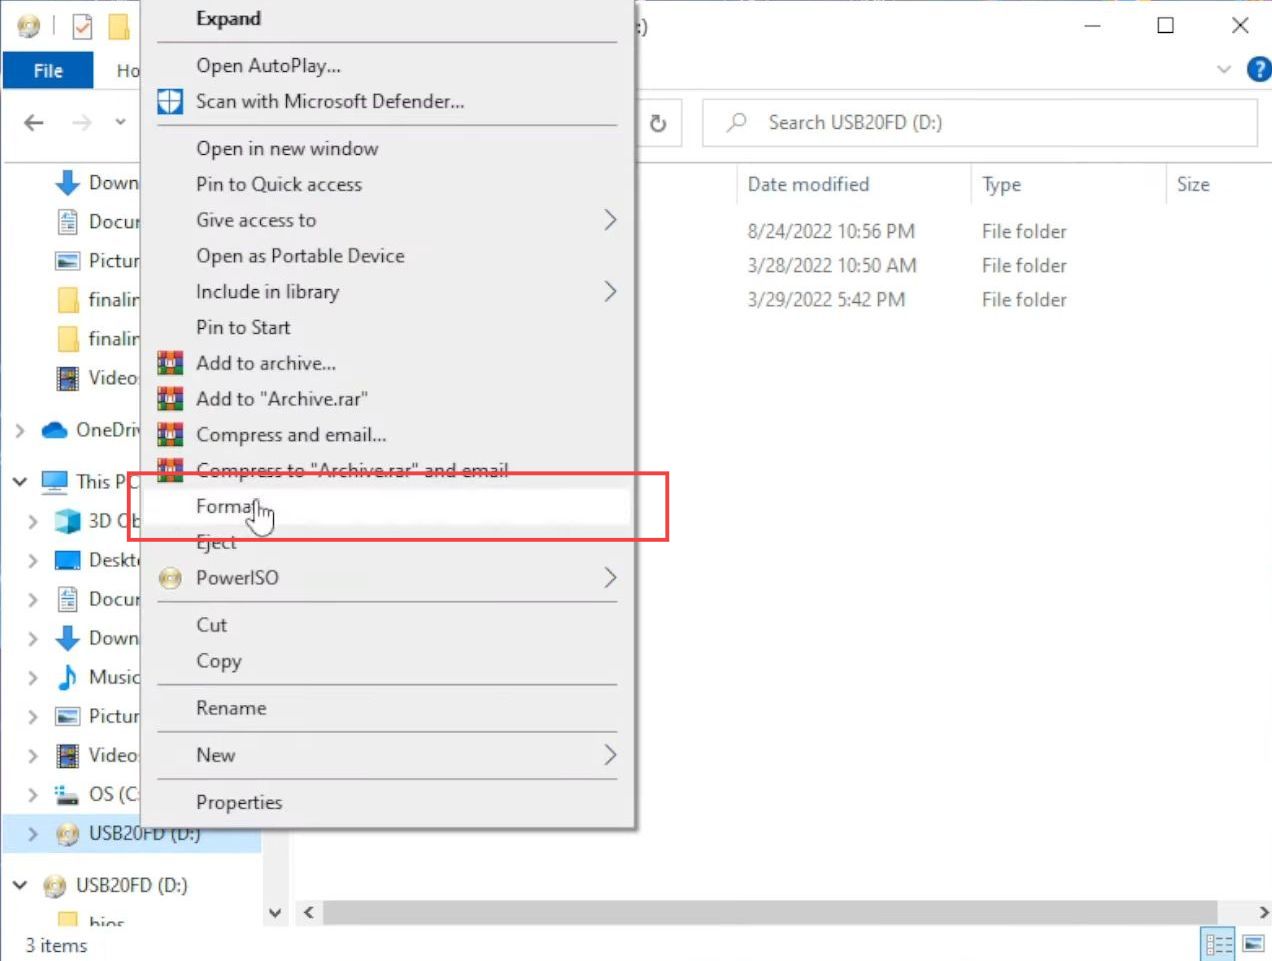
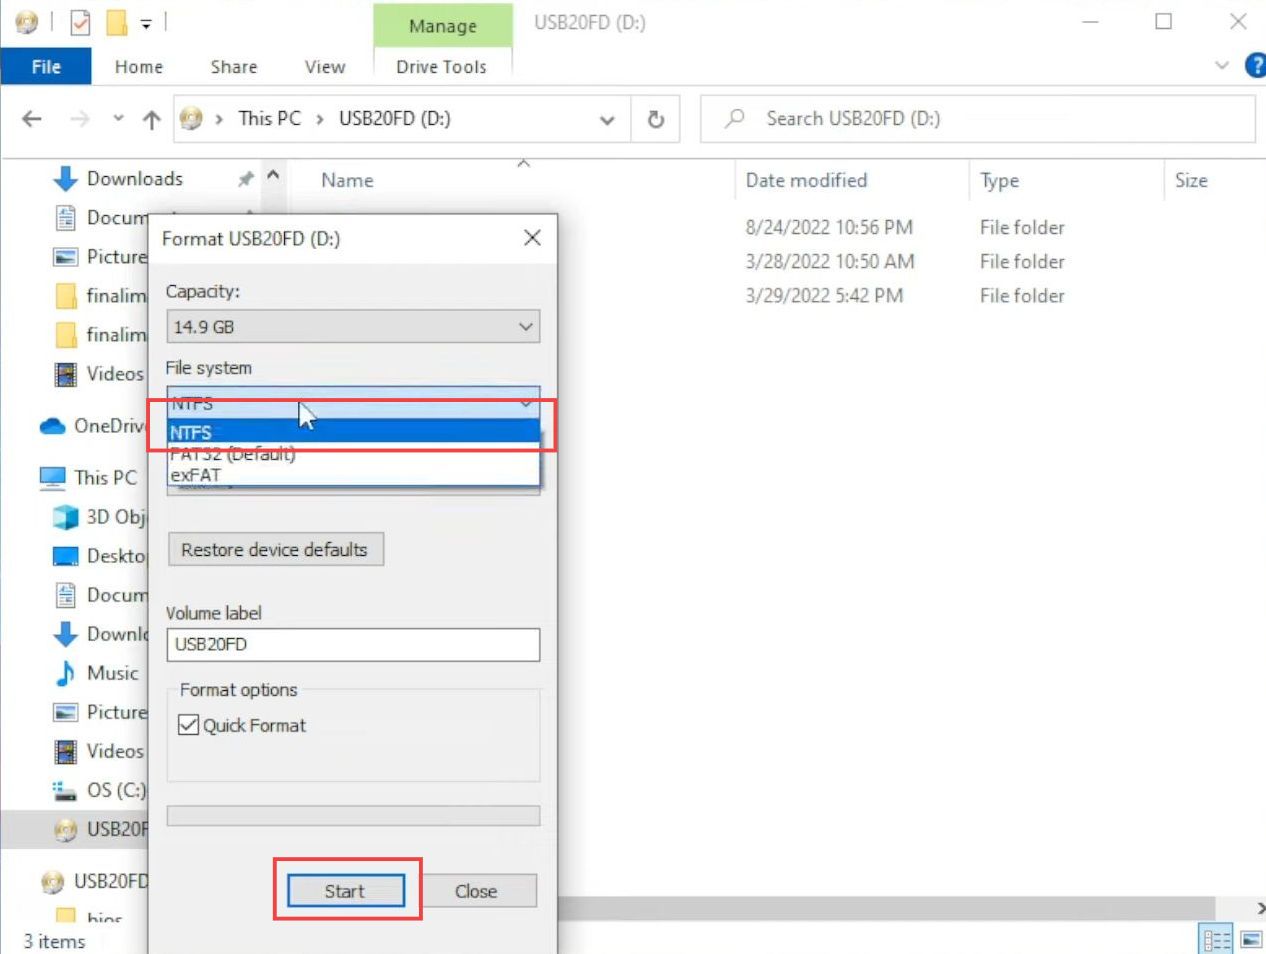
- Upon reaching the Format window, click the NTFS option from the drop-down of the file system.
- After that, click the start button from the bottom side.
- Now you need to download the Pcsx2 file by clicking the download button from the top right side.

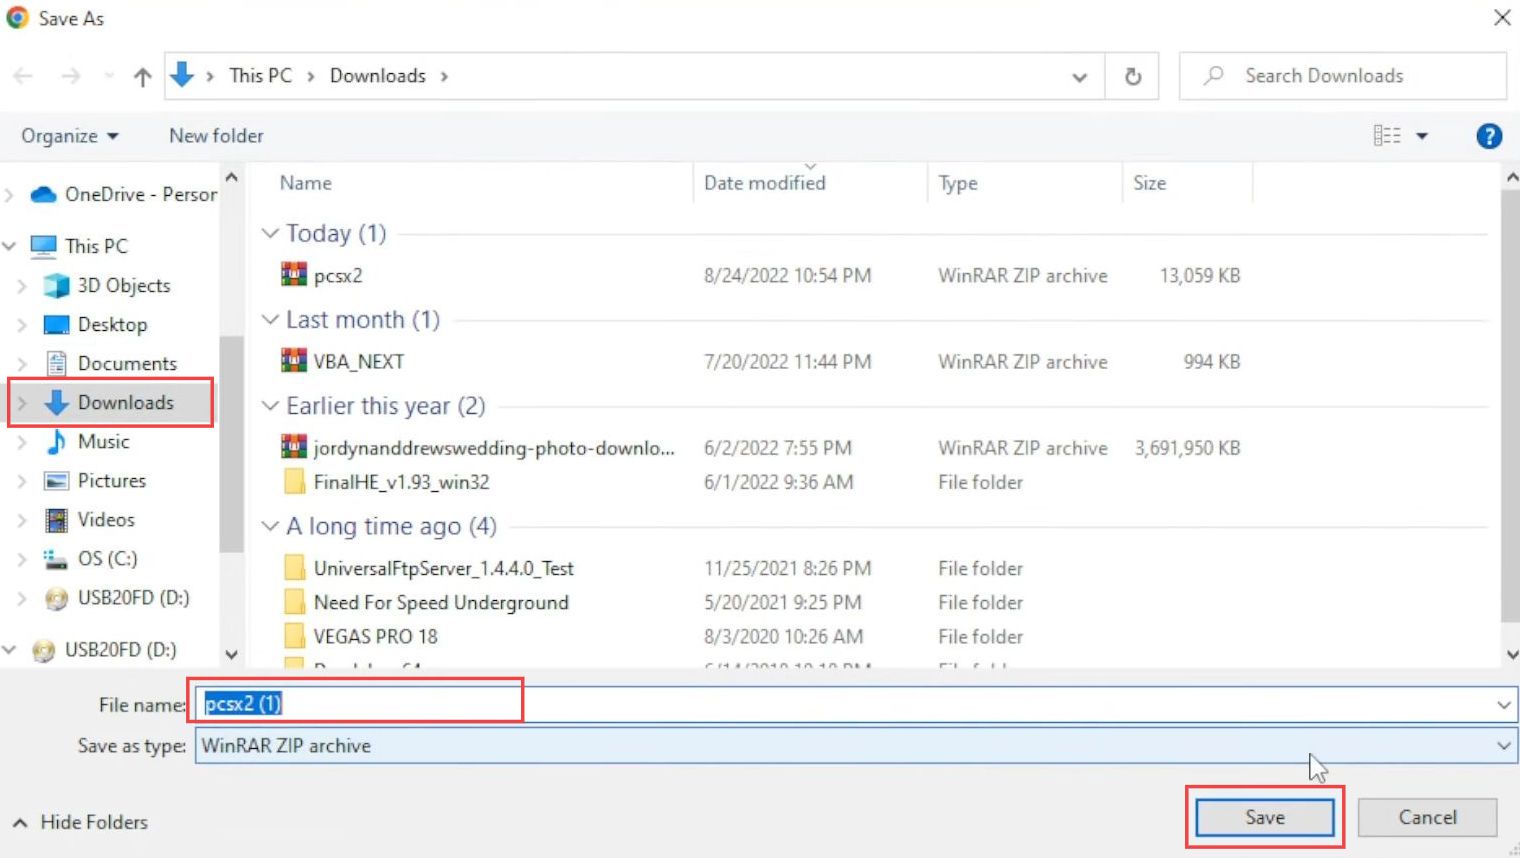
- You have to select the download location from your computer.
- After that, click the save button, once the location is decided.
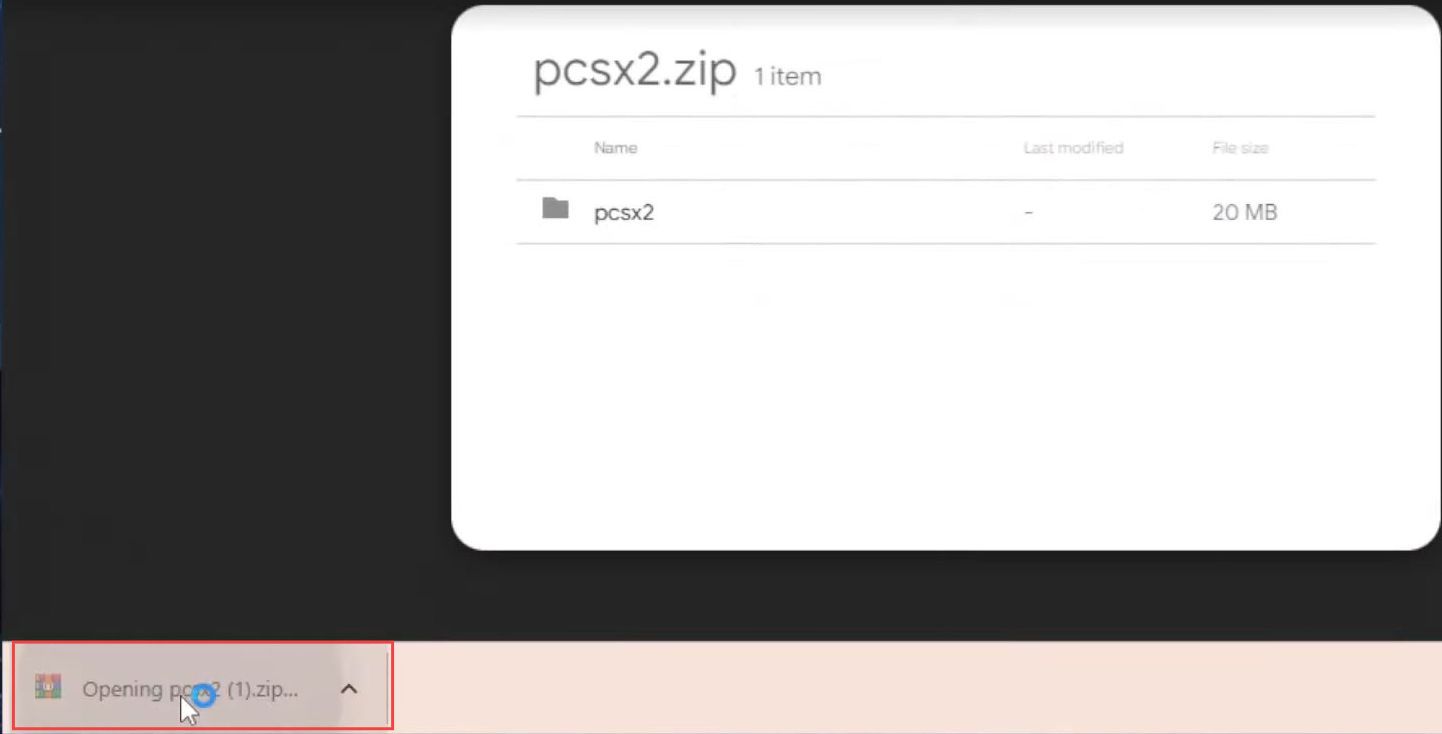
- You need to click the downloaded zip file to open it.
- Upon reaching the new window, click the Extract to button from the quick access toolbar.
- After that, choose the extraction location from the menu and click the OK button.
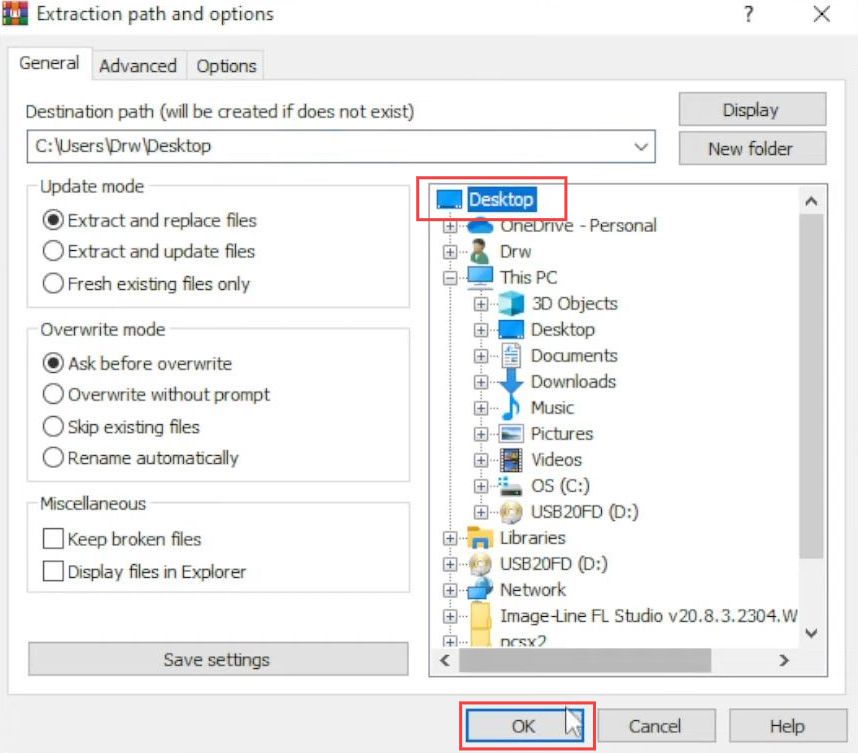
- Now click the Yes to All button on the “Confirm file replace” window.

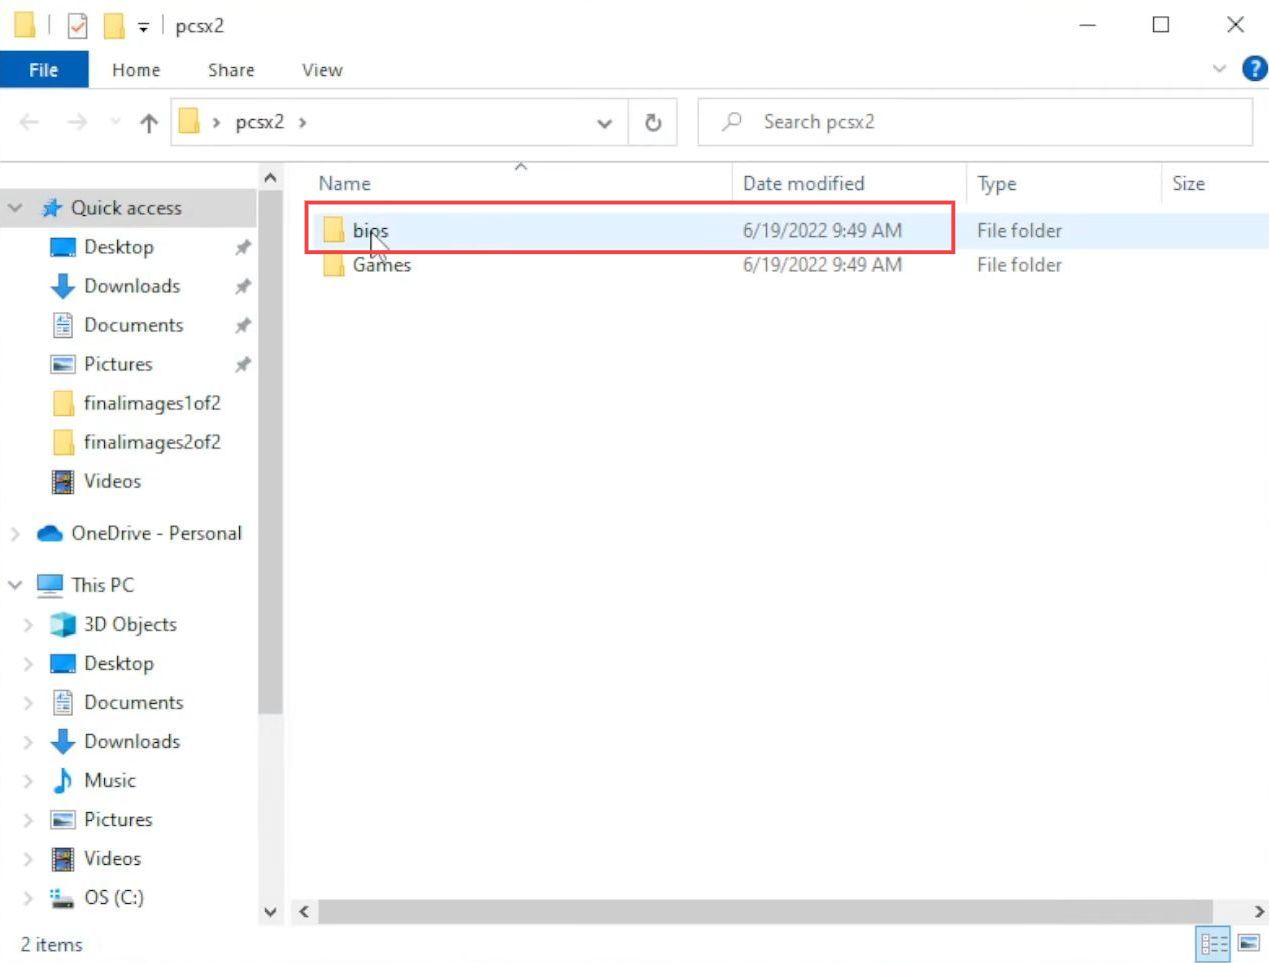
- Once the folder is extracted, you need to click the folder to open it.
- Upon reaching the window, click the bios folder from the listings to open it.
The files in the bio folder are very important as they help to start and operate the emulator.
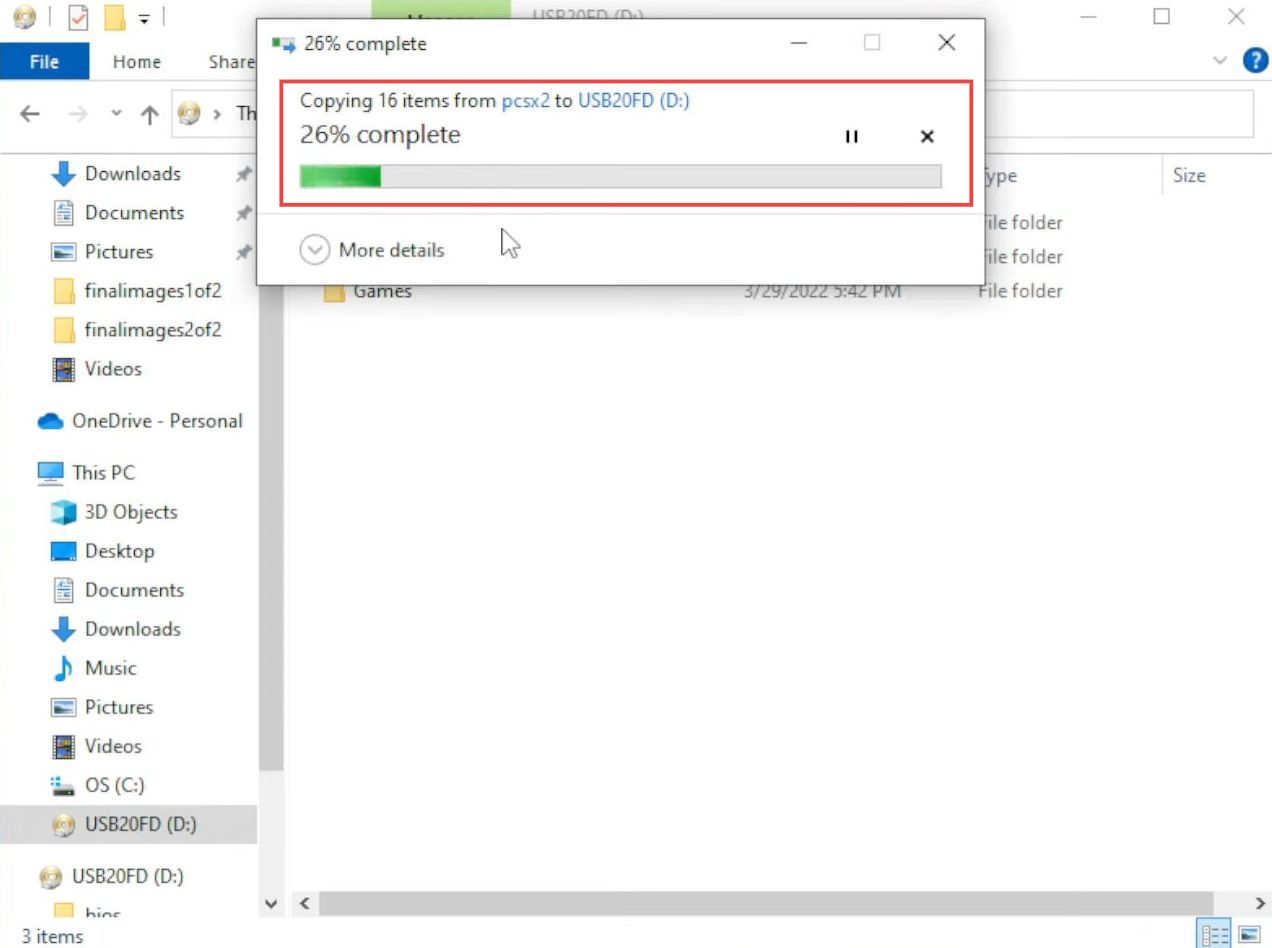
- Now you have to copy both these files and paste them into the plugged-in USB device.
Configure Bios and Games files
This section explains how to configure Bios and Games files to operate the emulator with the best performance.
- Go back to the Microsoft store and plug the USB device back into the Xbox.
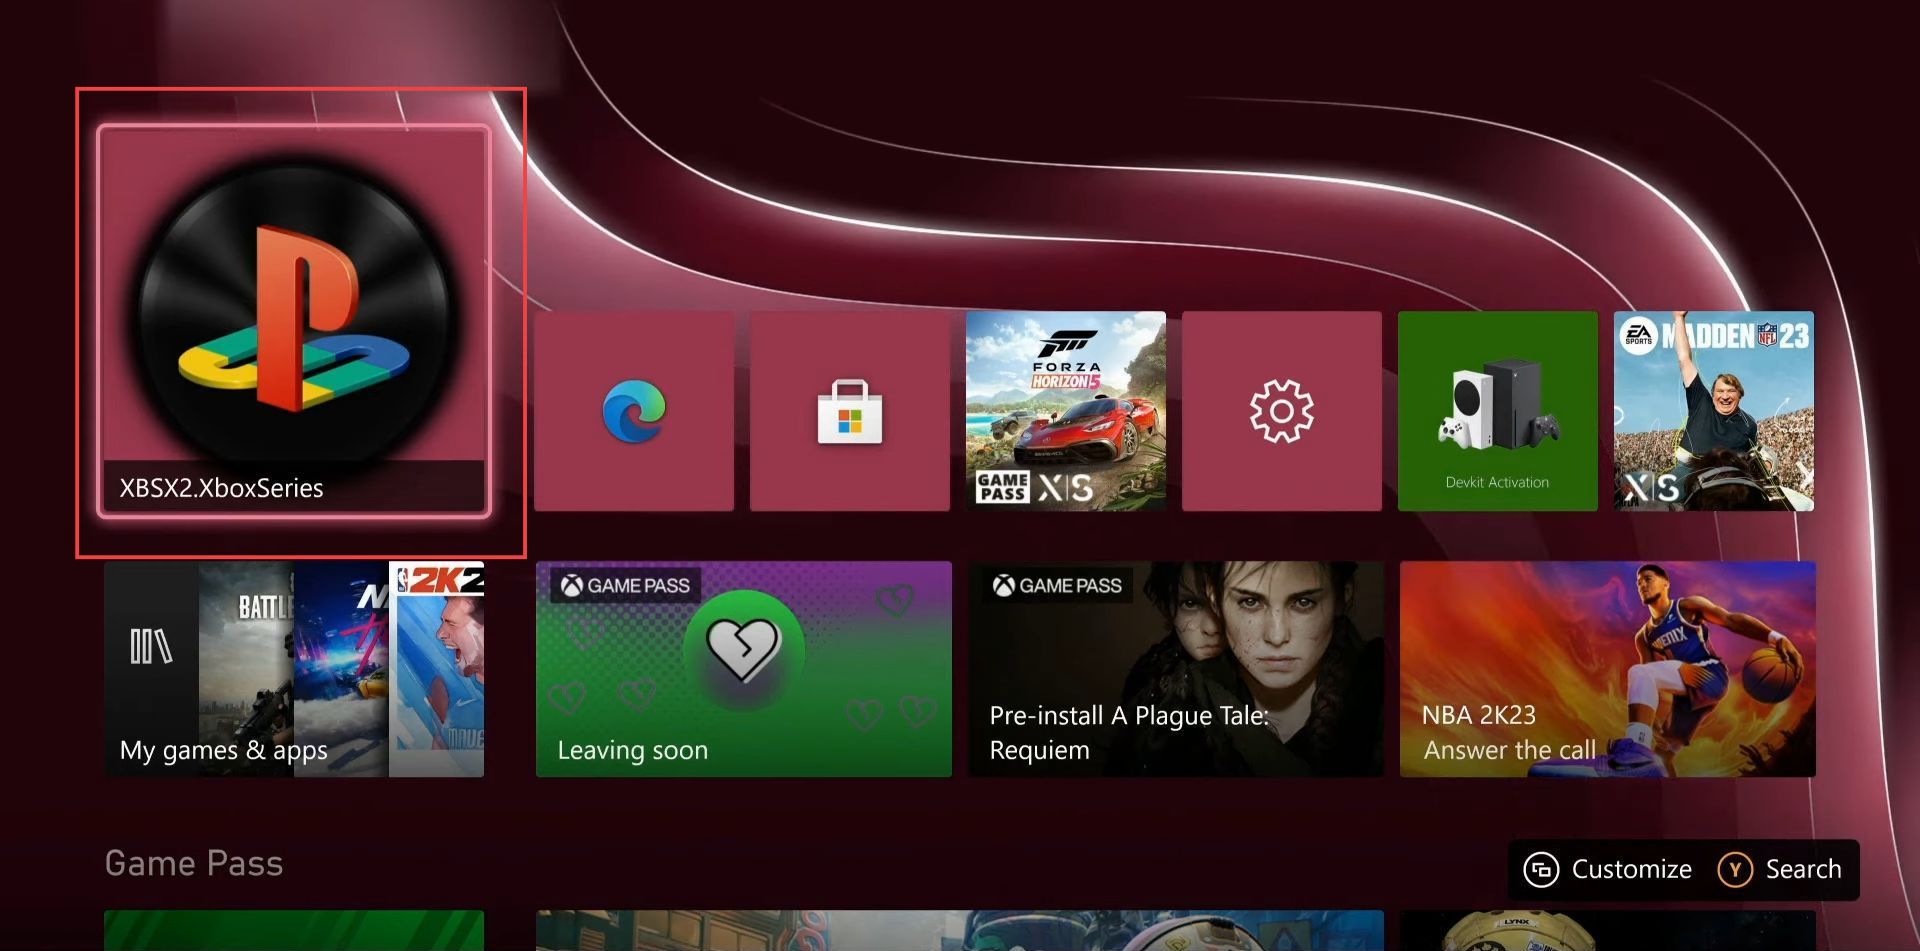
- Now click the recently installed emulator to open it.
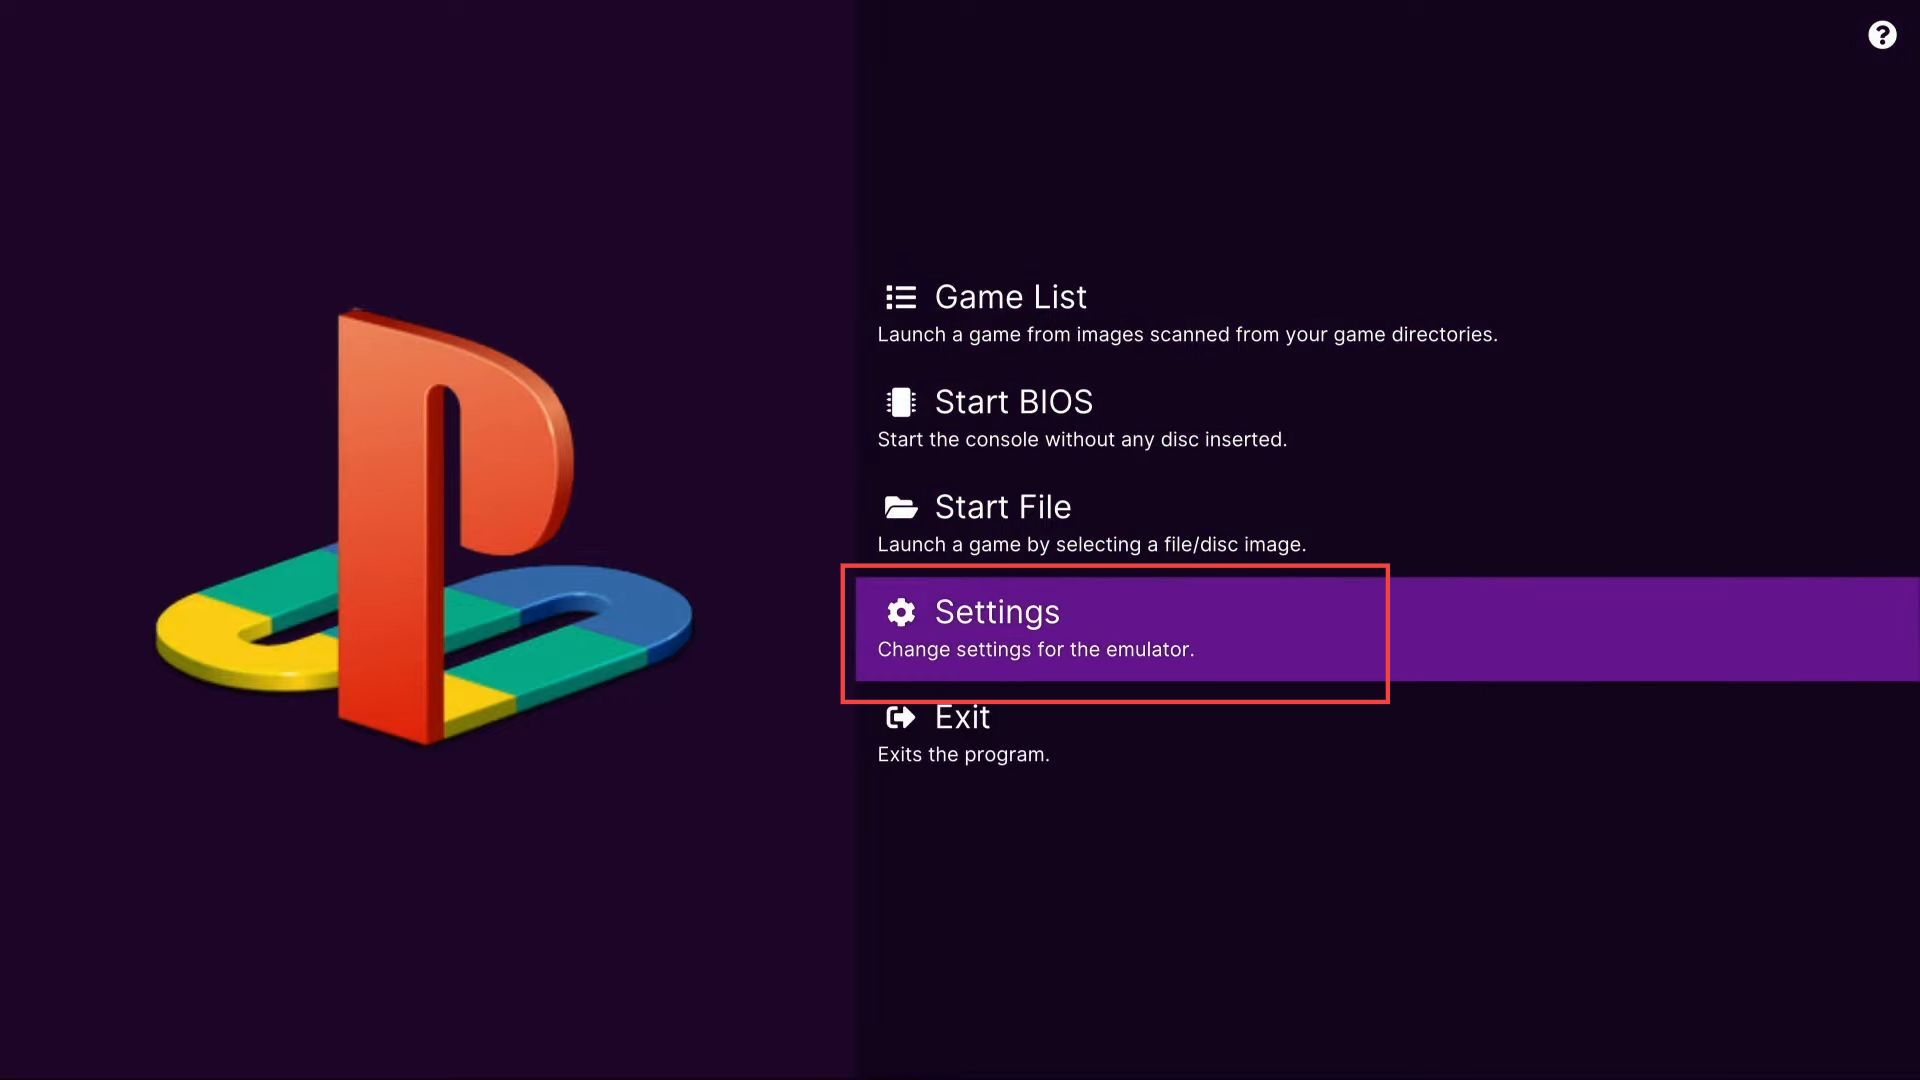
- Upon reaching this window, click the settings tab from the menu.
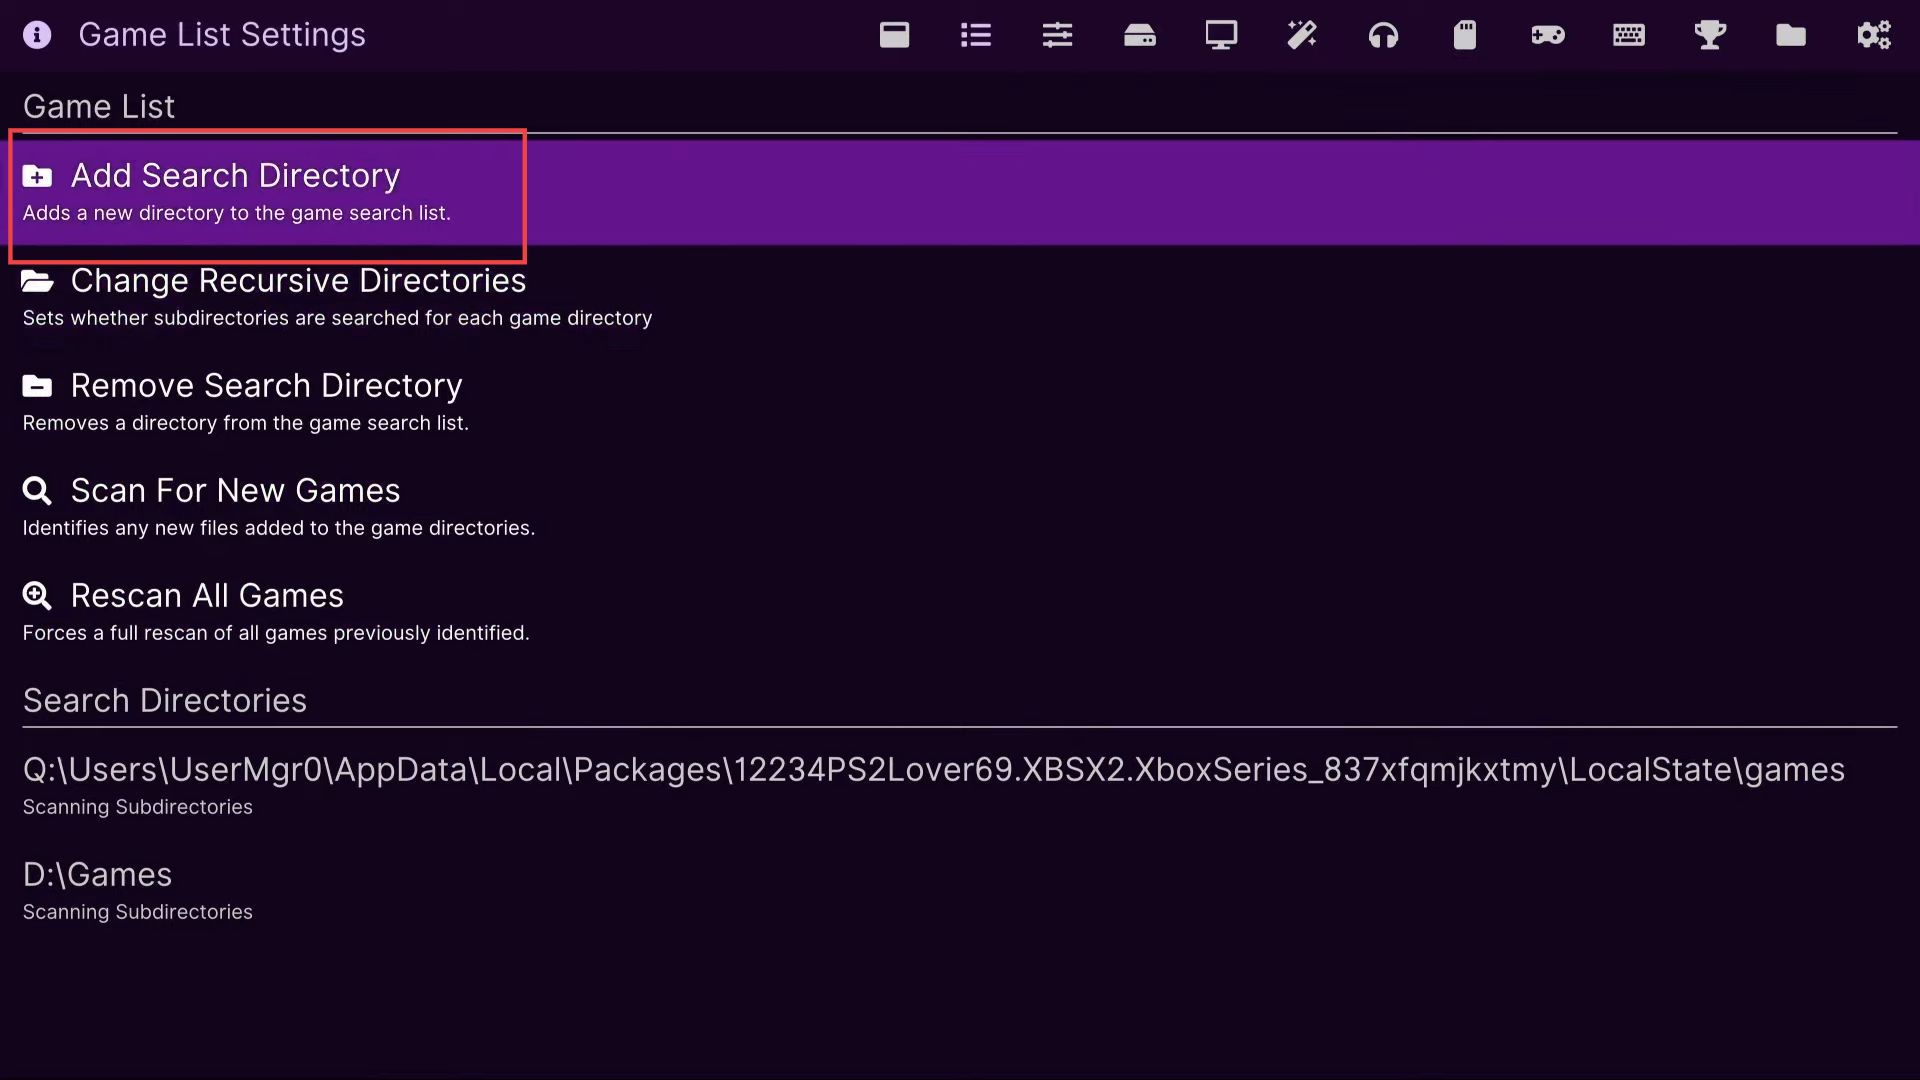
- You have to click the right-side bumper one time and select the add search directory from the menu of the game list.
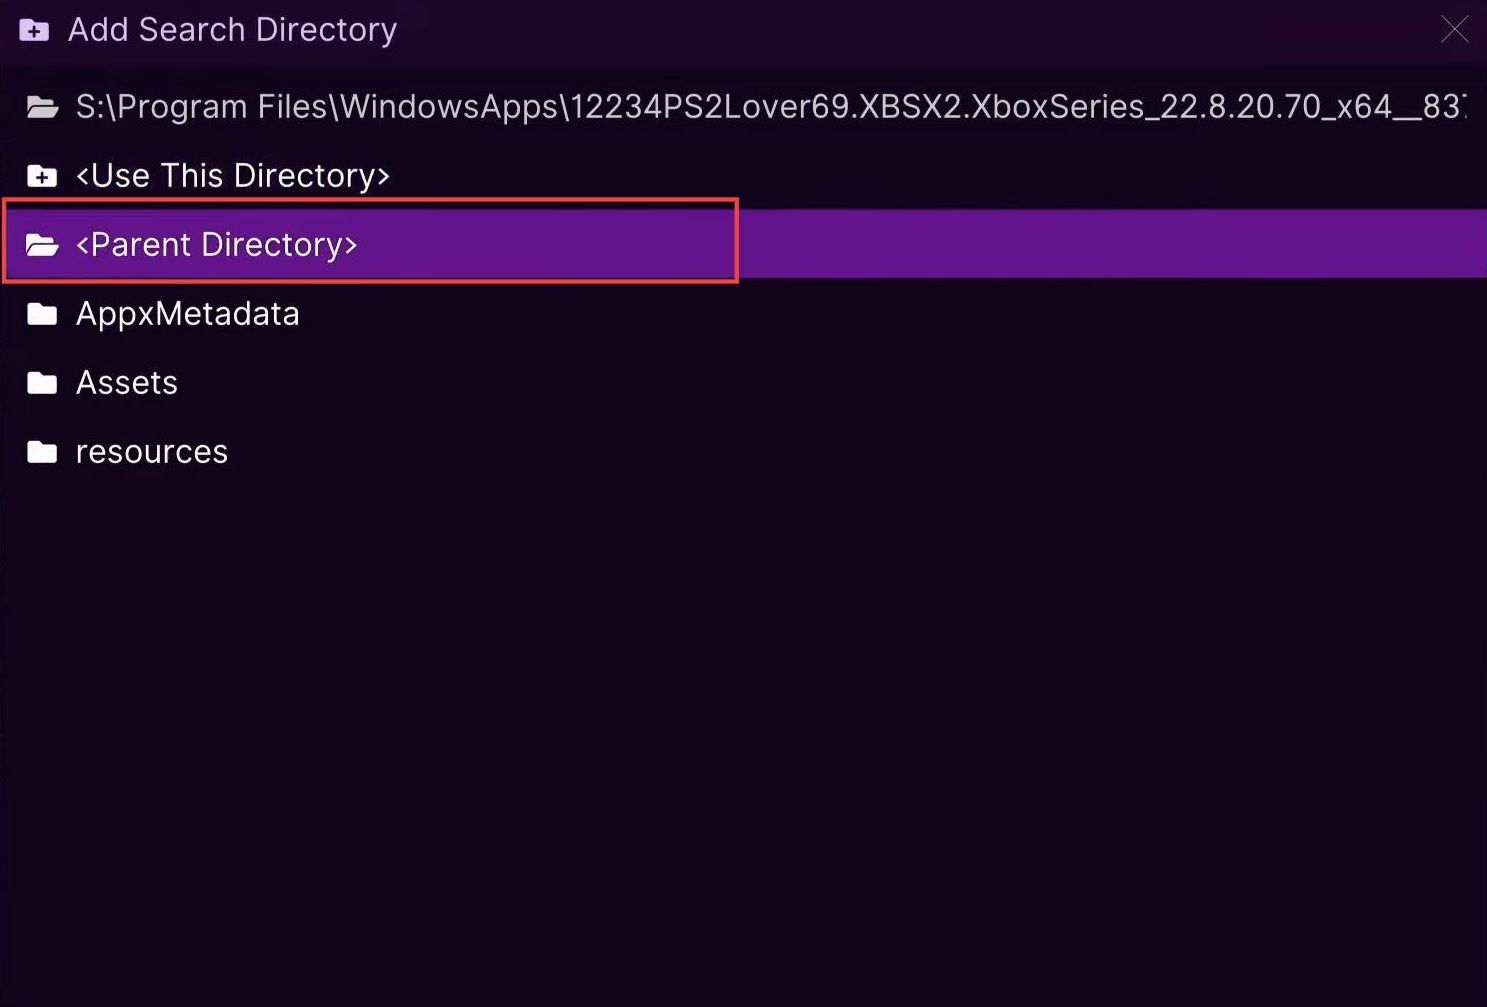
- Once this window is opened, click the parent directory from the menu.
- Again click the parent directory a few times from the next window.
- If you have put the USB device on the front side, then click the D drive from the listings.
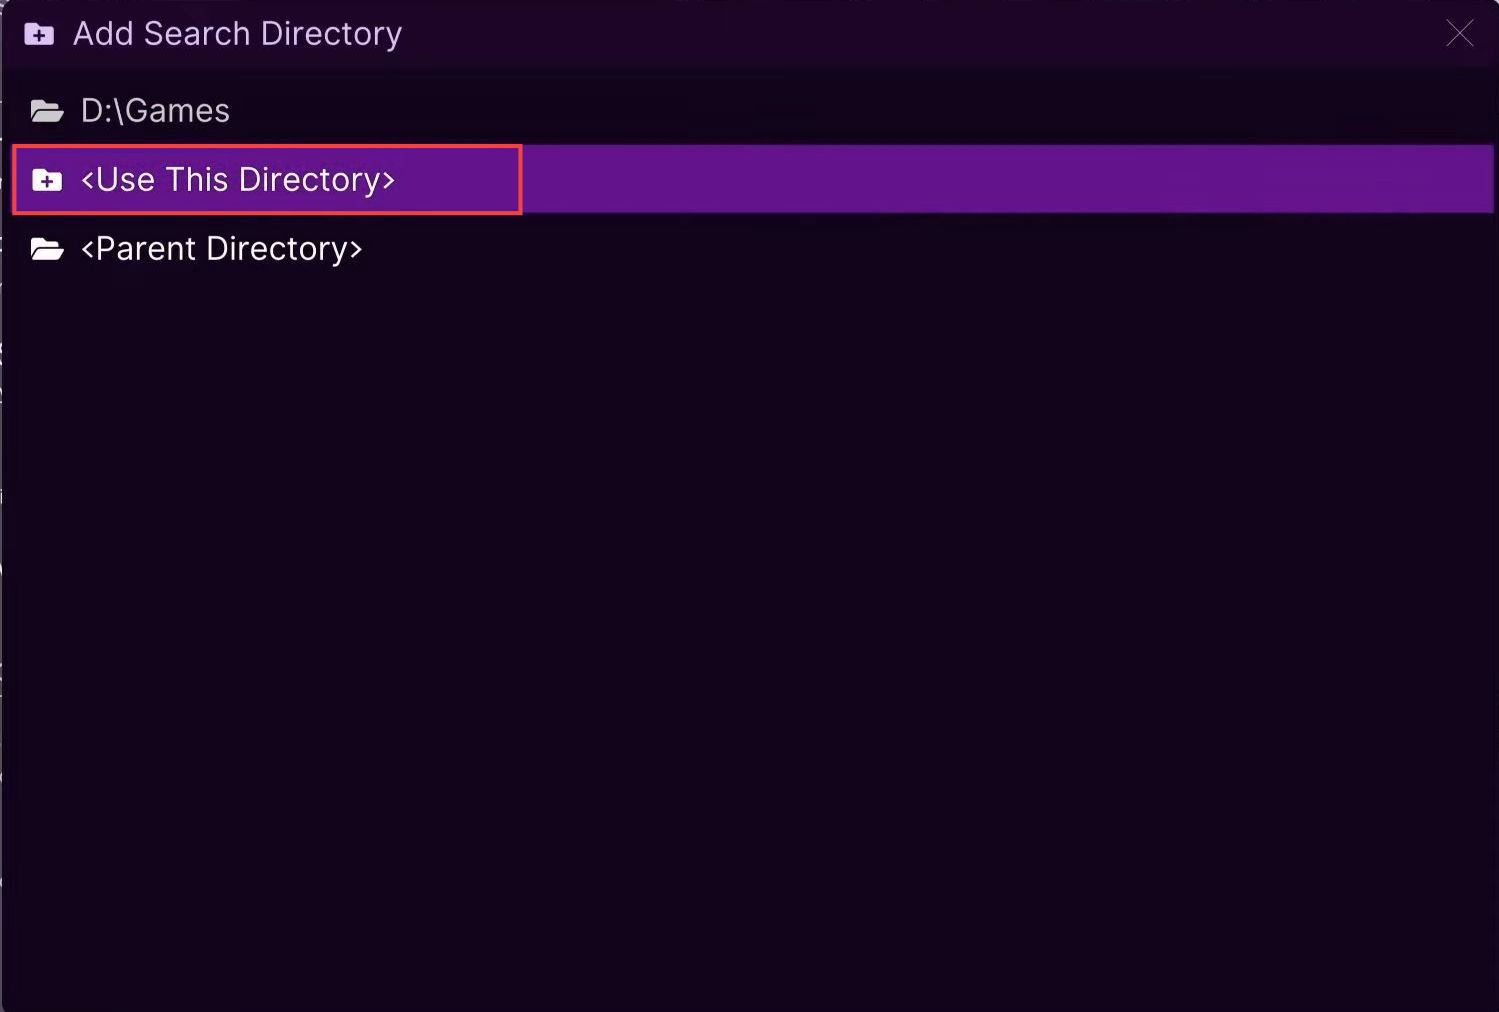
- After that, navigate to the games folder from the menu.
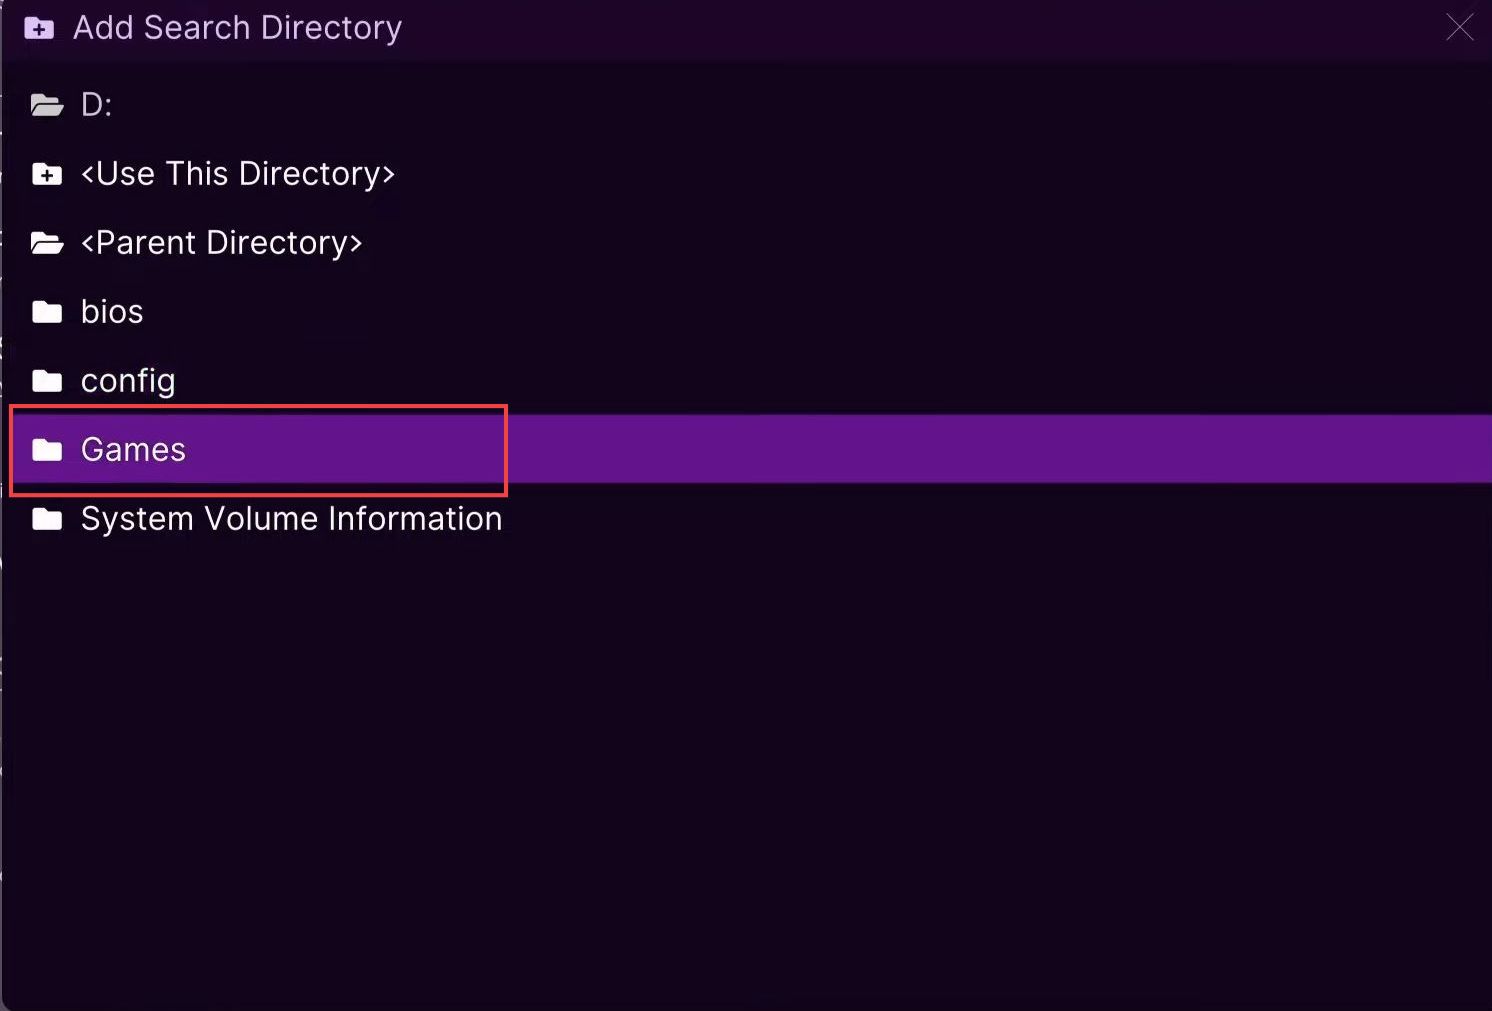
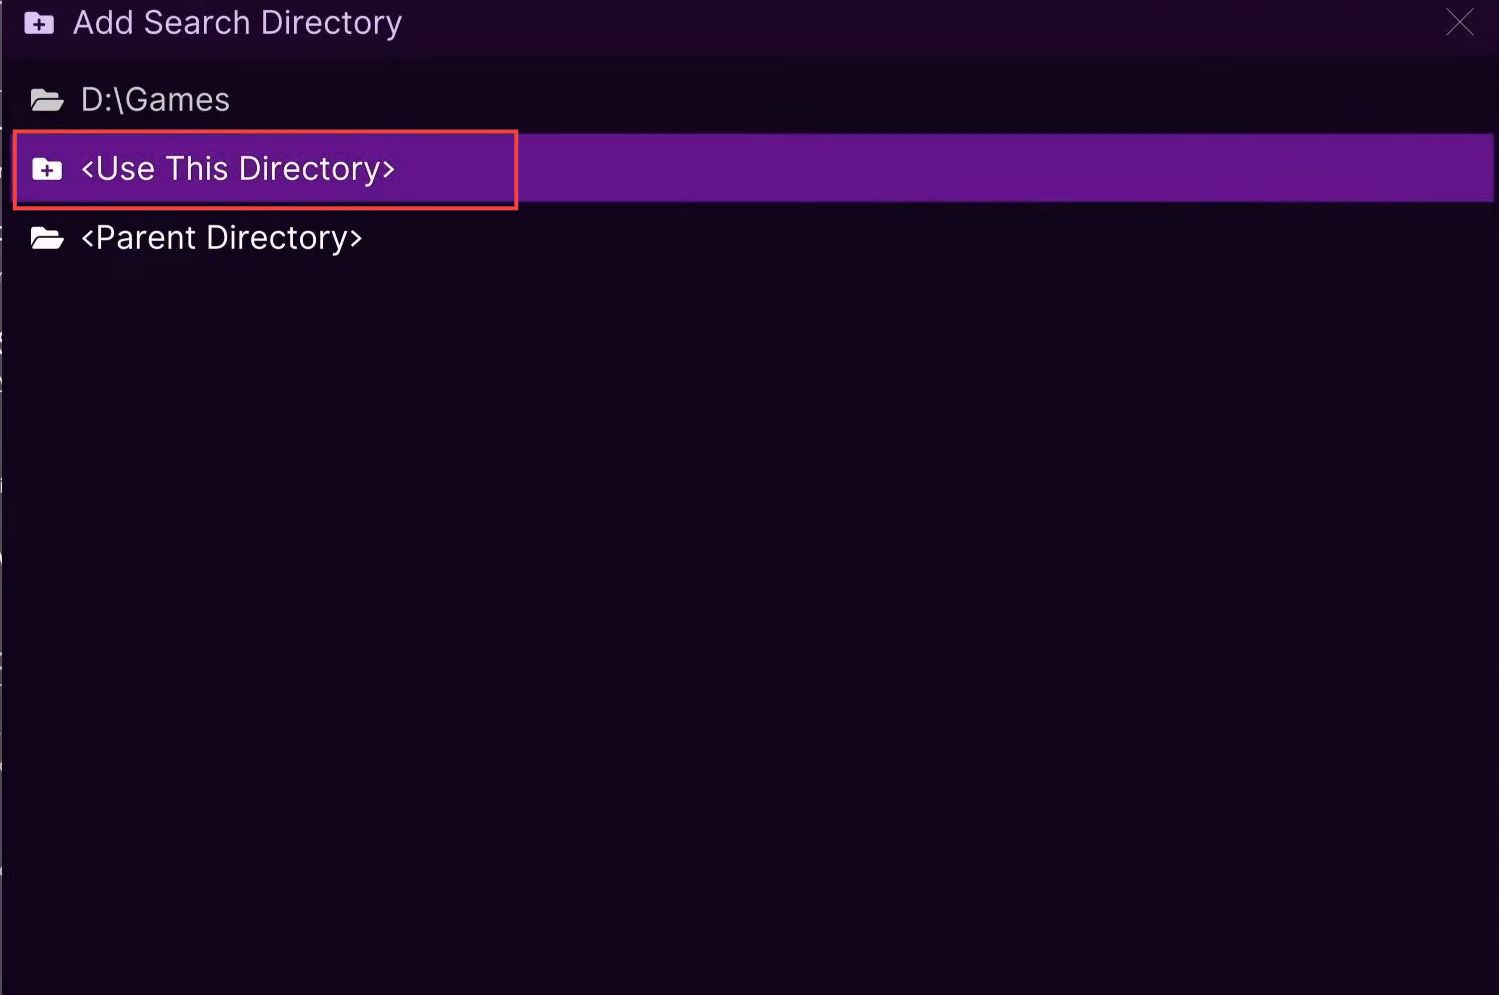
- Once this window is opened, you have to select use this directory option from the listings.
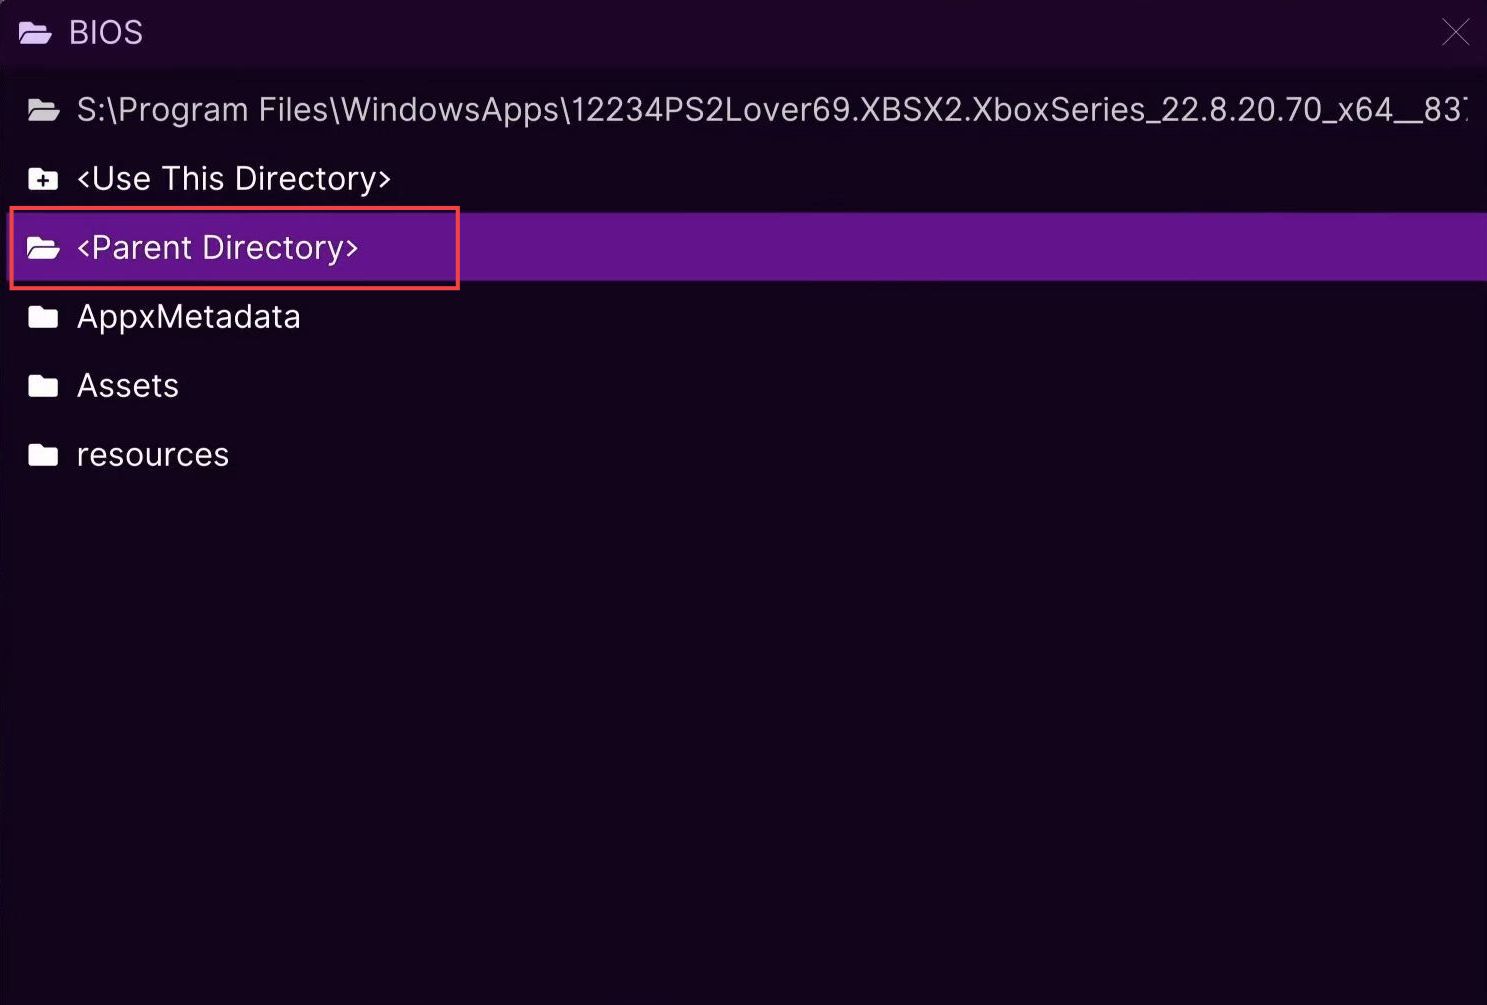
- Now click the left-side bumper three times to reach the Bios window.
- Once this window is opened, click the parent directory from the listings.
- Again click the parent directory a few times from the next window.
- Click the D drive from the listings to open it and then navigate to the bios folder.
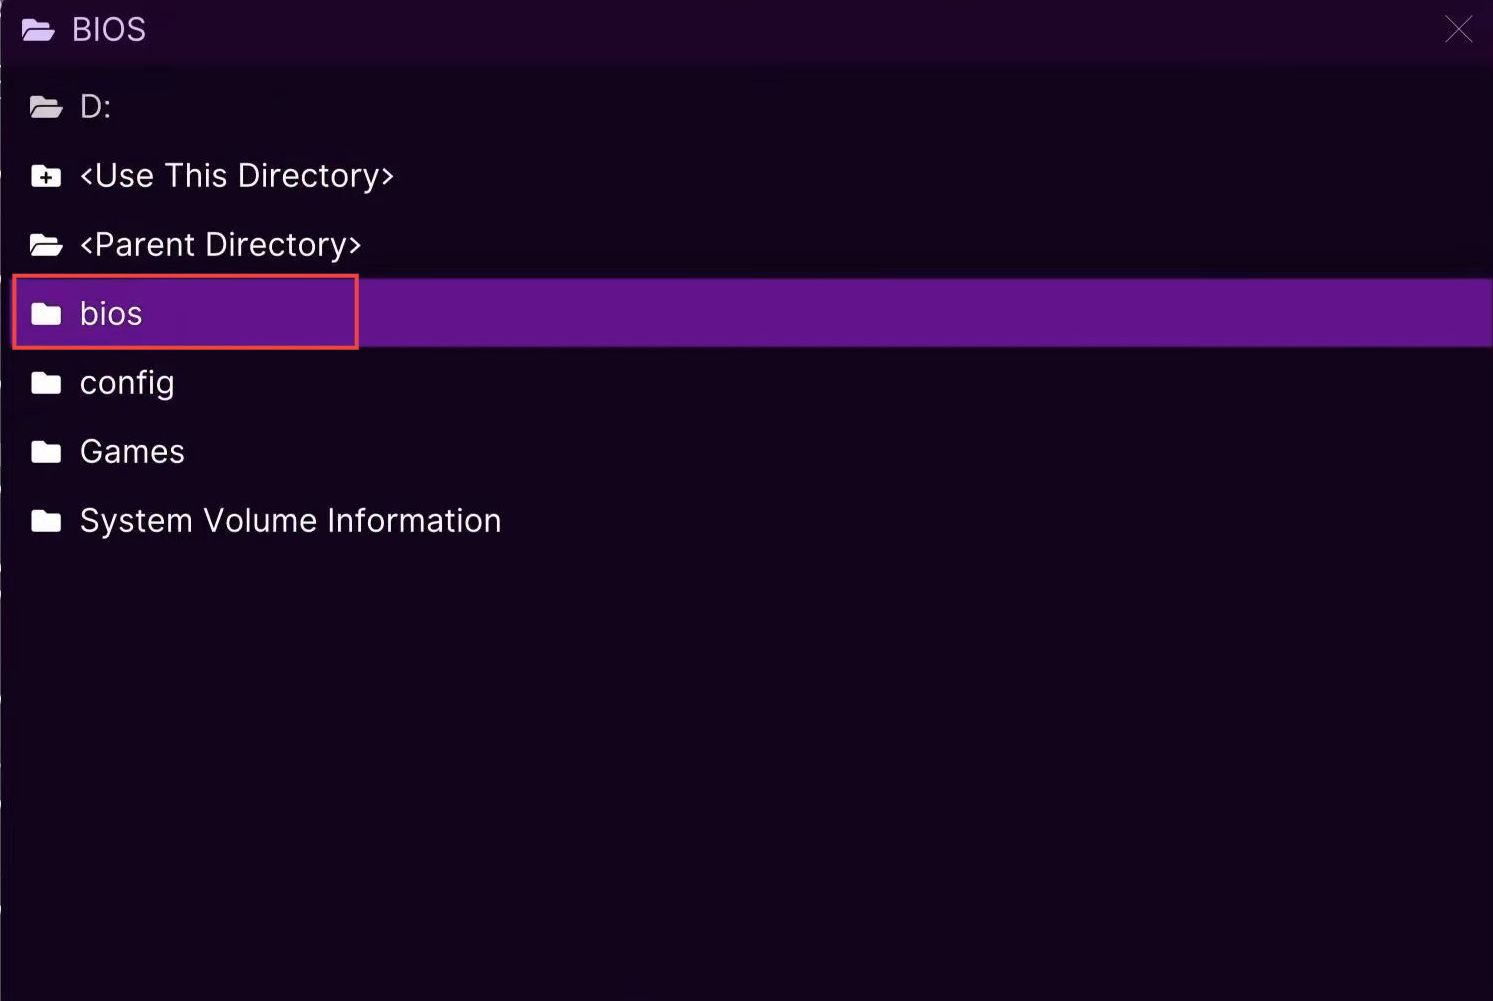
- Once this window is opened, you have to select use this directory option from the listings to set up the files.
This will run the games smoothly.
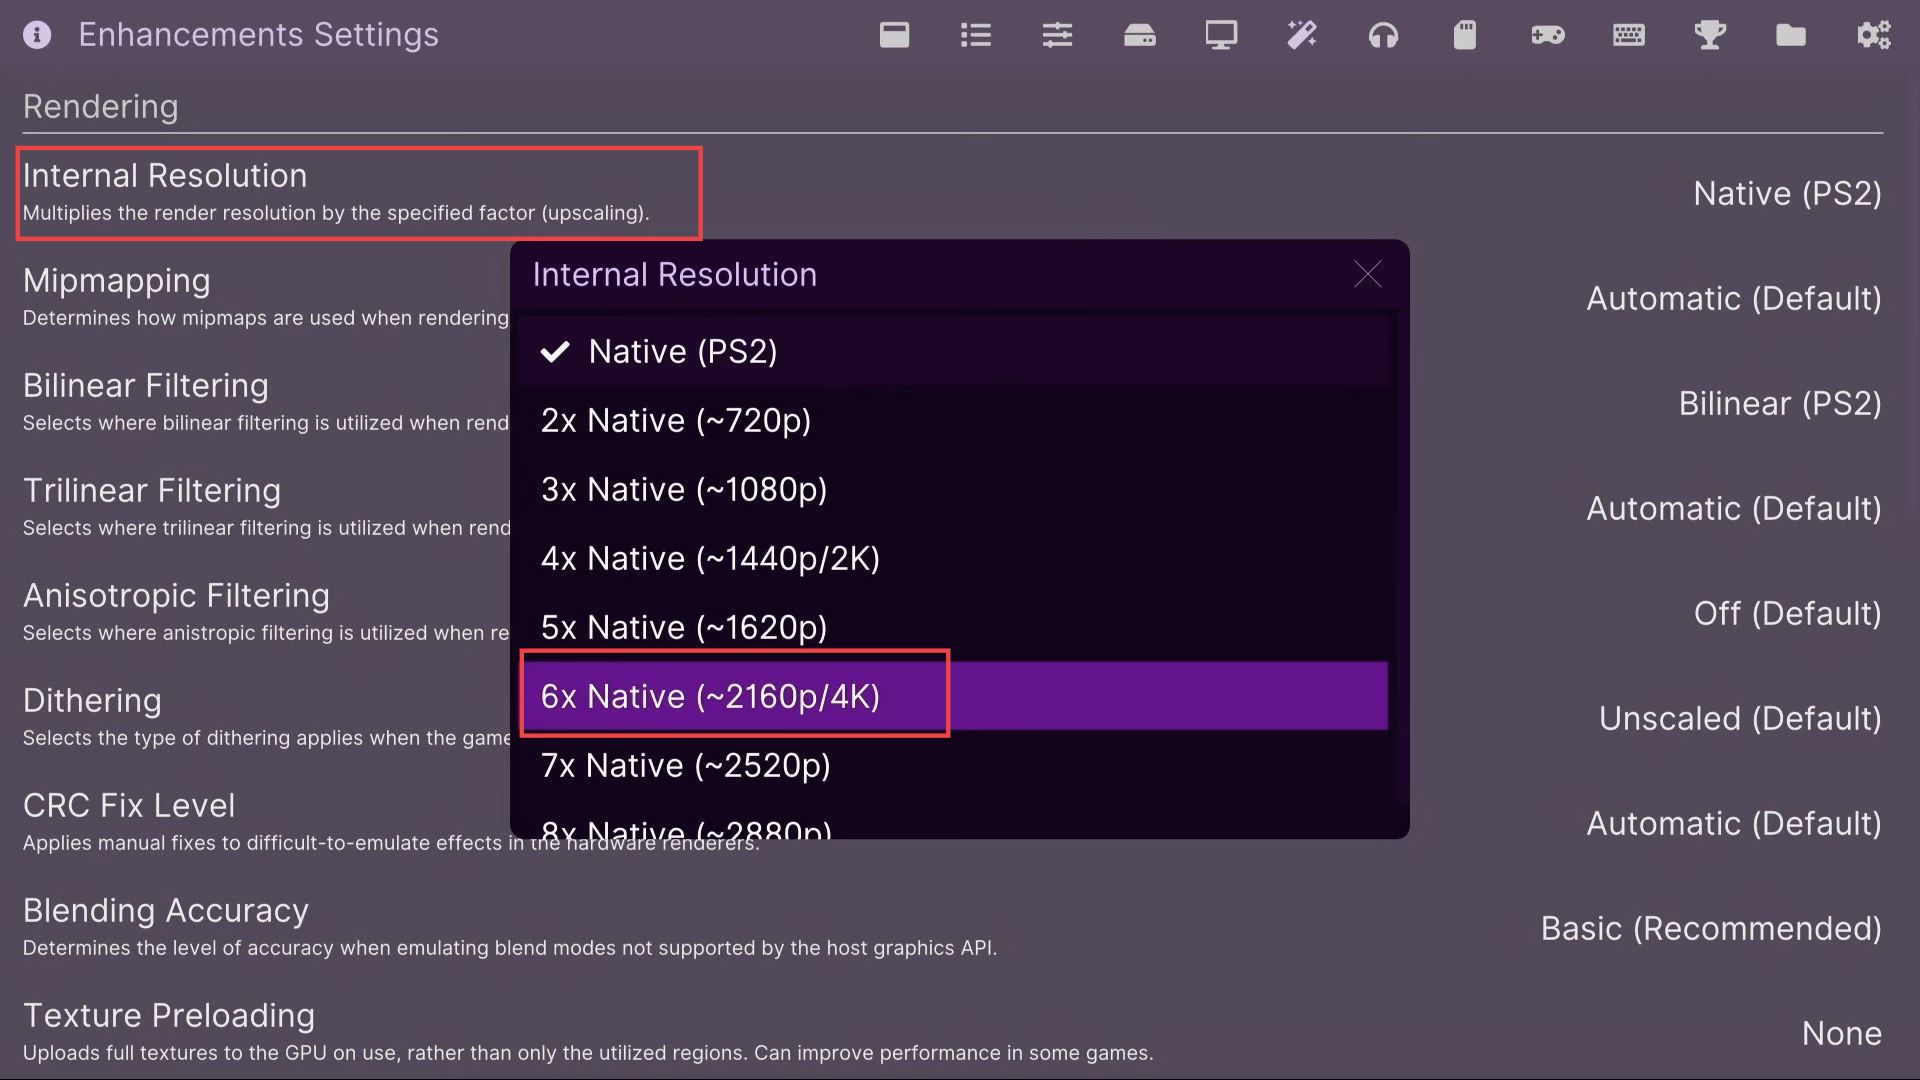
- To play the game in full HD mode, click the left bumper until you reach the window of enhancements settings.
- You have to click the internal resolution option from the menu.
- After that, select the 6x native resolution option from the extended menu.
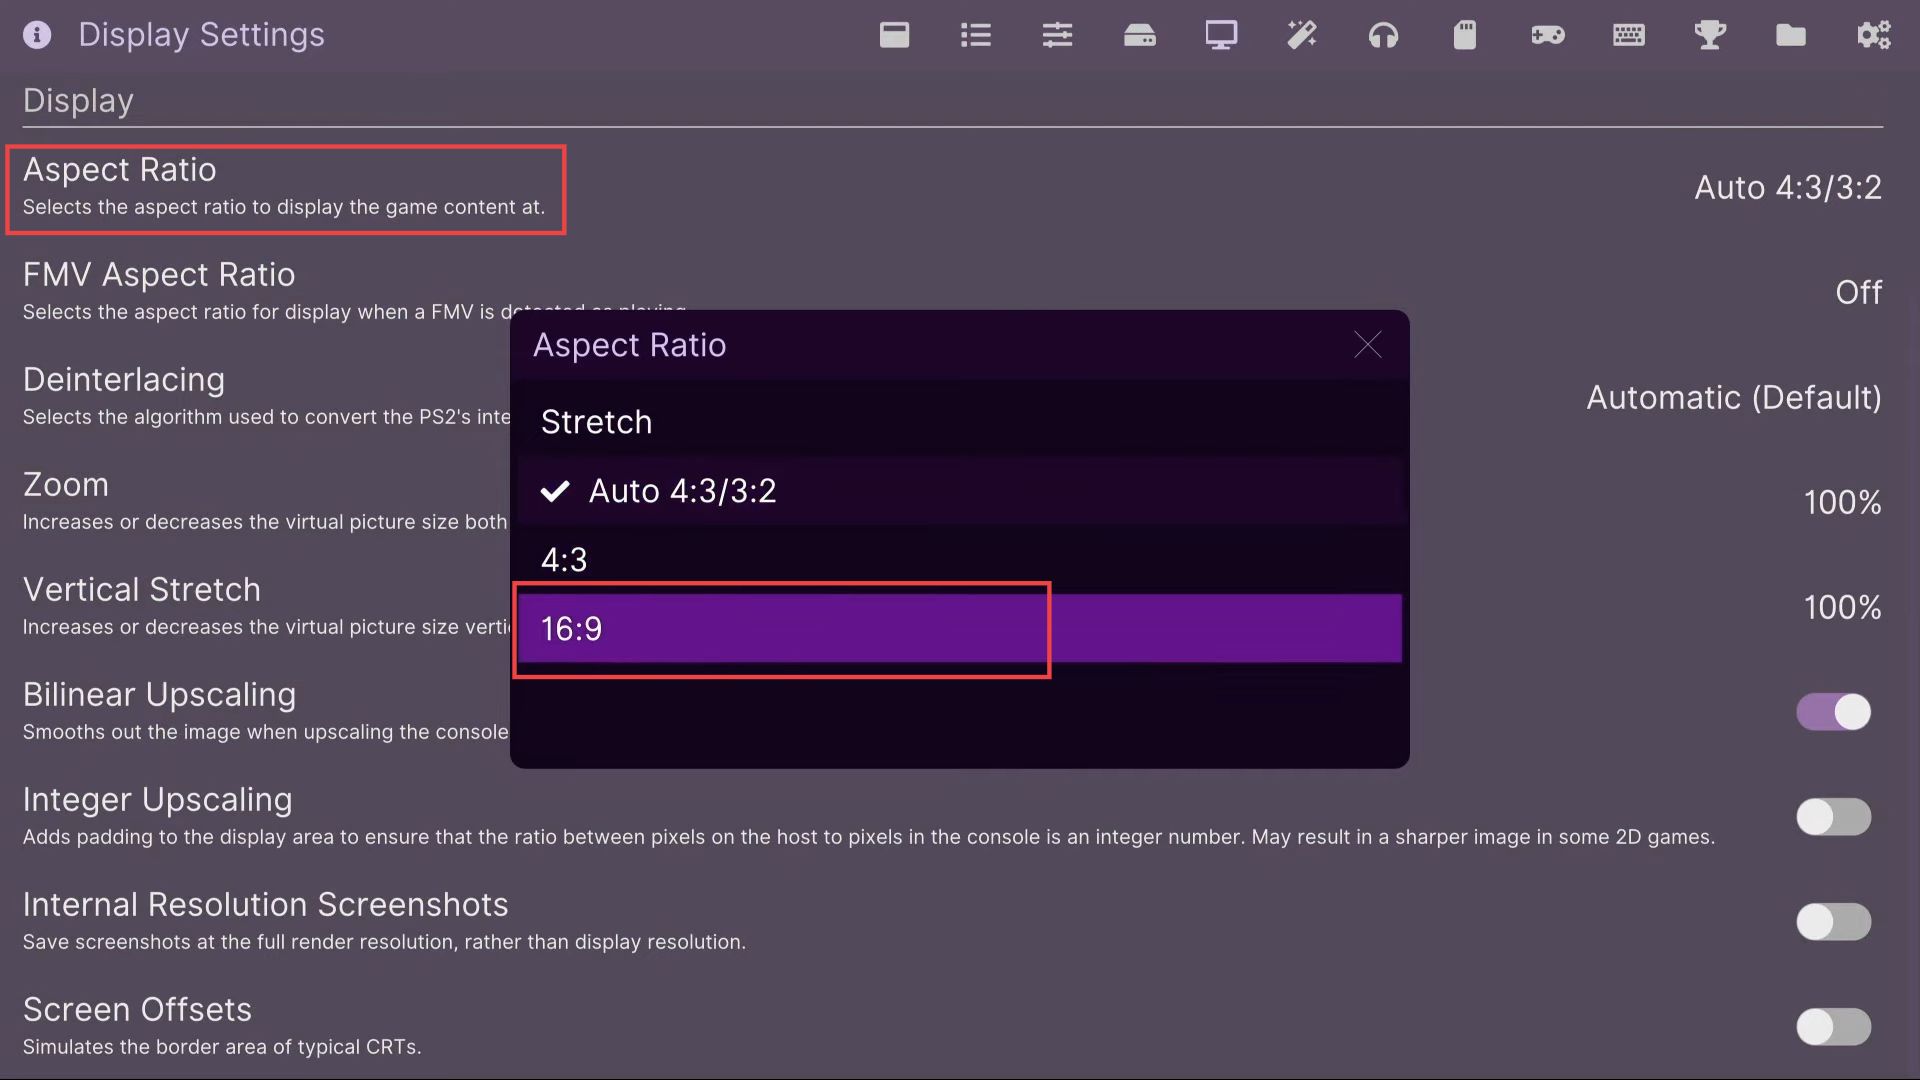
- Now click the left side bumper for another time to reach the display window and then tap the aspect ratio option from the menu.
- Select the 16:9 option to make it a full-screen window.
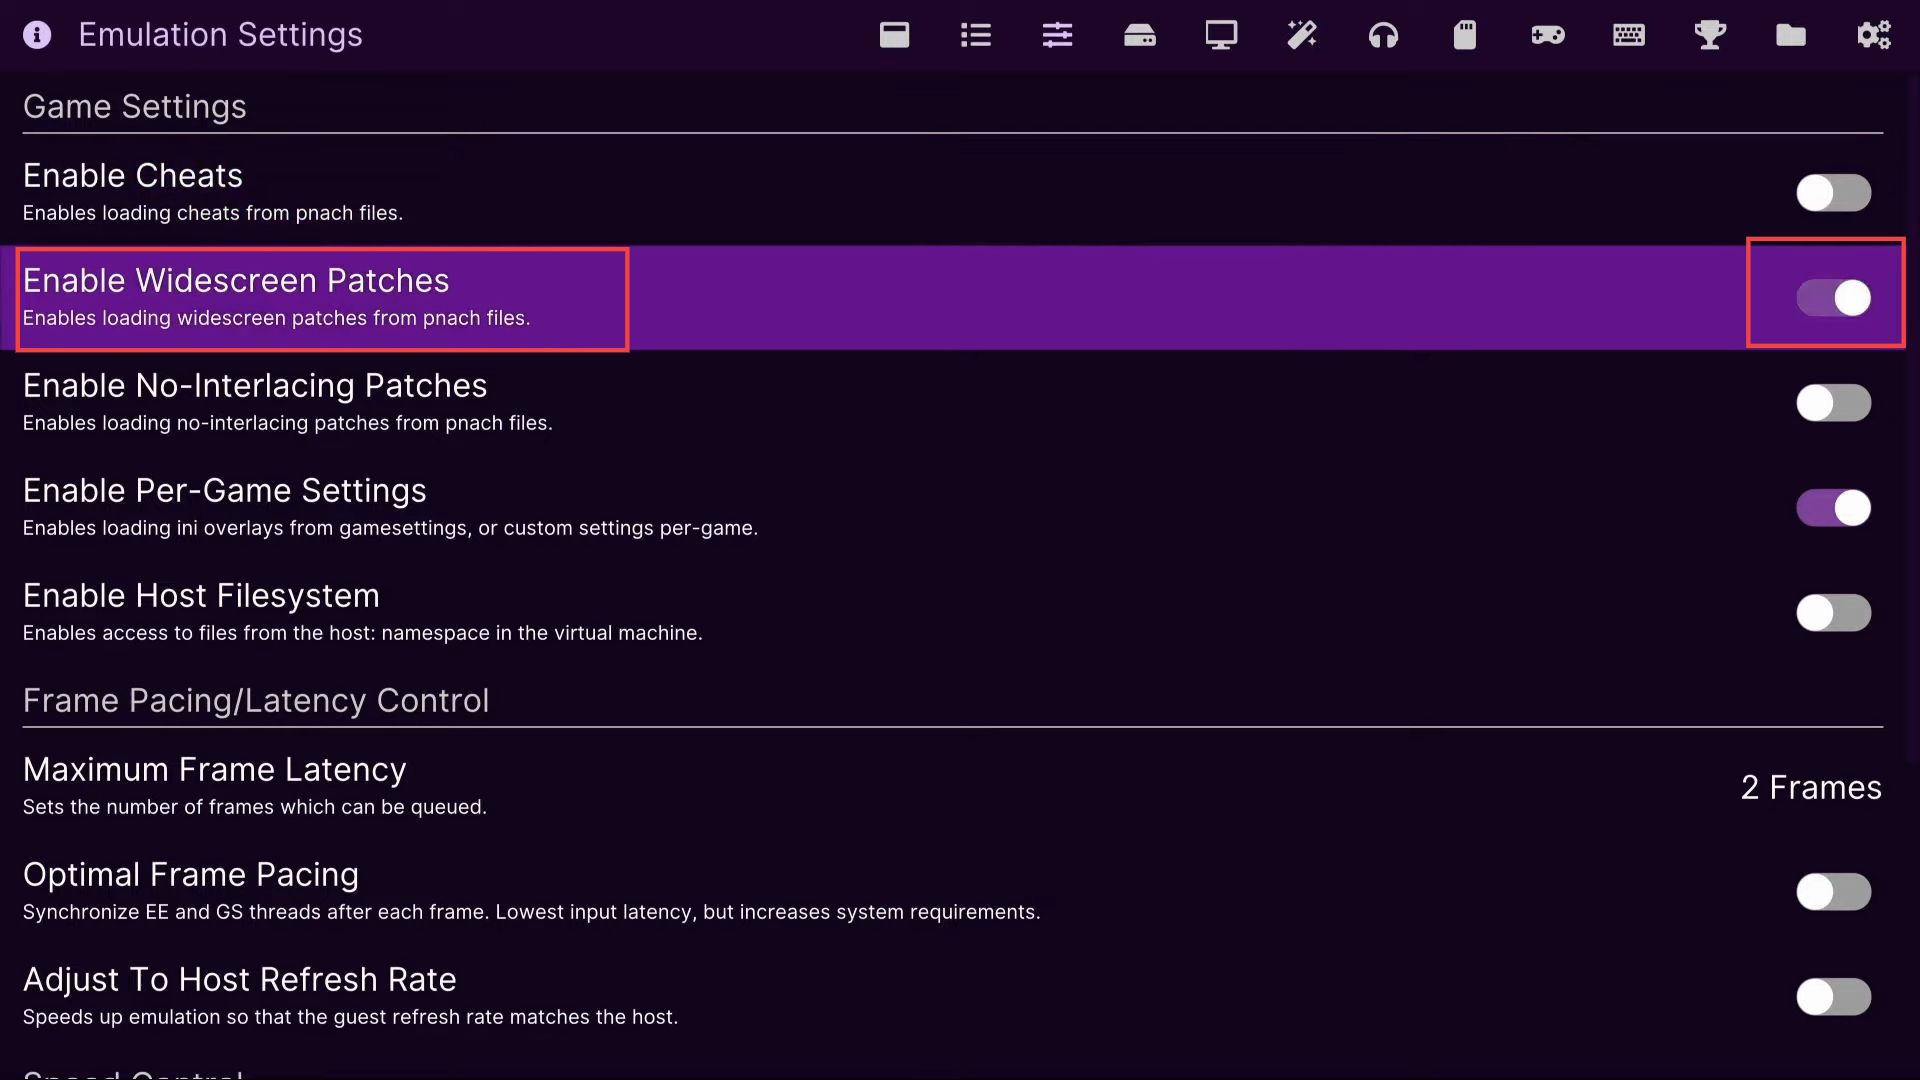
- Again click the left-side bumper until you reach the game settings window.
- Now you have to enable the toggle of widescreen patches from the listings.
This will allow you to play the games in the true resolution and best fit to the screen.
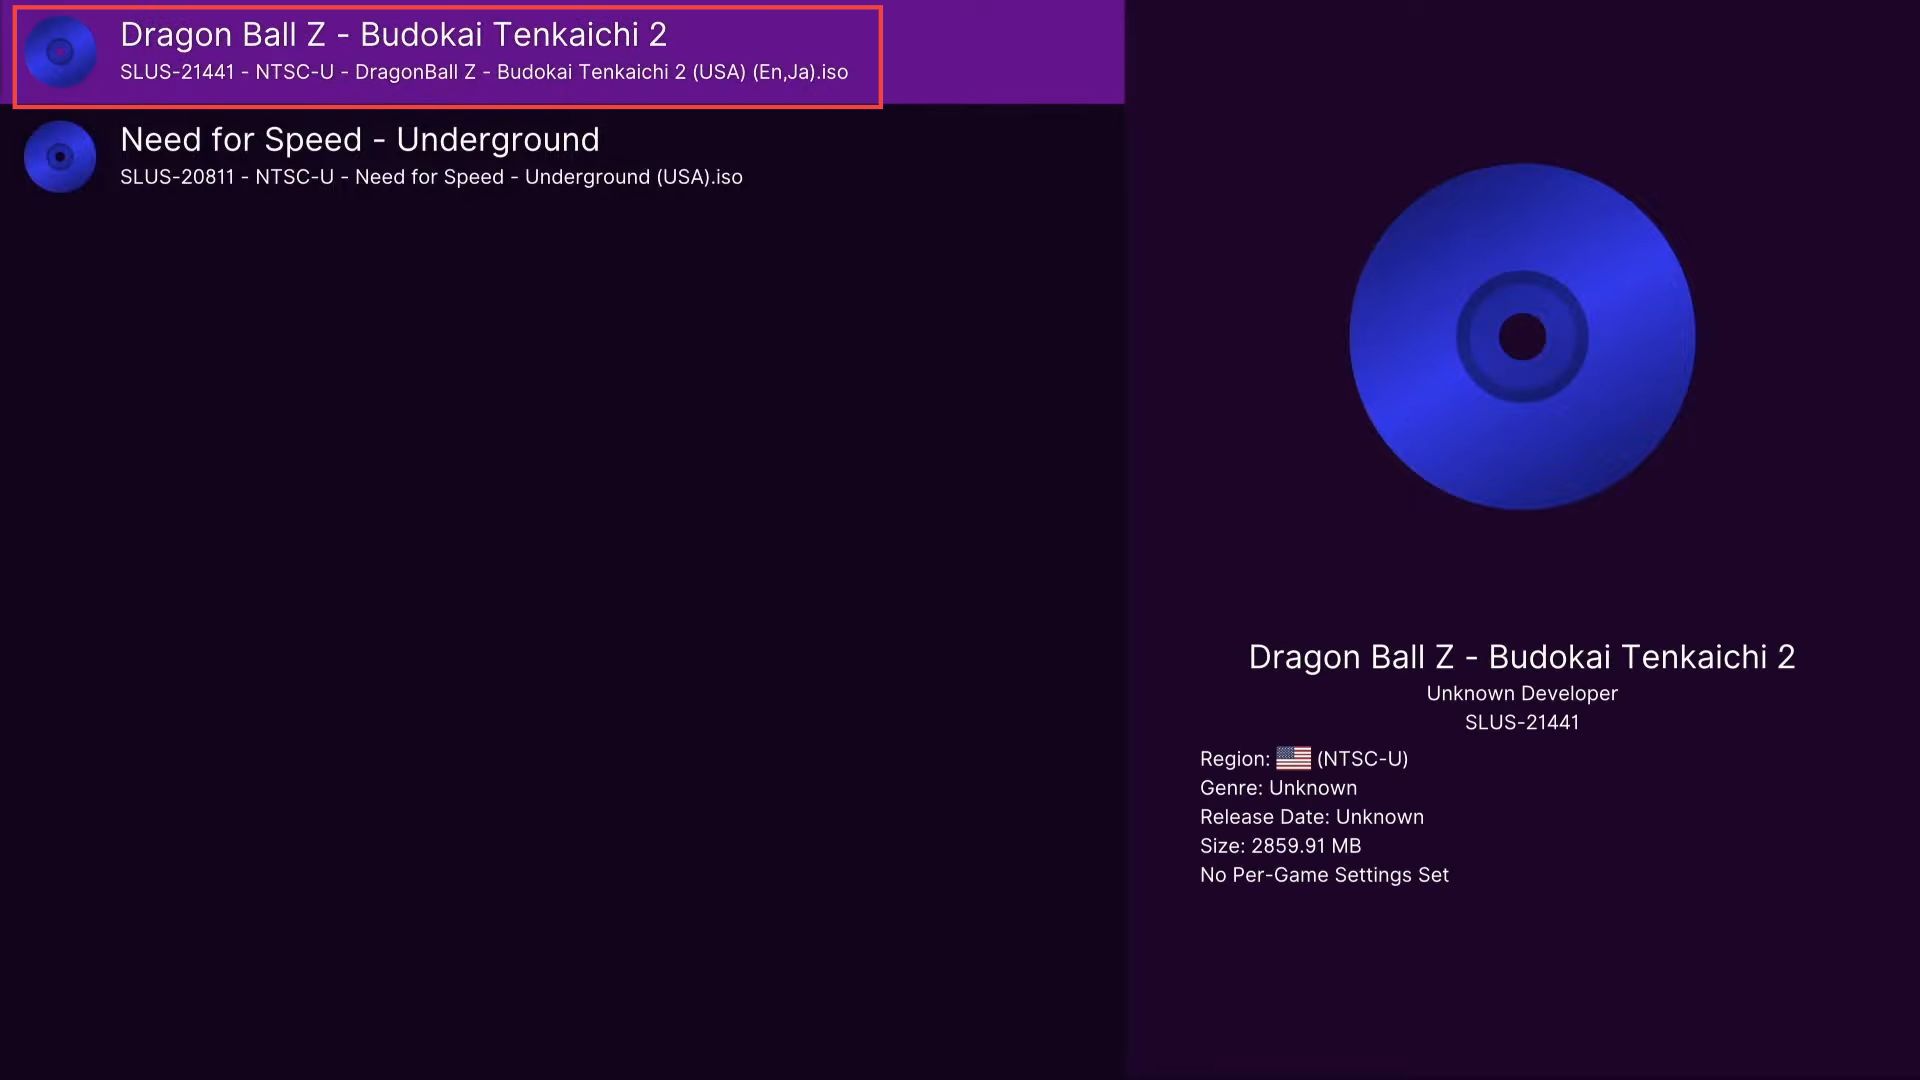
- Go to the main menu and select the game list from the menu.

- Now click the game from the listings that you want to play using the emulator.