This step-by-step guide will walk you through the entire process of creating a Better Minecraft 4 server.
Step 1: Checking Prerequisites
Before diving in, ensure your computer meets the requirements. Better Minecraft 4 demands a robust system due to its resource-intensive nature. You’ll need a high-performance computer and a stable internet connection.
Step 2: Acquiring Server Hosting
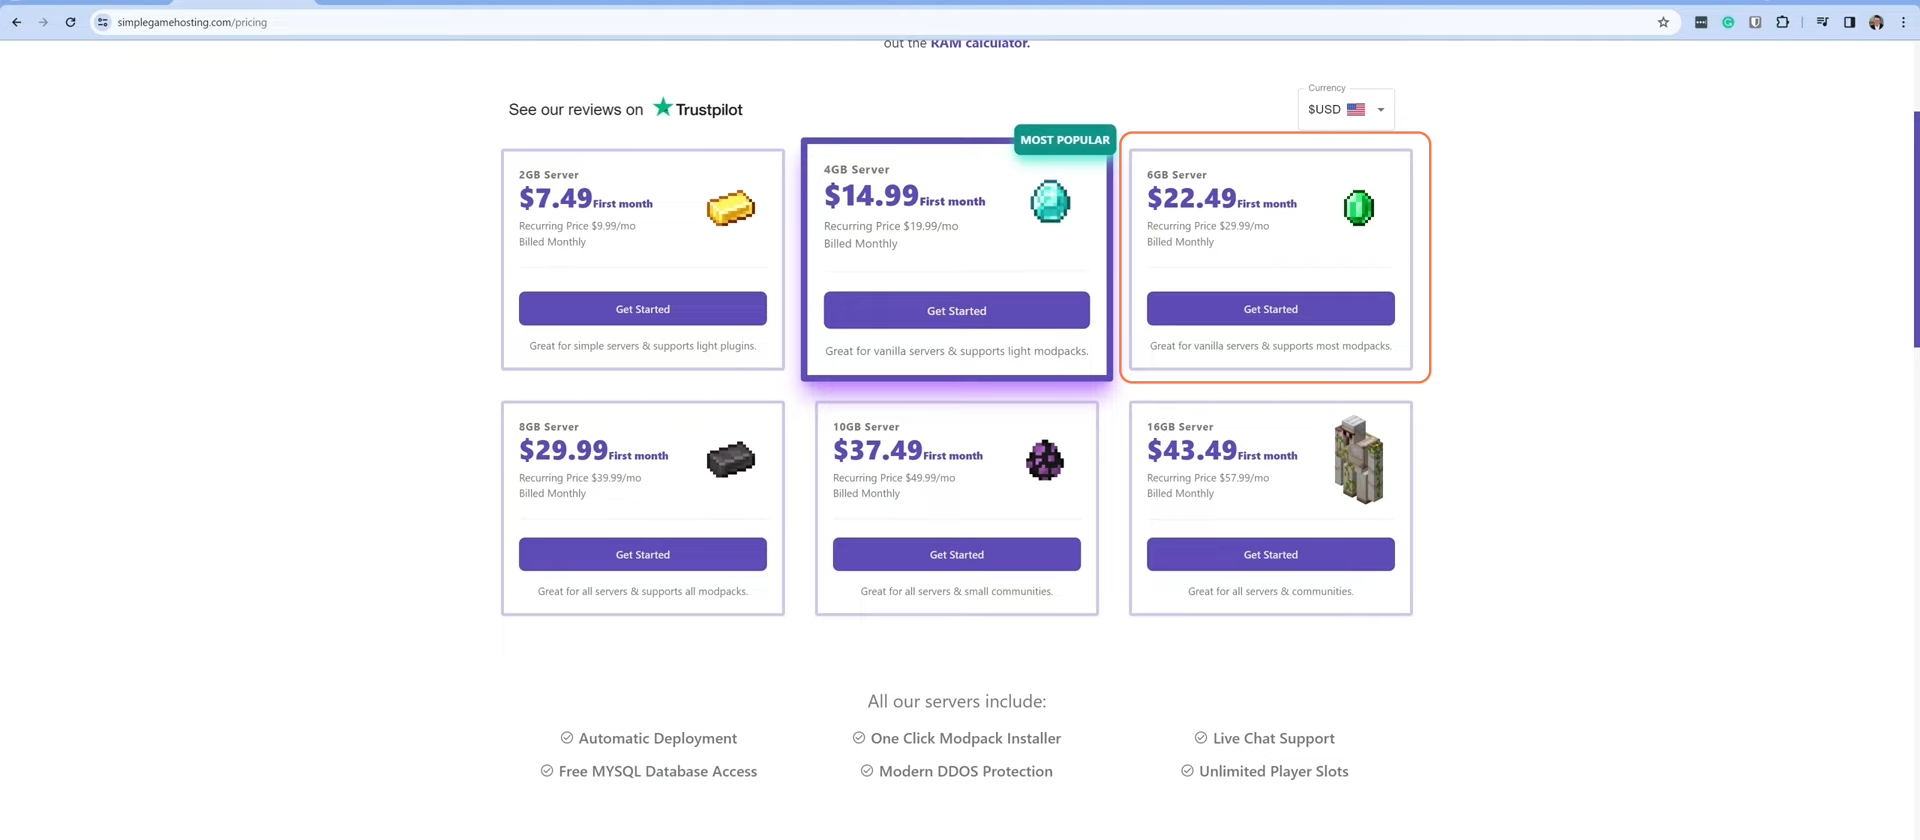
If simplicity and reliability are your priority, consider using a dedicated game hosting service. Head to Simple Game Hosting’s website and start by pressing the ‘Get Started’ tab and select a 6GB or higher server plan for optimal performance.
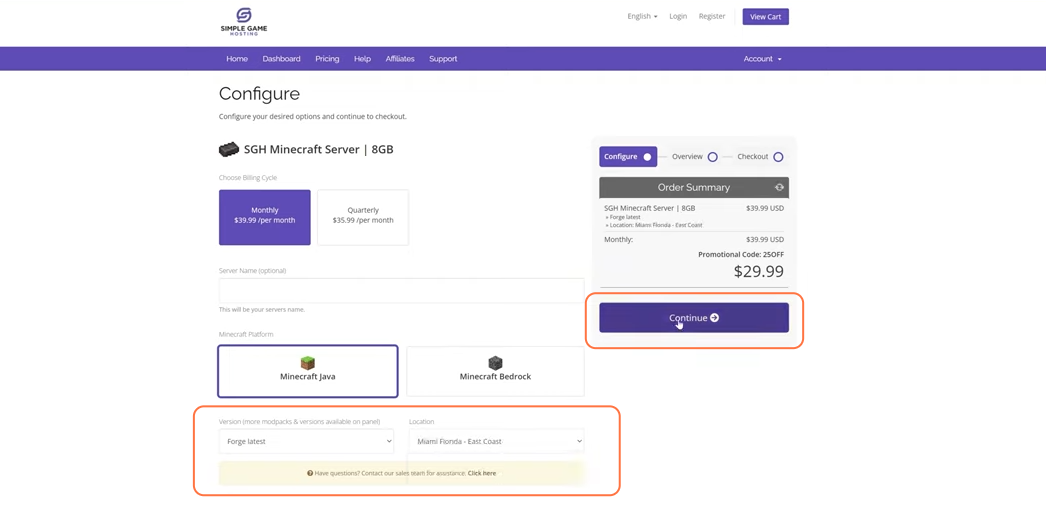
- Configuration: Select Forge as the server type, pick a location, and complete the purchase process.
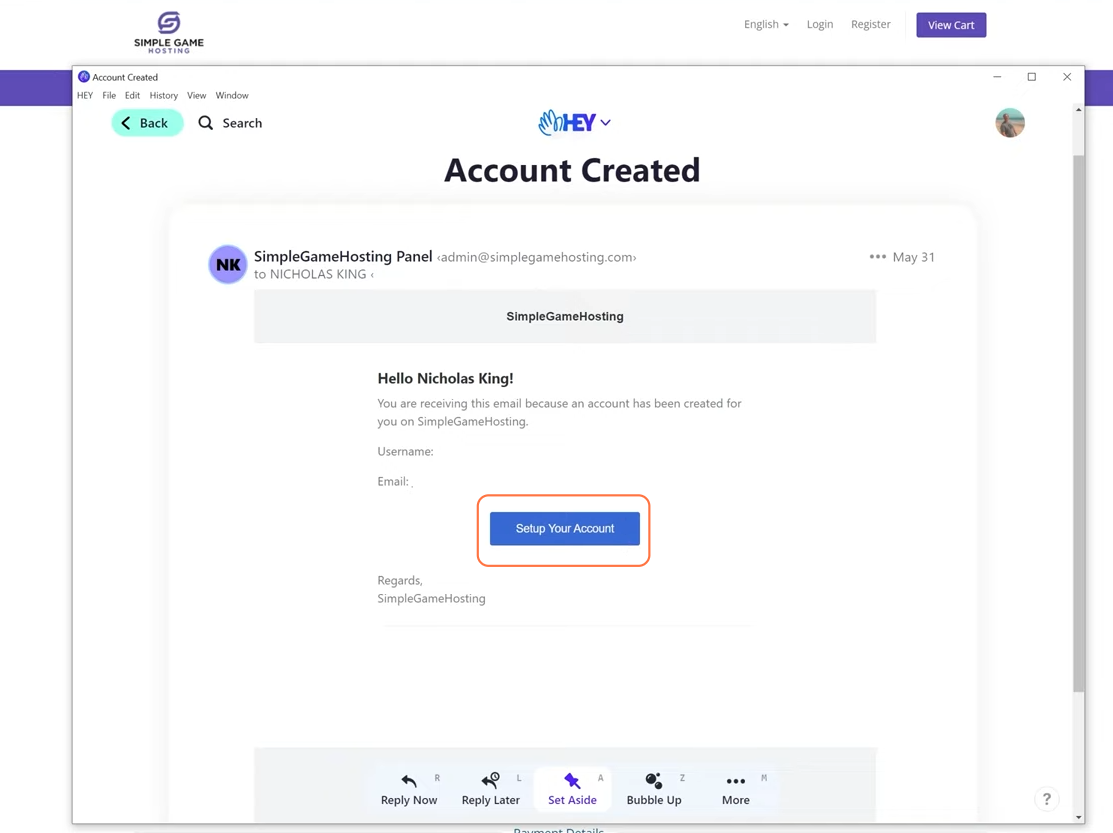
- Server Setup: Once purchased, follow the setup email’s instructions to create your account on their dashboard.
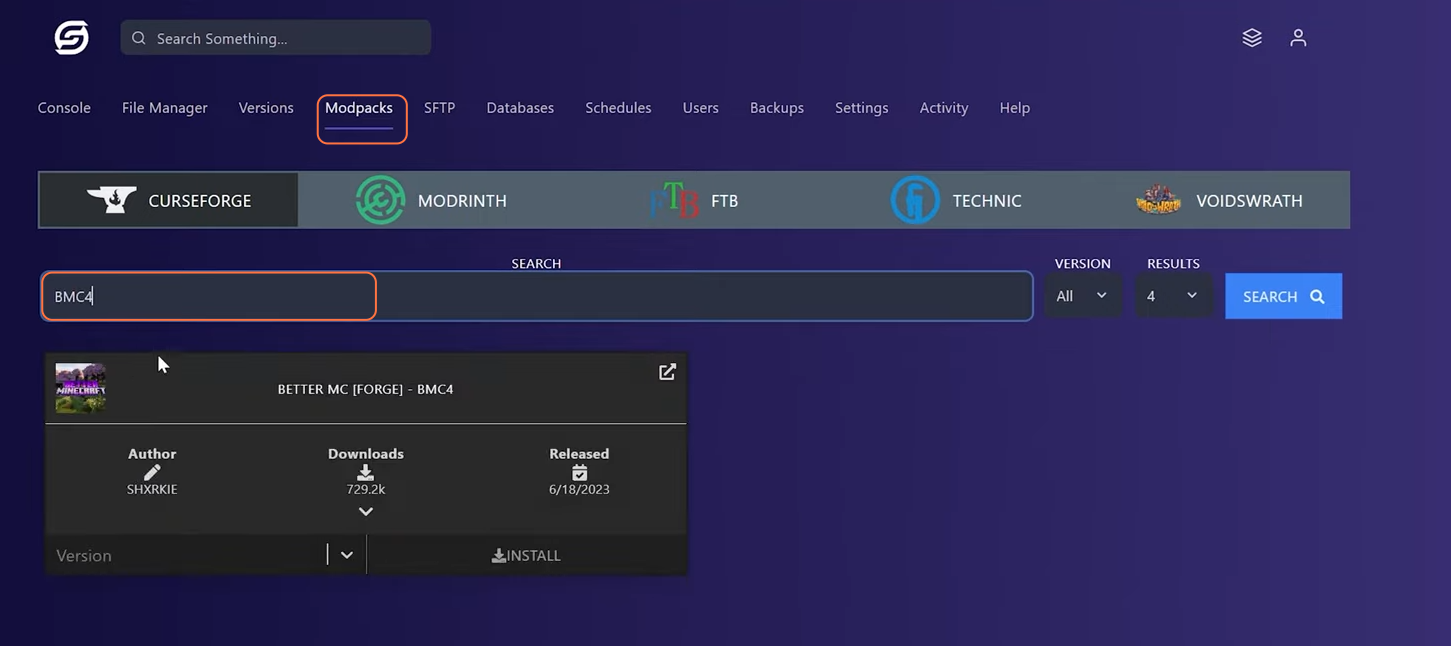
- Mod Pack Installation:
Click on the ‘Manage Server’ tab on the server dashboard, navigate to the ‘Modpacks’ tab, find ‘BMC4’, install the latest version, and start the server from the console.
Step 3: Self-Hosting on Your Computer
For those eager to host the server on their computer:
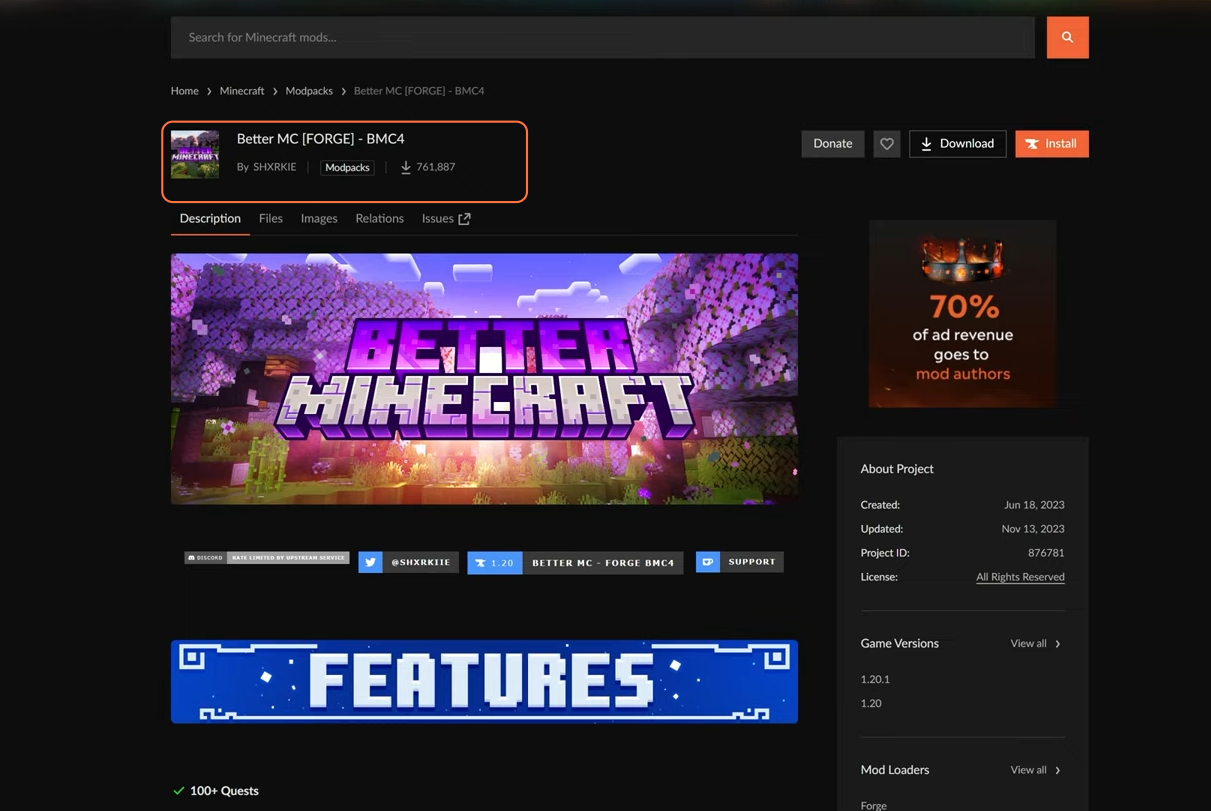
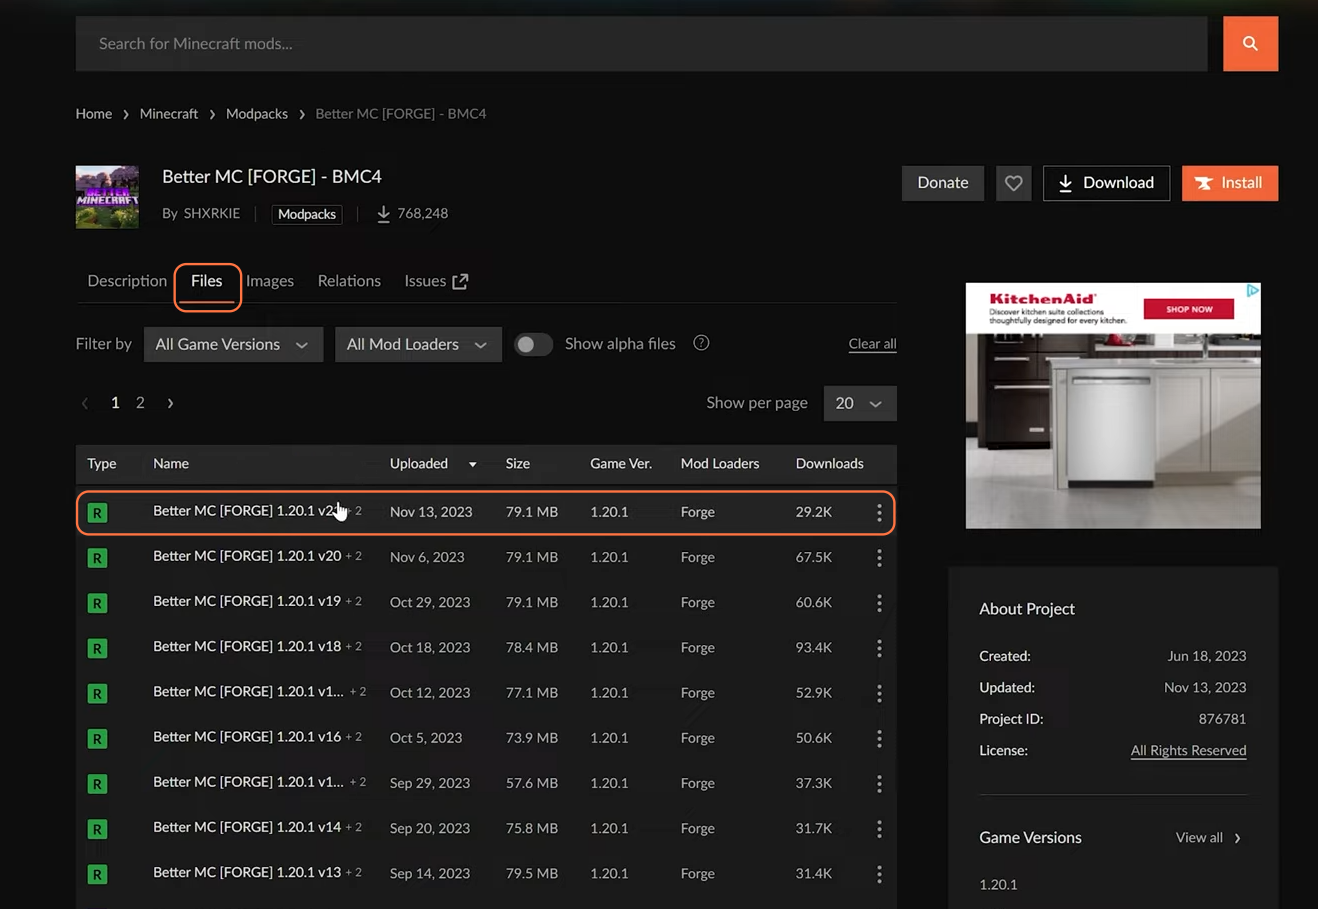
- Download the latest version of Better Minecraft 4 with server files from the mod pack page.
- Ensure you have Java 17 and Jarfix installed as these are required to run the Better Minecraft 4 server.
3.1: Setting Up the Server
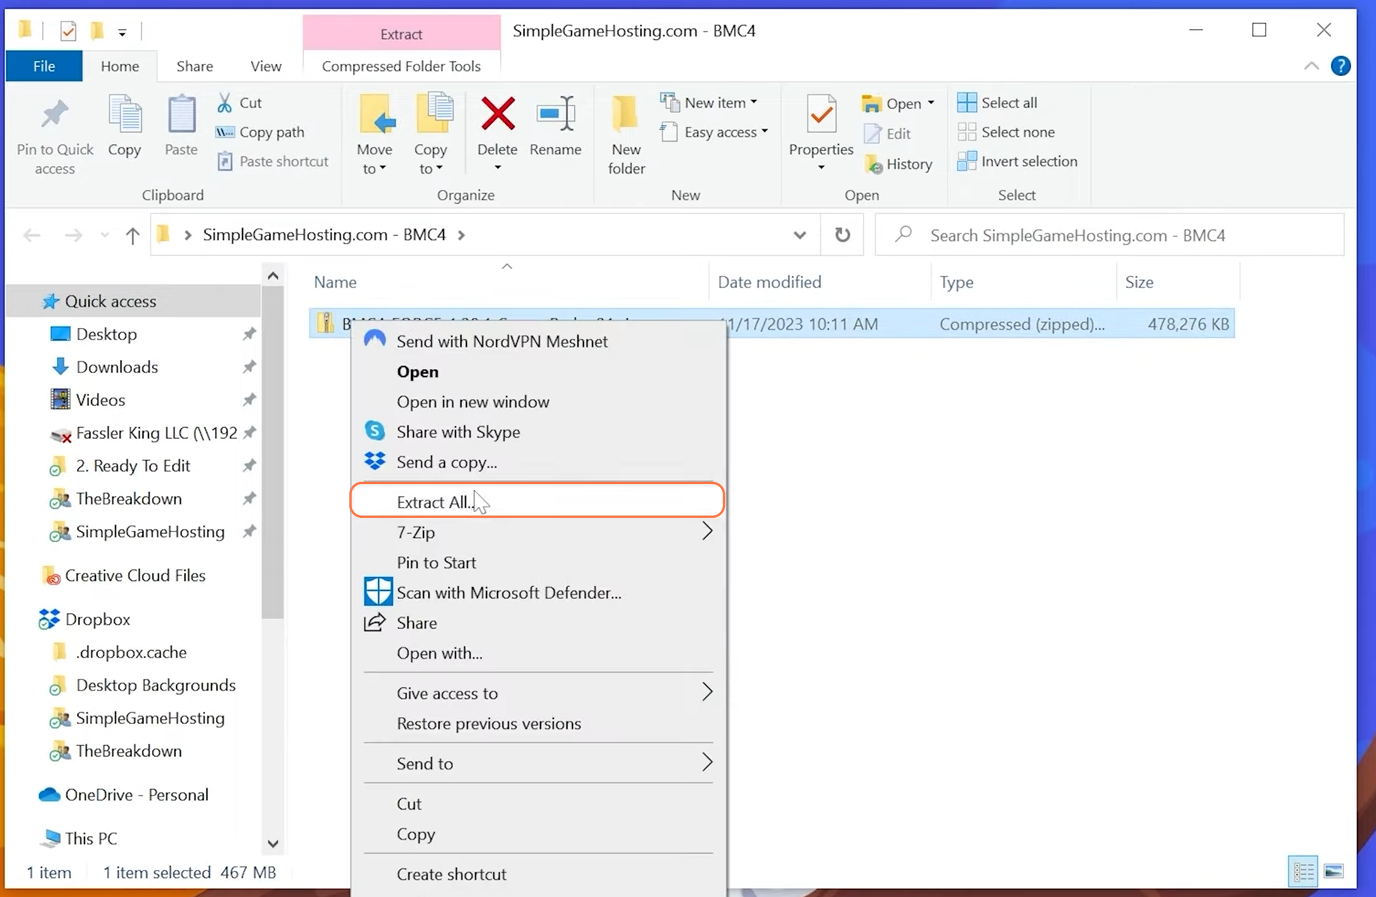
- Create a new folder on your desktop and move the downloaded server files into it.
- Extract the files and ensure all necessary Better Minecraft 4 folders are present.
3.2: Running the Server
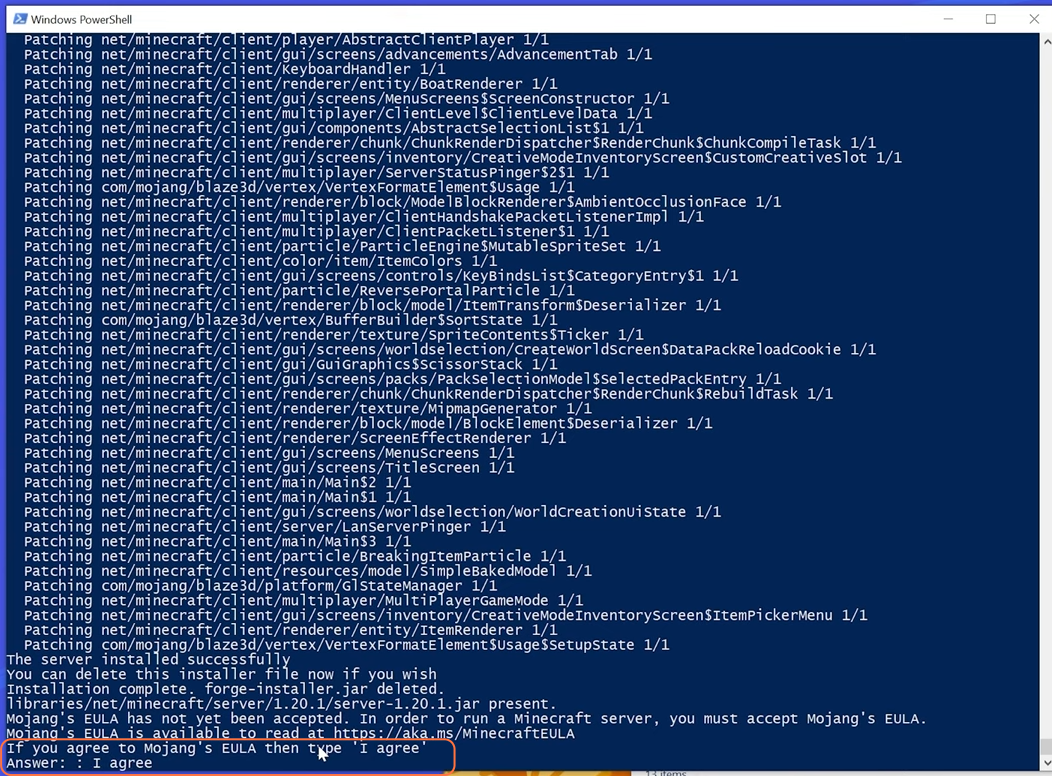
- Run the ‘start.ps1’ file in the server directory using PowerShell to start the server.
- Agree to any prompts that appear during the server startup process.
- It might prompt a Mojang’s EULA agreement; type in ‘I agree’ to start up the server.
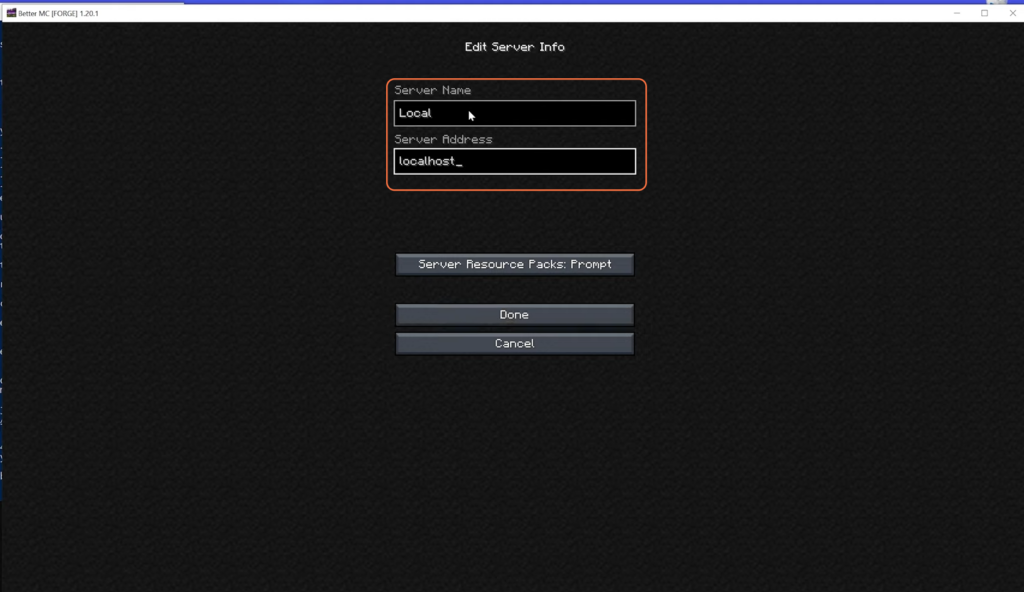
3.3: Connecting to the Server
- Launch Minecraft with Better Minecraft 4 using CurseForge and connect to the server using the ‘Local Host’ address.
- Ensure smooth gameplay and server functionality before proceeding further.
Step 4: Allowing Friends to Join
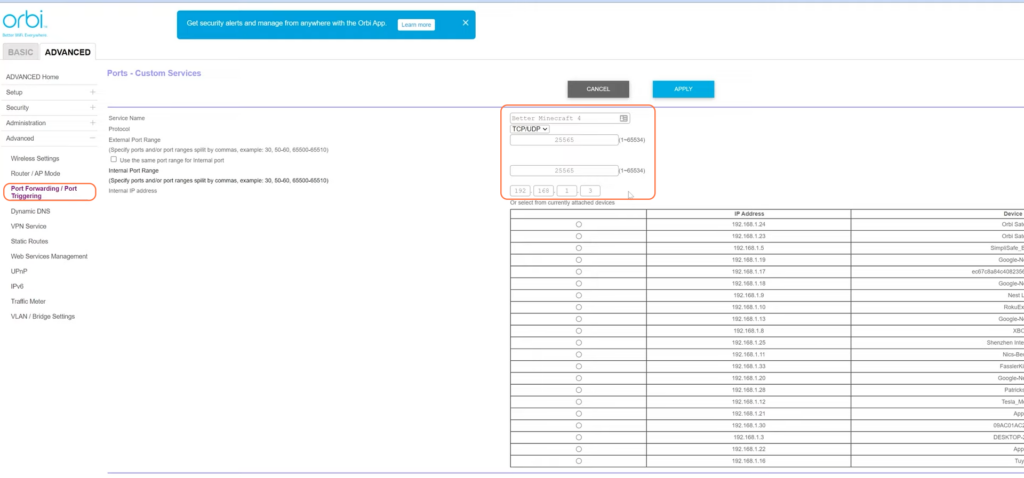
4.1: Configuring Port Forwarding
- Access your router’s settings through the default gateway to enable port forwarding.
- Enter the necessary details (external and internal ports, your computer’s IP address) to allow external connections to your server.
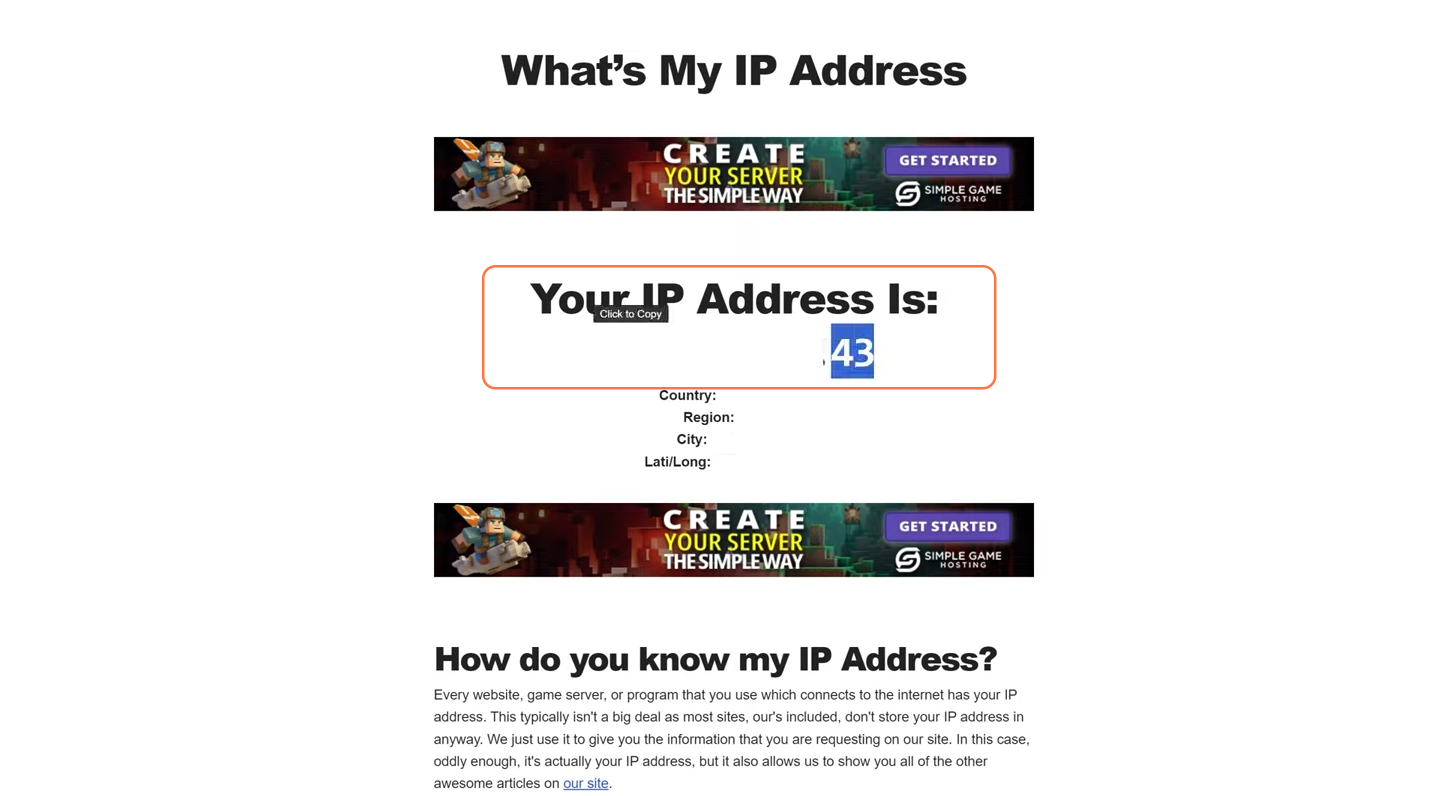
4.2: Sharing Server Access
- Discover your external IP address through sites like ‘What’s My IP’, Share your public IP address with your friends to allow them to join the server.
4.3: Windows Firewall Configuration
- Ensure Java is allowed through the Windows Defender Firewall to enable external connections.
By following these steps, you’ll successfully set up a Better Minecraft 4 server, enabling you and your friends to enjoy an enhanced gaming experience together.