If you’re eager to create a Minecraft Java and Bedrock Edition server without paying, this guide will help you navigate the process effortlessly. Let’s delve into the steps to create a server that seamlessly bridges the Java and Bedrock Editions, enabling you and your friends to embark on collaborative adventures effortlessly.
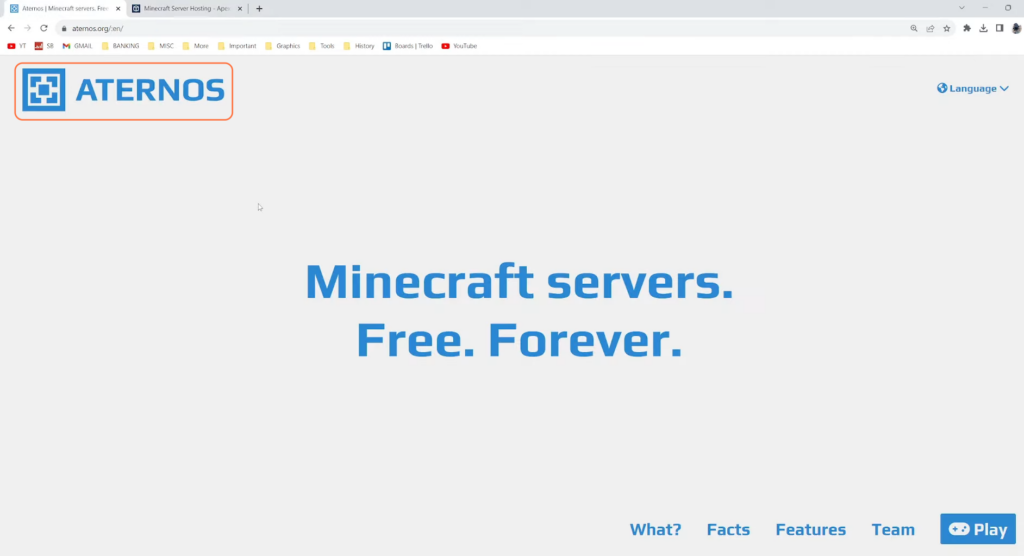
Step 1: Accessing Aternos
- Begin by visiting the Aternos website that allows the creation of free Minecraft servers.
- Now, click the Play button at the bottom right corner of the main page.
While acknowledging the limitations of free servers, we recommend Apex Hosting, which offers enhanced benefits like 24/7 server uptime, support, ample resources, and an ad-free experience.
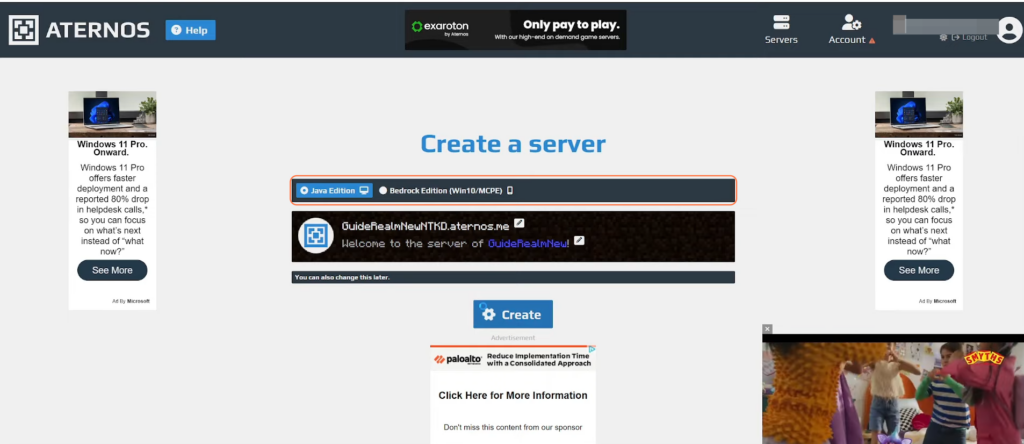
Step 2: Creating the Server
After that, sign up or sign in to your account. Click on “Create” to initiate a new server. Opt for the Java Edition initially, maintaining default settings.
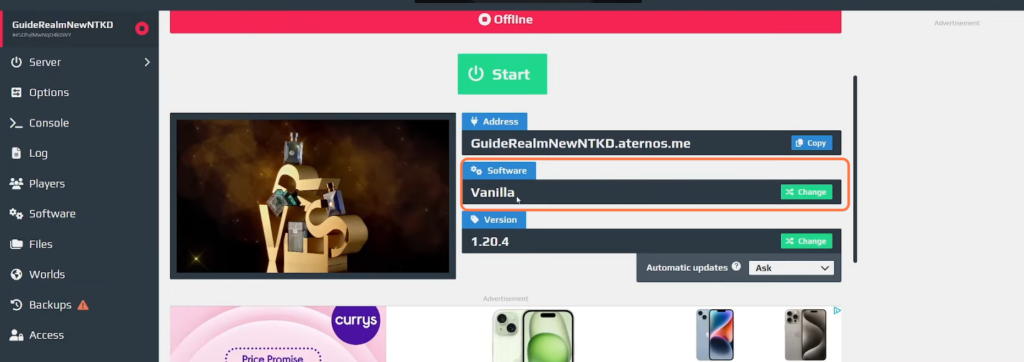
Navigate to the software section, switch from vanilla to Spigot and Bucket, and select your desired version (e.g., 1.20.3). Click “Install” to complete the process.
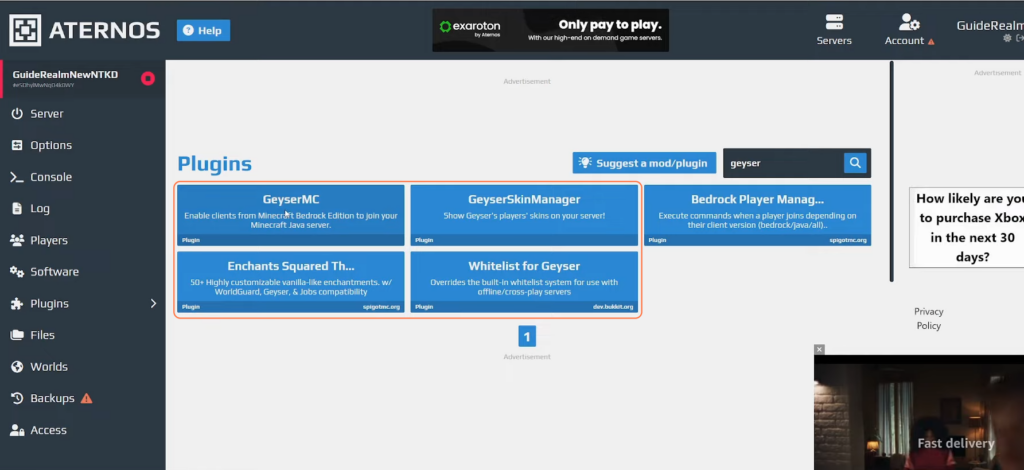
Step 3: Installing Plugins
Head to the plugins section and search for “Geyser”. Choose “Geyser MC” to enable Minecraft Bedrock Edition players to join your Java server. Ensure the Geyser version matches your Minecraft version. If a version mismatch occurs, adjust your server’s version accordingly and reinstall Geyser.
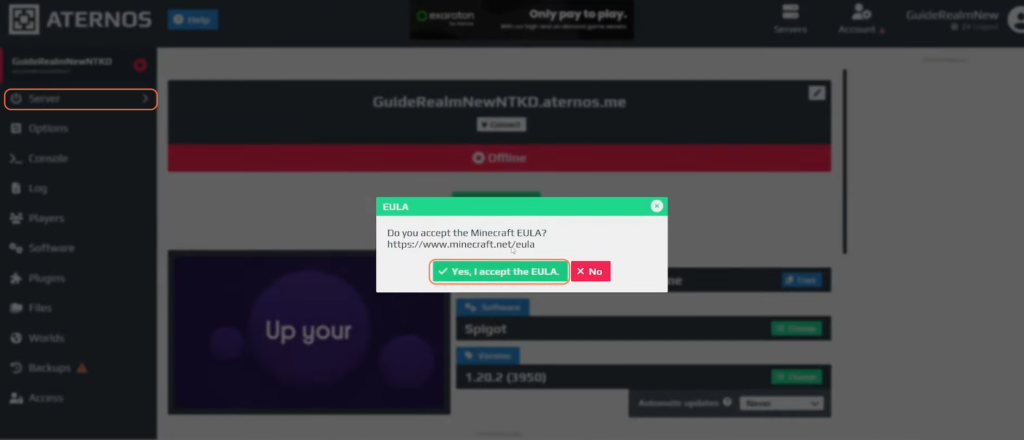
Step 4: Starting the Server
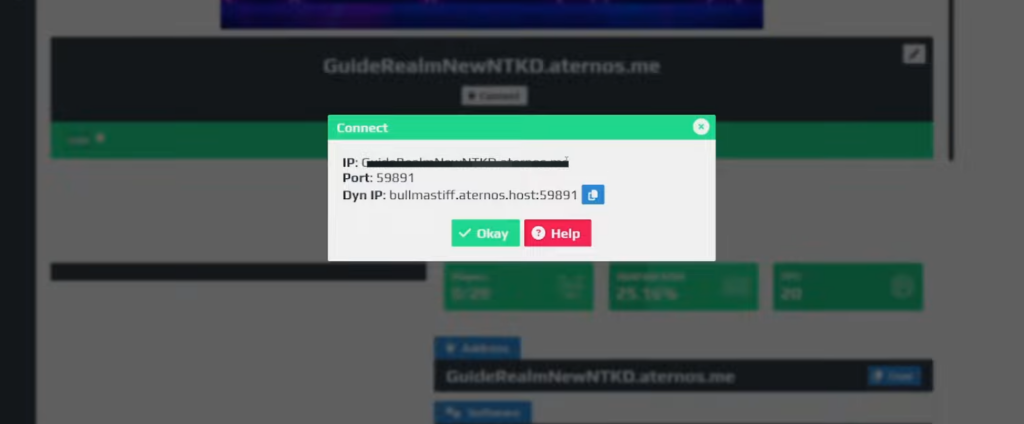
After installing Geyser, navigate to the panel at the left side of the screen and start the server. Accept the Minecraft EULA and allow the server to load. Once loaded, click “Connect” to access the server information.
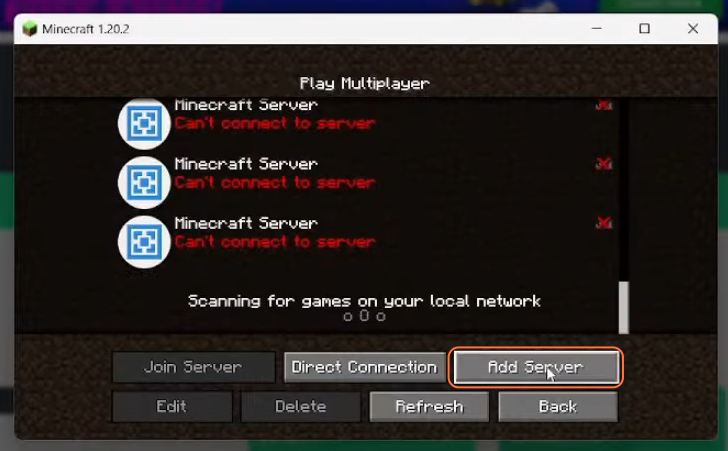
Step 5: Connecting from Java Edition
In Minecraft Java, add the server using the IP address. Join the server to verify connectivity and world synchronization. Build or explore to confirm server accessibility.
Step 6: Connecting from Bedrock Edition
Transition to Minecraft Bedrock, add a new server using the server address and port provided by Aternos. Enter a name for the server and connect. Upon joining, confirm the world’s presence and any built structures from the Java Edition.
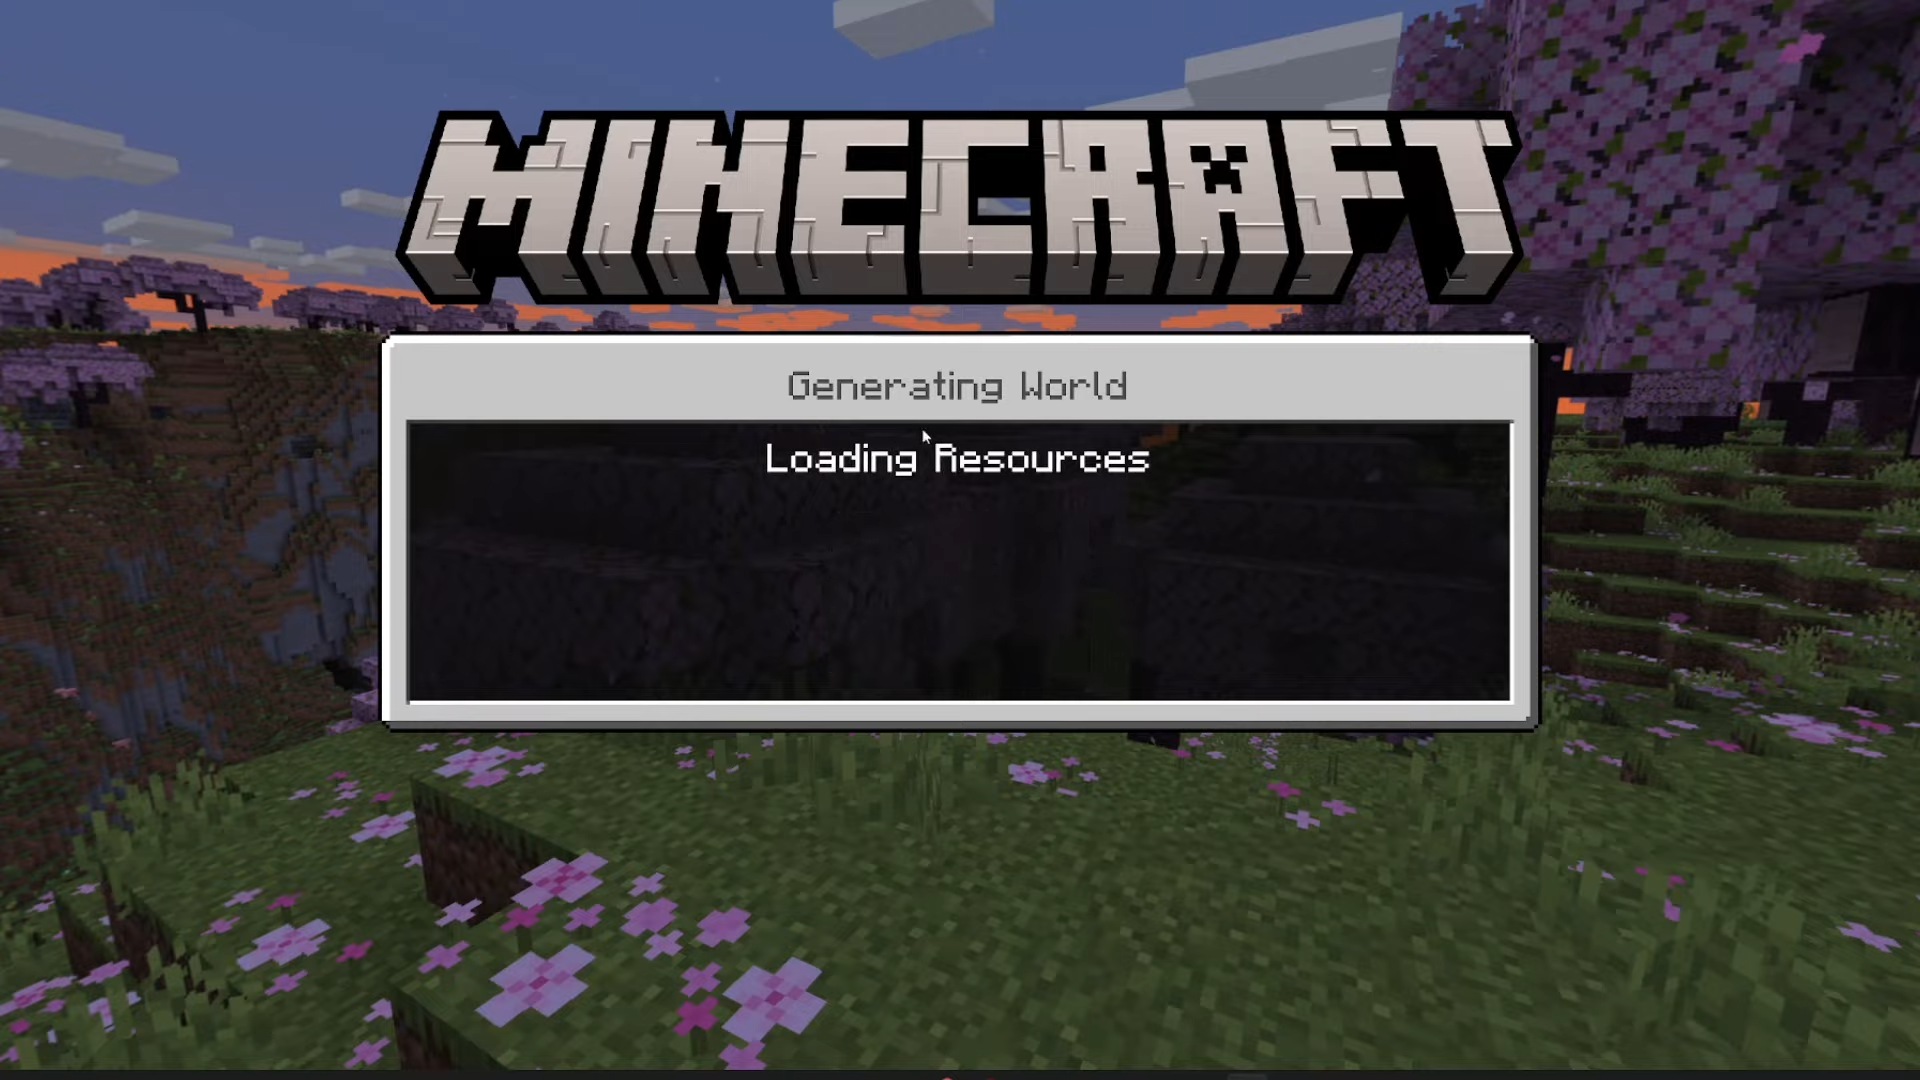
Step 7: Validation
Validate the server connectivity by exploring the world from both editions. Confirm that changes and constructions reflect across platforms, showcasing the seamless integration between Java and Bedrock Editions.
By following these steps you can understand the process to set up a Minecraft Java and Bedrock Edition server.