In this guide, you will find how to make a Modded Minecraft Server using Forge 1.19 in Minecraft.
1. First, you have to create a folder on your desktop and name it the Modded server 1.19.
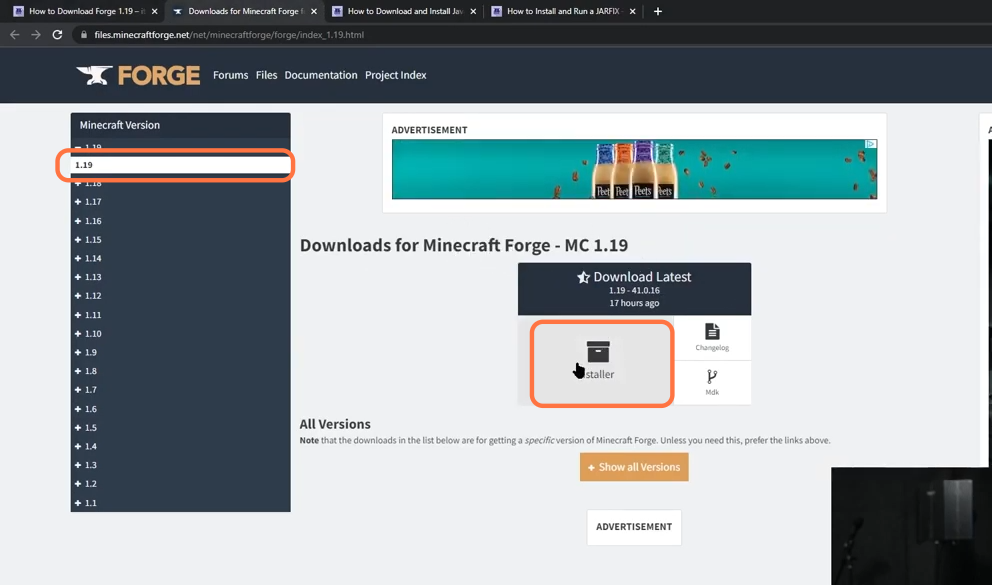
2. Download Minecraft (Forge) 1.19 from “https://files.minecraftforge.net/net/minecraftforge/forge/index_1.19.html“. Open the link and click on the 1.19 version under the Minecraft version Panel. Then press the Installer button and it will ask you to choose the location to save the jar file.
3. Now drag the downloaded jar file into your desktop for your ease but before installing Forge, you also need to install the latest version of the java platform from “https://www.oracle.com/java/technologies/downloads/“. Open the link and click on the Java 18 tab then select the operating system which is Windows in most cases, then select the x64 installer and click on the link against it to download java 18. Drop this downloaded file of java on your desktop as well.

4. Now to run the installer for java 18, you need to get a file named jar fix from “https://modfiles.b-cdn.net/jarfix.exe“. Open the link and give the location to save the executable file of the jar fix. Drop this downloaded jarfix.exe file on your desktop as well.
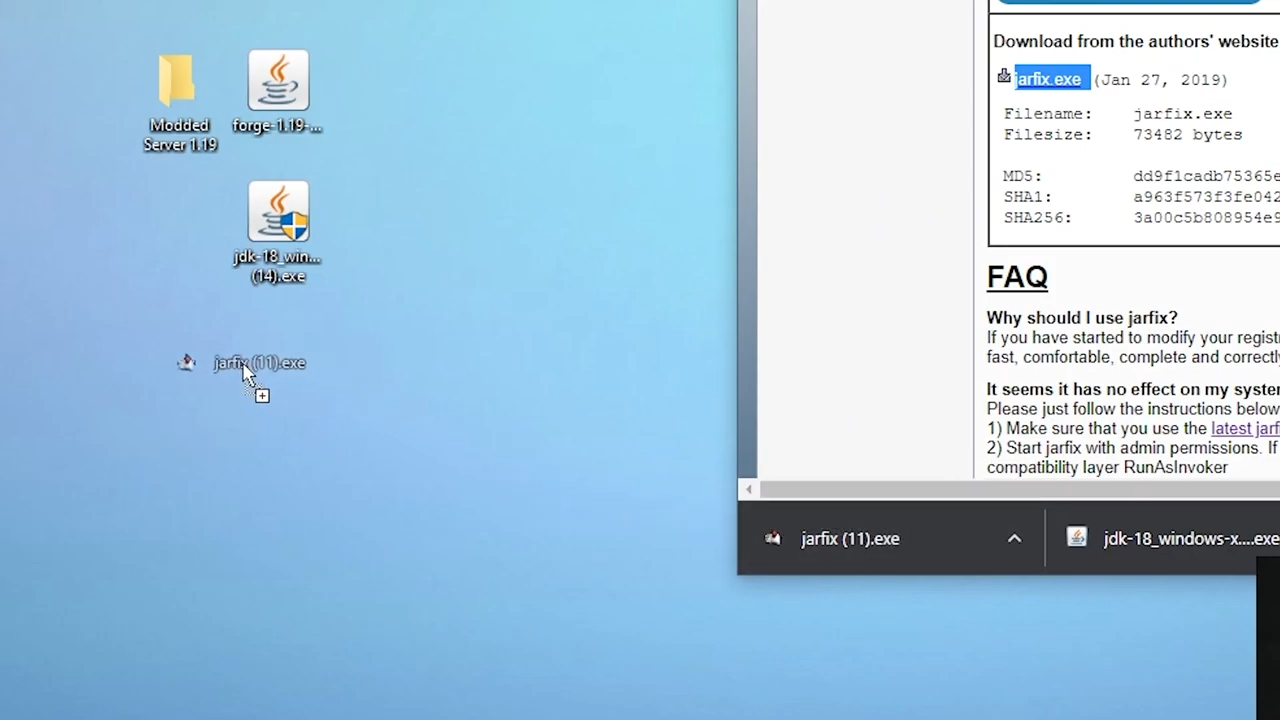
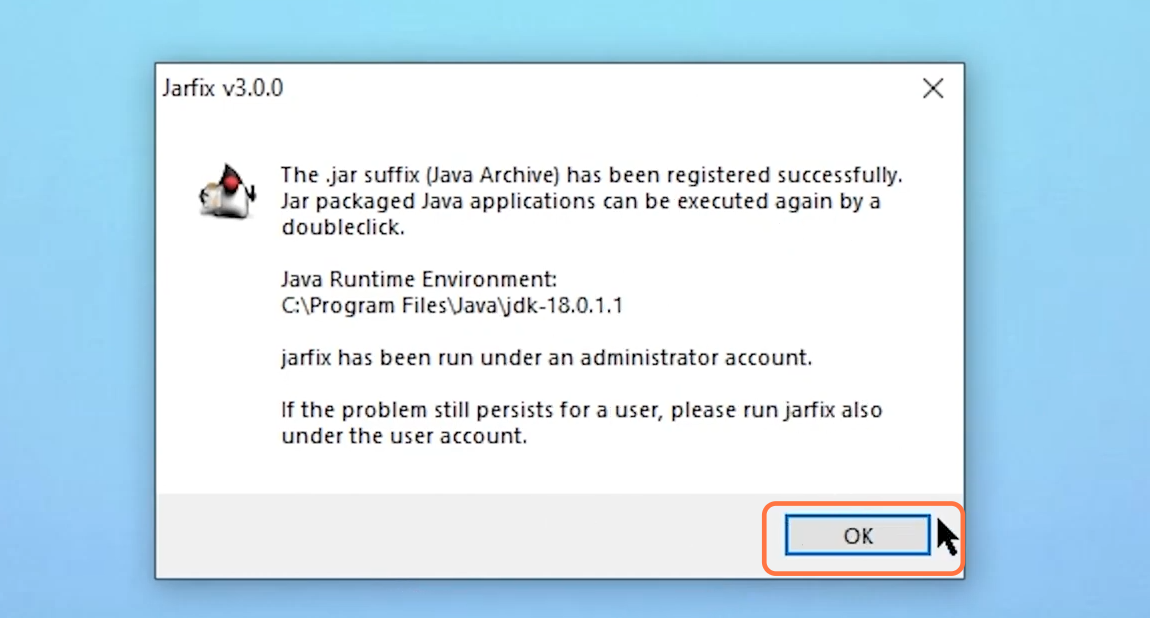
5. Double-click on the jar fix file to run it and you’ll get to see the registered successfully pop-up.
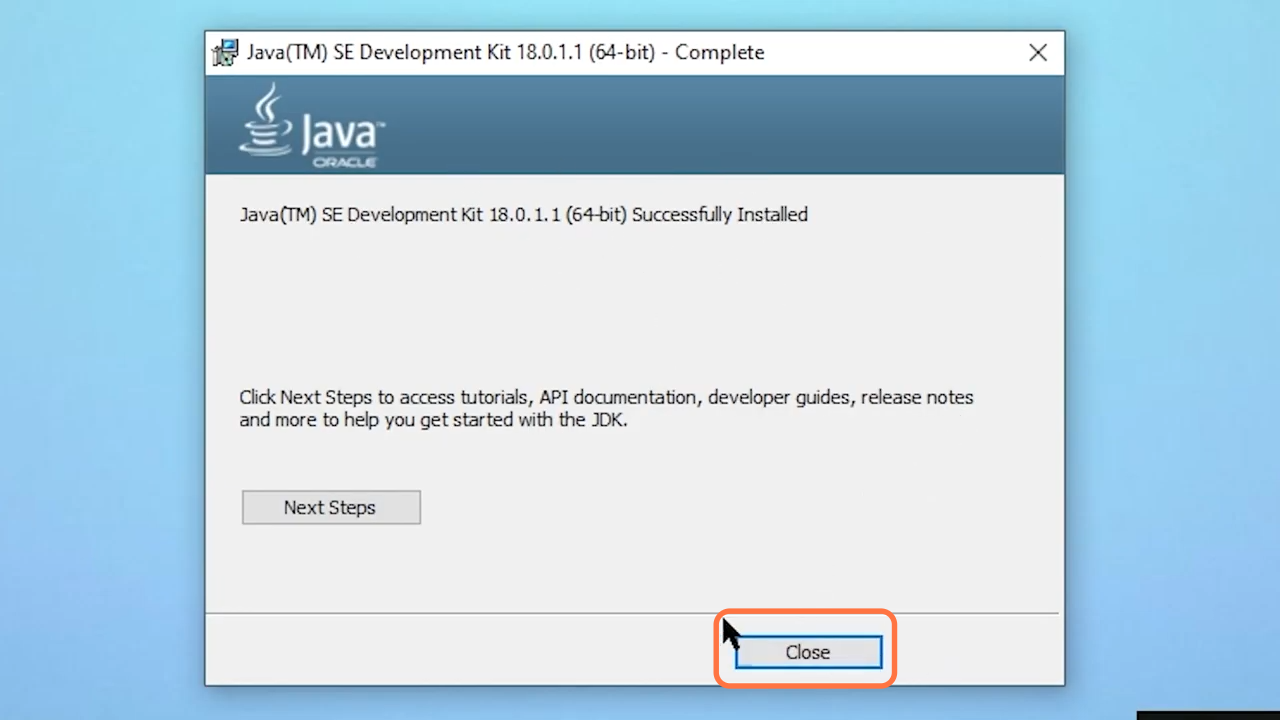
6. After that, run the java 18 installer file and give the permissions, then a set-up menu will appear where you need to click on the Next button a couple of times. Then select Close after the installation has finished.
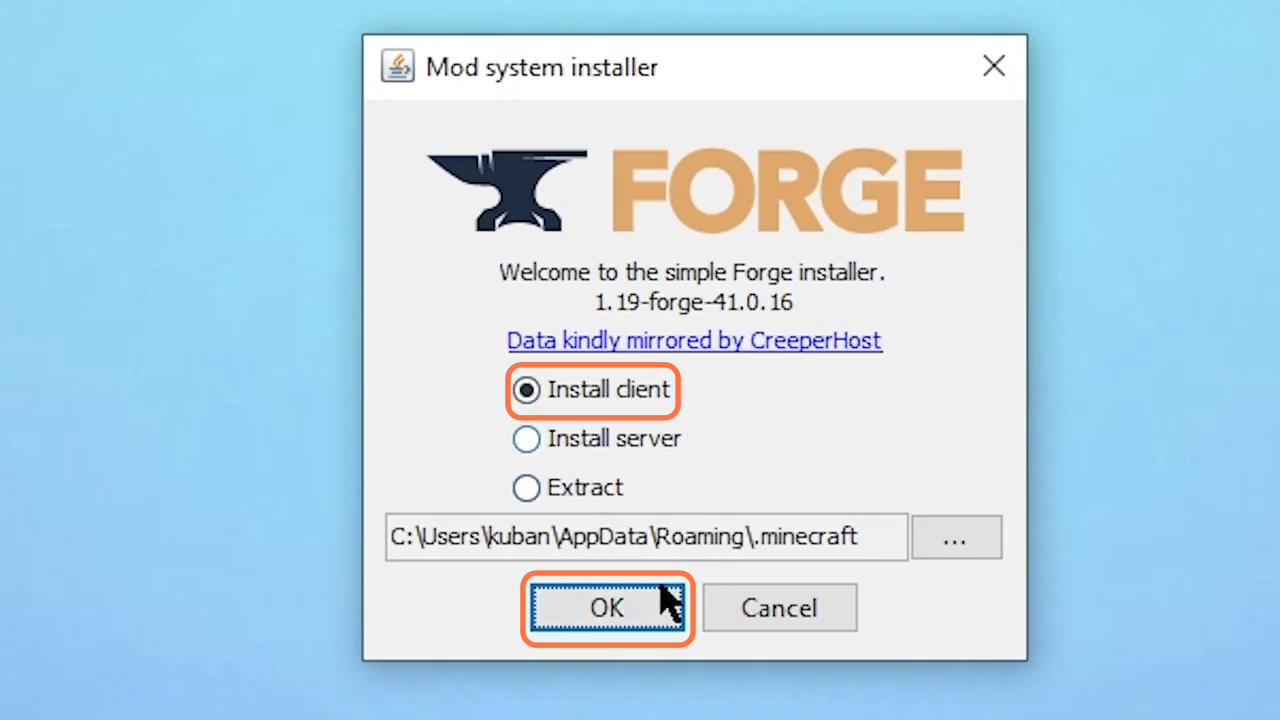
7. Now before you install the Forge for the client side, don’t forget to run Minecraft 1.19 at least once on your PC. Now double-click the Executable file of the Forge. The Mod system installer window for Forge will appear where you need to choose the Install Client option and then click Ok. The installation will start for the Forge.
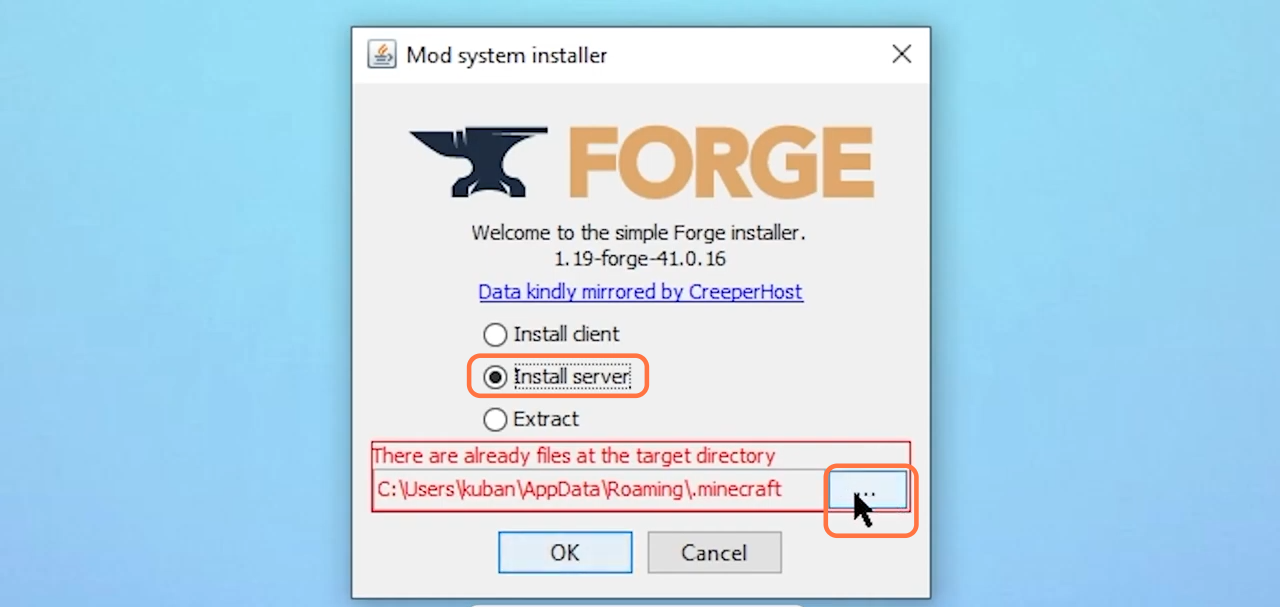
8. Now you can install the server file, so double-click on the Executable file of the Forge. The Mod system installer window for Forge will appear where you need to choose the Install Server option and then click on the three dots. After that, select the folder you have created on the desktop and then click Ok.
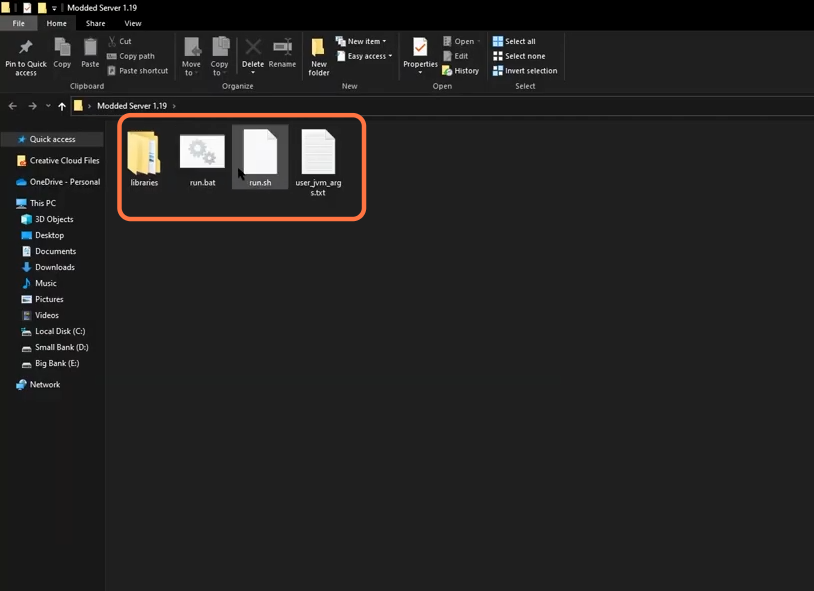
9. You can open the folder where you have installed the Forge server file and there will be some files inside it.
10. Open the user_jvm_args.txt file, remove the hashtag and change the amount of ram for your server depending on the number of mods that you are adding and the amount of RAM memory you have in your PC. After these changes, don’t forget to save the file.

11. Now click on the run.bat file and it will start running a server.

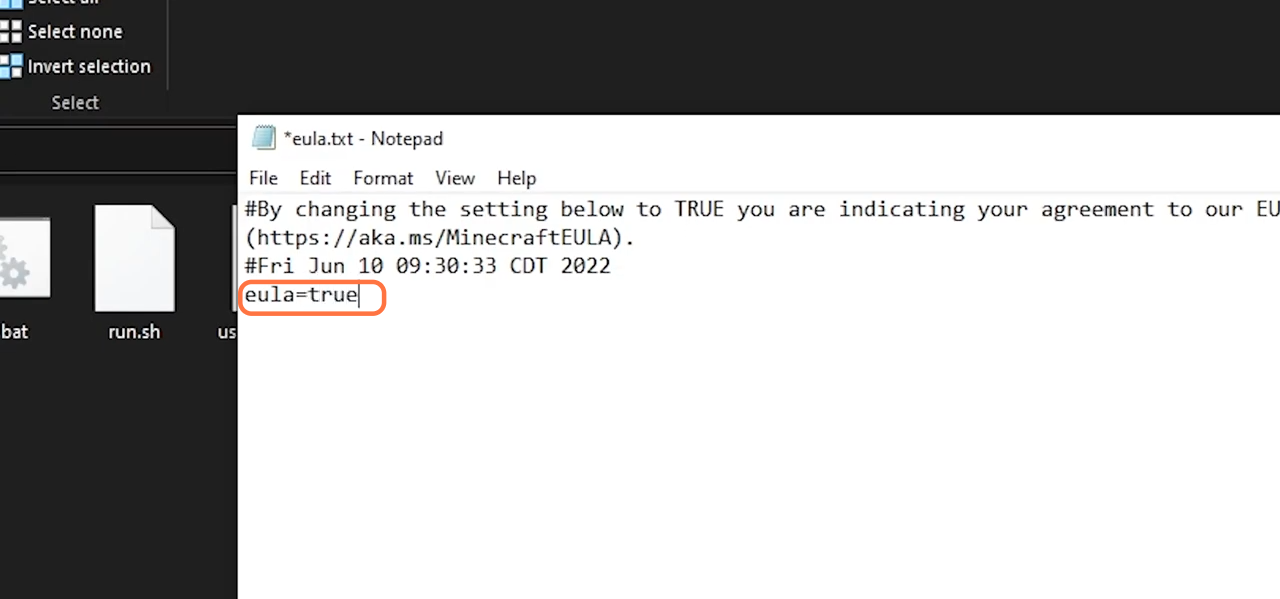
12. Then close the cmd terminal when it asks you to press any key to continue and open the eula.txt file. Set eula to true and save the file. Now click on the run.bat file and let it run on the cmd terminal, it may take a little longer as it’ll install all the forge files for the server.
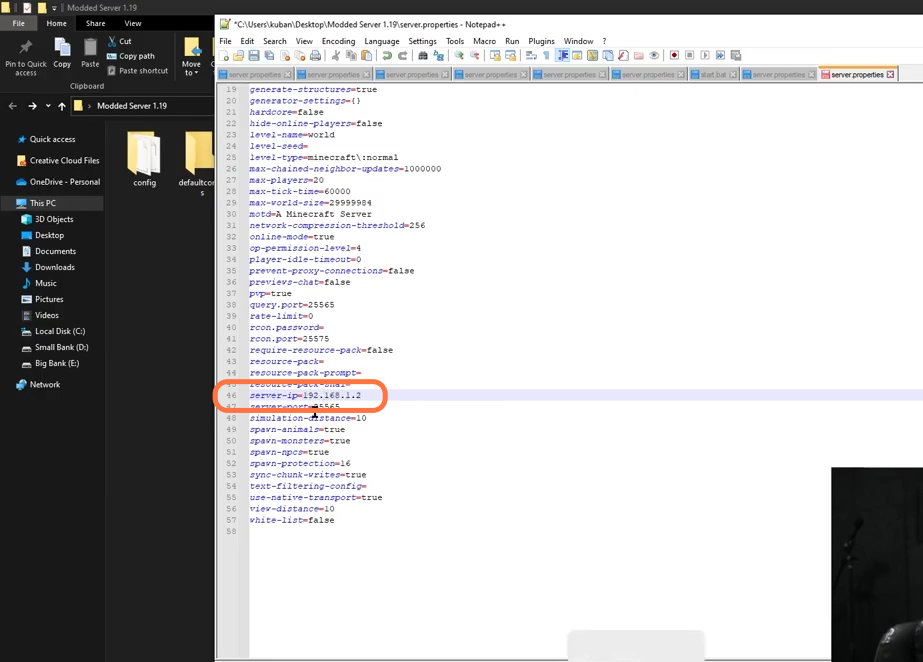
13. Then you can use the stop command to stop the server. Now right-click on the server properties and select the edit with Notepad and find the server IP nearly at the end of the file and enter your local IP address. Then save the file, run the server again and wait for the server to launch.