In this guide, we will walk you through the process of modding your Nintendo Switch on firmware 17.0. This method will work well for V1 Switches. If you have a V2, Switch Lite, or OLED model, this won’t work unless you’ve hard-modded it with a third-party chip.
Step 1: Requirements
First up, you need to gather some essentials such as an SD card, SD card adapter, SD card reader, USB to USBC connector, and an RCM jig.
Step 2: Checking Compatibility
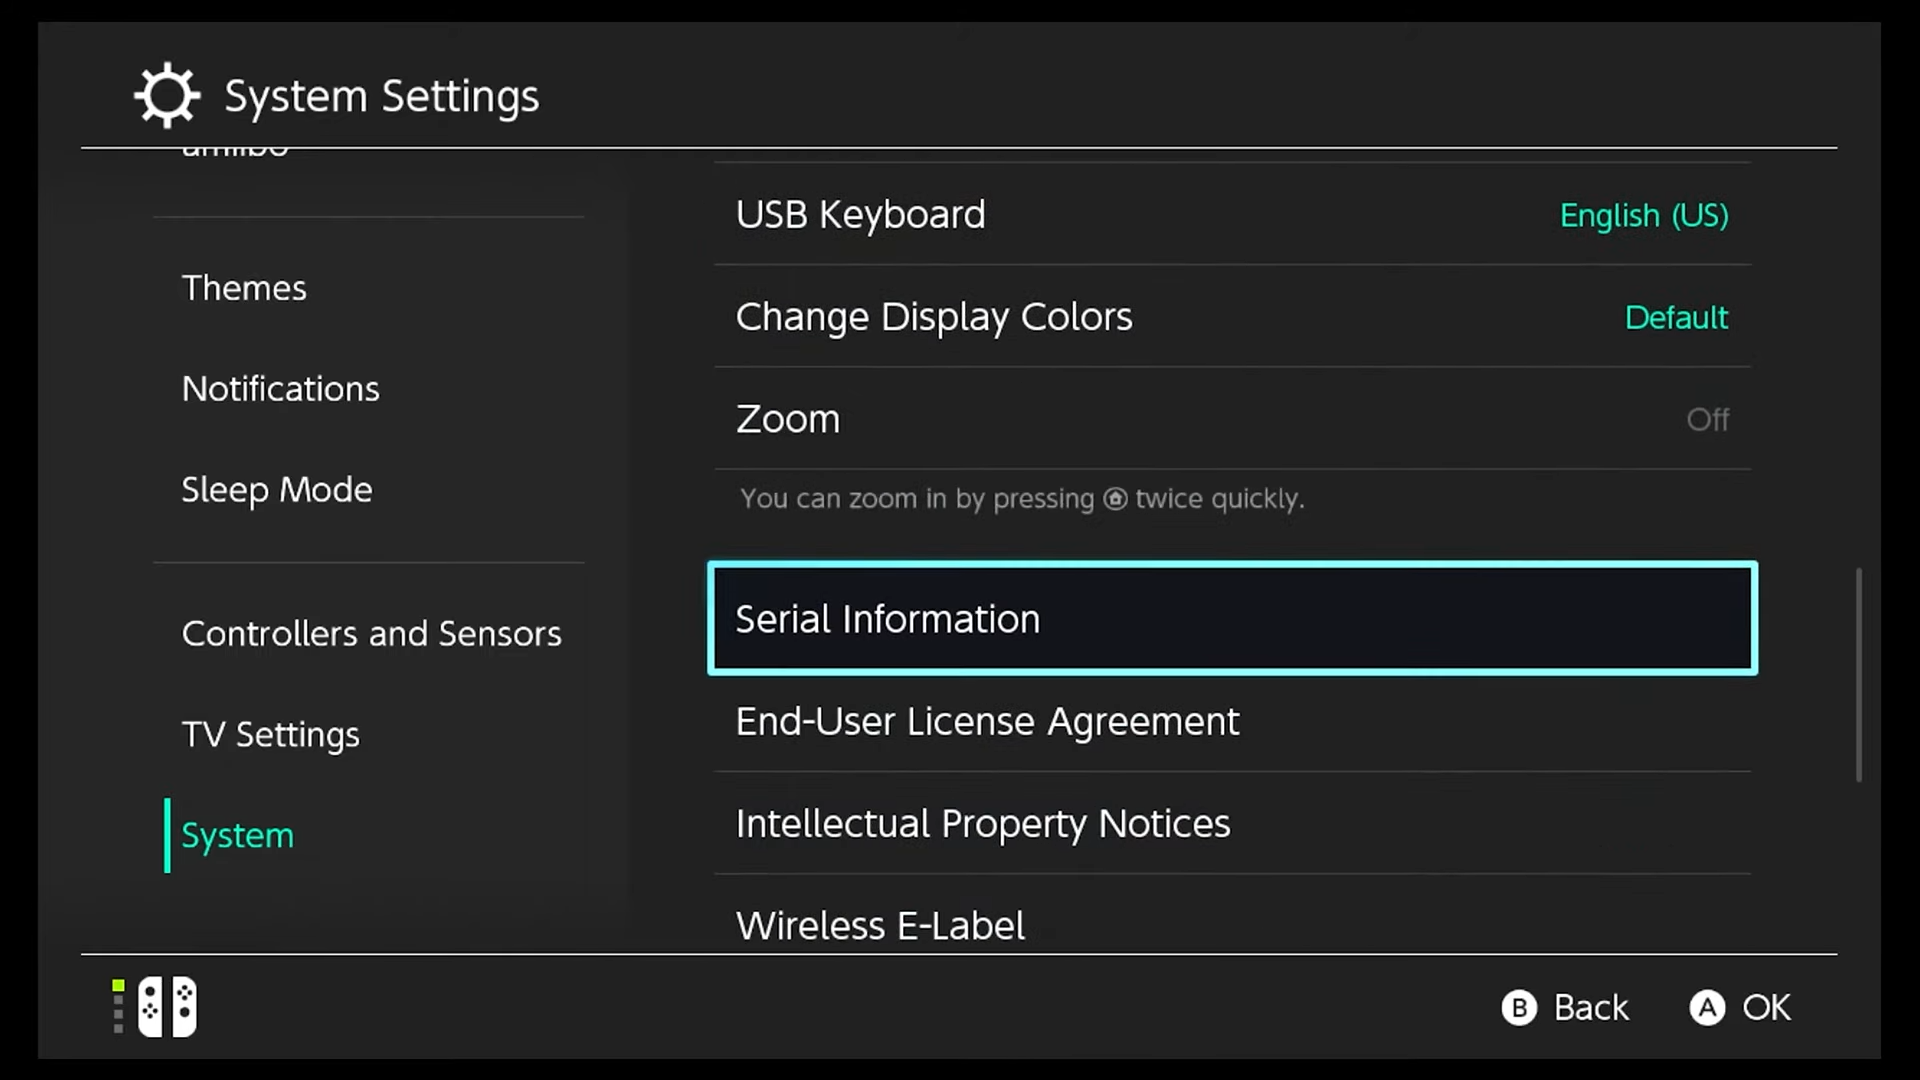
- Go to System Settings > System > Serial Information.
- Note your console’s serial number.
- Visit ismyswitchpatched.com, and input the prefix and the first six digits of your serial number to check if your Switch is patchable.
Step 3: Downloading Mods
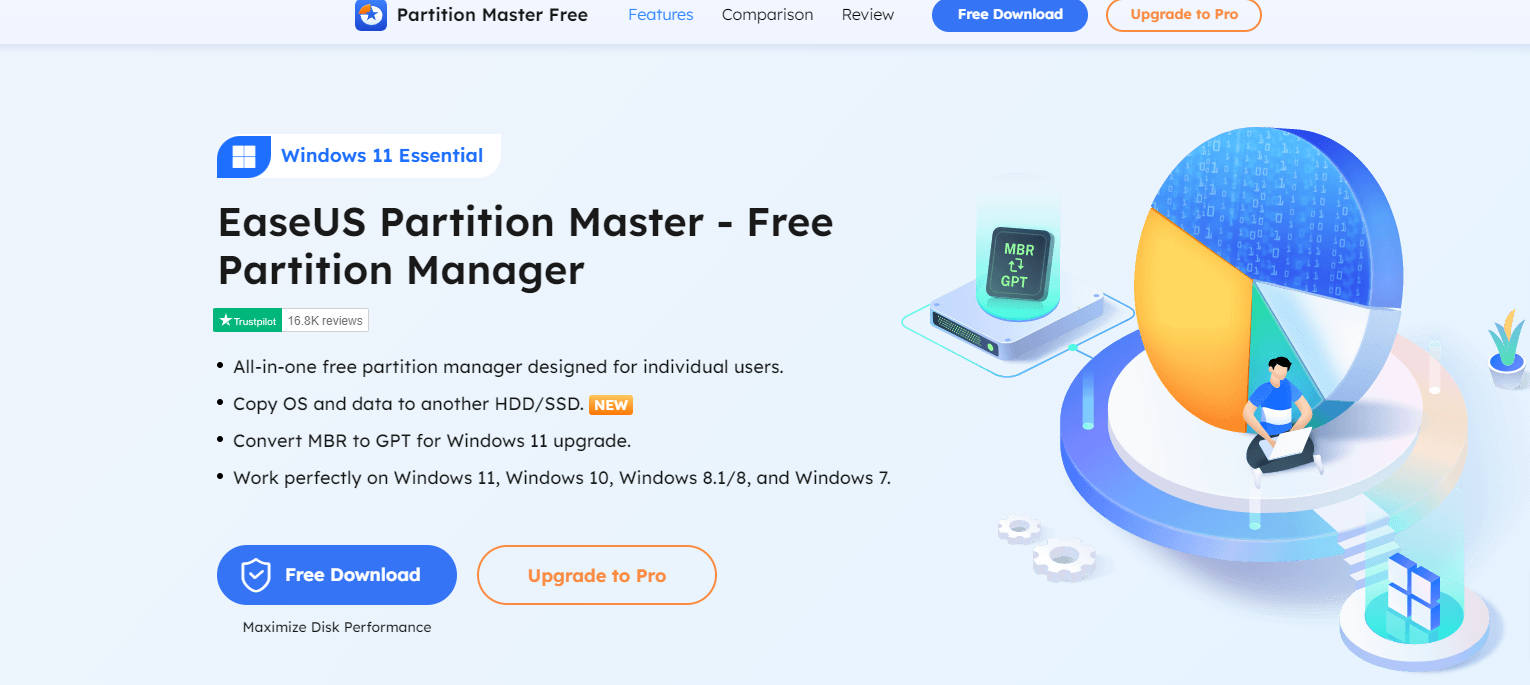
- Format the SD card using EaseUS Partition Master (a free version is available to download).
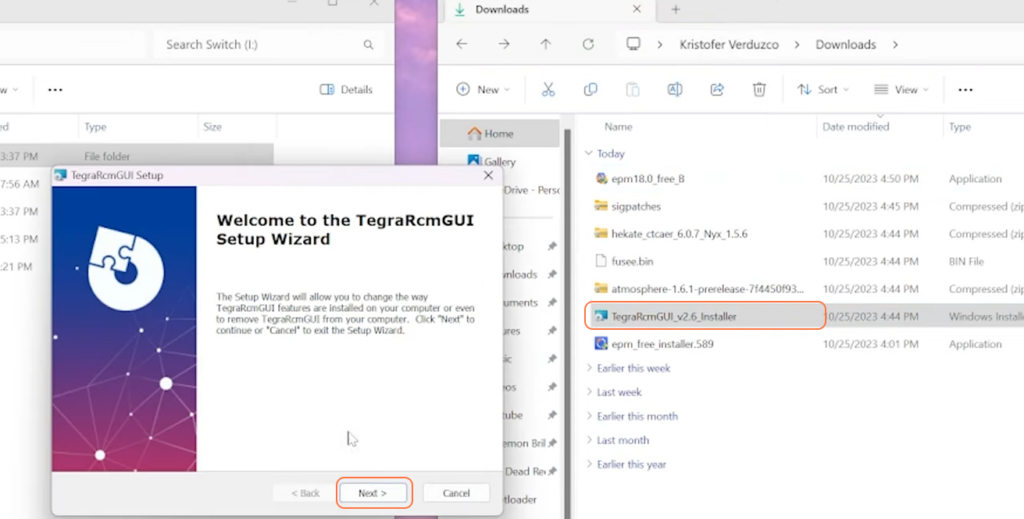
- After that download Tegra RCM installer.
- Obtain Atmosphere (v1.6.1) (including fusee.bin file), Hekate (6.0.7), and Sig patches for firmware 17.0.
Step 4: Installing Mods
- Put in your SD card and back up its contents to your desktop.
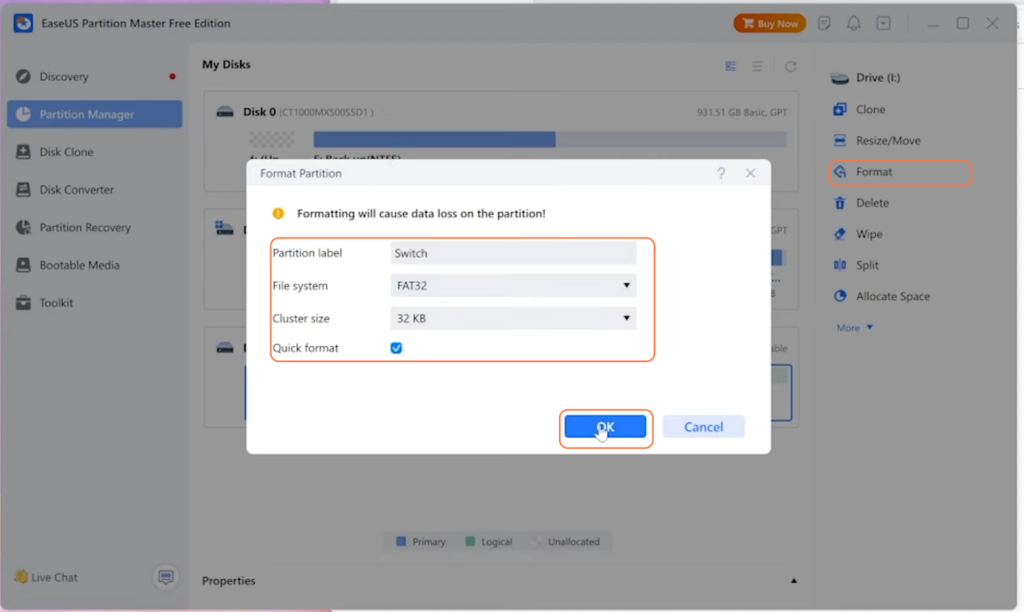
- Begin with the EPM free installer and use EPM to format the SD card to FAT32 (32 KB cluster size).
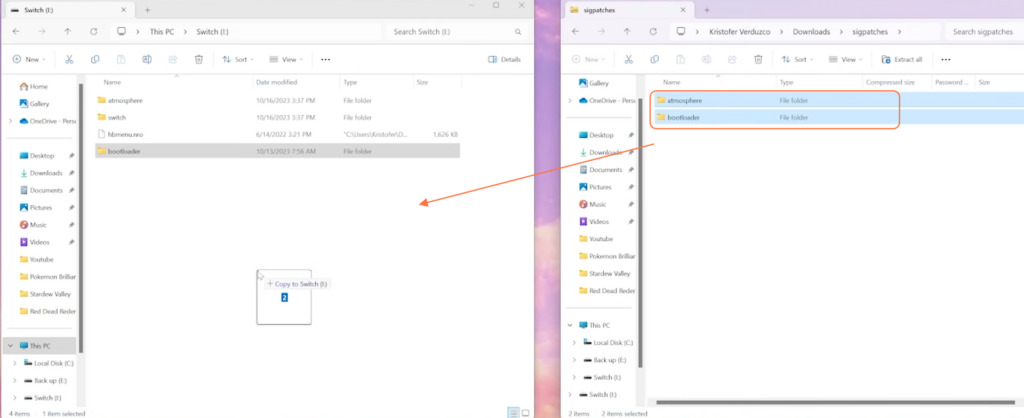
- Now open your SD card and transfer downloaded files: Contents of Atmosphere, Hekate bootloader, and Contents of Sig patches, into the SD card.
- Now go into bootloader > payload folder inside the SD card and paste the fusee.bin file into it.

- Create a new file named ‘hekate_ipl.ini’ inside of the bootloader folder using Notepad and paste the following code within the file.
[config]
autoboot=0
autoboot_list=0
bootwait=3
backlight=100
autohosoff=0
autonogc=1
updater2p=0
bootprotect=0

[Atmosphere CFW]
payload=bootloader/payloads/fusee.bin
icon=bootloader/res/icon_payload.bmp

[Stock SysNAND]
fss0=atmosphere/package3
stock=1
emummc_force_disable=1
icon=bootloader/res/icon_switch.bmp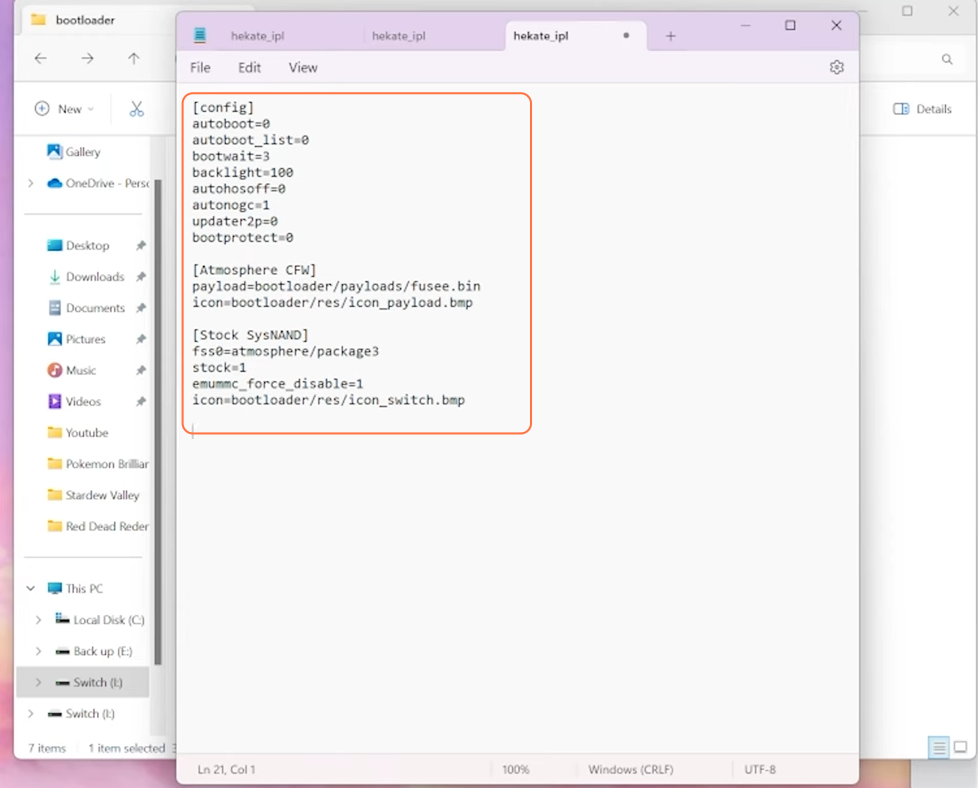
- Now create a new file and name it ‘exosphere.ini’. Paste the following code inside it.
[exosphere]
debugmode=1
debugmode_user=0
disable_user_exception_handlers=0
enable_user_pmu_access=0
blank_prodinfo_sysmmc=0
blank_prodinfo_emummc=1
allow_writing_to_cal_sysmmc=0
log_port=0
log_baud_rate=115200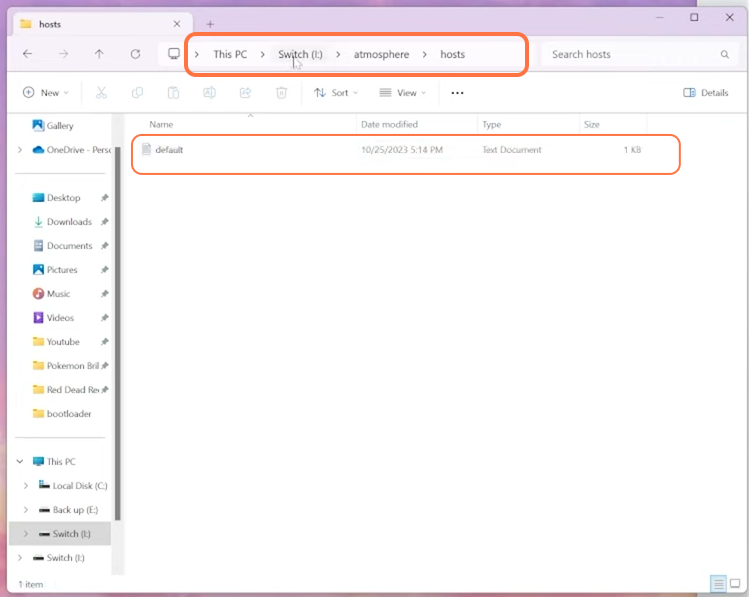
log_inverted=0- Create another text file with the ‘default.txt’ name and paste the following lines of code (to block Nintendo Servers) into it.
# Block Nintendo Servers
127.0.0.1 *nintendo.*
127.0.0.1 *nintendo-europe.com
127.0.0.1 *nintendoswitch.*
95.216.149.205 *conntest.nintendowifi.net
95.216.149.205 *ctest.cdn.nintendo.net- Place the ‘exosphere.ini’ file in the SD card’s root and the ‘default.txt’ file into the ‘hosts’ folder in the Atmosphere directory. Create a ‘hosts’ folder if it is not already there.
Step 5: Setting Up Tegra RCM
- Install the Tegra RCM and its driver.
- Once the Tegra installation is finished, a window will open up, click the settings tab and press the ‘Install Driver’ button.
- Inject the payload using Tegra RCM with the prepared ‘hekate 6.0.7’ bin file.
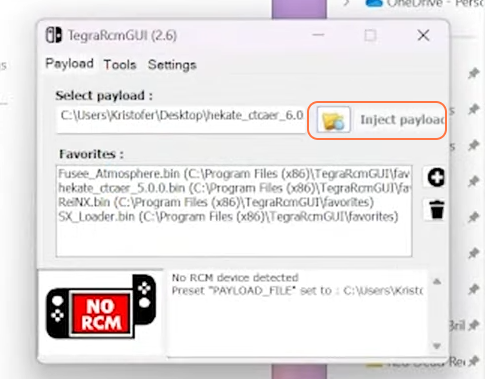
Step 6: Injecting Switch
- Eject the SD card from your computer.
- Insert the SD card into the Nintendo Switch, connect the RCM jig, hold the power and volume up buttons simultaneously, and connect the USBC cable.
- Use Tegra RCM to inject the payload. Confirm successful injection with a green check mark.

Step 7: Accessing Hekate Home Menu
After injection, adjust the date and time in the Hekate menu, then, proceed to partition the SD card for EmuMMC.
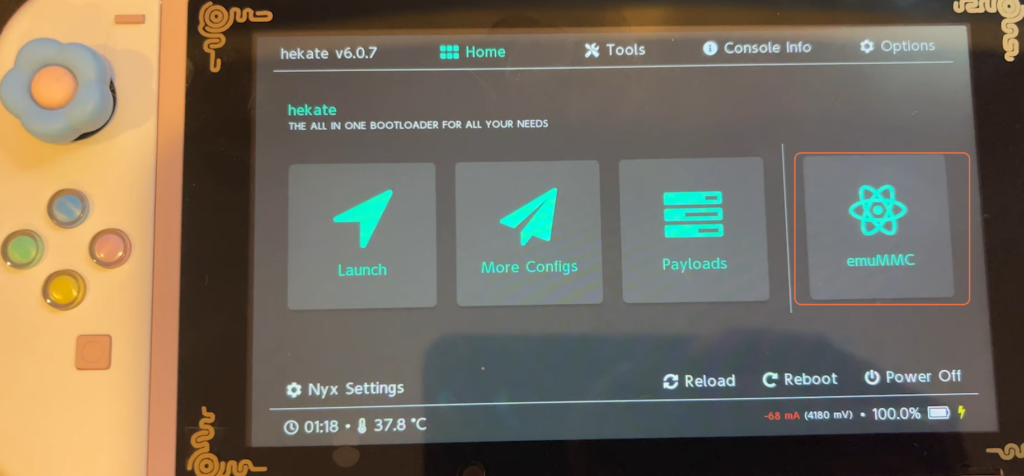
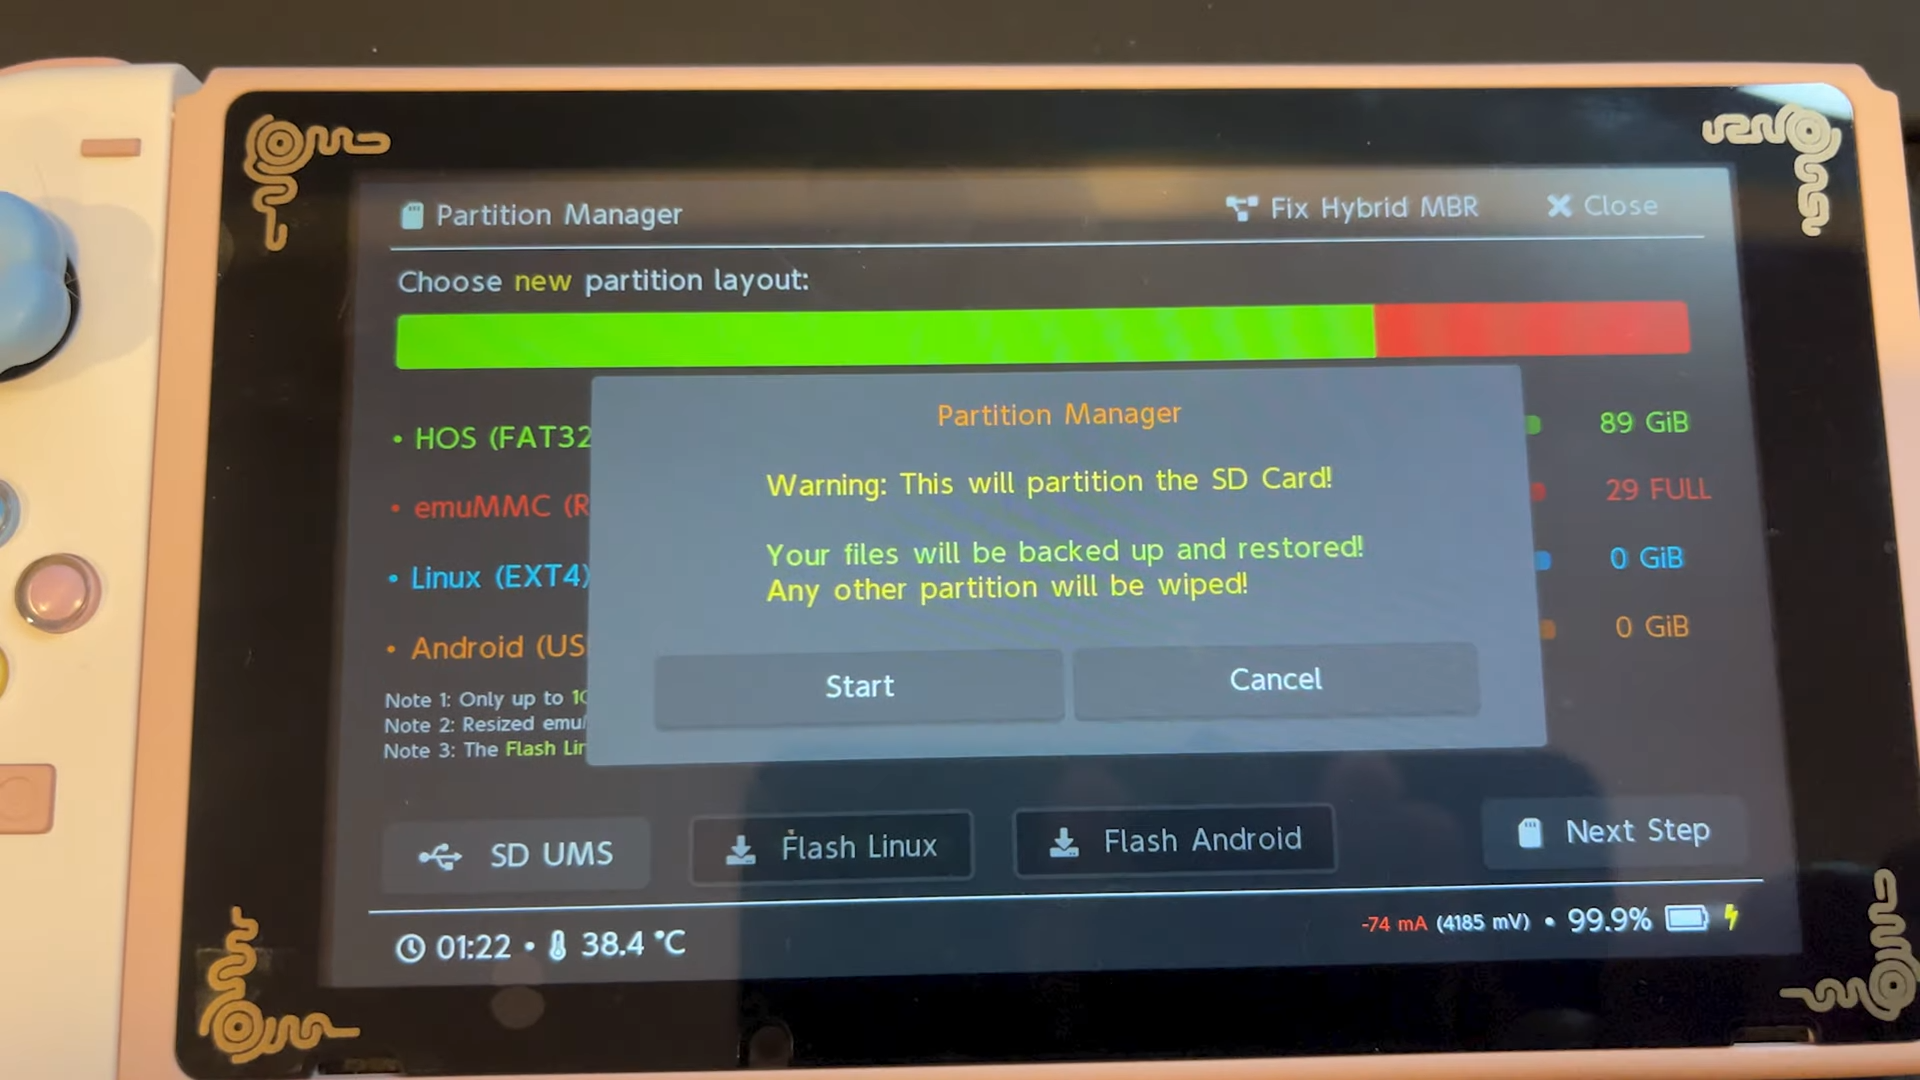
Step 8: Creating an EmuMMC
- Use the tools option within Hekate to partition the SD card and create an EmuMMC (ensure you have sufficient space).
- Wait for the process to complete.
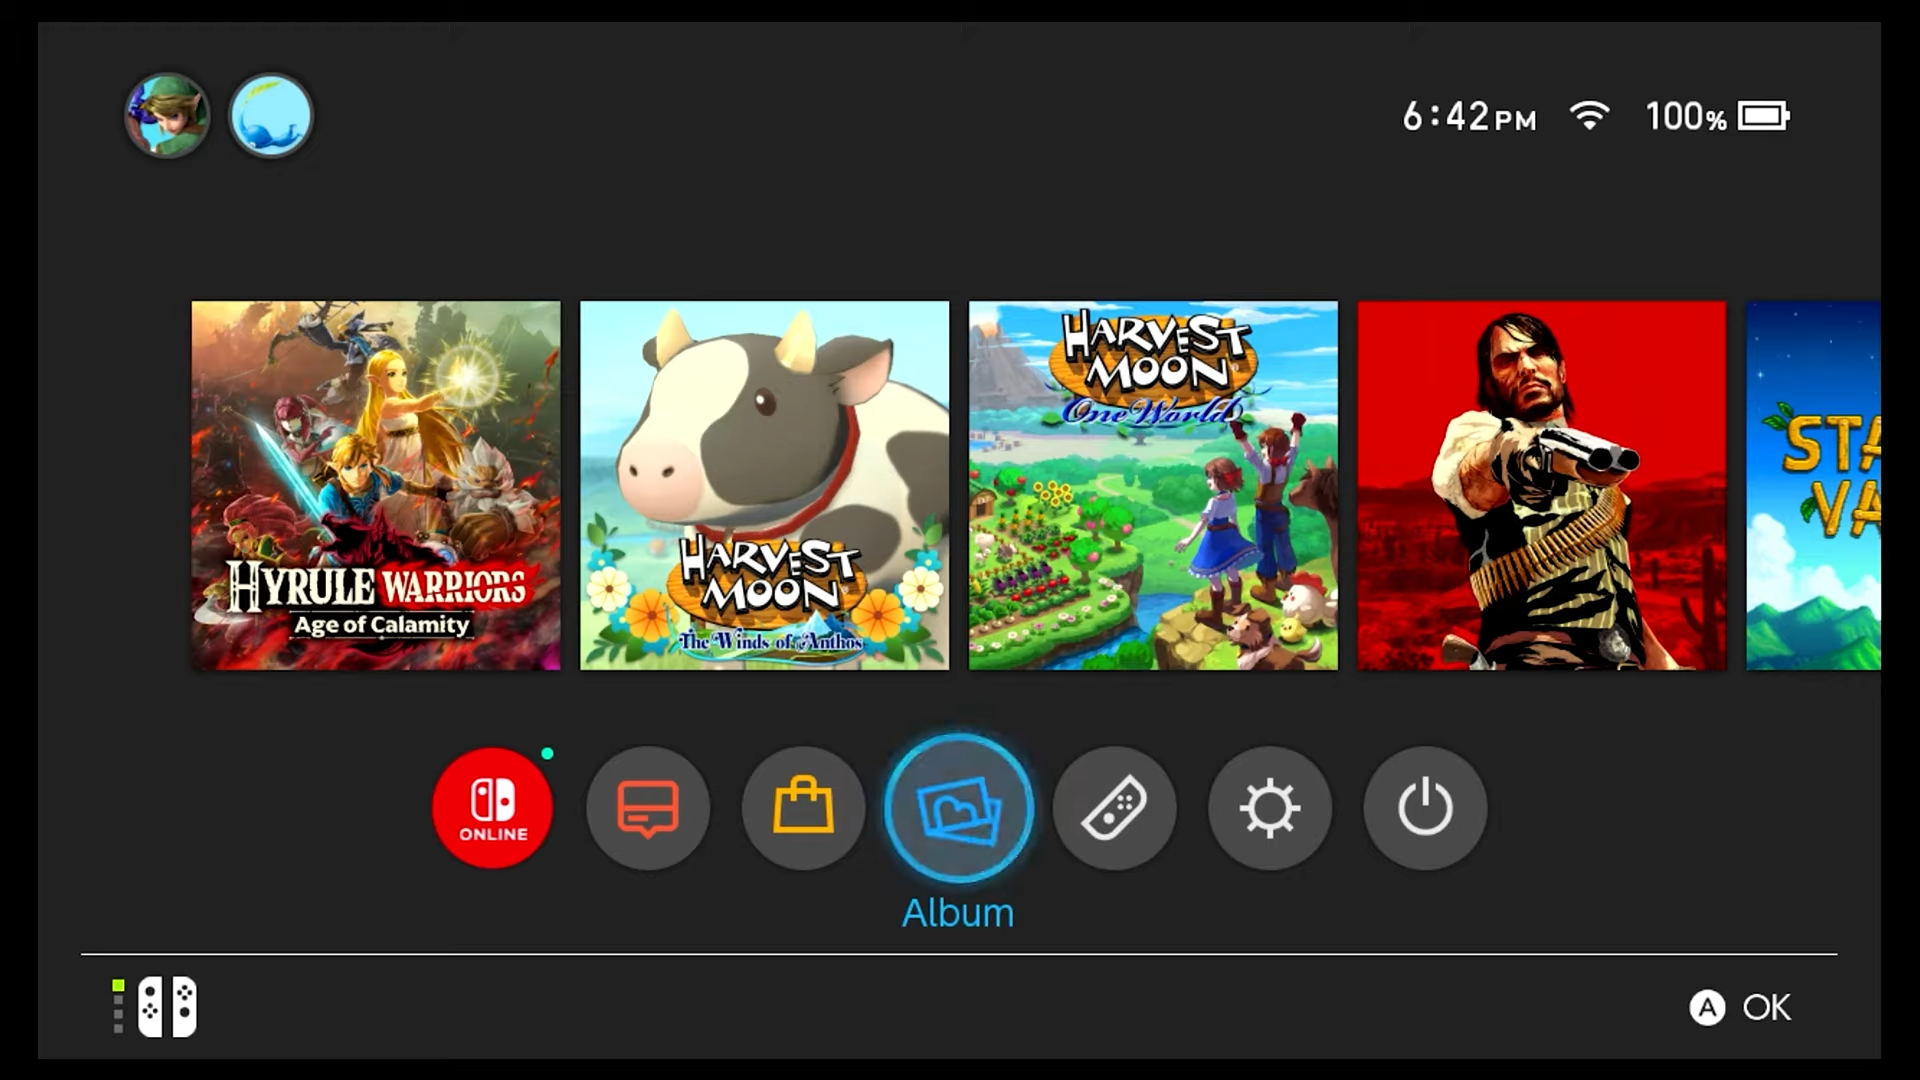
Step 9: Verifying Mods
- Confirm the Switch firmware and atmospheric custom firmware versions in System Settings.
- Check the presence of mods in the album or other relevant directories.
By following the above steps you can easily modify your Nintendo Switch Console.