In this guide, you will find out how to set up Red Dead Redemption 1 On Xenia.
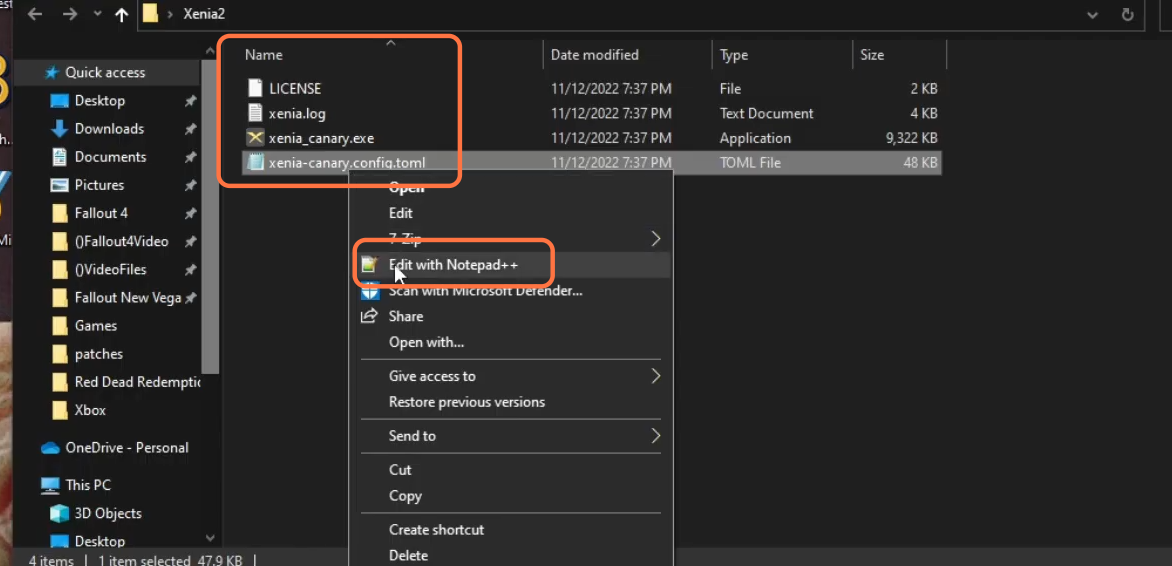
The first thing you have to do is download Xenia, then make a new folder on the desktop and name that folder Xenia. Drop the downloaded file into this folder. Then you have to double-click on the Xenia.exe file, and it will create a new config file in the same folder. You need to right-click on it and select Edit with Notepad.
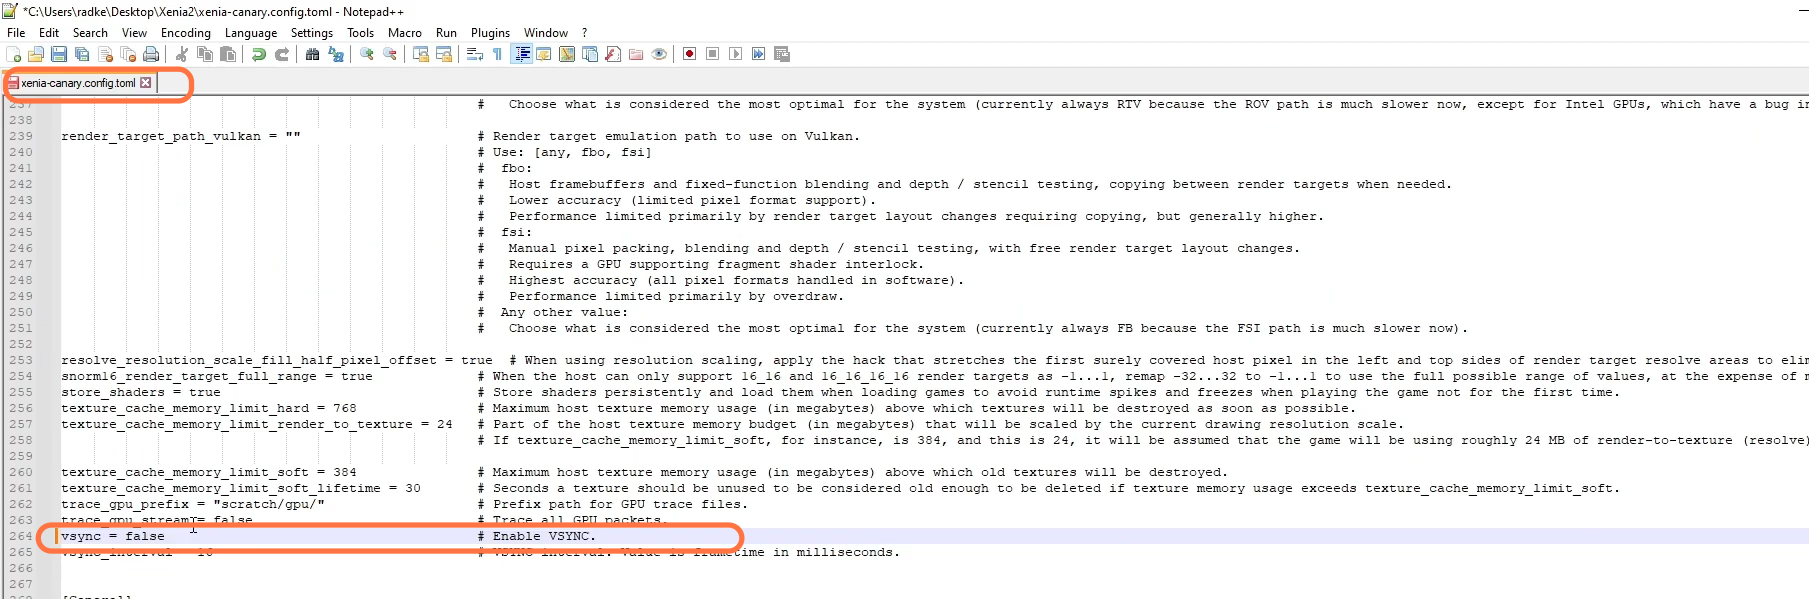
On the notepad++, press ctrl+f, which will open the find window in front of you. Search V-sync on it. Now you can set the V-sync option to True if your computer runs the game well. But if you have a low-end system, you must set this to False. As this will provide you with more FPS, and also it will keep the game more stable.
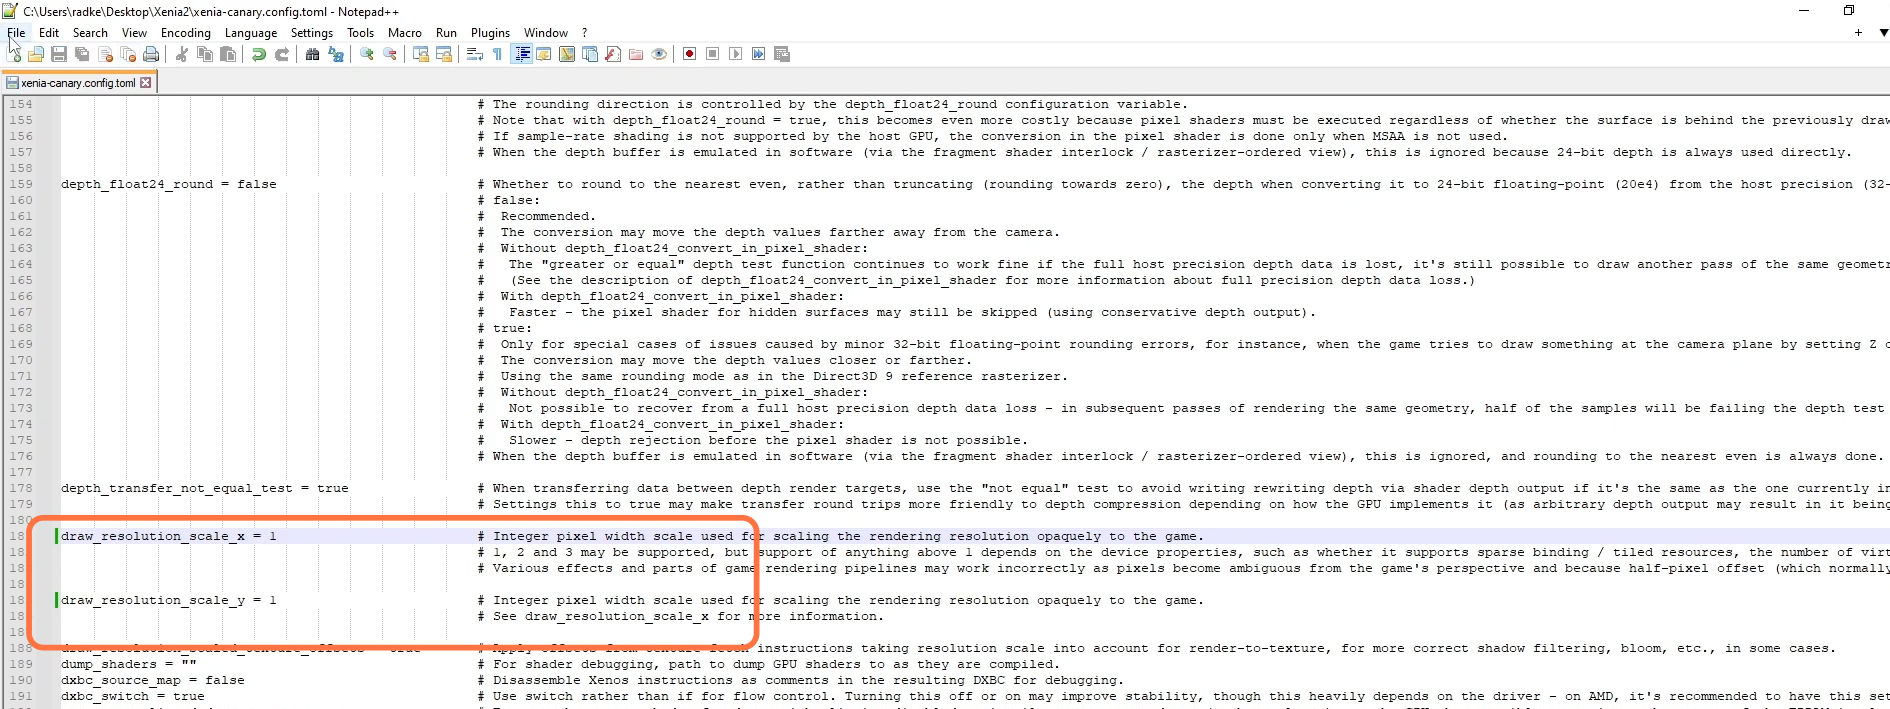
After that, press ctrl+f again, and search “draw” on the find window. For low-end PC, you have to set the draw resolution scale to X and the draw resolution scale y to 1. But if you have a high-end PC, set this to more than 1, as this will make your game look clearer. After this setting, press ctrl+s to save the changes in the file.
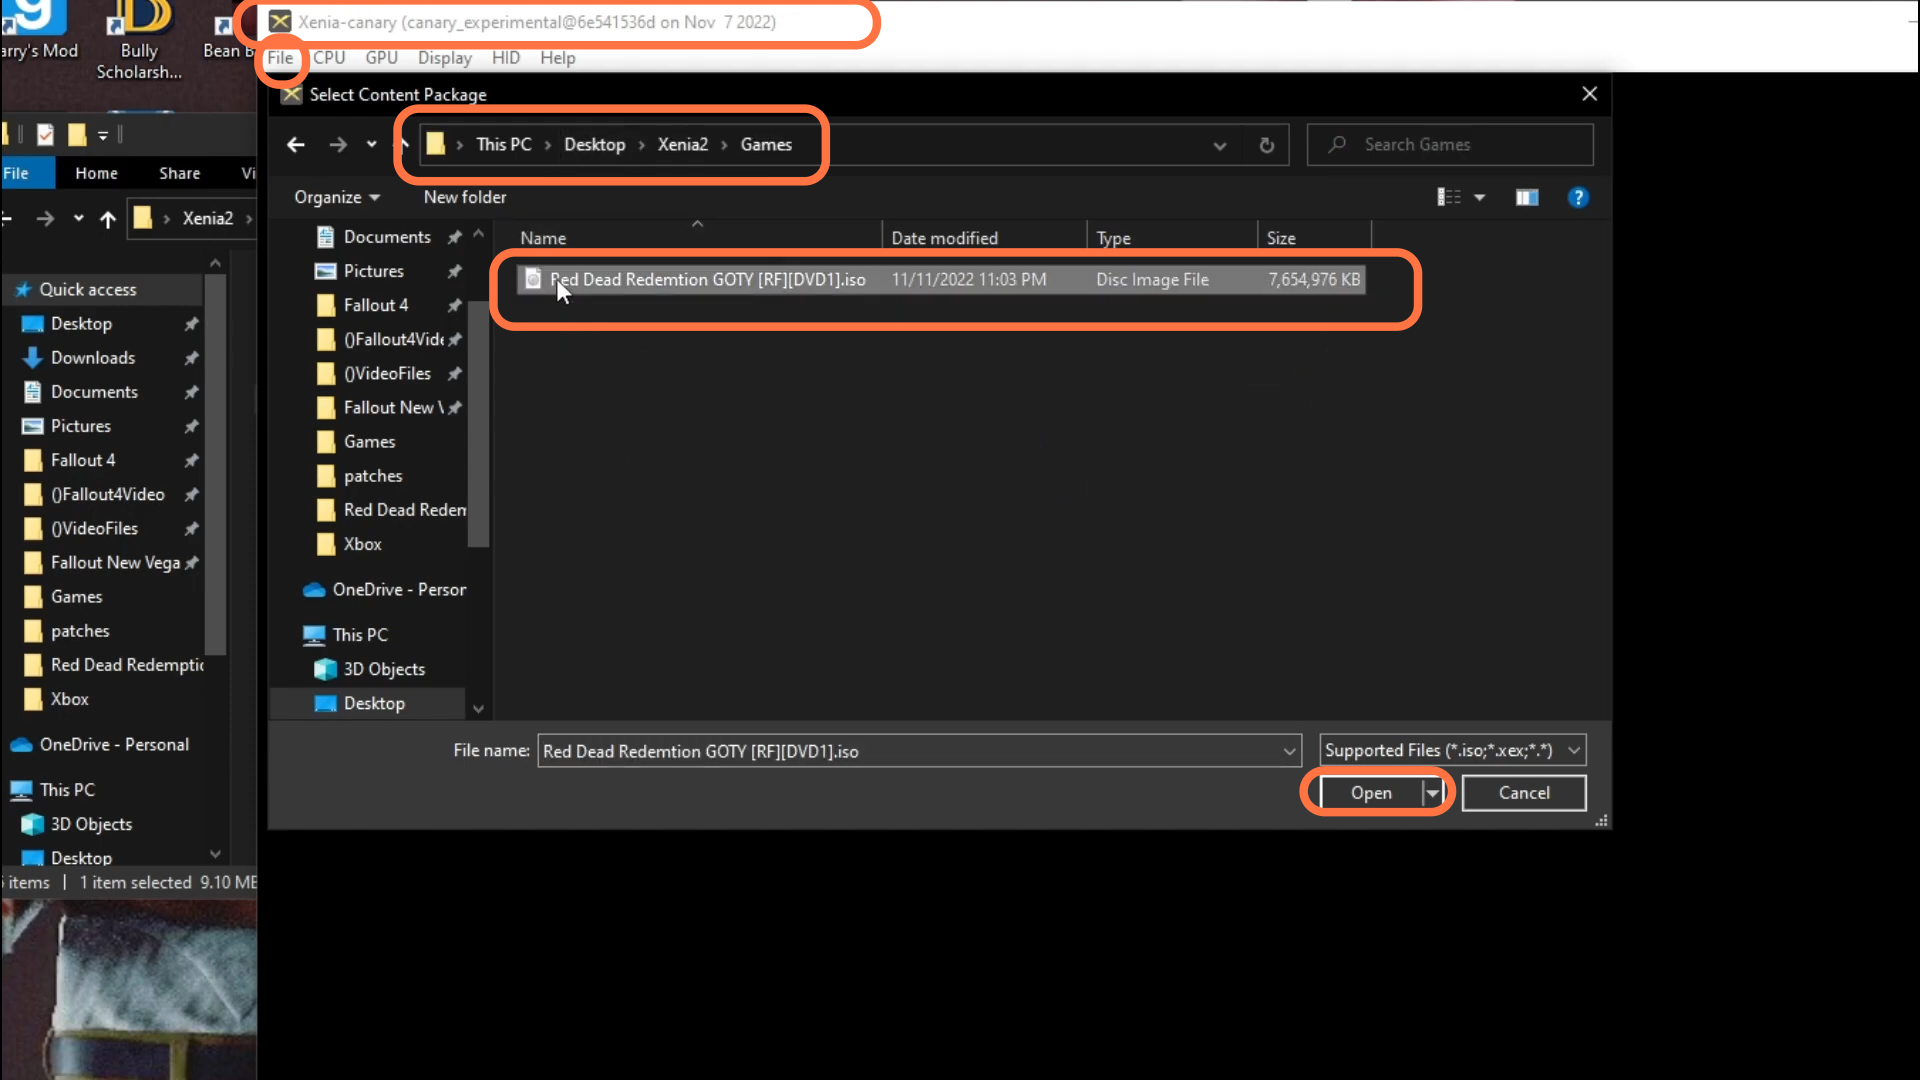
Now open the Xenia folder, create a new folder in this folder, and name this folder games. It will help you in organizing your games. You have to download Red Dead Redemption, then copy the downloaded file and paste it into the game folder of the Xenia folder. Open Xenia, then click on the file on the top left corner of your screen and click on Open from the drop-down menu. Select the game and your game will boot up.
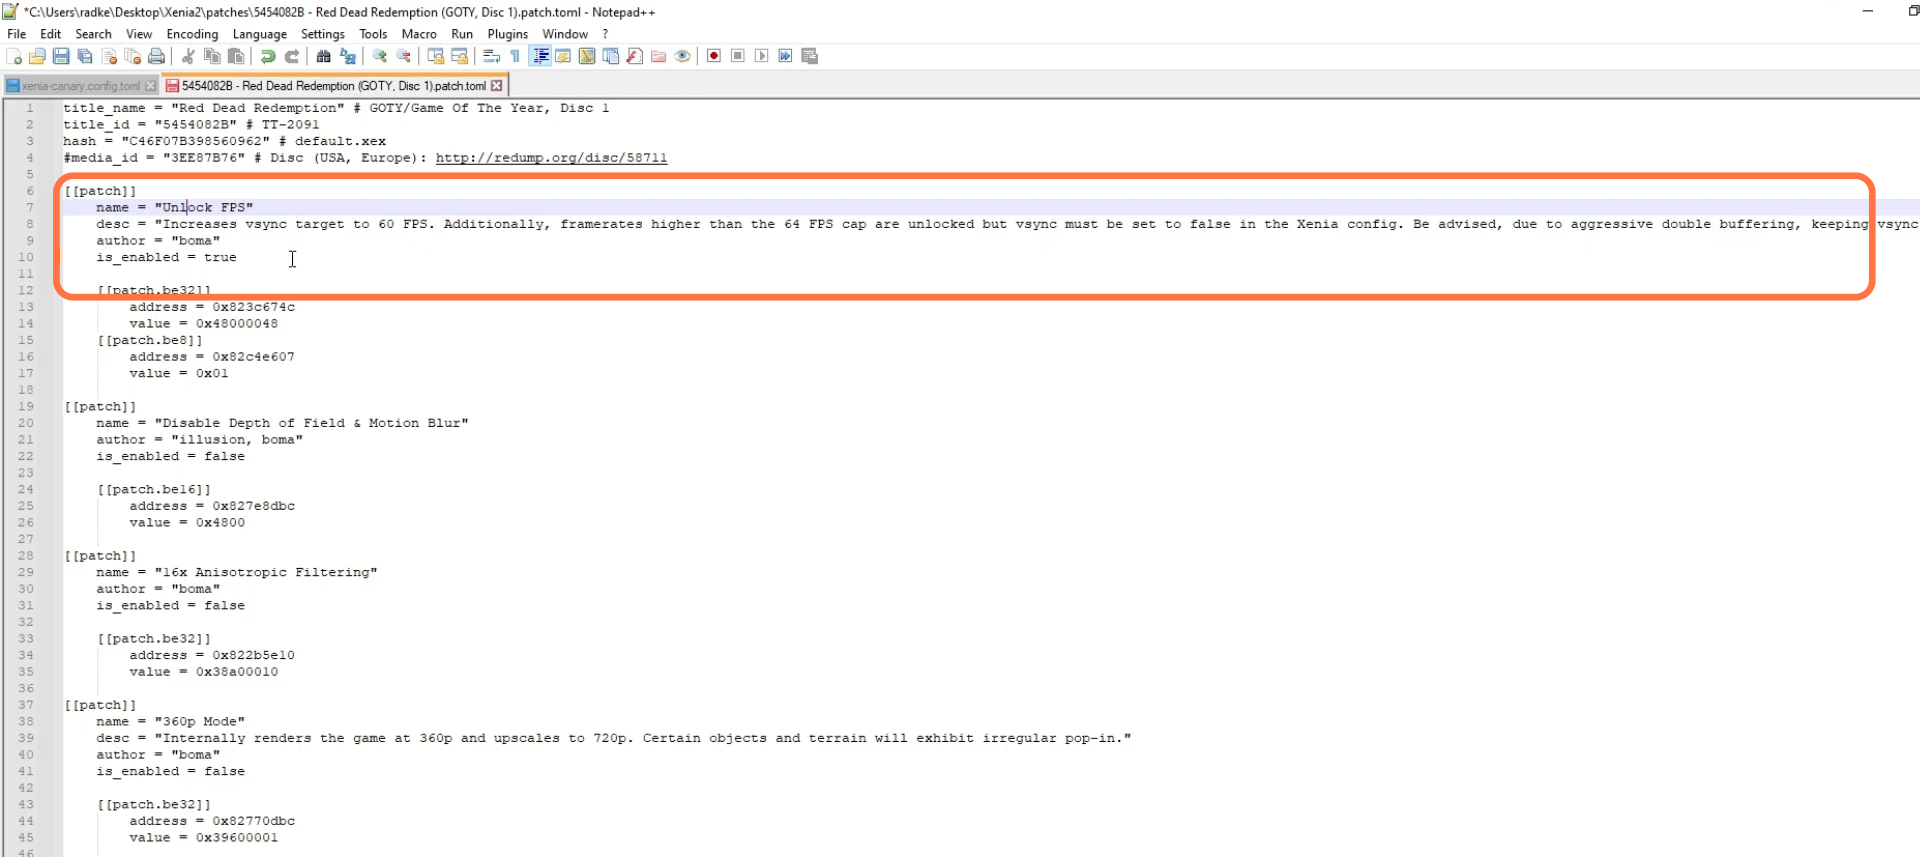
Now you have to close the game, right-click in the Xenia folder and then click on the new folder. The name of the folder should be patched. After that, download the patch files and then paste these downloaded patch files into the patch folder which you just have created. Now you must find the name of your disc ISO and then search Red Dead in the search column on the top right corner of your screen. Then find the same disc iso file, right-click on it and select Edit with Notepad. You have to enable the FPS under the patch: Unlock FPS. For this, set the True in front of enable and make sure there is space between the equal sign and True.
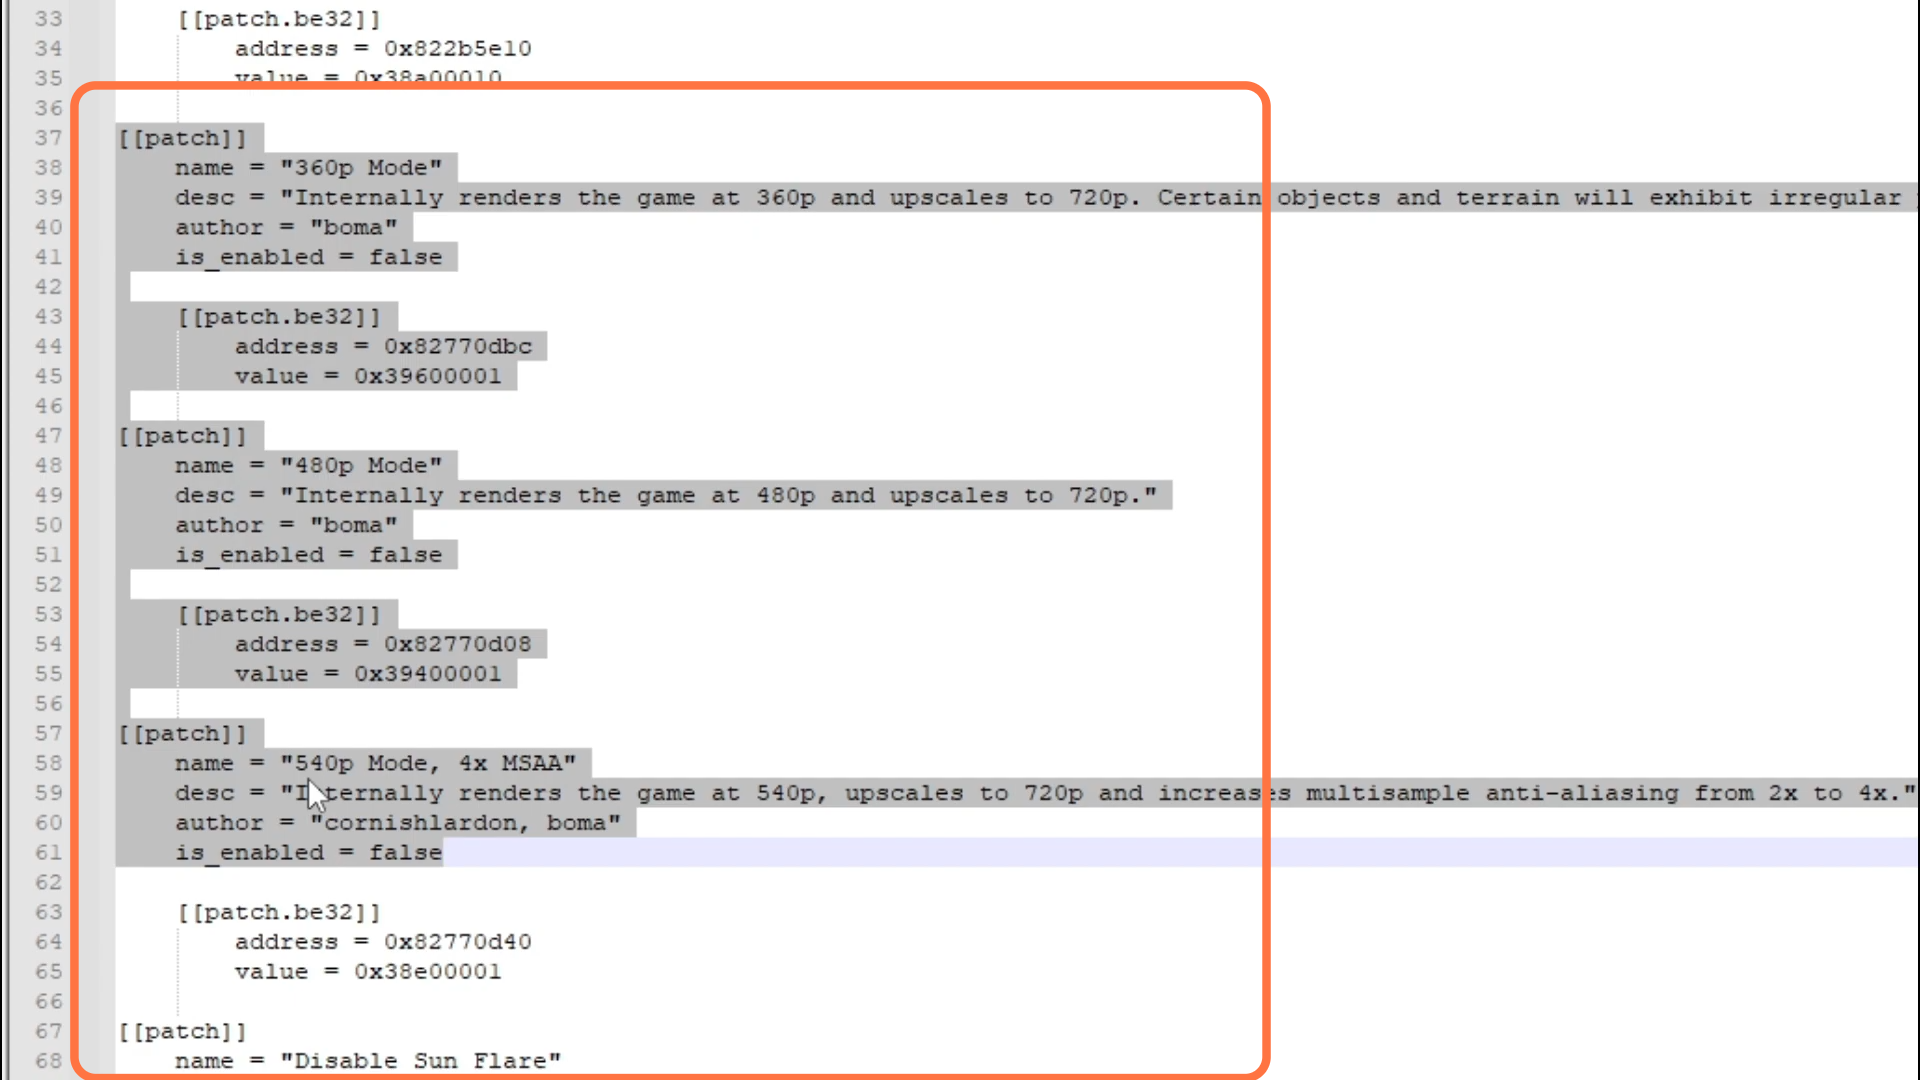
Go under the 2nd patch and disable depth of field and motion blur by setting its value to False. Also, you have to ensure that Anisotropic filtering is set to false. Then you have to turn OFF the 360p mode, 480p mode, and 540 p mode as these upgrade the game to 720p. Also, Set Sun flare effect to false.
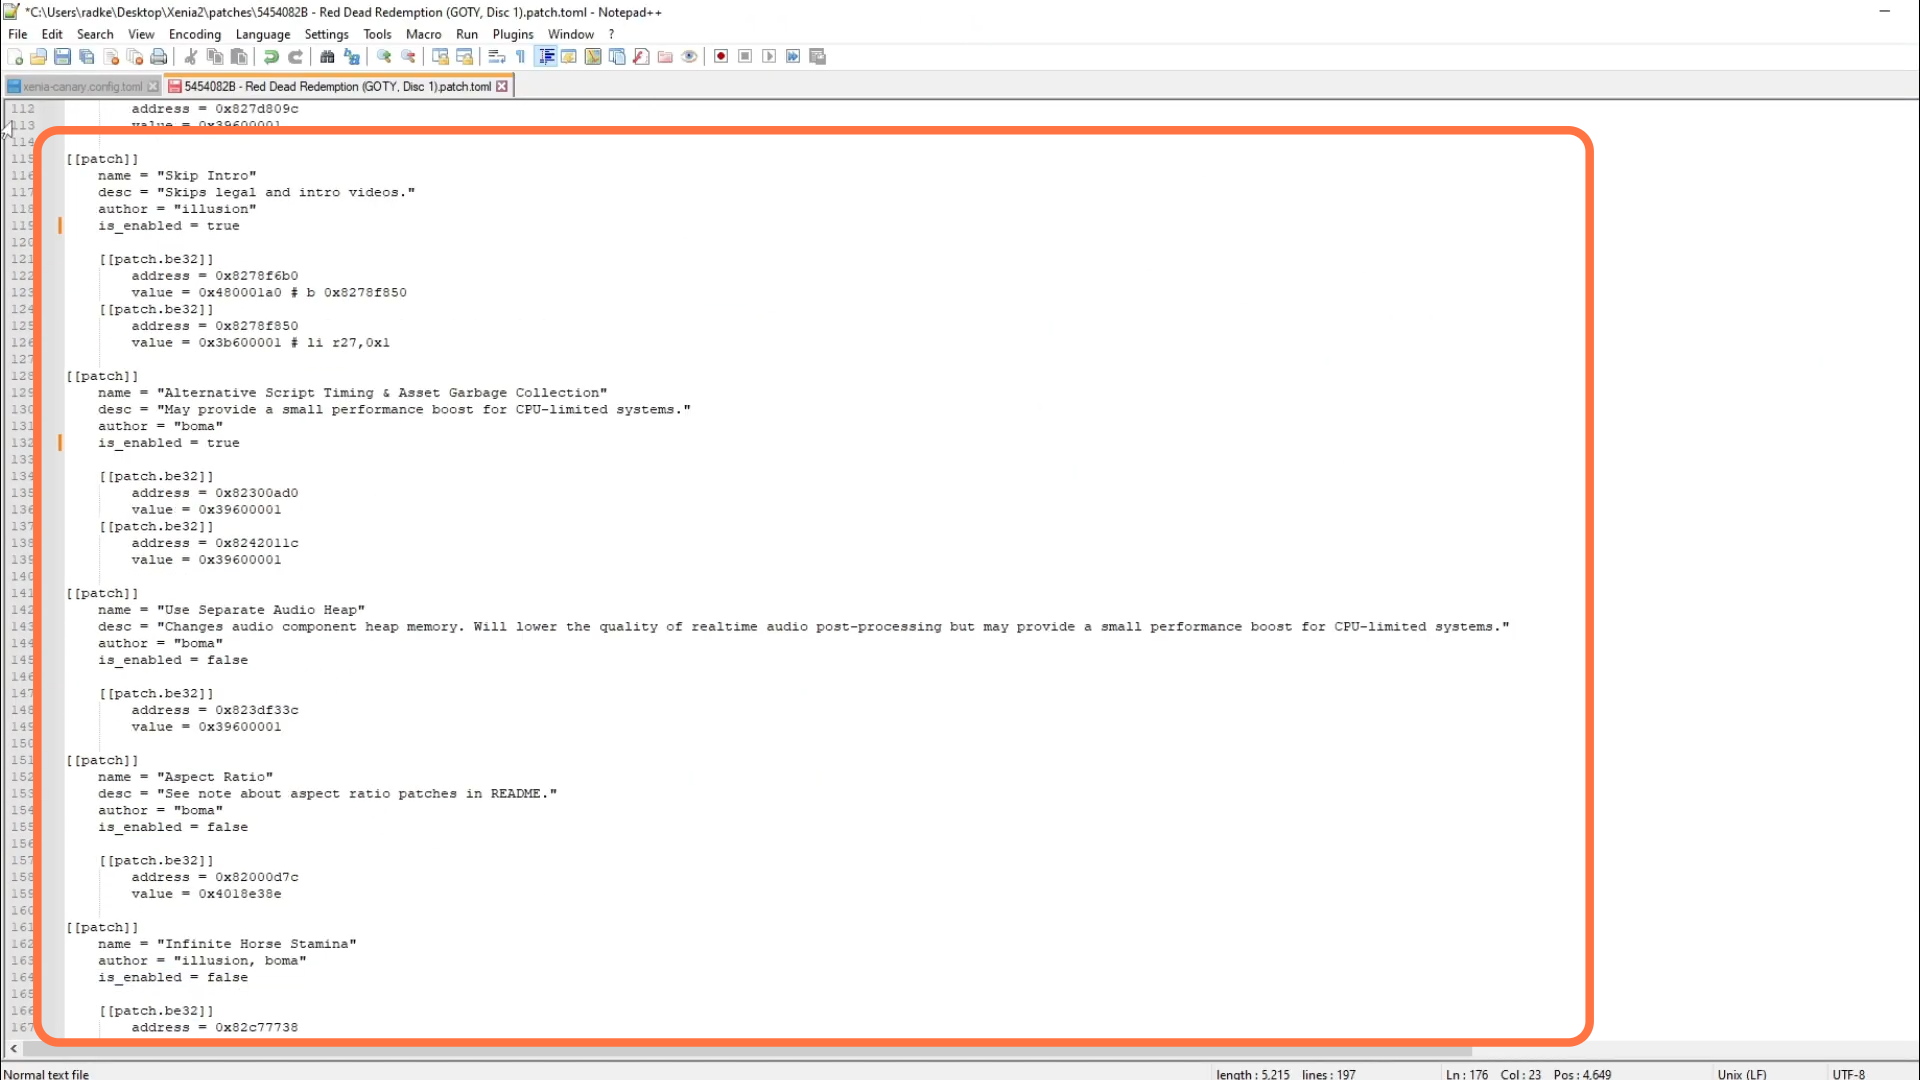
You have to make sure that the High-quality post-processing is set to False. Set the Skip Intro to true. As this will skip the legal intro and directly launch the game, you are ready to play the game. Set the alternative script timing and asset garbage to true, as this will provide a small performance boost for CPU-limited systems. Keep the aspect ratio on False. After this, press ctrl+S to save the changes in the file.
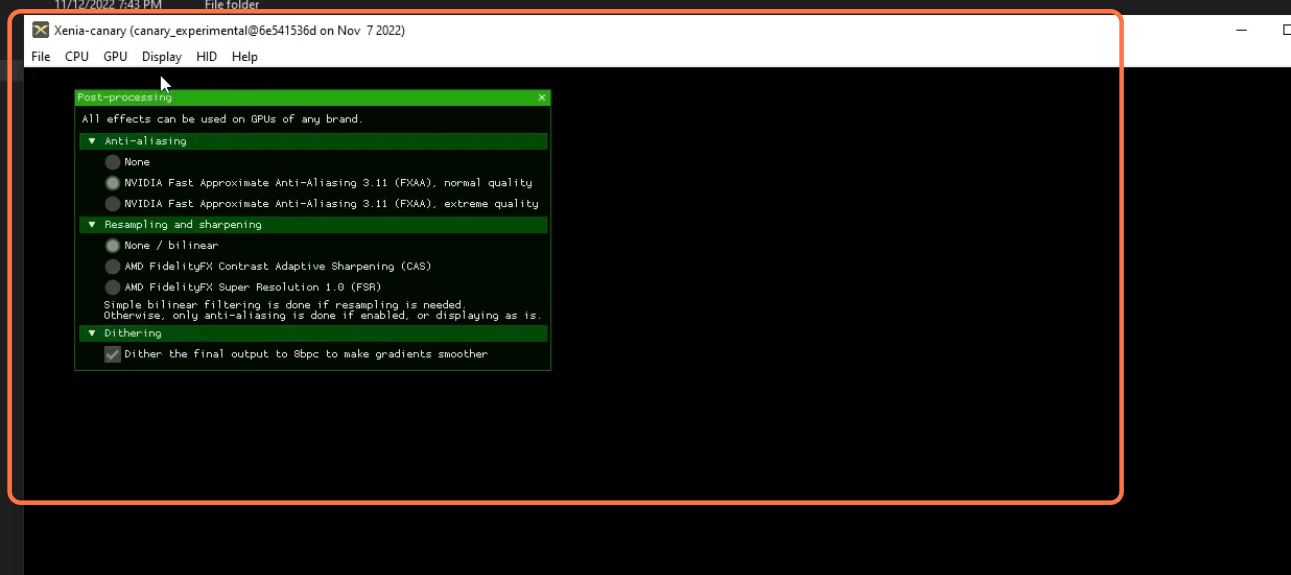
Now open the Xenia, click on display, and select the post-processing setting from the drop-down menu. Here you have to ensure that the Nvidia fast approximate and anti-li analyst aliasing is selected. Then come under resampling and sharpening and set this to none.
After this, click on the file, click on open from the drop-down menu, select the game, and click on open, as this will launch the game. Now your game is ready to play.