This guide will let you know how to set up a free dedicated server and self-host on your PC in Sons Of The Forest. You first need to download SteamCMD and download the dedicated server, then generate configuration files and add admins to the Sons Of The Forest Dedicated Server. After that, configure the firewall, then start & join your private server.
Download SteamCMD
In this section, we will take you through the steps to download SteamCMD on your PC. By following the steps below, you will be able to download the Windows version of SteamCMD.
- First, you will need to right-click on an empty space on your desktop and select “New Folder” from the context menu. Name the folder “SOTF“.
- Within the “SOTF” folder, create another new folder and name it “SteamCMD“.
- After that, open up the web browser on your PC and download SteamCMD. Once you reach the web page, click on Windows.
This will take you to a new page. - On the new page, look for the download button that corresponds to the “Download SteamCMD for Windows” option and press it.
The browser will start downloading the SteamCMD file in a zip format.

- Locate the downloaded Zip file on your computer and right-click on it.
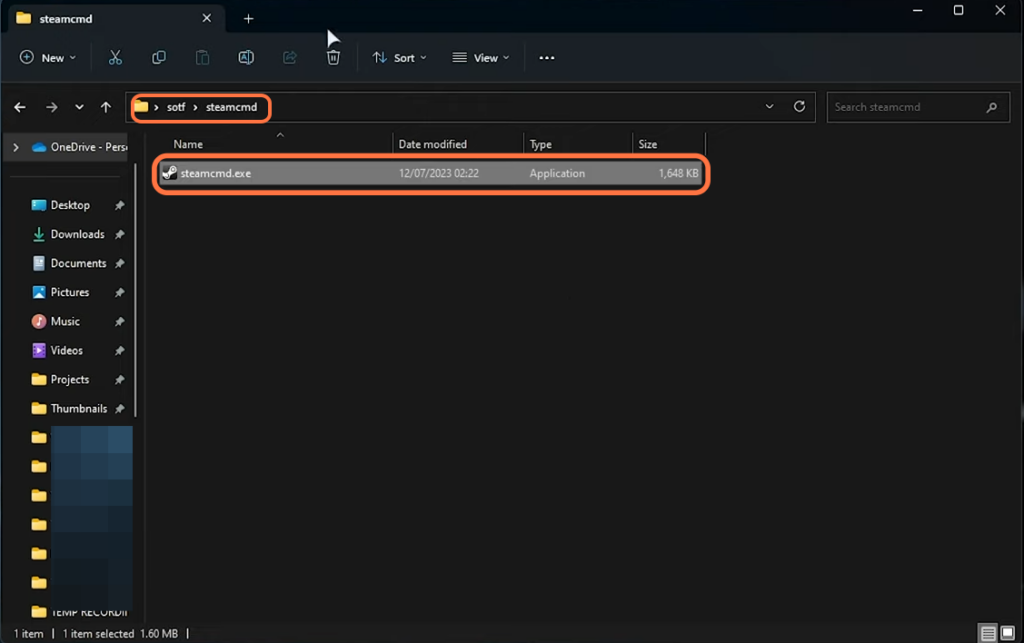
- From the context menu that appears, select the option to “Extract” option. Extract the contents of the file into the SteamCMD folder you created earlier.
Download Sons Of The Forest Dedicated Server
This section describes how to download the Sons Of The Forest dedicated server. You have to create a text document and input some commands inside it.
- Right-click in the “SOTF” folder that you created earlier. From the context menu that appears, select the option “New” and then choose “Text Document“.
- Rename the newly created text document to “update.bat“.
- Right-click on the “update.bat” file and select the “Edit” option from the drop-down menu.
This will open the file in a text editor, such as Notepad. - Inside the open Notepad window, input the following commands:
| @echo off |
| echo Updating server… |
| “steamcmd/steamcmd.exe” +force_install_dir “../server” +login anonymous +app_update 2465200 validate +quit |
| echo Finished updating Sons Of The Forest |
- After inputting the commands, press the “Ctrl” and “S” keys on your keyboard simultaneously to save the file.
- Now you have to double-click on the “update.bat” file.
It will start the process of downloading the Steam CMD client.

It will take a while to complete. Once the download completes, you will find a new server folder inside the SOTF folder.
Generate configuration files
This section will take you through the steps to generate configuration files for the dedicated server.
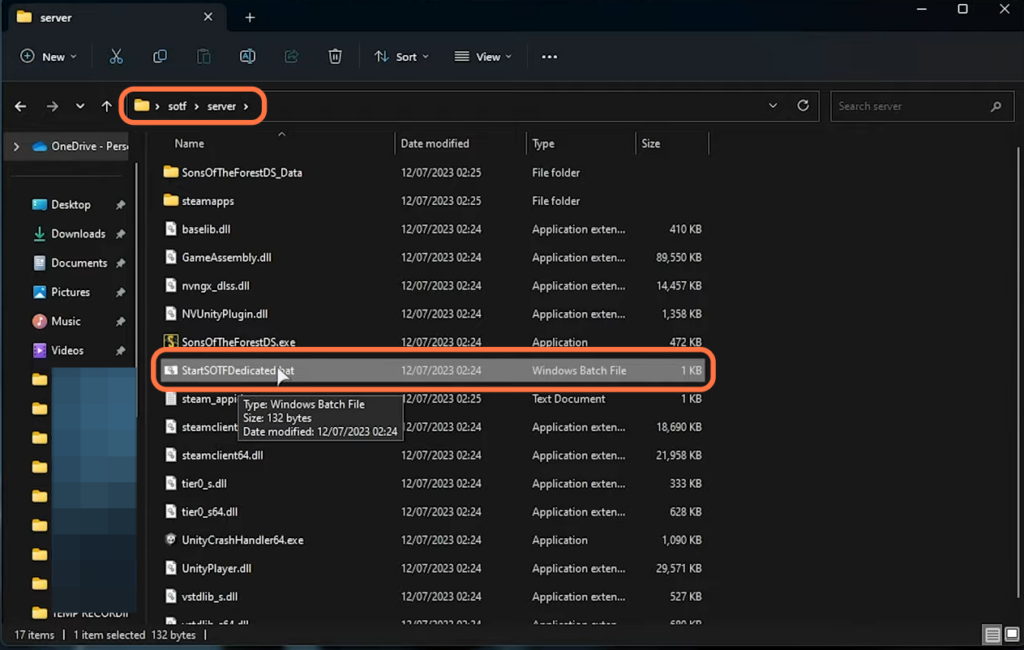
- You have to open the new server folder by double-clicking on it.
You will find various files related to the Sons of the Forest dedicated server - Navigate through the files until you find the “StartSOTFDedicated” file. Double-click on the file to run it.
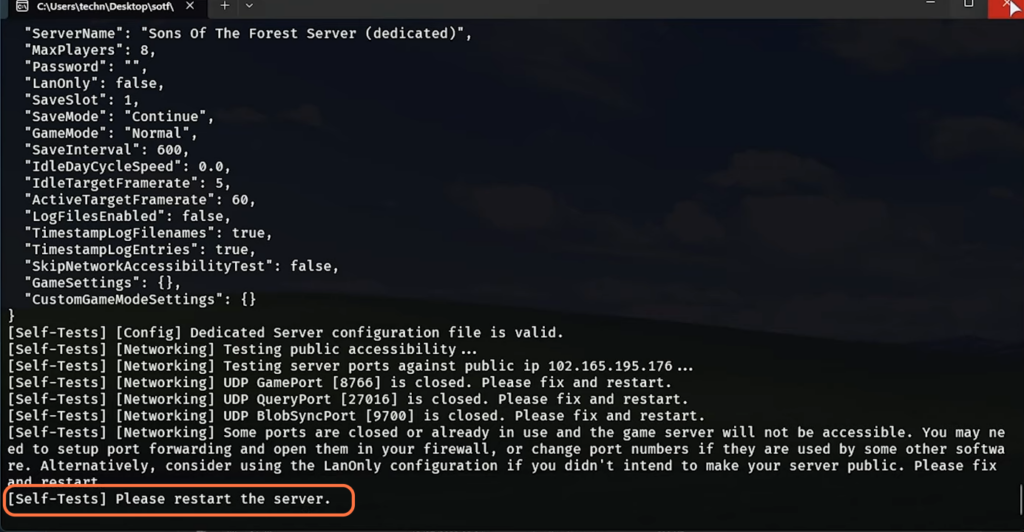
This action will generate the necessary files for the Sons of the Forest dedicated server.
You will find a line saying “(Self-Tests) Please restart the server”.
- Once it appears, you need to close the file.
Add admins to Sons Of The Forest Dedicated Server
In this section, we will take you through the steps to add admins to the Sons Of The Forest dedicated server. You can also add more than one admin if you want.
- Hold the “Start” key on your keyboard and simultaneously press the “R” key to open the Run dialogue box.
- Inside the Run dialogue box, input “%localappdata% low” and press the Enter key.
- Within the opened directory, navigate to the “Endnight” folder and open up the “SonsofTheForestDS” folder.
You will find two files inside it.
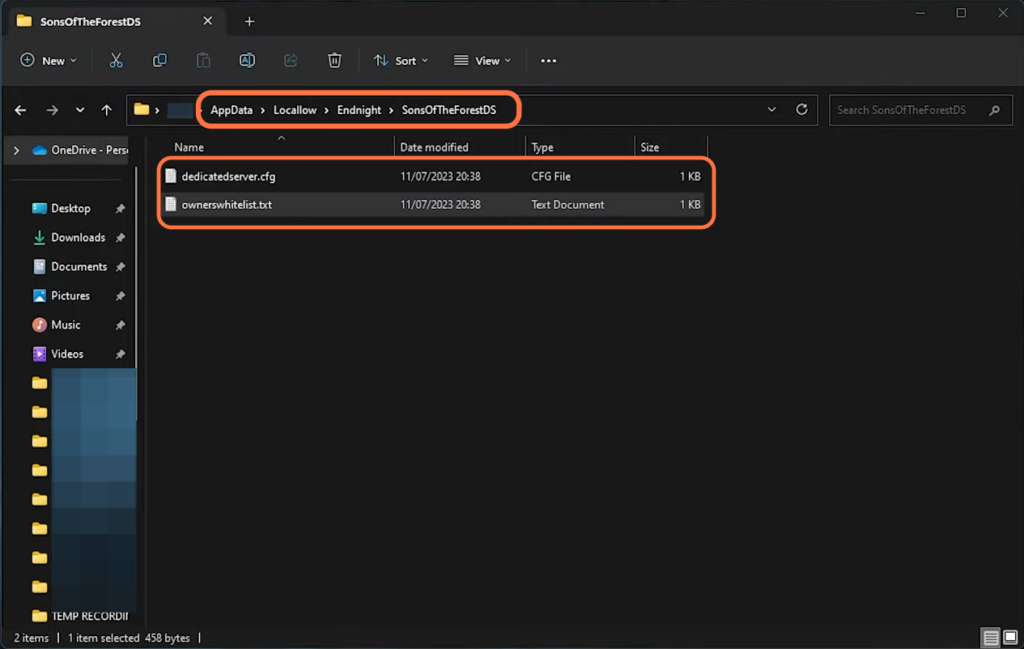
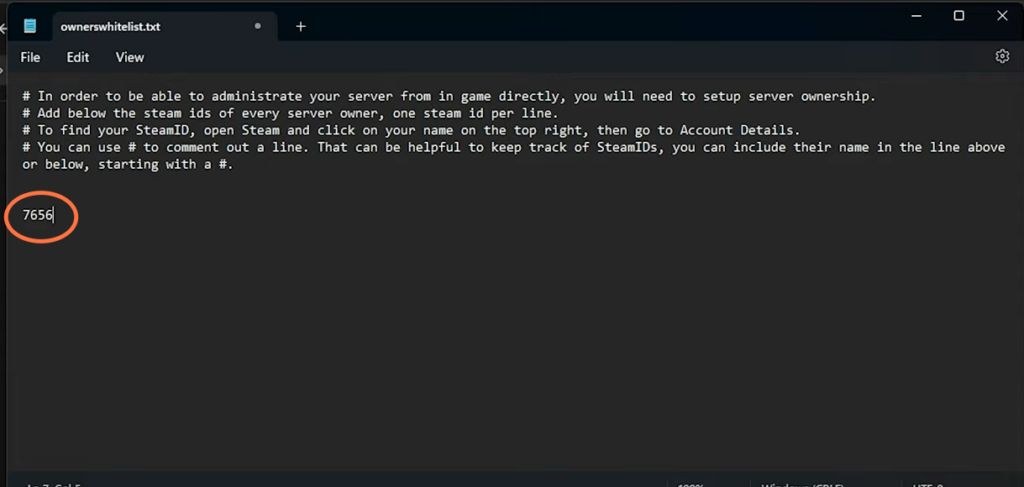
- Locate the “ownerswhitelist.txt” file and open it up. Scroll to the very end of the file and add a new line. Input your Steam ID on the newly created line.
This is the Steam ID associated with your Steam account and will grant you admin privileges in the game. - If you want to add multiple admins, create a new line for each additional Steam ID and input their respective Steam IDs.
- After that, press the “Ctrl” and “S” keys on your keyboard simultaneously to save the changes made to the file.
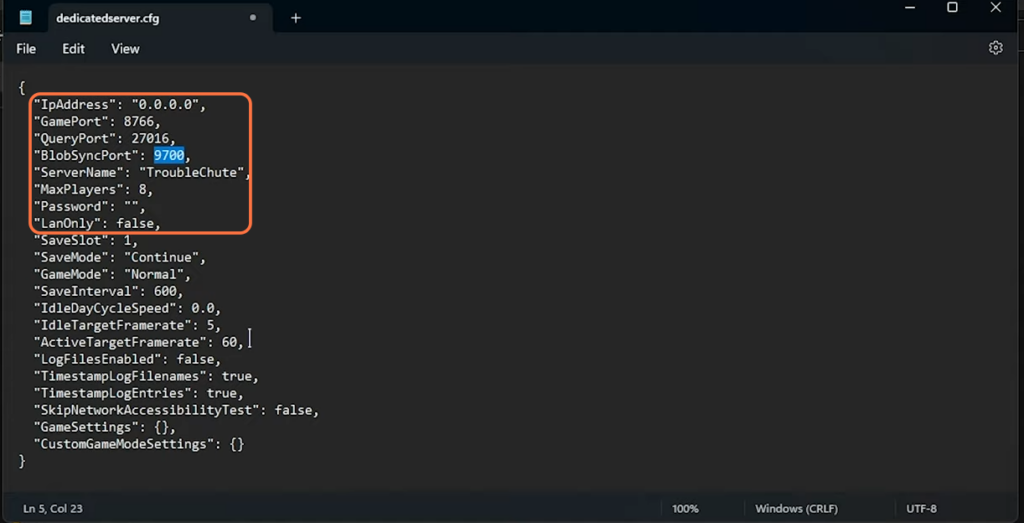
- Locate the “dedicatedserver.cfg” file and open it up. Change the server name according to your preference and set the password for the server.
- Change the max number of players. If you are planning to run the server only locally and not have your friends connect over the internet, then set “LanOnly” to “True“.
- Take note of the ports specified in the file, then save and close this file.
Configure Firewall
In this section, we will take you through the steps to configure your Windows Firewall.
- To allow other computers to join your server, you need to configure your antivirus firewall or Windows Firewall settings to allow the dedicated server through.
- Press the “Start” button located at the bottom of your screen. In the search bar, type “Powershell” without quotes.
- From the search results, right-click on “Windows PowerShell” and select “Run as administrator” from the context menu.
- Once it opens up, input the following commands in it and make sure to press “Enter” a few times after pasting all the commands to ensure they all execute.
| New-NetFirewallRule -DisplayName “Sons Of The Forest” -Direction Inbound -LocalPort 8766,27016,9700 -Protocol UDP -Action Allow |
| New-NetFirewallRule -DisplayName “Sons Of The Forest” -Direction Outbound -LocalPort 8766,27016,9700 -Protocol UDP -Action Allow |
Now they will be added to your firewall.
Start & join your private server
This section describes how to start & join your private server. You first need to run the server file and then launch the game to join the server.
- Now run the server file with LanOnly set to True.
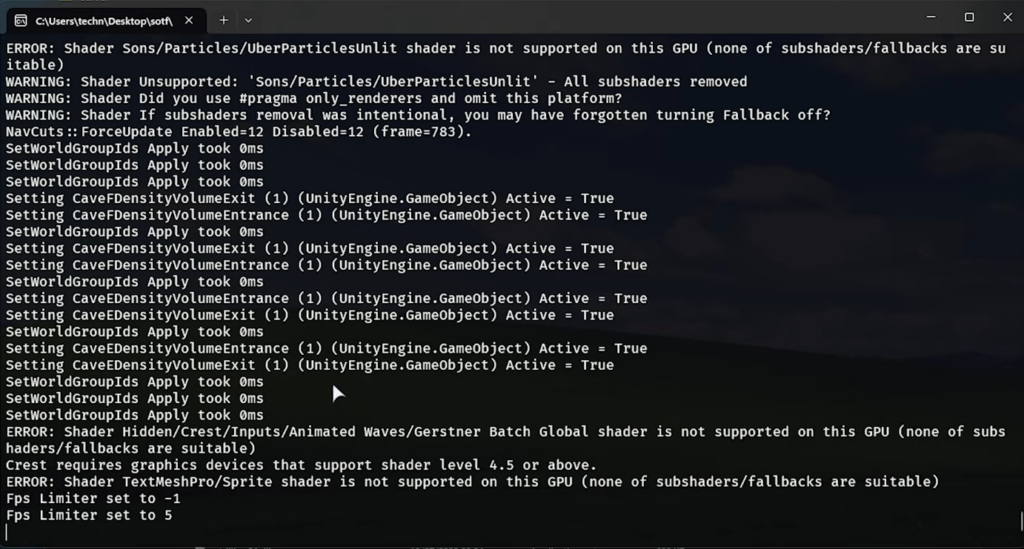
Both you and people connected to your network can join your server. - Double-click the server file and wait patiently for the server to start up.
It may take a little while for the server to fully initialize and become ready for connections.
- Open the Steam client on your computer and locate the Sons of the Forest game in your Steam library.
- Click on the “Play” button to start the game. Meanwhile, make sure the dedicated server is already running in the background.
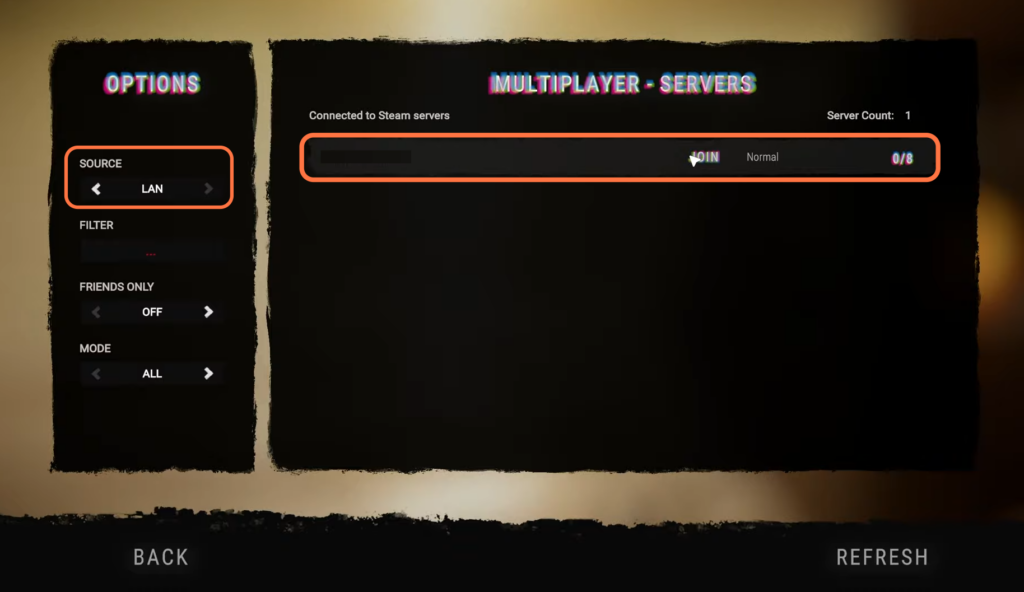
- Once the game is launched, navigate to the main menu and select the “Multiplayer” option. In the multiplayer menu, change the Source to LAN Since you are connecting to your own computer,
- After that, click on your server in the server list and press the “Join” button to connect to your own dedicated server.
Your server will run perfectly now.
Port Forwarding & Play with friends
This section will take you through the steps to set up port forwarding and play with friends. Port forwarding is a configuration on your router that instructs it to forward incoming network traffic on specific ports to a particular computer. It allows external traffic to reach your computer.
- In order to allow more than just the people directly connected to your local network to access your computer or server, you need to set up port forwarding.
When people reach your external IP as in your internet connection, it’ll be sent directly to your computer hosting the server and people can join you.
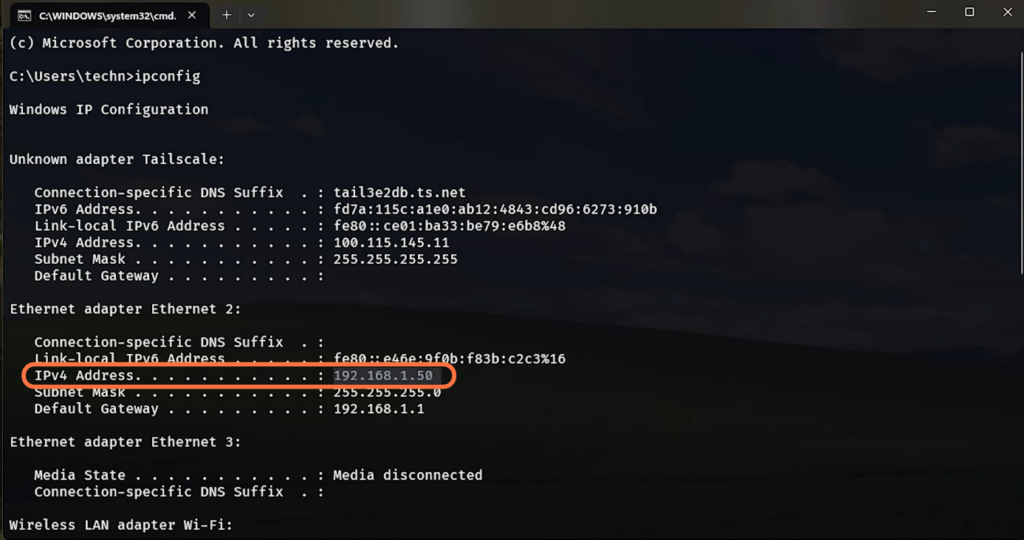
- You will need to open up the Command prompt, type “ipconfig” inside it and press the enter button.
- Find the way you’re connected to the internet and note down the IPv4 address.
- After that, open up the router admin page and head to the port forwarding section.
- Select UDP and port forwarding 8766, 27016, and 9700 to your computer.
- Now open up the dedicatedserver.cfg” file and set the LanOnly option from True to False.

- After setting up port forwarding, you will need to restart your server.
Now other players can come and play with you as long as the dedicated server is running on your computer.