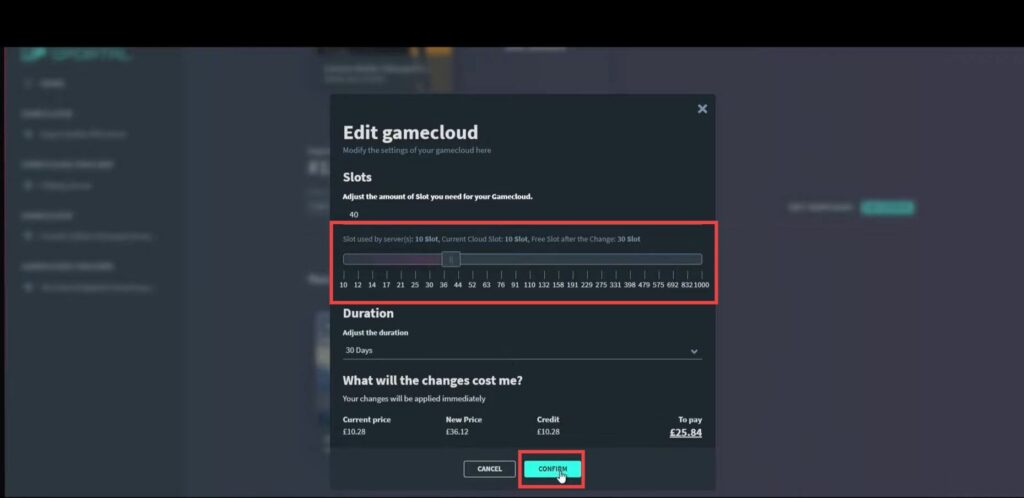
This guide will let you know how to set up your very own The Front server. By following the steps below, you will be able to rent a Gportal server and then make all the necessary settings to set up your server.
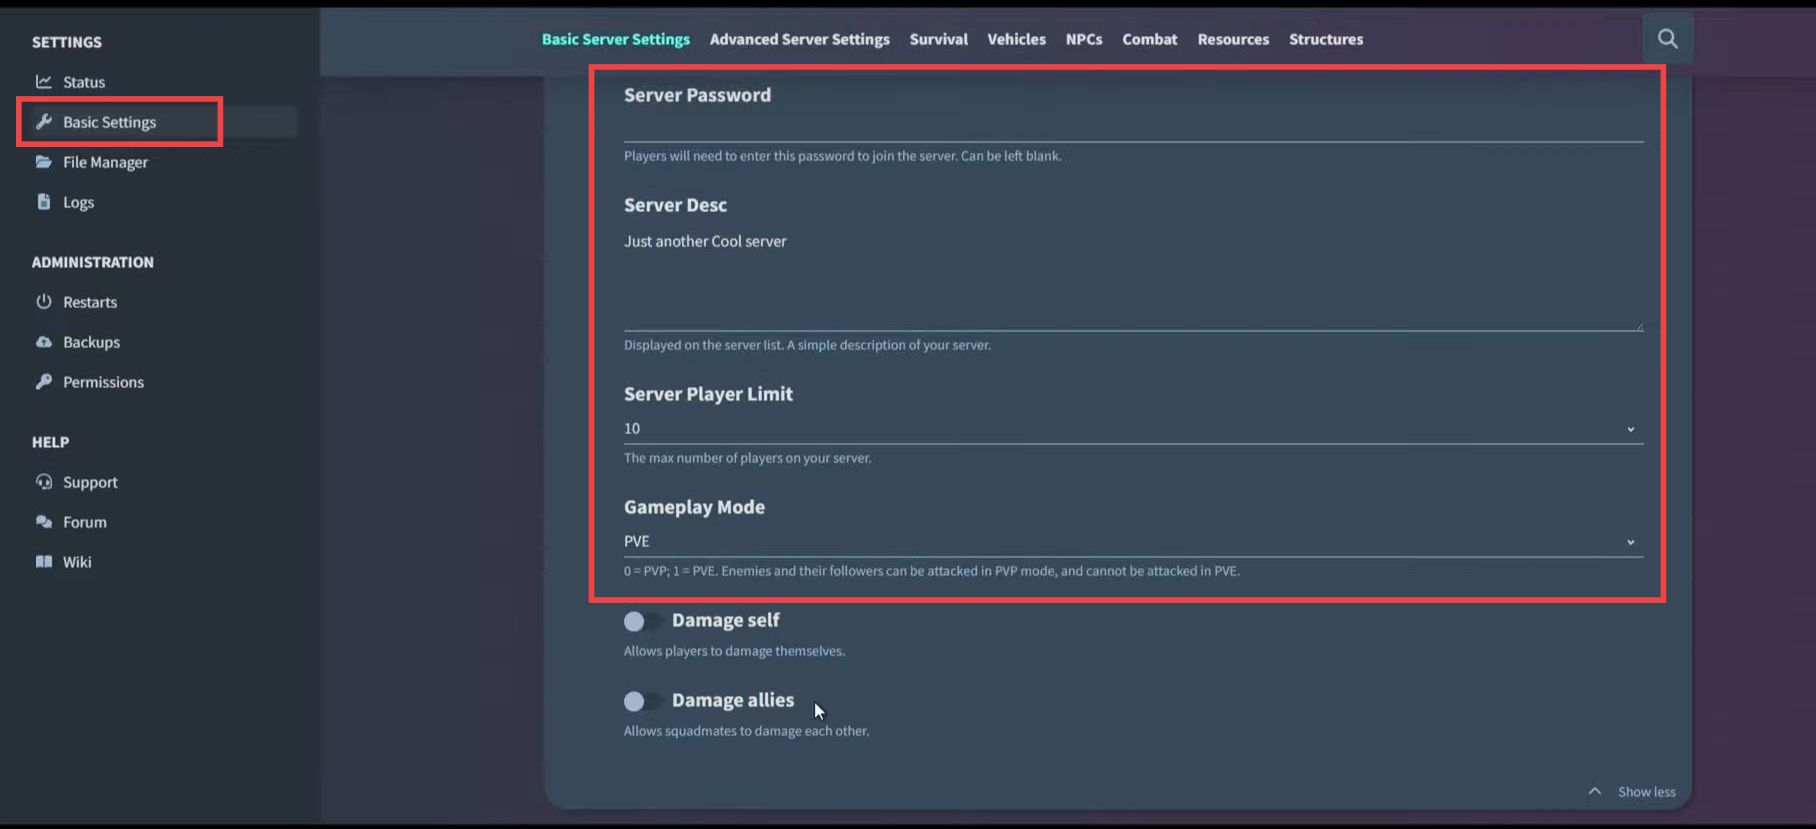
- First, you will need to rent a Gportal server between 10 and 40 slots. After that, choose your server and go the Basic Settings.
- Set the server name and server description, and you can also set a server password if you don’t want people to join.
- Set the player limit based on your server size and then choose the Gameplay mode between PVP or PVE.
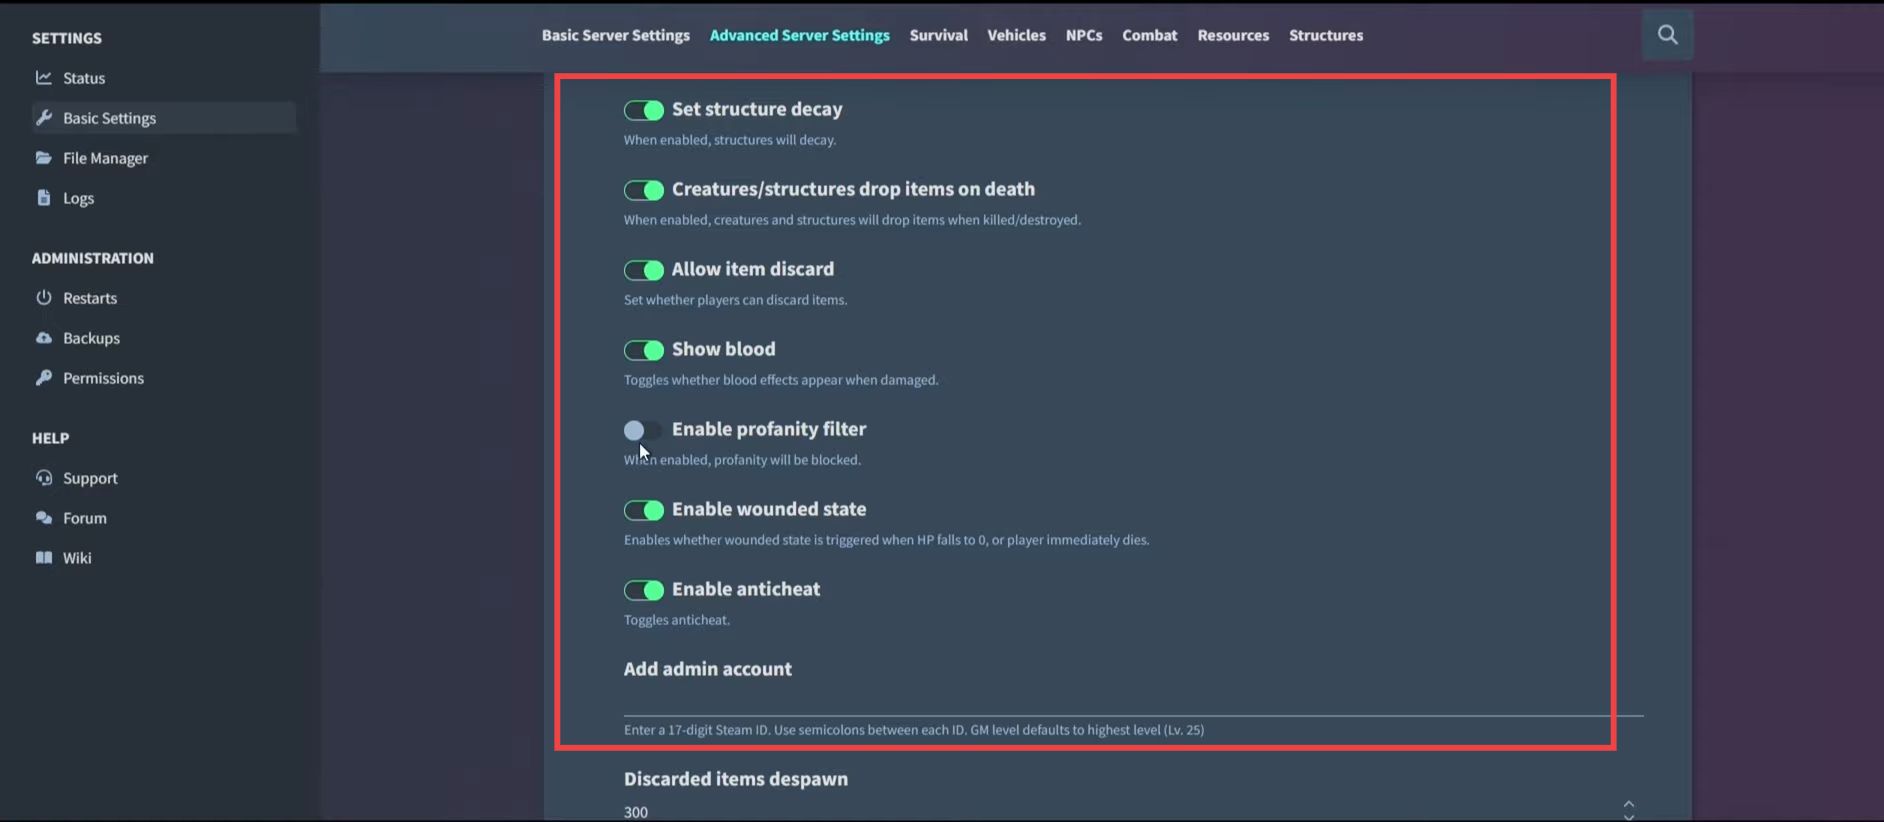
- Navigate down to Advanced server settings and turn off the Allow Chat and Allow Attachments options. Turn on or off the “unlock all recipes and talents for new characters” option and set the Starting inventory size to 40.
- Turn on Enable novice protection and set the Item stack rate to 5. Set “Drop items on death” to only drop items in inventory, and enable “creatures/ structures drop items on death” and “allow item discard”.
- Turn on “Enable wounded state” and “Enable anti-cheat”. You can also add your admin account and alter all the other advanced server settings depending on your preference.
- Now moving down to the Survival settings, you can change them depending on your preference. After that, leave all the Vehicle settings and NPCs settings to default. Also, let the Combat settings set to default.
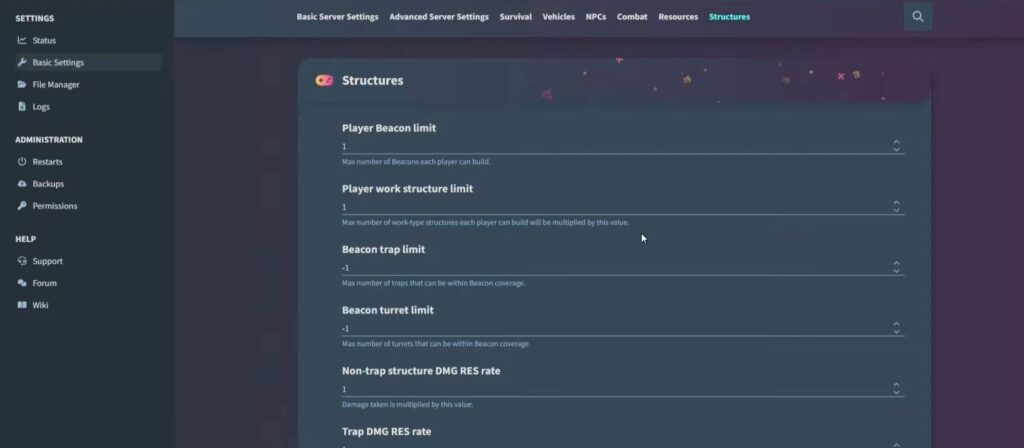
- Navigate down to the Resources settings and set the Resources collection rate to 2 or more. Set the Structures settings to default and then save your server settings.
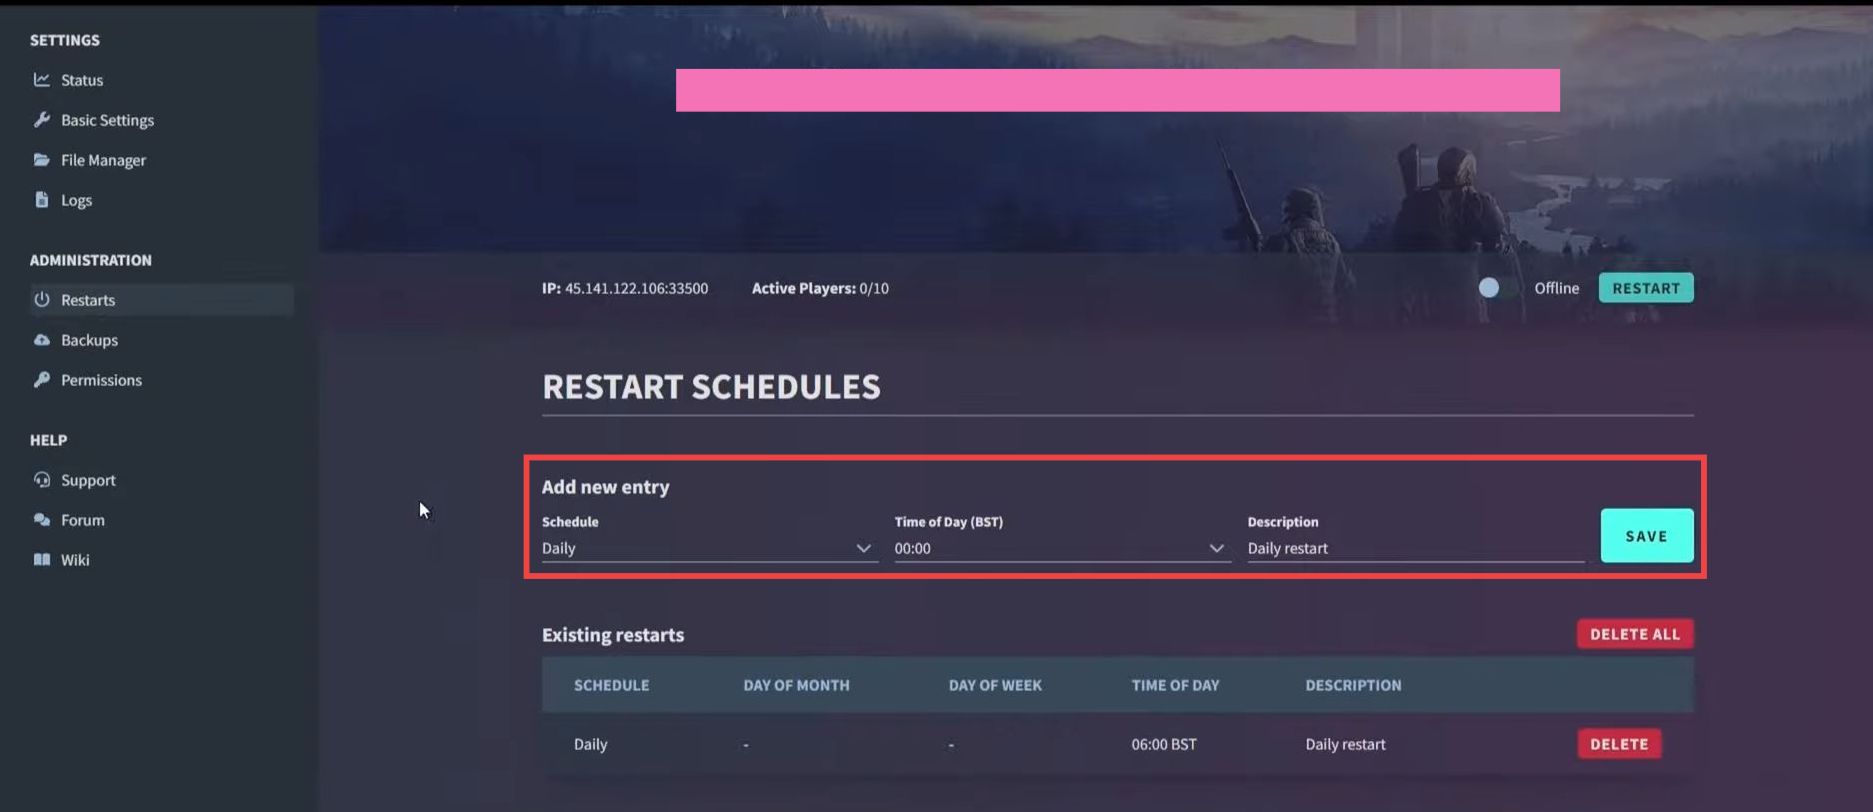
- After that, go to the Restarts section under Administration on the left side and set up a new daily restart restart schedule. Set the clock and hit the Save button.
It will clean up your server every day.
- Go to the Backups section and turn on Automatic Backups. Now go to the Permissions tab and add someone there if you want to.
- Now if you want to add more people to your server, then go to your server and click on Edit Gamecloud. Increase the slots and hit the Confirm button.
