The Cyberpunk 2.0 and Phantom Liberty updates can potentially break or render your installed mods incompatible. This guide will let you know how you can uninstall or fix the Broken mods in Cyberpunk 2077.
Step 1: Backup Your Saves
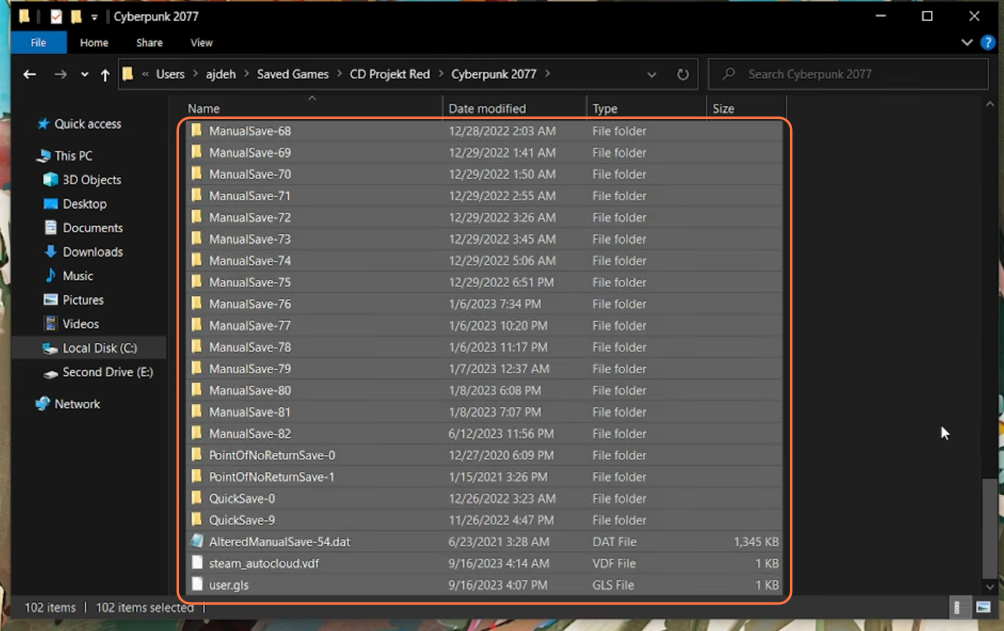
Before making any changes, ensure you have backups of your saved games:
- Open File Explorer and navigate to your Cyberpunk directory.
- C Drive > Users > Username > Saved Games > CD Projekt Red > Cyberpunk 2077
- Select and copy all of your saved game files.
- Create a new folder on your desktop or another location and paste the saved files there. Name this folder something like ‘Saved Games’.
Step 2: Disable Auto Updates in Steam & GOG
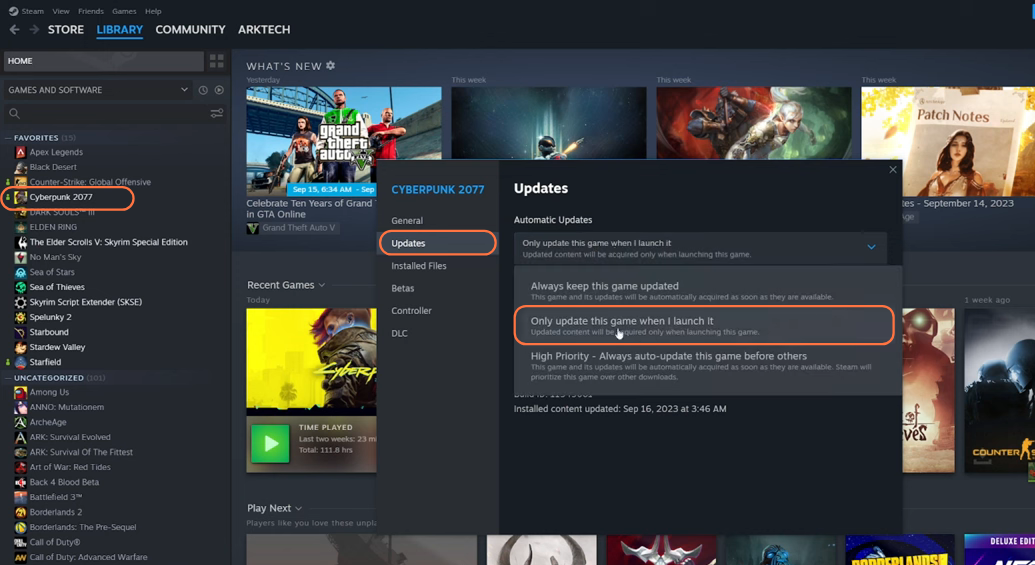
To prevent automatic updates, follow these steps.
- For Steam: Right-click your Cyberpunk game in Steam, go to Properties, and select the Updates tab. Choose ‘Only update this game when I launch it’.
- For GOG Galaxy: Right-click your Cyberpunk game in Gog Galaxy, go to Manage Installation, choose Configure, and disable automatic updates.
Step 3: Fix Script Errors
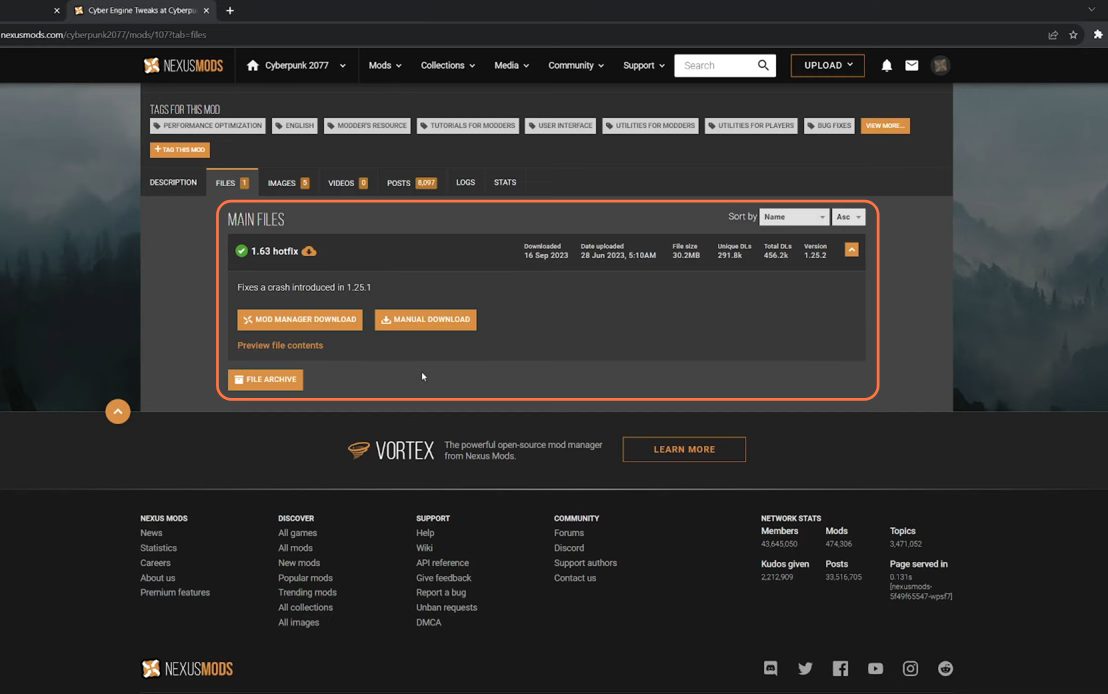
If you encounter script errors, update your script mods:
- Identify the mods causing errors, such as Cyber Engine Tweaks or Cyber CMD.
- Visit the mod’s page from where you’ve downloaded these mods like Nexus Mods.
- Go to the main page of the mod on the Nexus site and navigate to the ‘Files’ section.
- Download the updated version through the ‘Mod Manager Download’ or ‘Manual Download’ options and enable it.
Step 4: Revert the Game Version in Steam & GOG
If needed, revert to a previous game version i.e. downgrade from patch 2.0 to a previous patch like 1.63.
Step 5: Save All Game Files to a New Folder
Separate your game files from Steam or GOG:
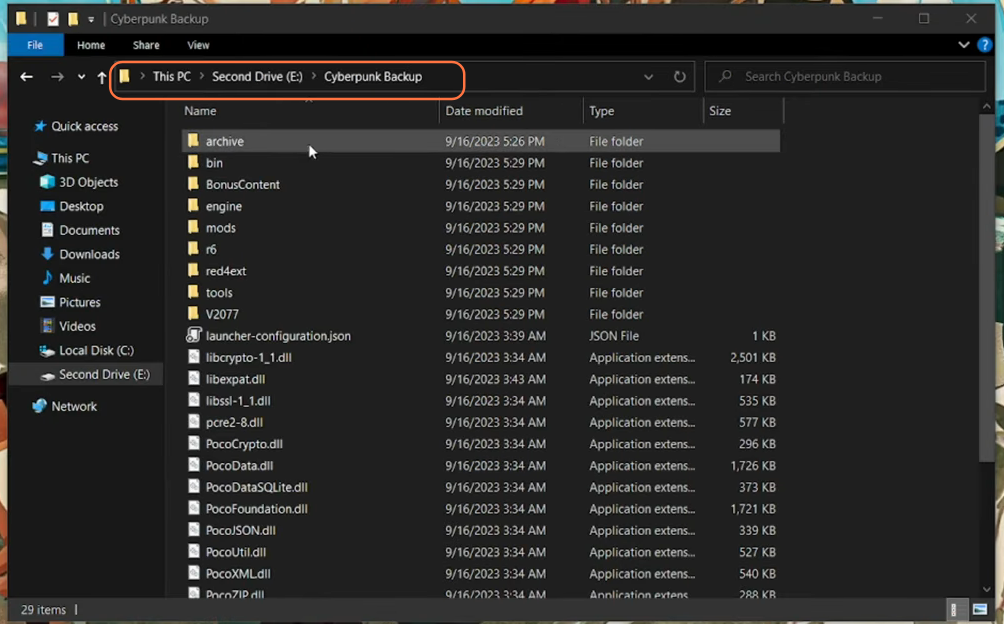
- Locate your Cyberpunk 2077 directory.
- Select all files and copy them to a new folder on your computer drive that preferably has at least 70 GB of storage.
- This folder should serve as a backup of your game files, preventing Steam from forcing an update to 2.0.
Step 6: Link Your Backup Game to Vortex Profile
Set up a new profile for your backup game:
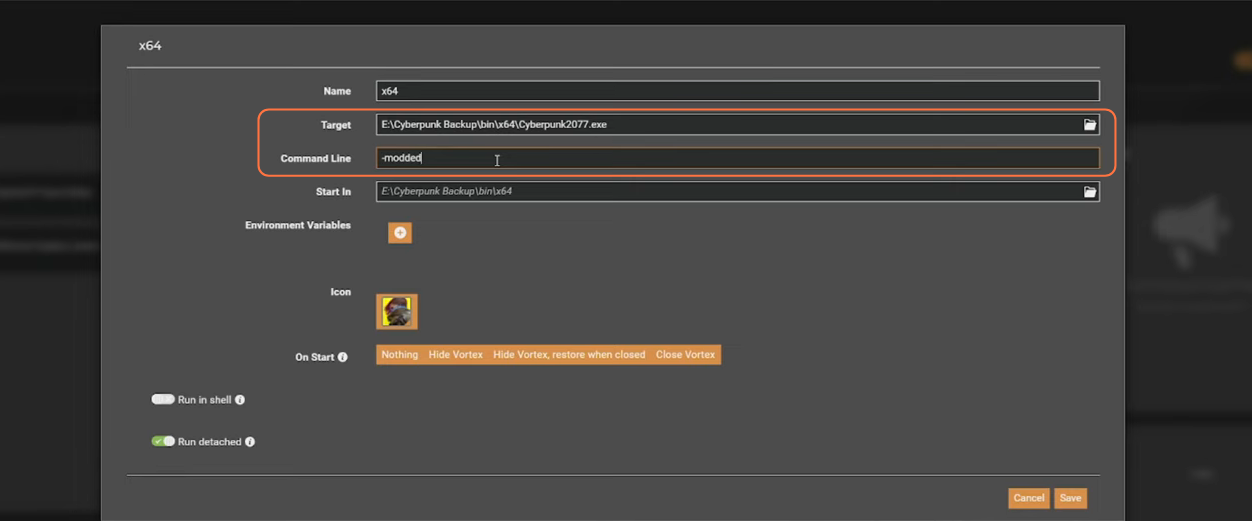
- Copy the address of your backup game’s .exe file.
- In Vortex, create a new profile, name it, and set the Target field using the copied address and exact name of the file with the .exe extension.
- Add ‘-modded’ to the command line field and save the profile.
Step 7: Delete All Mods and Old Files
To play a clean Phantom Liberty and 2.0 game, delete all mods:
- Uninstall Cyberpunk 2077 from your Steam or GOG Galaxy client.
- Access your Cyberpunk 2077 directory.
- Delete any remaining files, including mods and remnants from Vortex.
- Steam or GOG folder should be empty if you want Phantom Liberty or 2.0 to launch without any conflict mods.

Step 8: Create a New Mod Profile in Vortex
For a fresh start, create a new mod profile:
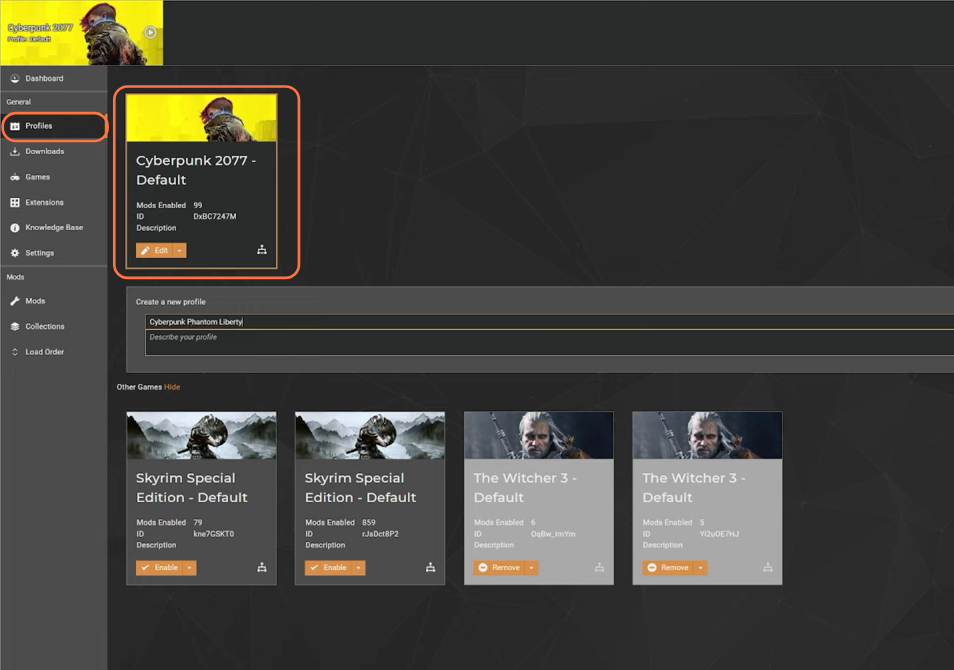
- In Vortex, go to the Profiles tab and add a new profile, giving it an appropriate name.
- Enable the new Phantom Liberty profile.
Step 9: Save Your Character Preset (Without A Mod)
To save your character’s appearance:
- Install the Appearance Change Unlocker mod (compatible with 1.63).
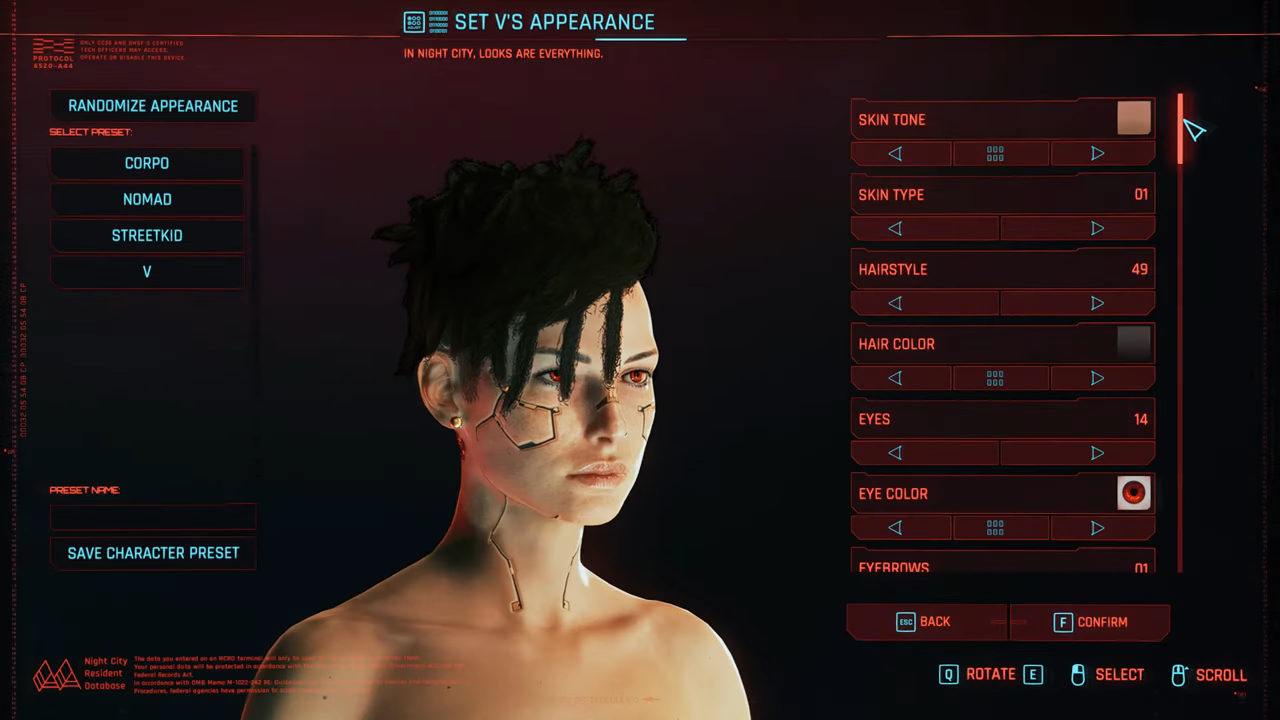
- Load the game and go to your apartment’s mirror.
- Access the ‘Change Appearance’ option and create a character preset.
- Save the character preset file, and locate it in the ‘appearance change unlocker’ folder within your game directory.
By following these steps you can manage your mods, fix script errors, and prepare your game for the Cyberpunk 2.0 update.