In this guide, you will learn how to uninstall ReShade from the Sims 4. First, you have to locate the ReShade setup tool and uninstall it. After that, delete the leftover game files from the files directory.
- First, you need to locate the Reshade setup tool that you initially used to install Reshade. If you don’t have it, you can download a new one. Double-click the Reshade setup tool to run it.
You may see a warning that using Reshade on multiplayer games could result in bans. - In the installer, navigate to the folder where you have The Sims 4 installed. If you’re having trouble finding it, you can check the installation location by going to your EA app or Steam and accessing the game’s properties. Copy the file path for The Sims 4’s installation folder.
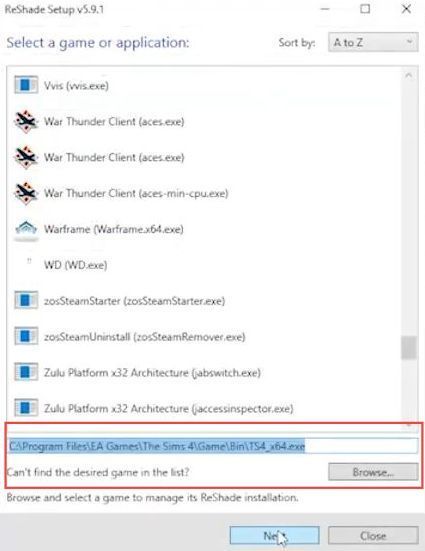
- After copying the installation folder’s file path, return to the Reshade installer and paste the file path in the provided field.
- You have to select the executable file of the game you want to remove Reshade from. For The Sims 4, this would typically be the ts4_64.exe 64-bit version. Click Open.
- Confirm any permissions that the installer may request, as you will need administrative privileges.
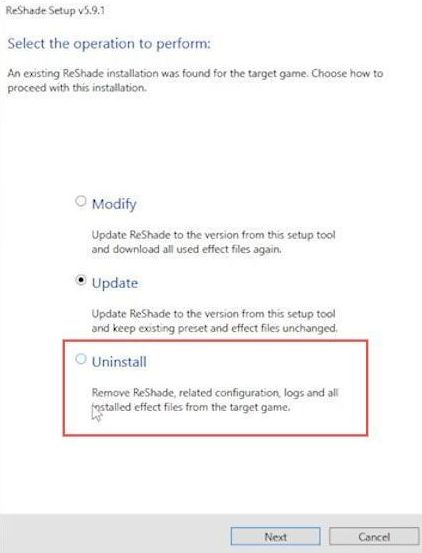
- Ensure you know the game’s graphics mode for proper removal, and run the Reshade installer. Then you have to choose the Uninstall option and click Next.
- Review and select any additional options, like removing presets or updating Reshade. After that, confirm the uninstallation process and once it completes, click Finish.
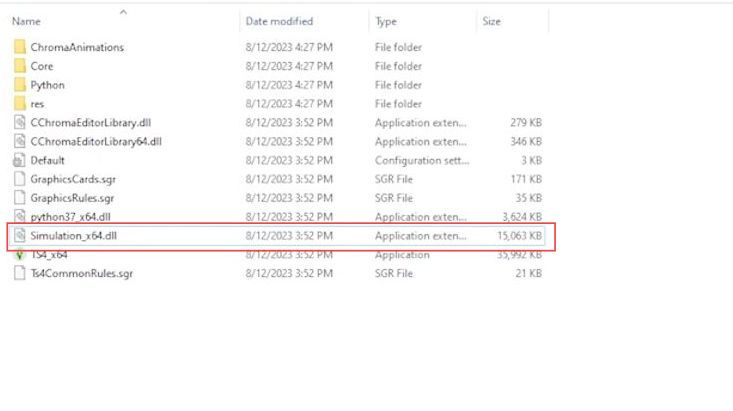
- Open the Bin directory of The Sims 4 game, look for any leftover Reshade files or folders, and if you find any Reshade-related files or folders, you can safely delete them.
These leftover files are not in use and can be safely removed. - However, these files are relatively small, so it’s not a major concern if you decide to leave them as they are.