This comprehensive guide will let you know how to upload your Minecraft world to a server hosting provider. Whether you’re exploring new adventures or building towering structures, sharing your Minecraft world with friends on a server adds an entirely new dimension to the game. In this guide, we’ll walk you through the process step-by-step using the Apex hosting panel but you can apply this method universally across various hosting platforms.
Step 1: Prepare Your Minecraft World
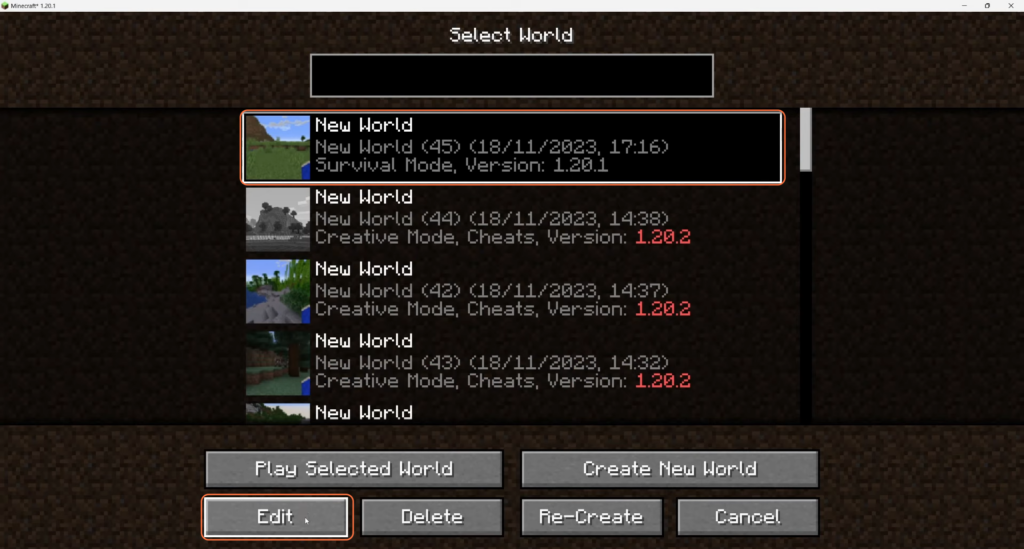
- Start by opening Minecraft and locating the world you wish to upload.
- Exit the game and navigate to the world you want to upload by clicking “Edit” and selecting “Open World Folder”.
Step 2: Organize and Compress Your World
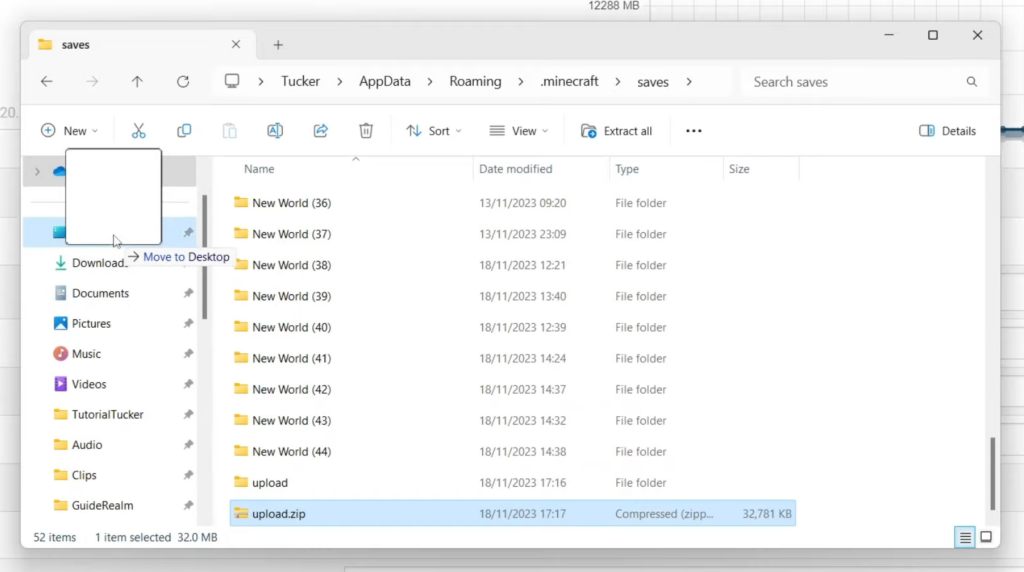
- Identify your selected world in the folder and rename it to something easily recognizable.
- Right-click on the world folder, select “Rename”, and name it accordingly.
- Compress the folder into a zip file by right-clicking on it and choosing “Compress to Zip File”.

Step 3: Prepare for Upload
- After compressing, locate the zip file created and move it to a readily accessible location on your desktop.
Step 4: Accessing Server Control Panel
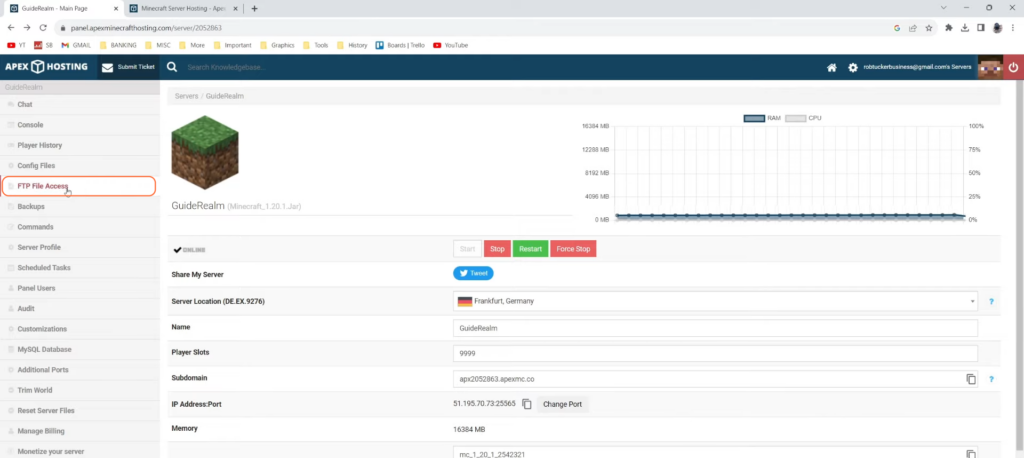
- Log in to your server’s control panel, and go under the “FTP File Access” section or similar options based on your hosting provider.
Step 5: Uploading Your World
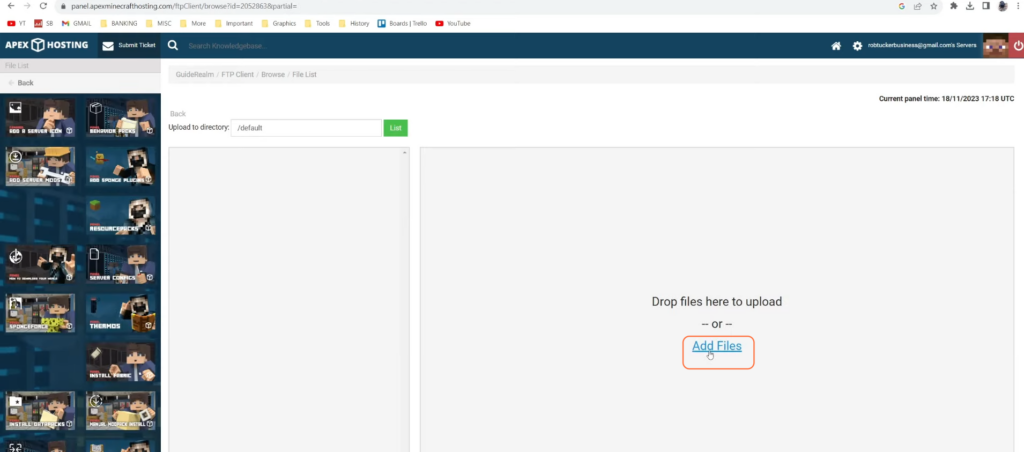
- Now look for an ‘Upload’ button.
- Click on “Add Files” and select the zip file containing your world.
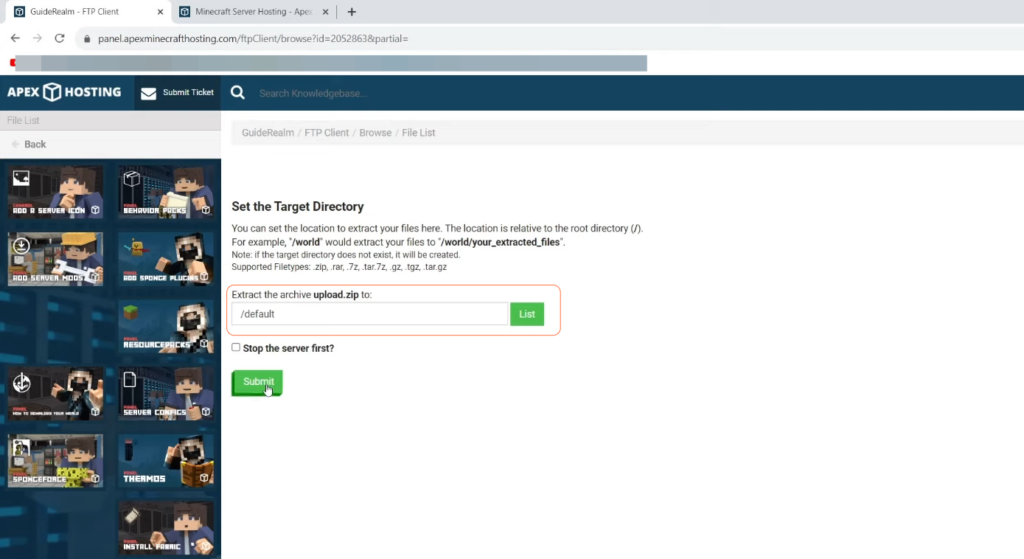
Step 6: Unzipping and Verifying Upload
- After the upload completes, navigate back and locate the uploaded zip file.
- Select the file and choose the “Unzip” option, ensuring it extracts to the default location.
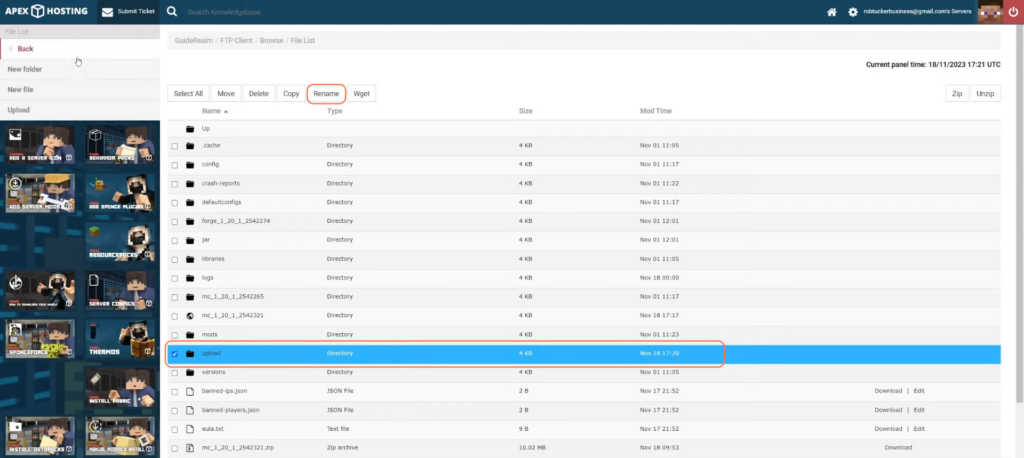
Step 7: Configuring Server to Use Uploaded World
- Depending on your hosting provider, you might need to rename the folder to “world”, which is the default folder the server looks for when loading worlds.
- On certain platforms like Apex, this step might vary. Access the main panel and select the world folder or specify the world name to be used.
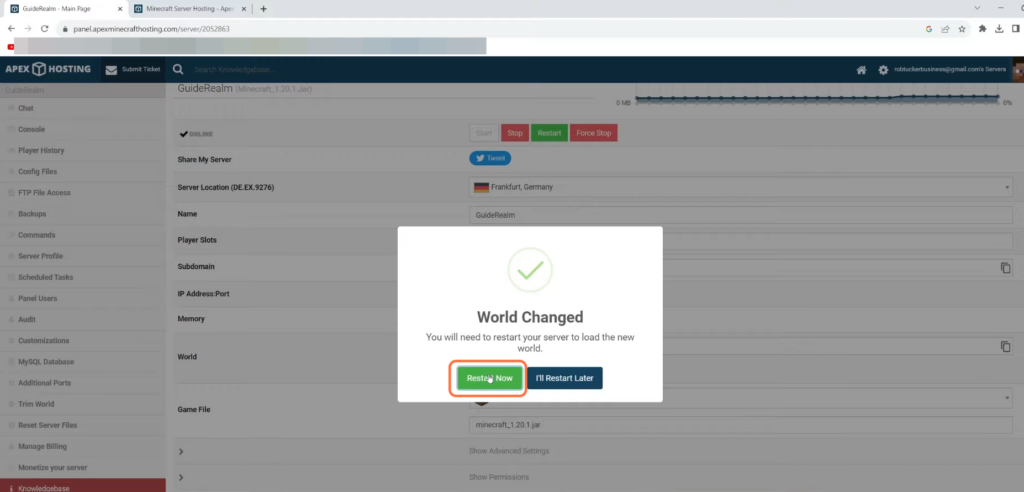
Step 8: Restarting the Server
- Restart your server to implement the changes made to the world selection.
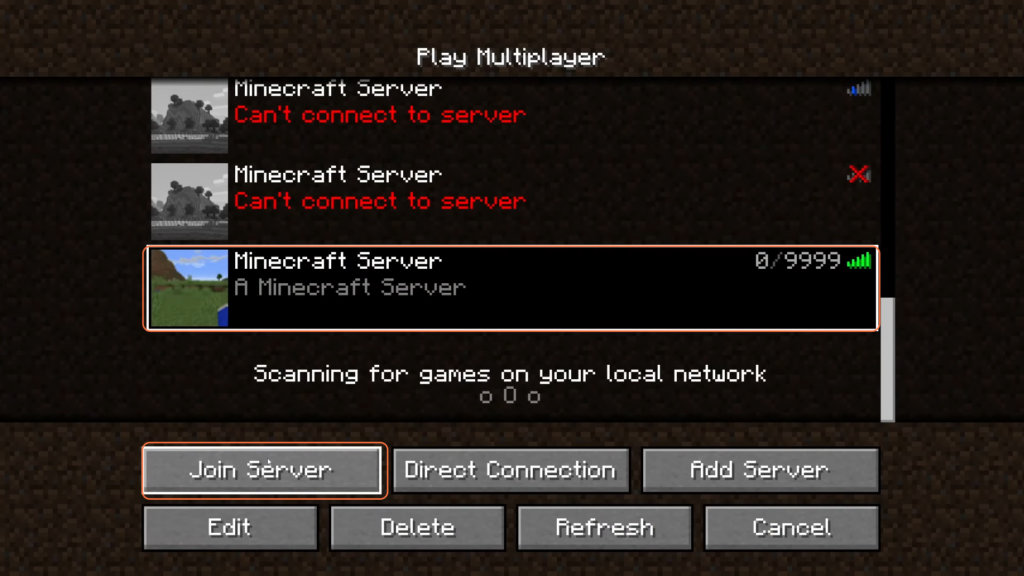
Step 9: Join the Server and Enjoy Your World
- Once the server restarts, join the server through Minecraft multiplayer. Share your server IP with friends to play together.
- Confirm that your world is successfully uploaded and accessible on the server. Enjoy exploring and building with friends!
By following these steps, you can effortlessly share your crafted Minecraft worlds with others on your server.