Scary Horror Escape Room Games is a of puzzle game that follows the concept of escape rooms, which are physical adventure games. The players will be locked in a room and must solve a series of puzzles to exit. However, in this particular game, the twist is that it has a scary horror theme. The game incorporates elements of suspense, fear, and surprise to create a thrilling and immersive experience for players.
This game has eight parts, this guide will walk you through all these parts while providing you with solutions to all the challenging puzzles. You will find all the useful hints you need to solve the mystery.
Part 1 – Cell
In the first part, you will be located in a locked cell room with a dead body, you first need to collect the crowbar from the ground. After that, Now tap the gate to look through the bars, then open the bars using the crowbar and grab the knife. There is a gate ahead of you that needs a 6-digit code to get unlocked.
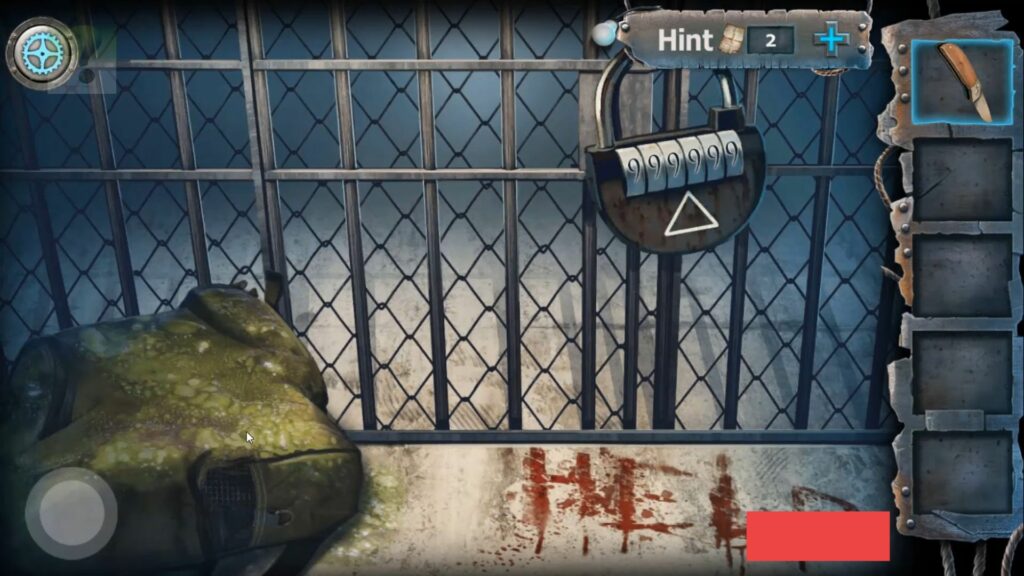
Note the triangle clue and view the electrical box on the right wall.
To get the code, you must work out the missing number in the 3rd triangle and use the code to open the lock. Pass through the door to exit the prison.

Have a look at the spider on the wall, tap on the far right to find a symbol shape, and collect it. View the red first aid box on the floor, and open it up using the symbol on the top. Pick the green liquid and then view the pile of bags on the left.

Kill the creatures using this liquid, then grab a pair of chopsticks. Now return to the first room, open the gate, and open a green backpack using the knife. Use the chopsticks to collect a lighter and note the word “HELP” on the floor.

Go to the second room, use the lighter on the web of the spider to burn it away and scare away the spider.
After that, clean away the burnt web, and then rearrange the tiles to solve a puzzle, rotate every tile, and complete the word.
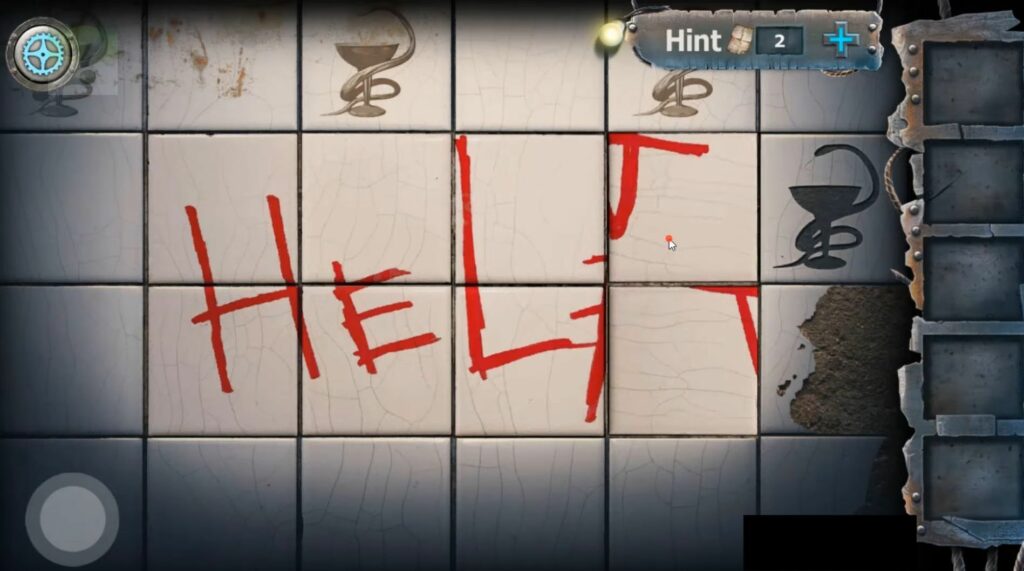
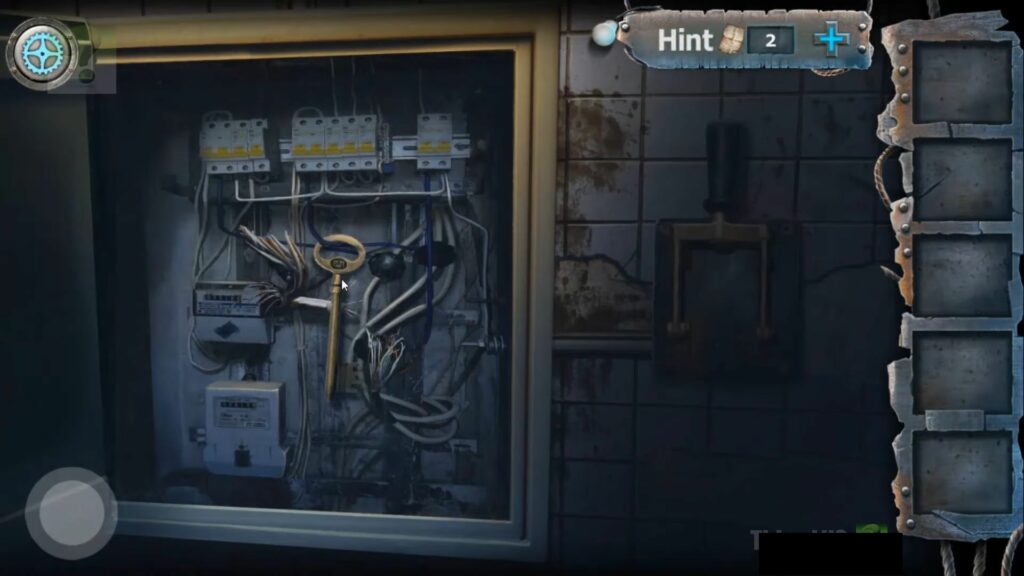
Grab a key and use it to open the electrical box on the wall. Turn off the power by using the switch on the right side and then pick up the key from inside.
Part 2 – Bathroom
Move through the bathroom and tap the toilet on the left to reveal a pipe. Collect the piece of pipe and then have a look at the other side of the room. After that, click lift the floor grill and collect a key from the drain underneath.

Tap on the lockers on the left, open the door using the key, and grab some nail clippers inside it. Note down the positions of the red bottles and use the pipe on the wall to the white X on the lockers.
Now use the nail clippers to cut the sparking wire and then close the lid of the toilet. It will slide under the ceiling fan, you need to view the ceiling fan and collect a red tap handle.

Head to the other side of the room and open the panel between the sinks to find four valves. Turn them to the correct positions and view the sink on the left. You will find that there is no tap handle.
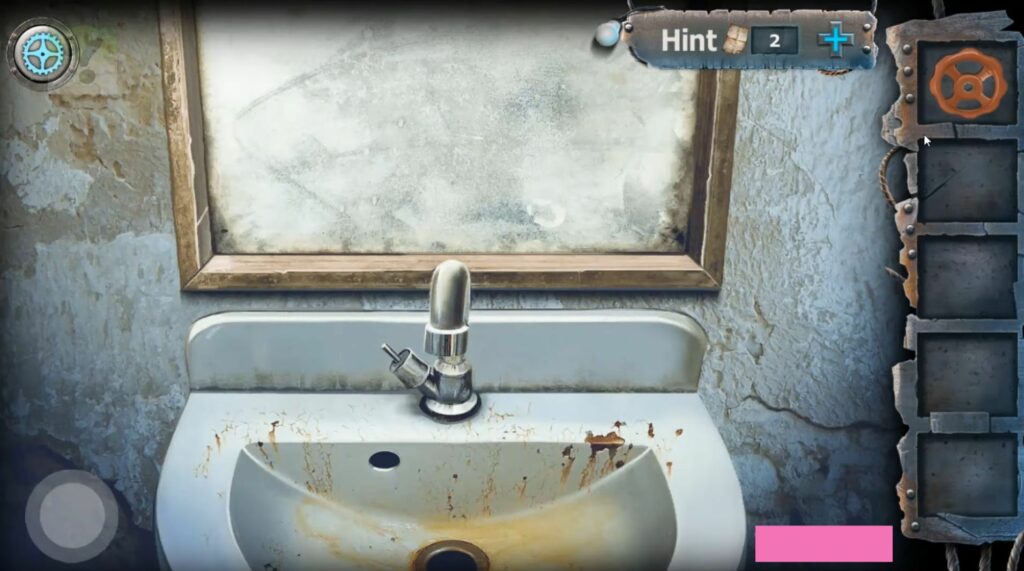
Place the red handle on it, turn on the water, and a key will float up. Now open up the stall door with the red X using the key and you will find a hole in the wall. use this hole to escape the room and it will complete the second part.

Part 3 – House
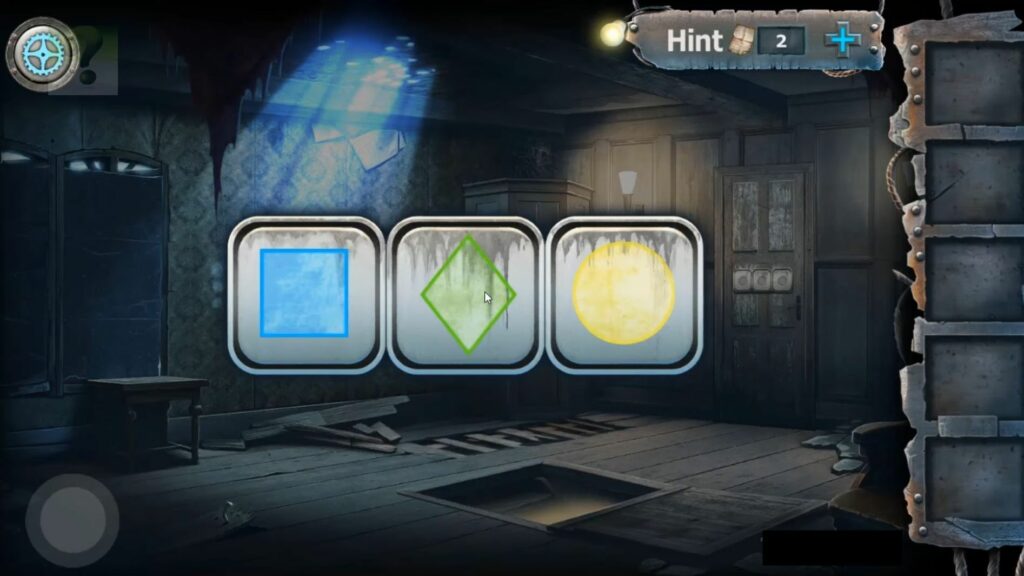
In part 3, you will be located in a creepy house with a hanging body. Roam around this room as there are four symbols to find. Look to the other side of the room and there will be a square hatch with a 4 symbol lock on the floor.
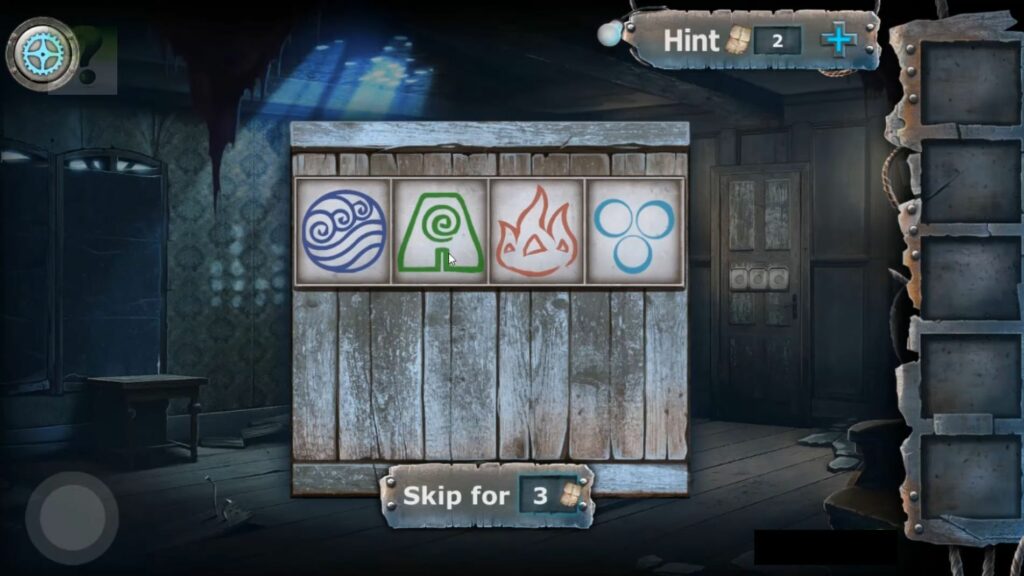
Unlock it using the 4 symbols found in the other area of the room and go to the open hatch to find a flooded basement. After that, turn on the light using the light switch.
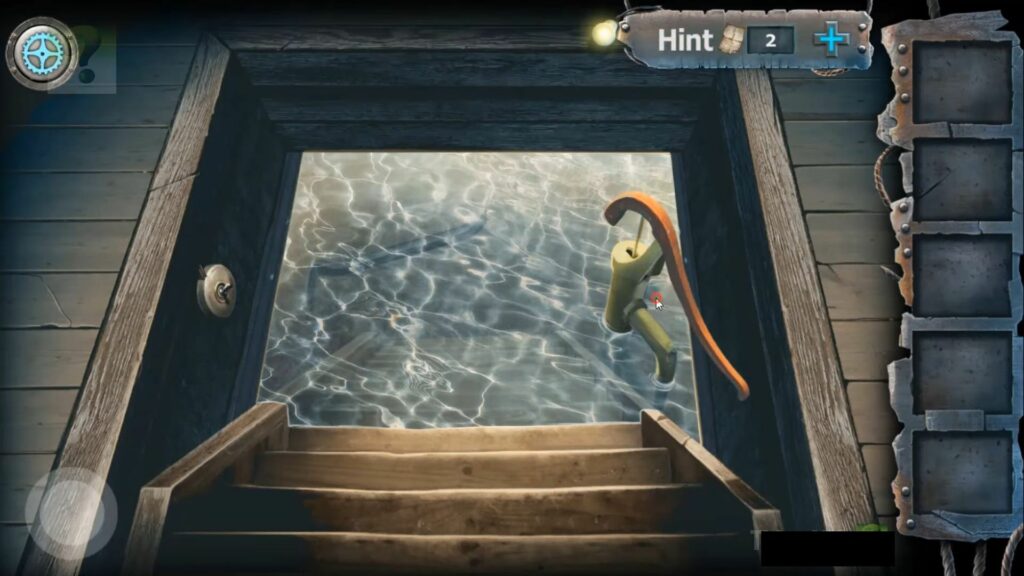
Keep tapping on the pump to drain away the water and then collect the crowbar before it fills up again. Remove the loose board using the crowbar, pick a nail, and then notice the pattern of dots on the wall, it is a clue.
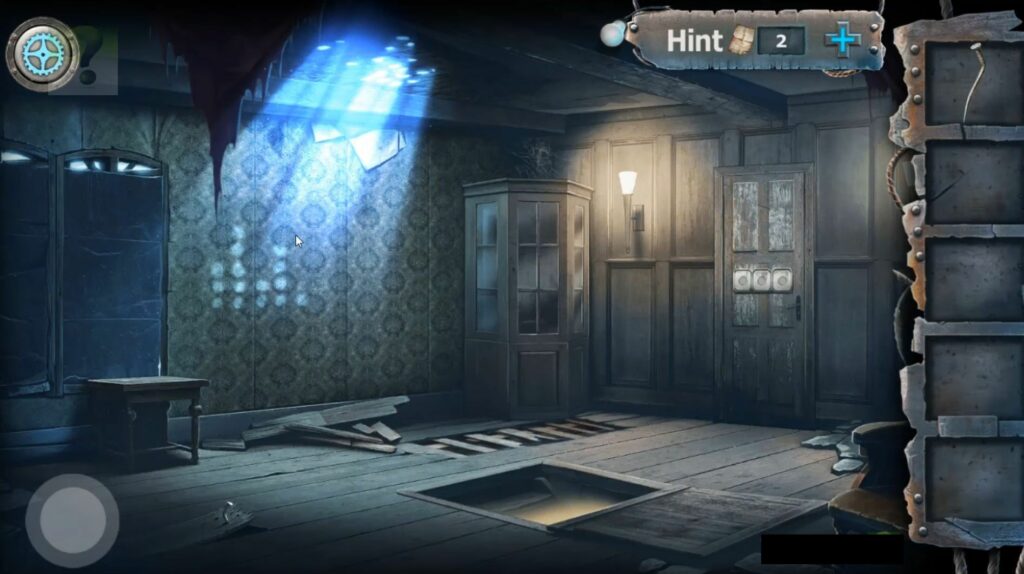
Move the painting on the wall in the first area to reveal a safe, and then insert the nail into the lock. It will start a lock-picking puzzle, where you will need to set five tumblers.

Grab the necklace from the safe and then view sets of nails on the right side wall. Place the necklace on the sets of nails to find a pattern of colored shapes on the floor, then go to the other side of the room again. After that, click on the door to find a three-symbol lock.
Open it up by entering the correct sequence from the clue and then exit out. It will complete this part.
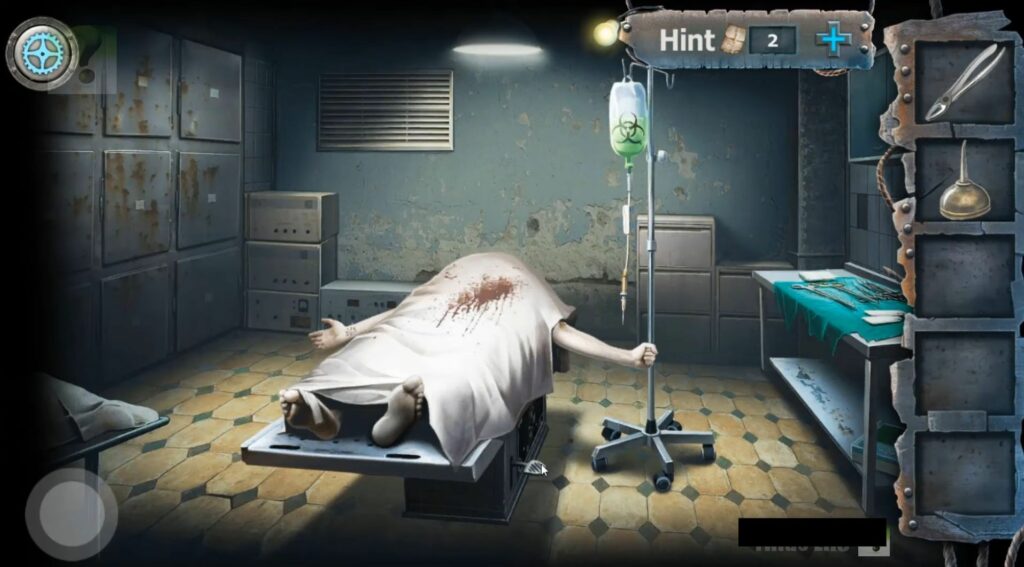
Part 4 – Operating Room
In this part of the game, you will be located in the dimly lit medical operating theatre with a dead body. Look around to the other side of the room. Move the piles of papers On the floor until you uncover some papers with clues on them.

Collect scissors from the hand of the dead body, then go to the first area, and use the scissors on the tape between the curtained panels. Move the curtained panels apart to view the area behind, you will find a radio and a generator there. You need to turn on the generator with the help of instructions on the papers.

Tune the radio to the correct frequency to get a clue. Head to the other side and turn on the lamp using the switch on the wall to the right of the body.
Note the positions of the lights, then head to the initial view and click on the box on the right side.
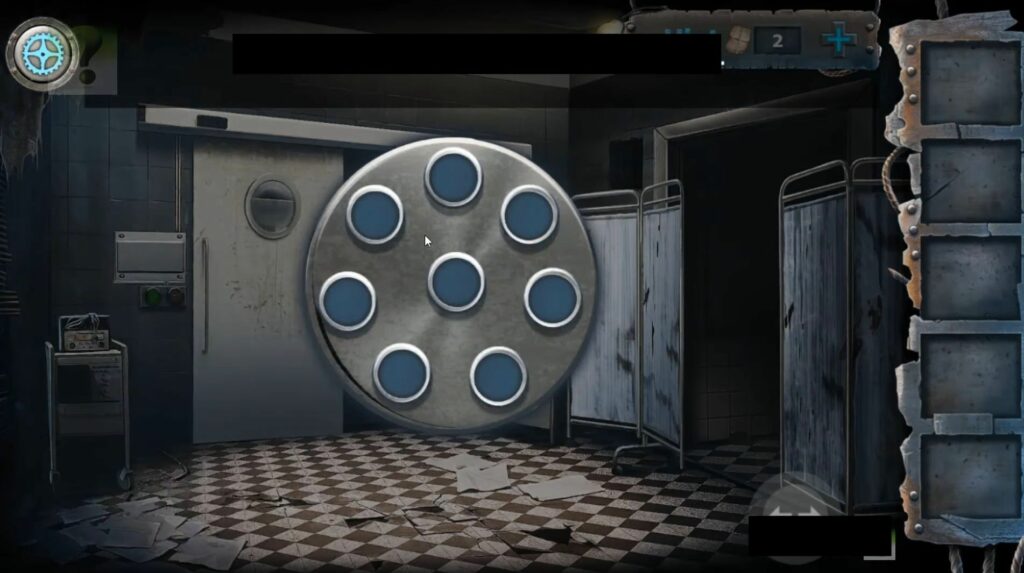
Set the light pattern the same as in the other area. Grab some bottles of colored liquid and open the panel on the left of the door. You have to add the liquids to the correct tubes to solve this, then tap the green button to open the door.

Part 5 – Corridor
Now you will find yourself in a large corridor with some rooms and a figure will appear in the left doorway. Tap it for a scare and pick up a gear from the door. Collect some pliers and an oil can from the trolley on the right side and enter the the room on the right-hand side.
You will find another body on the slab.
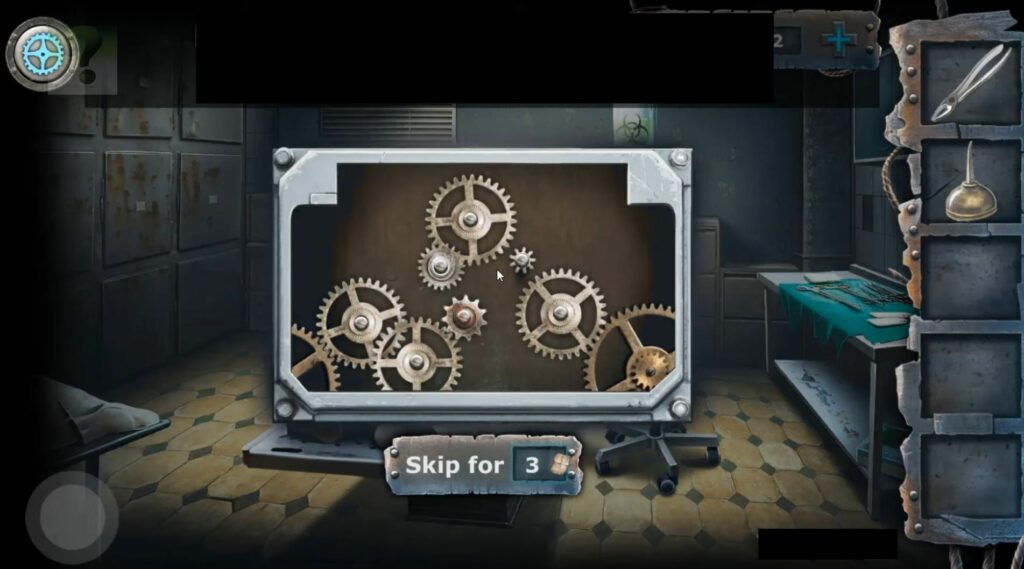
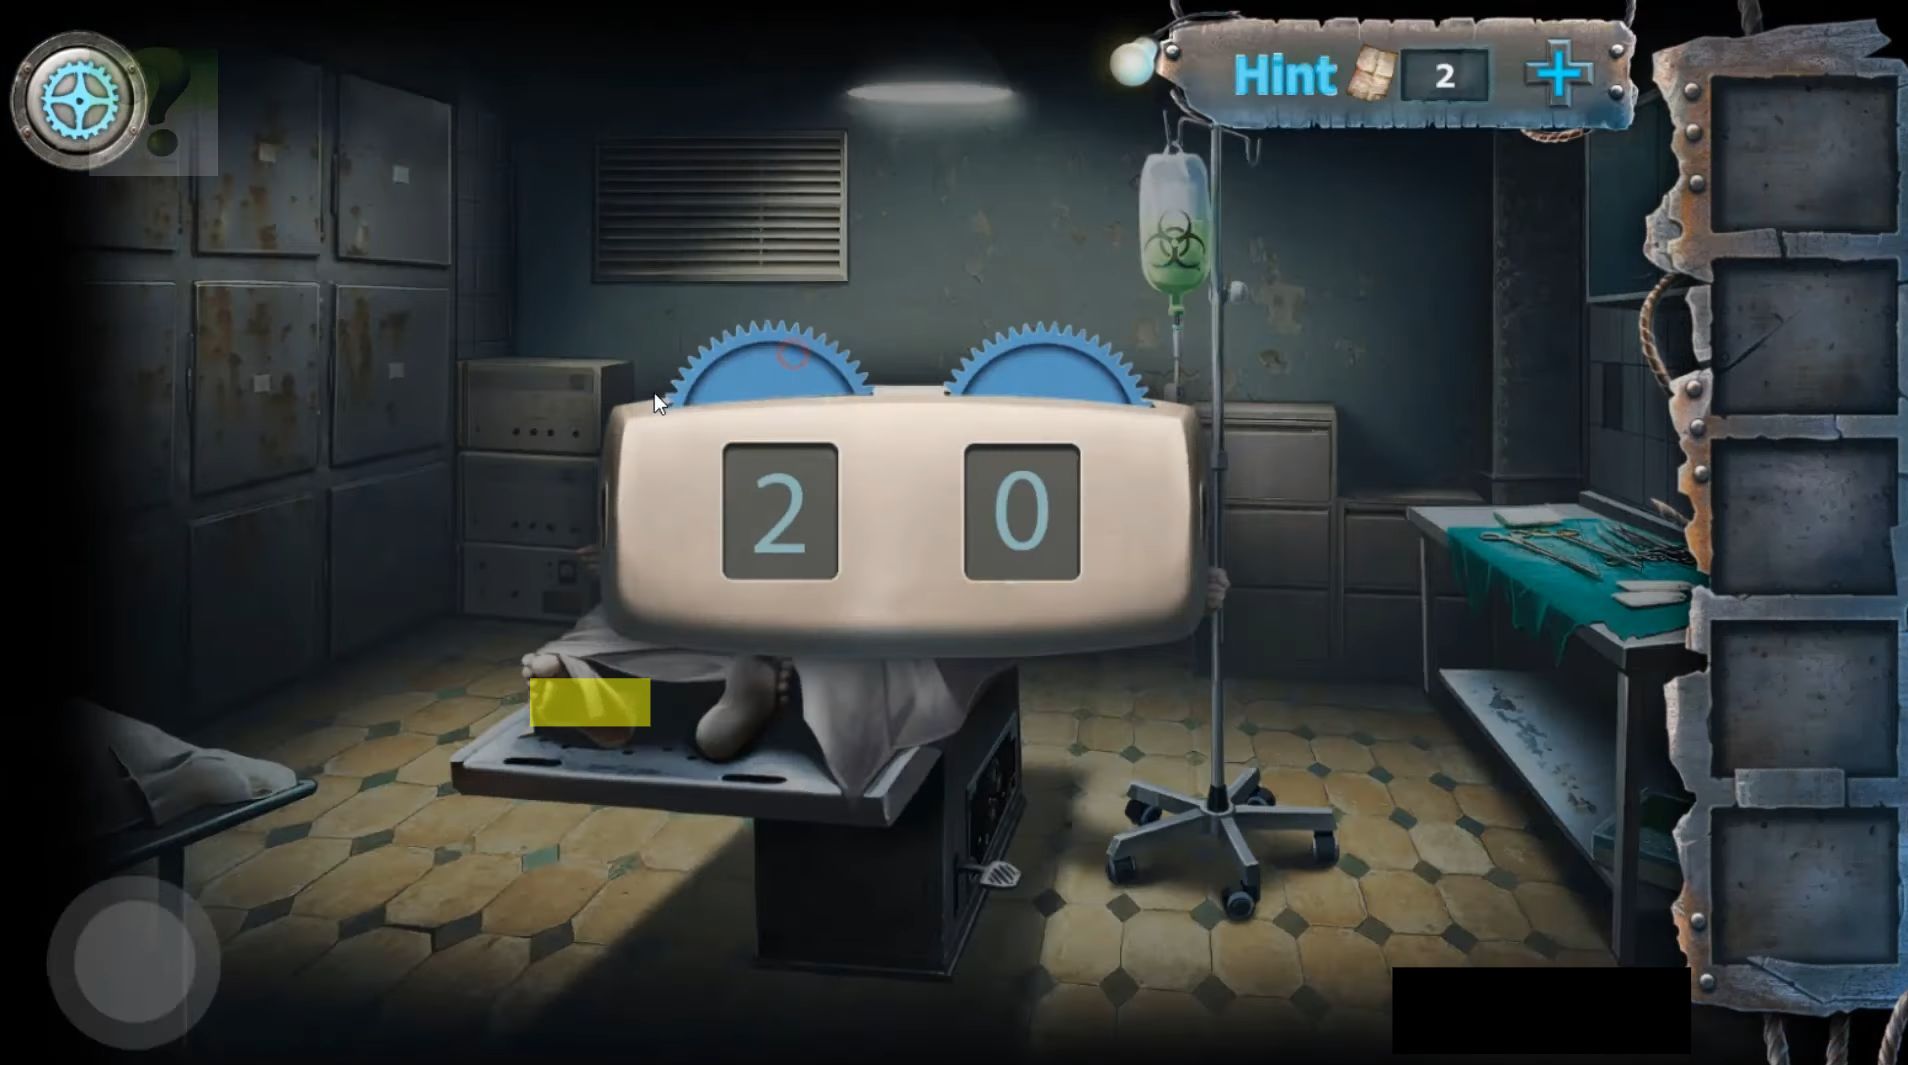
There is a pedal on the base of the medical table and a panel just behind this. Take a look at the panel and add the gear to it to start a puzzle. Arrange the gears to fit them correctly, then tap the pedal to raise the table.
The drip on the right has a needle that now reaches the arm, insert the the needle and view the panel below again. After that, grab the gear, head to the corridor, and view two air tanks on the left.
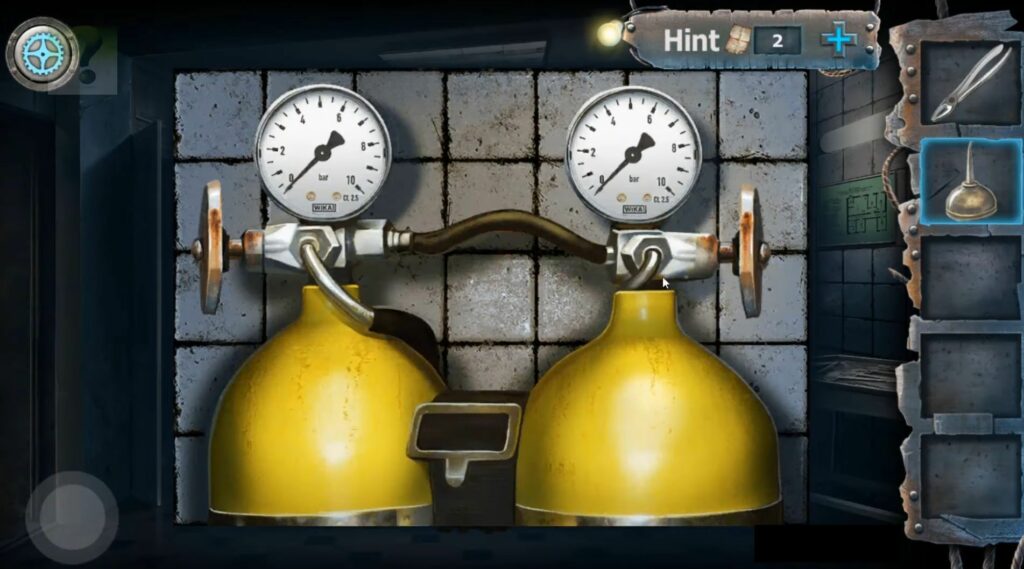
Clear the rust on the two valves by using the oil can and use the pliers on them to turn them. Note the pressure reading, then return to the mortuary and click on the tube connecting the needle and the drip bag of green liquid. You will find a small box on the tube with two dials.
Input the correct values to allow the correct liquid flow pressure to open the hand, Collect a key, and find a clue on the other hand of the body.
Go to the corridor and use the key on the locked door to remove a panel. Add the gear to the door and open the panel to start a puzzle.
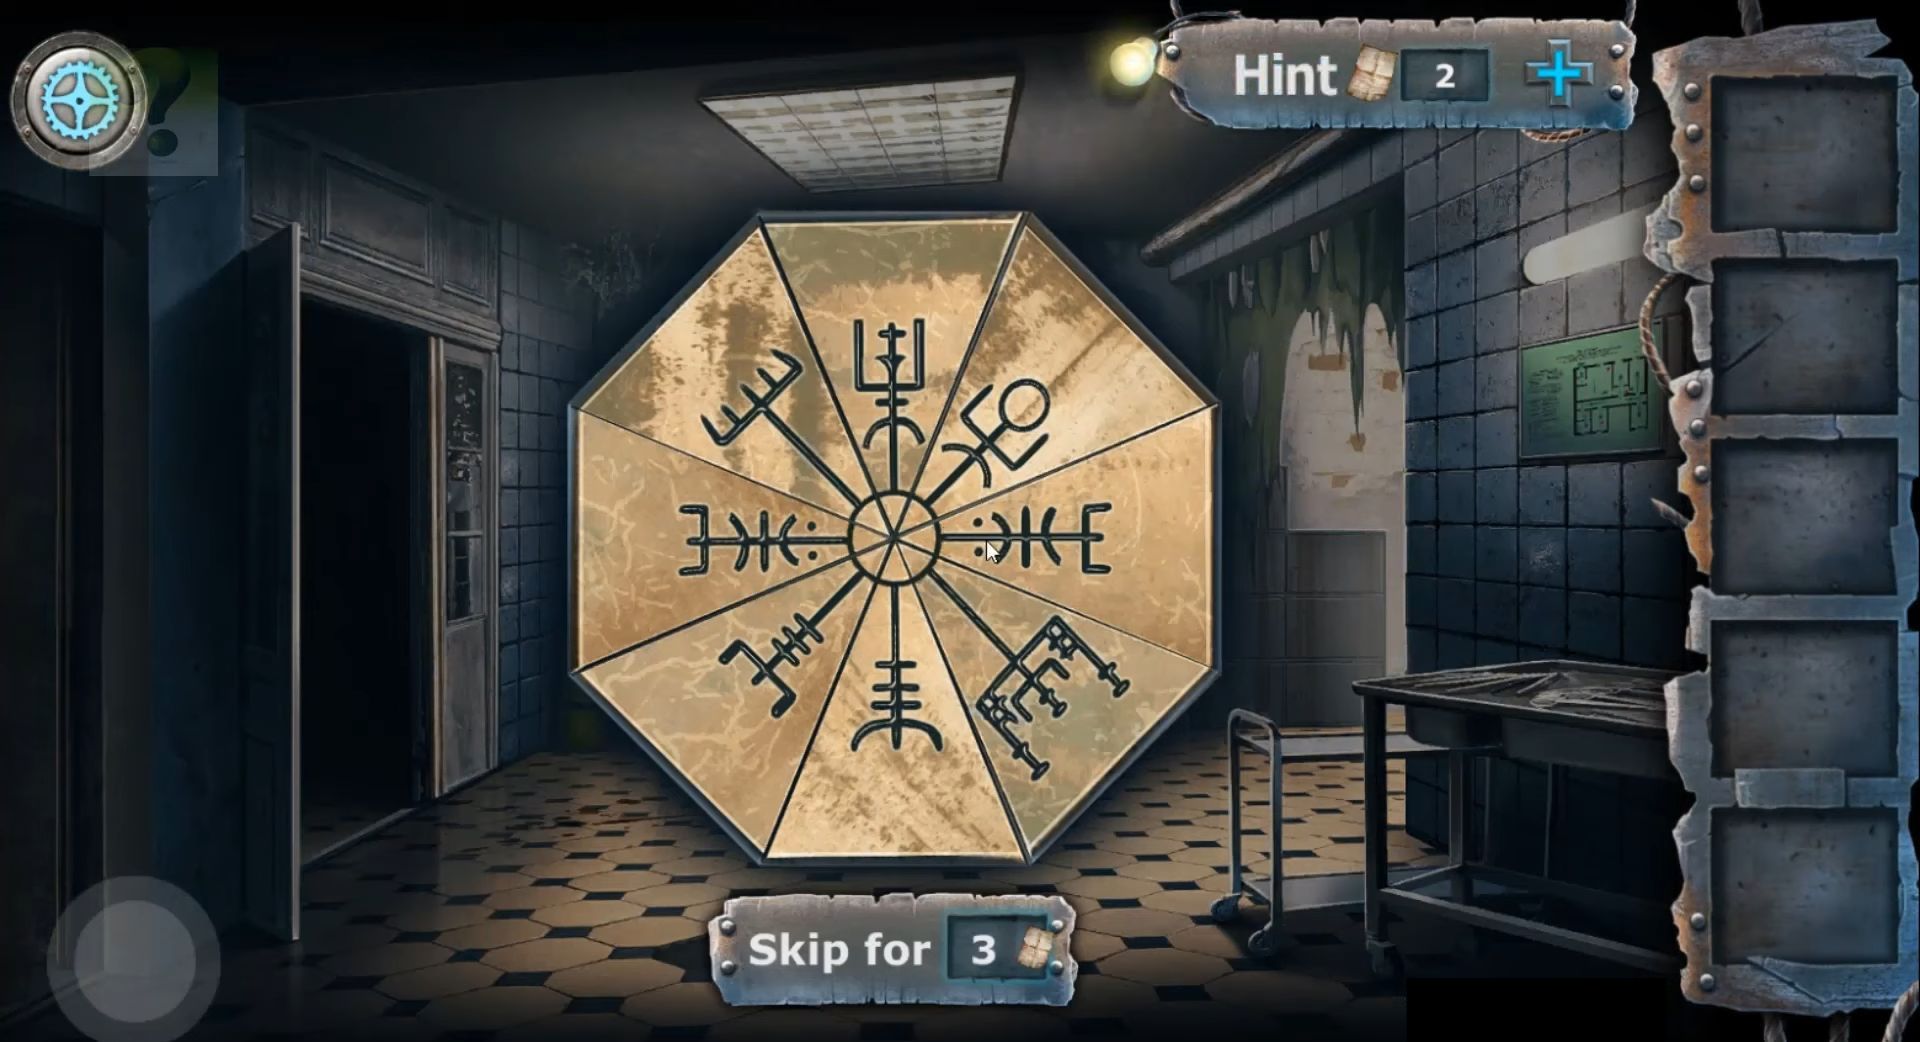
To solve the puzzle, you have to drag the segments and arrange them in the correct order. It will open up the door for you to exit and it will also complete this part.
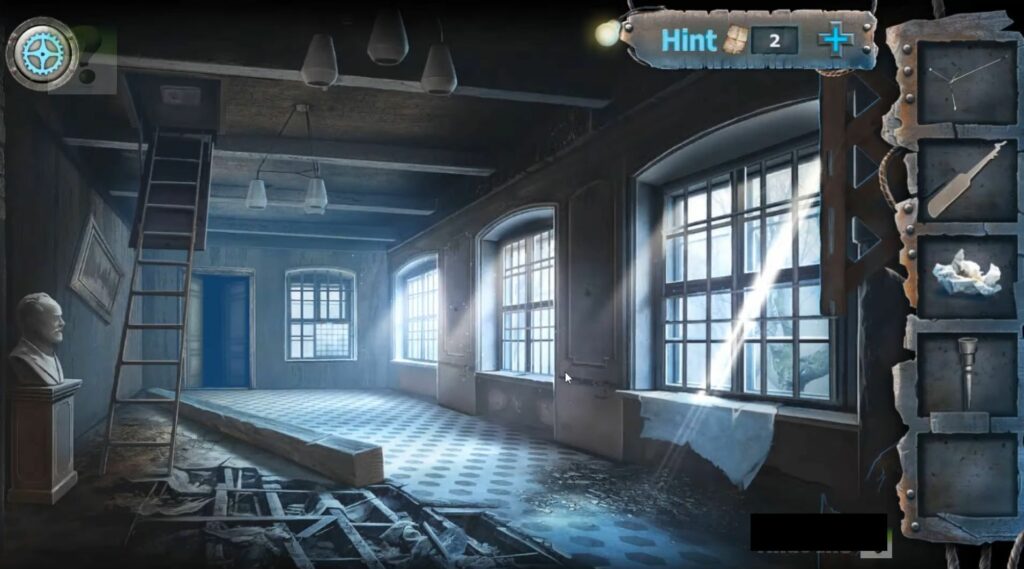
Part 6 – Hall
In Part 5, you will be located in a large hall, and you need to collect the gas mask from the bust. Click on the window at the far end to reveal a puzzle, and move the bars to collect the item at the bottom including a lock pick.

Open the door at the end and move through to the next room, then open the left door and pass through it. Pick up the hammerhead from the table, and combine it with the wooden piece to make a Hammer.
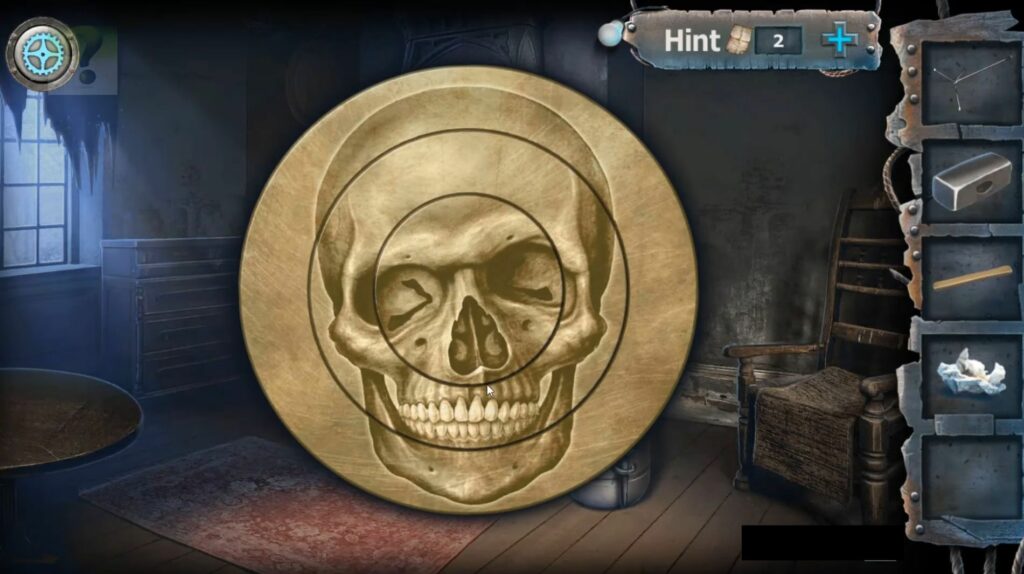
Click on the round tub on the floor to reveal a puzzle with circles, you have to rotate the three circles to complete the picture.
Pick a torch handle from the floor and a metal stand from the chair on the right side. Collect the poster on the wall above with the ghost symbol, then go back to the large hall, and use the hammer on the timber post holding up the ceiling to knock it down. After that, you will be able to use the ladder.
Open the door at the top of the ladder using the lock pick and then move up to the attic.
Collect the magnifying glass from the box on the left. Place the scrunched-up poster on the window sill and then use the magnifying glass on it to fire it up.
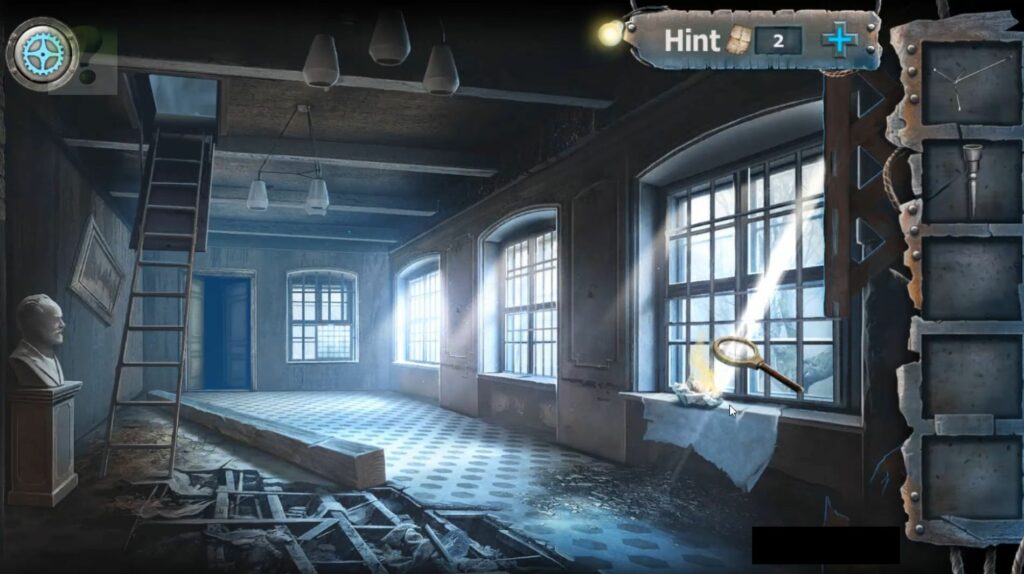
You have to combine it with the torch handle, then go back to the attic and use the lit torch on the monster to make it hide. Pick up a piece of iron and a brush from the chair on the left side, and also collect the bellows from the floor.
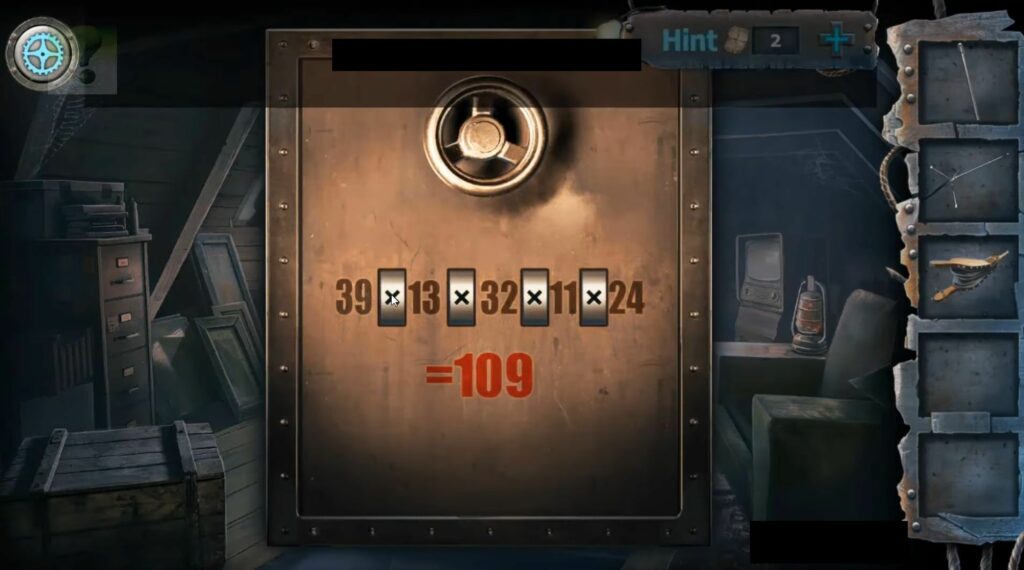
Tap on the metal safe and use the brush to remove the green paint. Change the symbols on the dials and solve the equation to open up the save.
Pick up a microphone and make your way back to the hall. Combine the iron rod, the stand, and the microphone, then place this assembled microphone in the hall.
Click on the microphone to see a projected shadow, it is a clue. Enter the door to the gas-filled area, then head to the open room on the left and add the bellows to the fireplace.

Tap to blow away the soot and it will show you a clue of four Roman numerals. Head to the gas-filled area, and use the clues to solve the locks on the right-hand door. It will end this part.

Part 7 – Cannon
Now you will be located in a small room with a large cannon. Grab the knife from the wall and remove the metal item under the cannon. Spin around the cannon, let the cannonball fall out, and then collect it.

Open the doorway on the right side and collect the brush from the left. Pick a shoelace from the shoe and use the knife on it to cut it open.
Take a box of matches and combine it with the knife to get some green powder. Go to the cannon, point it upwards, and put the green powder inside it. After that, use the brush on the cannon.

Add the cannonball to it, point it back at the wall, and then add the lace to the back of the cannon. Next, you have to light it using the match stick, it will destroy the wall, and send you into a warehouse.
The metal beams will be heading towards you, tilt your device to avoid these rails. Keep avoiding until all of the rails have passed and then go through the door. It will end this part.
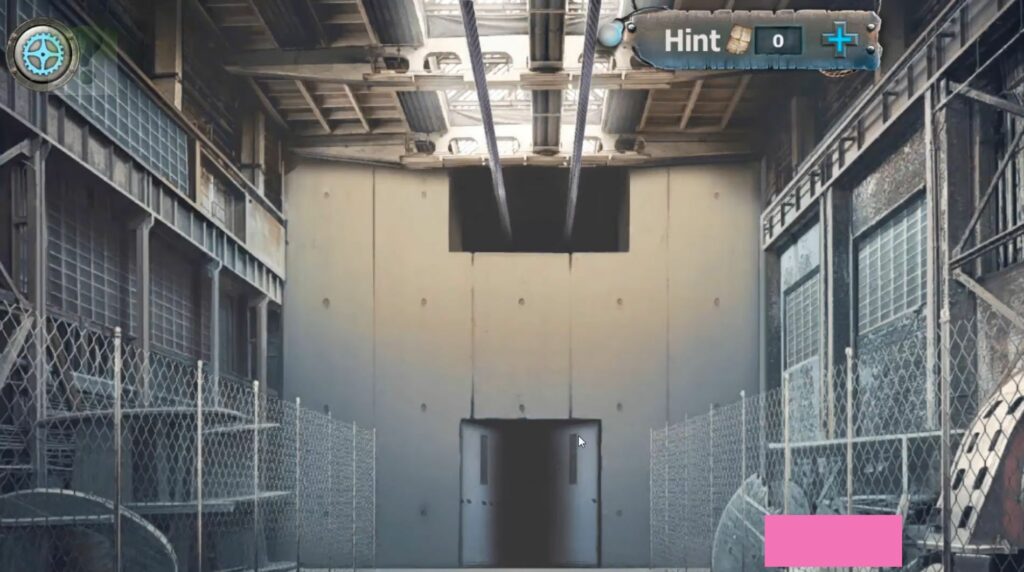
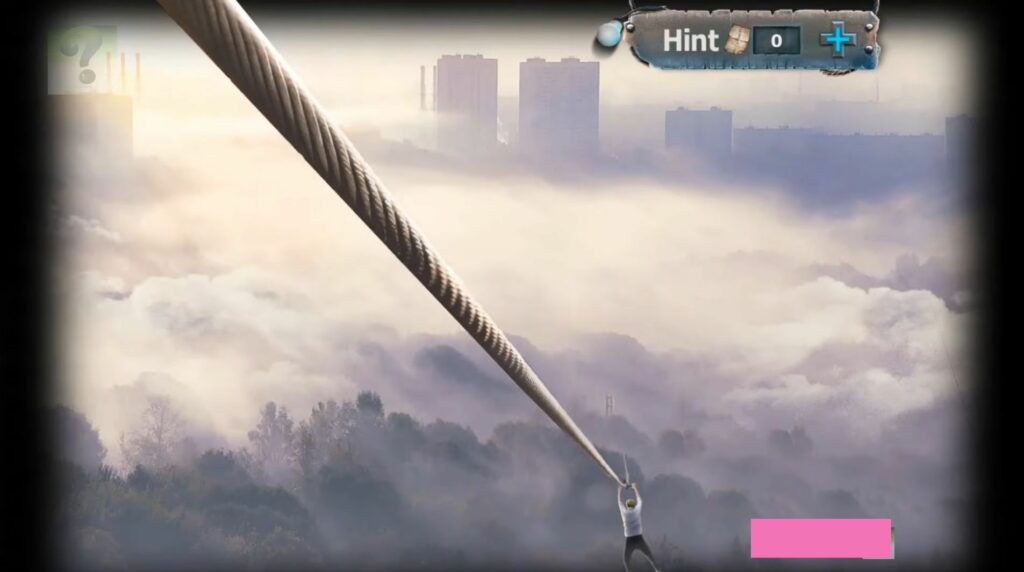
Part 8 – Warehouse
In the warehouse building, you have to pick the board from the ground and then collect the broken glass. Move through to the next area by tapping the archway, grab a square board and the rope from the railing.
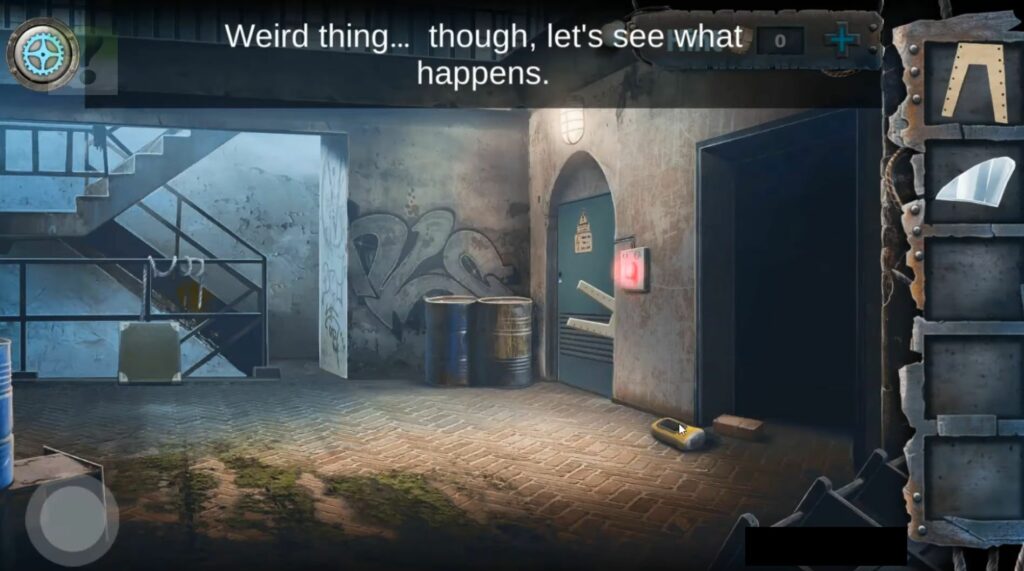
After that, pick up an odd-shaped piece from the green door and a yellow flashlight from the ground. Go to the first area and place the flashlight in the hole of the small window, it will let it recharge in the sunlight.
Move to the right again and use the flashlight on the dark doorway to see inside. Take an odd-shaped board and view the paper on the lockers with a clue. Hit the red button near the green door to see some cables.
Cut the cables using the glass shard and the light will start to flash in a set of short and long flashes. It will give you the Morse code and you can use the paper to translate the numbers.
Open up the locker using the code and collect a glass cutter, another odd-shaped board, and some sort of ‘weird key’ (Torque pressure wrench). Look at the coat on the left as there is a pattern of holes and stitching that is a clue.
Go to the first area, combine all four boards with the square board to make a stool, and then place it near the window.

Start a puzzle using the rope on the stool and then thread the rope in the holes. You have to slide from one hole to the next until you reach the end.
After that, use the glass cutter on the small window to make a hole, and climb up to the rooftop.

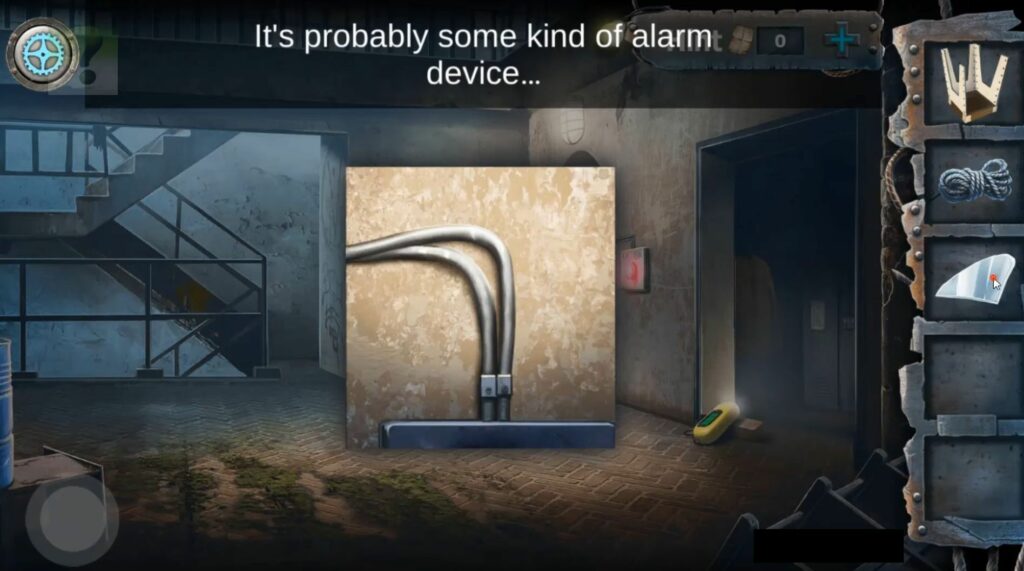
You will find a clue with numbers on the wall section on the left side. Note the red 15 and Yellow 5, then see the lock on the zip line handle. After that, note the green 25 and blue 10.
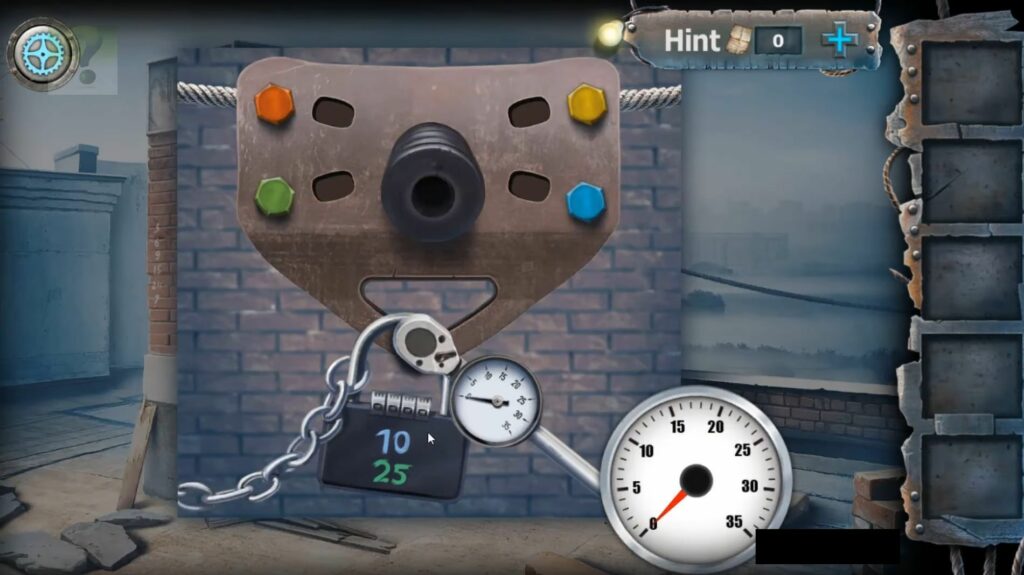
There are four bolts with colors on the handle, you need to use the torque wrench and set the pressure to the correct values from the matching colored numbers.
Find a 4-digit code to open the padlock and then solve the mathematical equation on the wall. Find the two missing. numbers, the first column sequence is 3, 6, 9, 15, 24,?
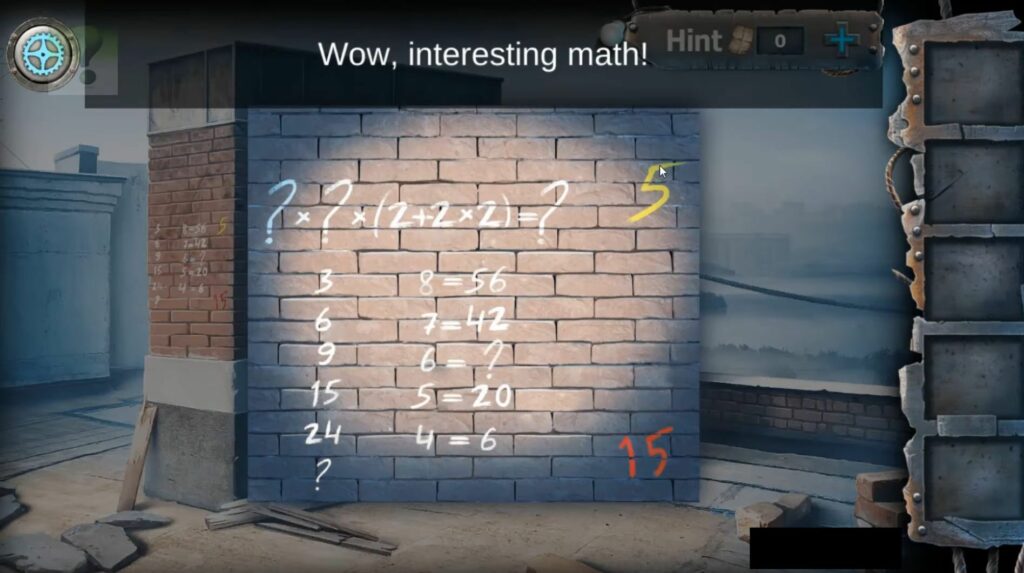
You must figure out how the numbers relate to the second column and what 6 relates to, it will give you two numbers for the equation. Use this final answer to unlock the padlock, and then use the zip line to escape to freedom. It will complete this part and also the game.