In this guide, you will be able to explore the FTP in PS5 and you will be able to set it up.
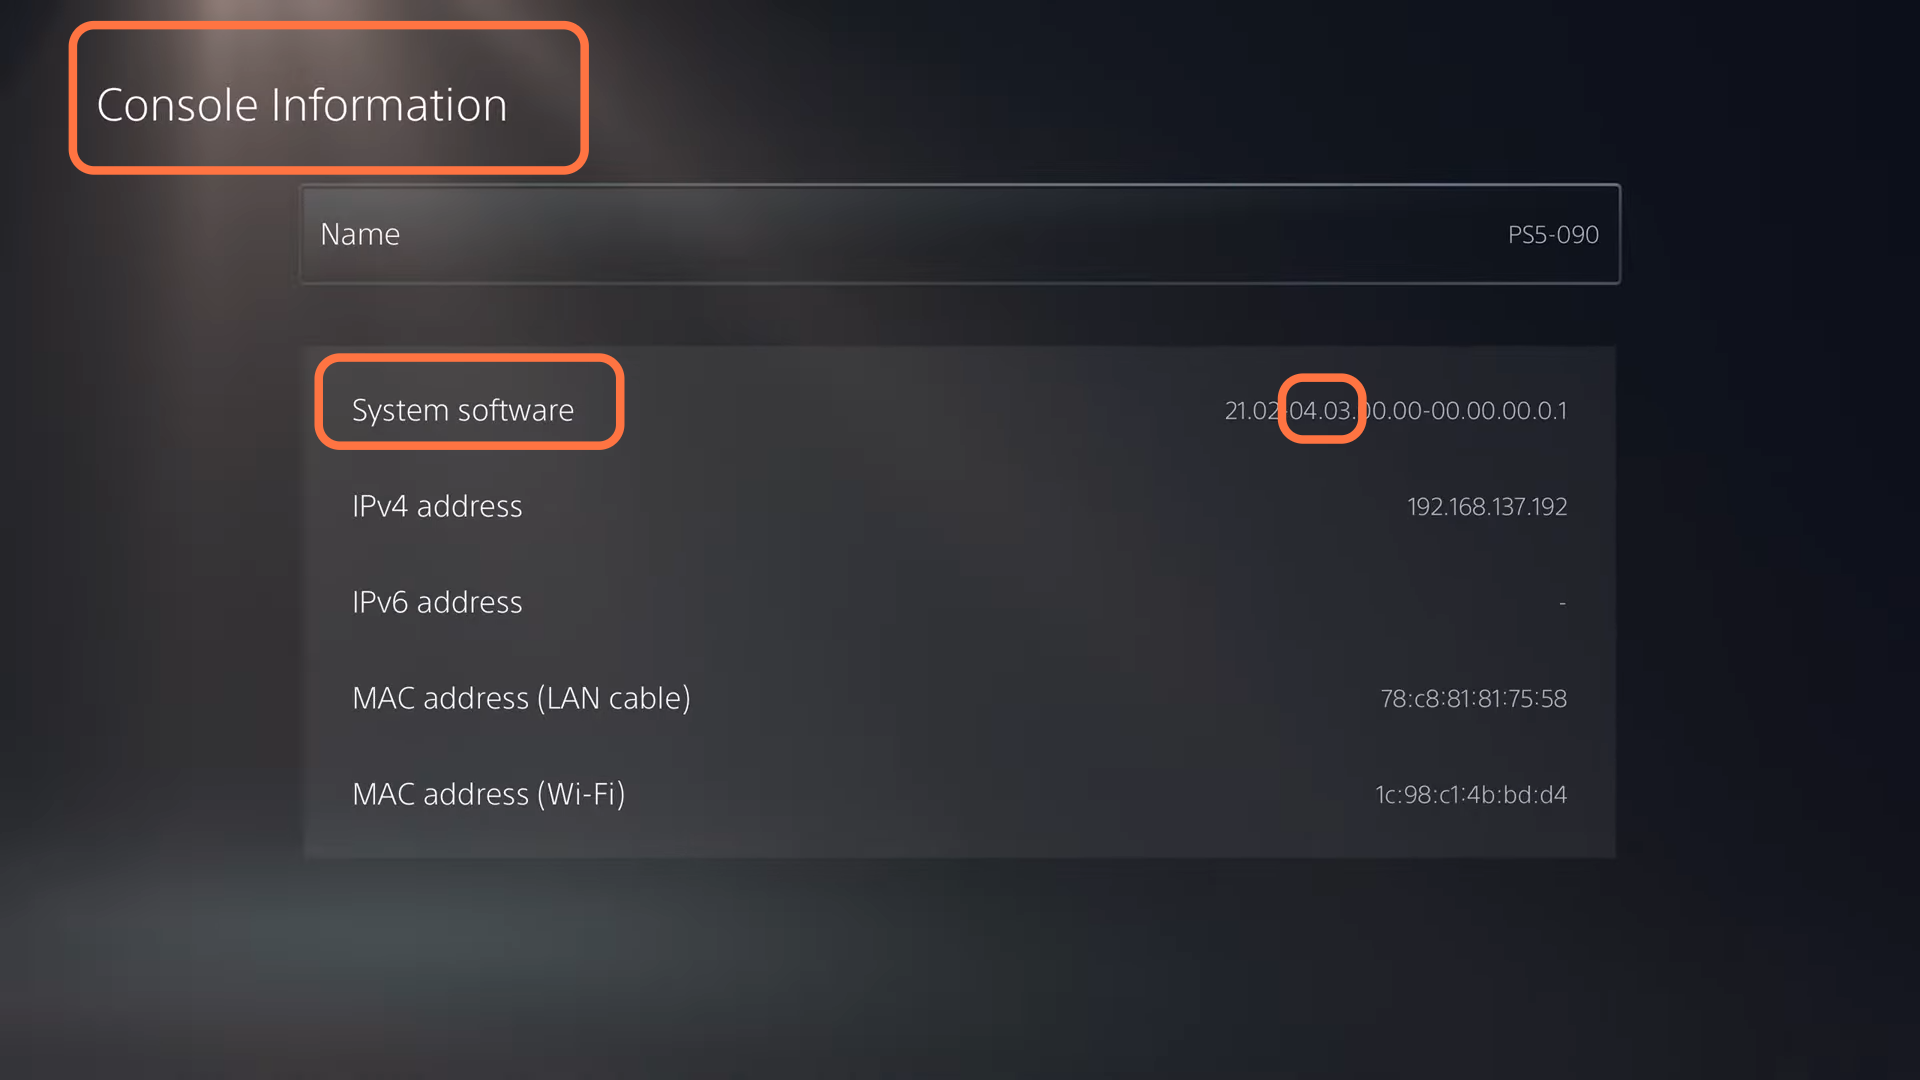
First, you have to go to the home screen of your PS and press the settings button at the top right corner of your screen. After that, select System, then select system software from the left side and select console information from the right side. You need to make sure that your system software is on 4.03 or 4.50, and also you have to make sure that your system is connected to the internet. For this, go to Network, then go to settings and ensure that you are connected to the internet.
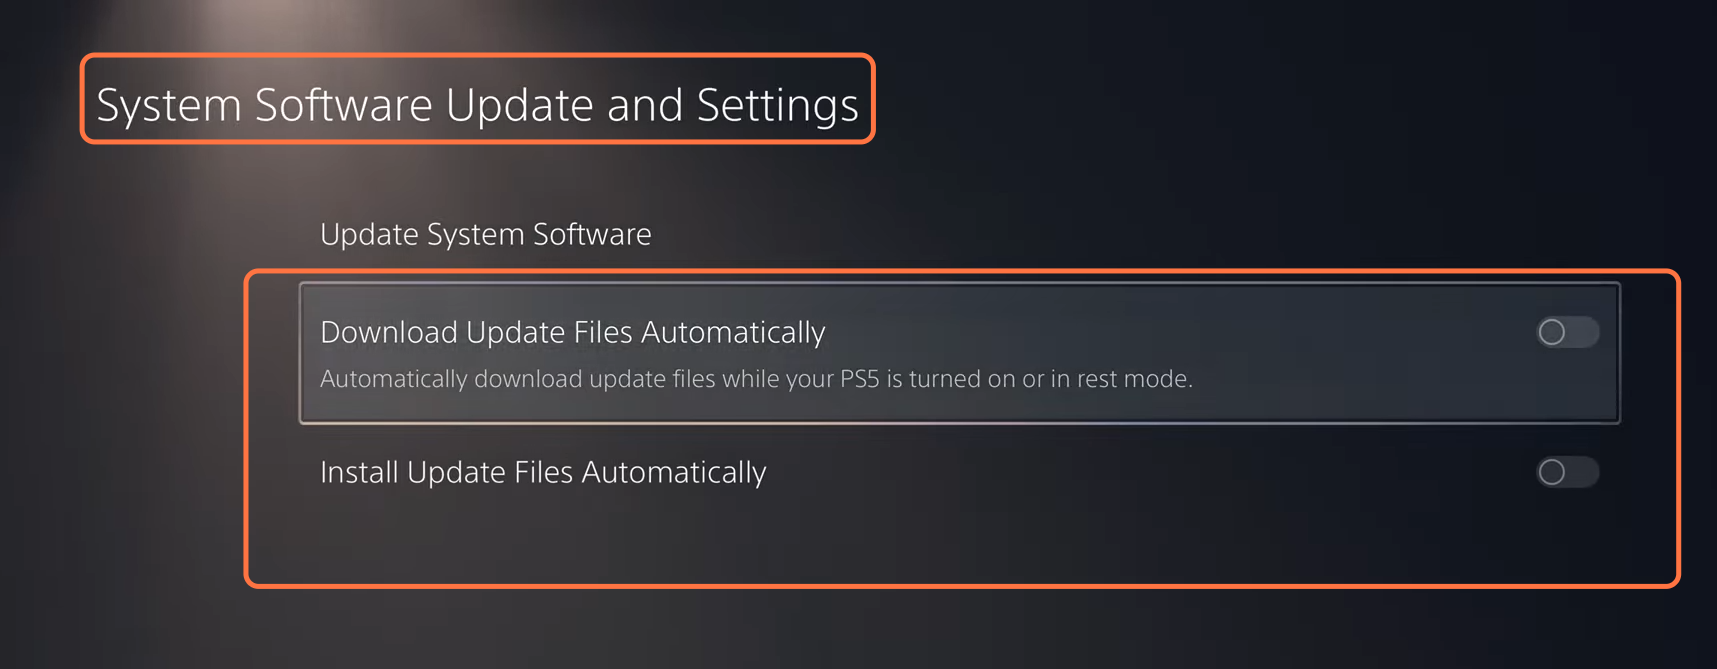
After that, go back and select the system software update settings. Here you have to make sure that download update files automatically and install update files automatically both options are not checked.
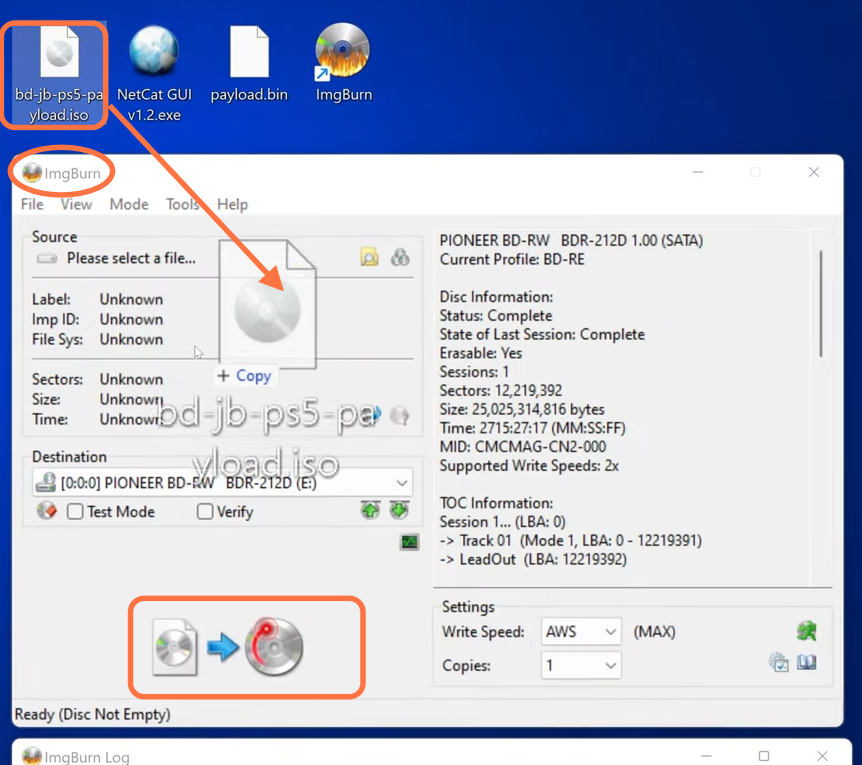
Now you have to download the PS5 payload ISO file from the following link https://mega.nz/file/I4EHUJQT#gvbV8sizb4coJVhh6tNs9zoFqf1Hy1U7qPS4HMtQdeU. You will also need image burn. For this, you have to click on the following link https://www.imgburn.com/index.php?act=download and then download FileZilla from the following link https://filezilla-project.org/download.php. Once the download completes, then you have to install all of them. Then open the image burn and put in a Blu-ray disc a blank Blu-ray disc or a rewritable Blu-ray disc. After that, select the first option on the left side “write the image file to disc” then you have to drag the downloaded ISO file and drop it on the image burn. Click on the Disk button at the bottom of the screen and then press yes. You need to wait until it is done.
Take out the disk and put it in your PS5 but first, you’ll need a payload injector like Netcat GUI. To download this, you have to click on the following link https://www7.zippyshare.com/v/nxpXVr3G/file.html. After that, open it up and enter your PS Ip address, then you have to change the port number to 9019 and download the payload for the FTP server from the following link https://www.mediafire.com/file/t1h7m9y0aapdvp1/payload.bin/file. Once the payload is downloaded, you have to drag it and drop it in the payload section of Netcat.
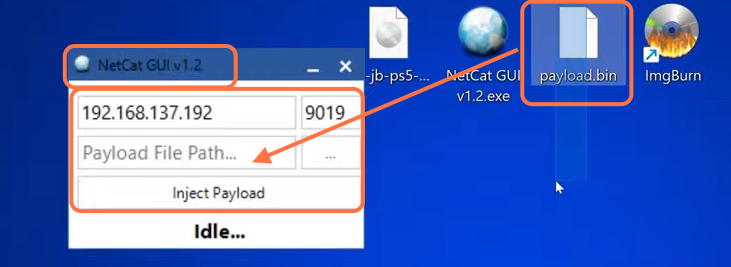
After that, go back to PS 5 and run the exploit by running the Disk player on your PS. At last, you will get a message which says waiting for a payload 9019. In case, you don’t receive this message then your process is failed then you have to reboot and try again. You have to wait for at least 2 minutes to get the bluescreen successfully. Now you have to go back to the system and then you have to click on inject payload button. Then on the PS screen, it will you a message that PS listening is ON with the Ip address and the port number.
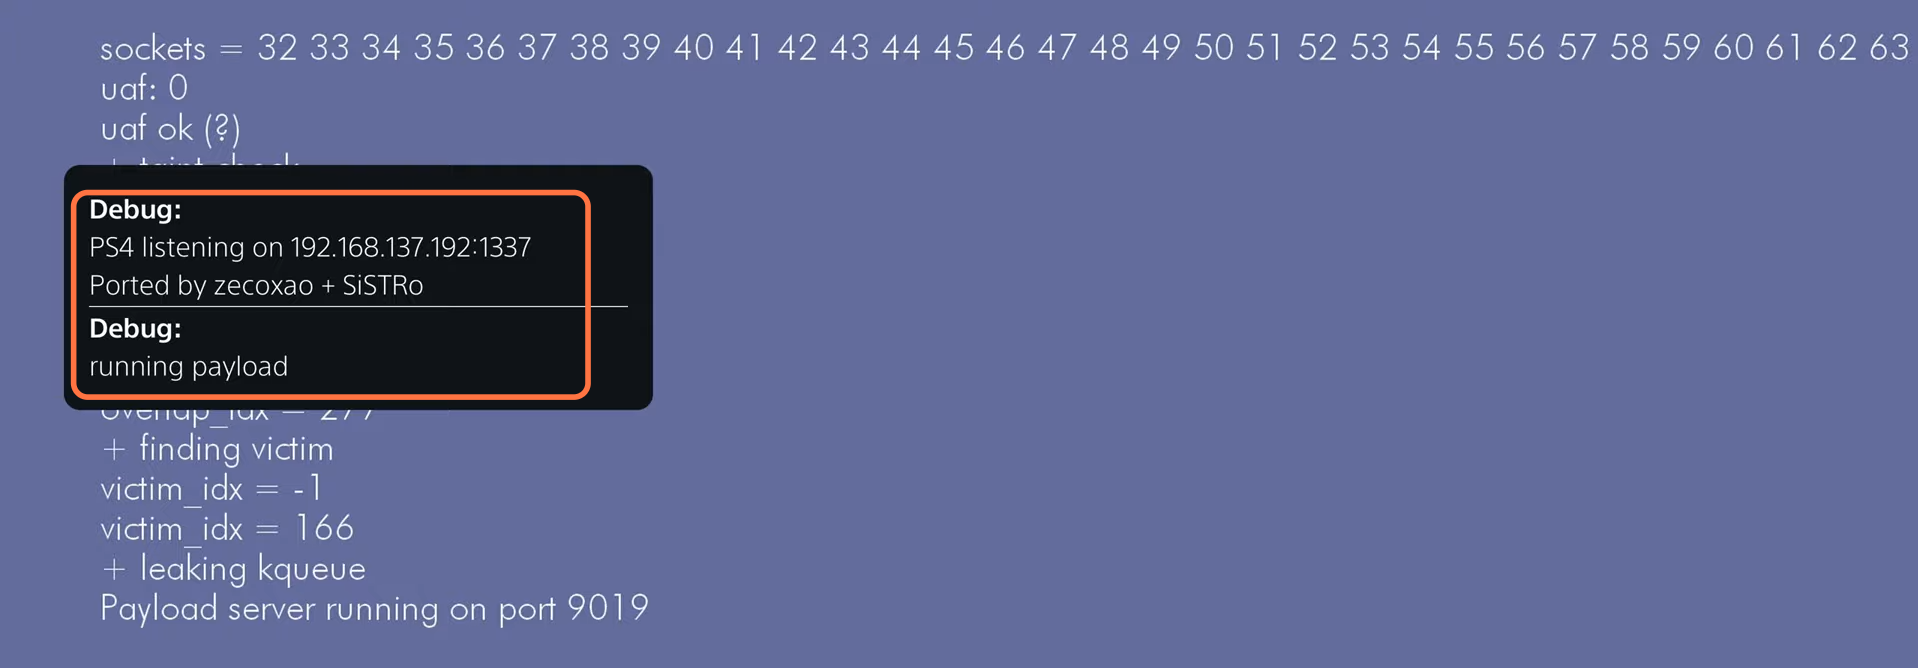
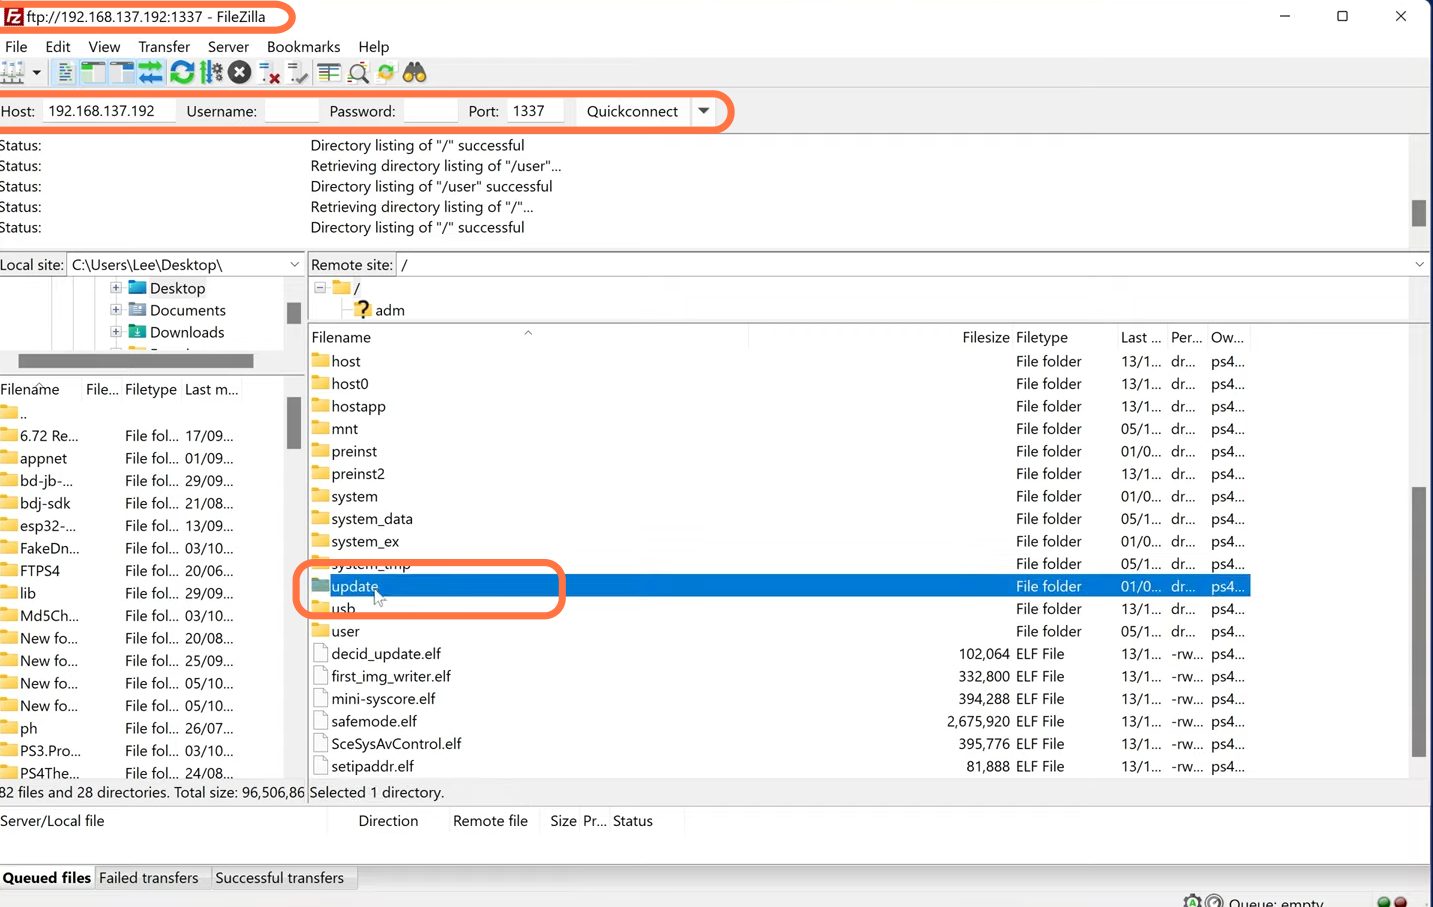
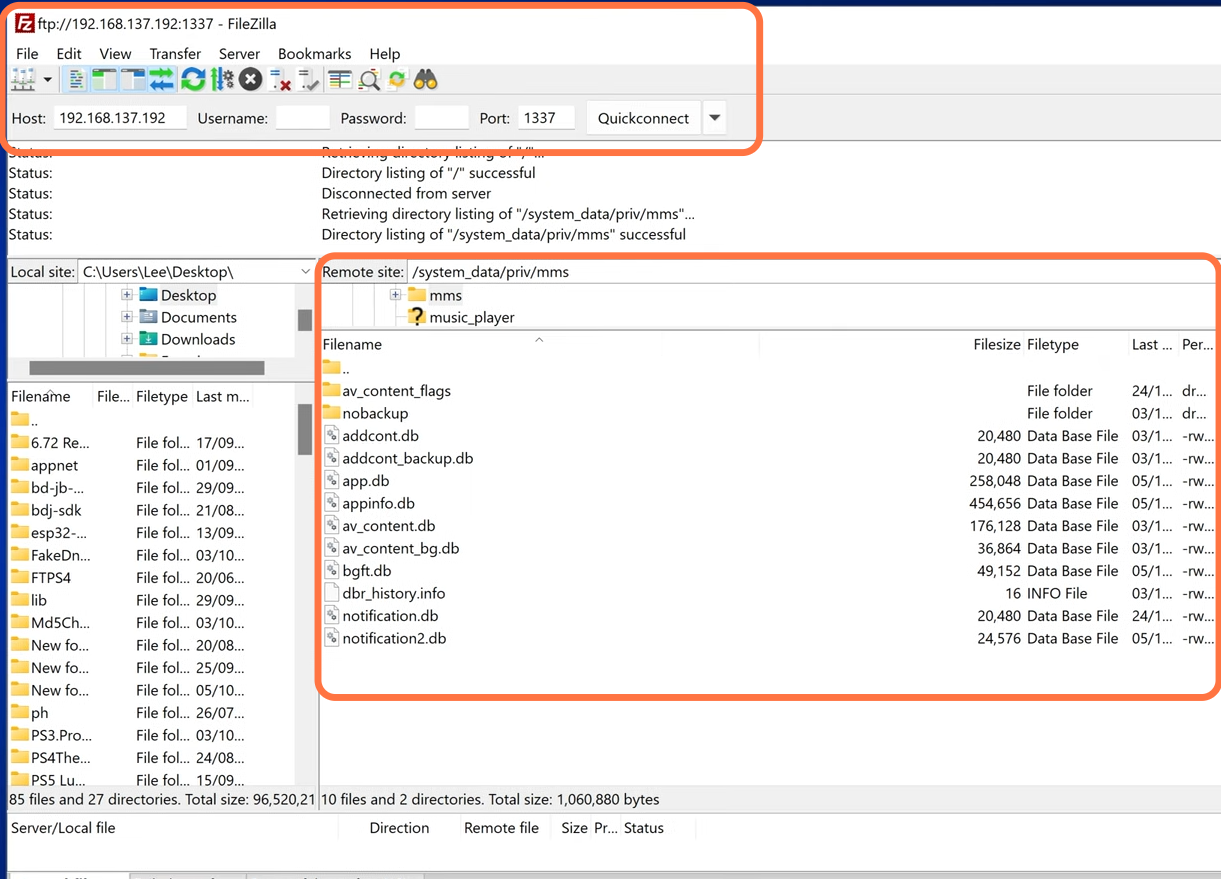
After this, you have to open Filezilla on your system then you have to enter the same Ip address that pop-up in the notification on your PS5, and also you have to enter the same port number on that notification. Then you have to click on quick connect. Then it will load up the PS 5 directory. If you want to update your system then you have to open the update folder under the filename on the right side and then you will find the update fill in it. The name of the file will be ps5updates.pup.
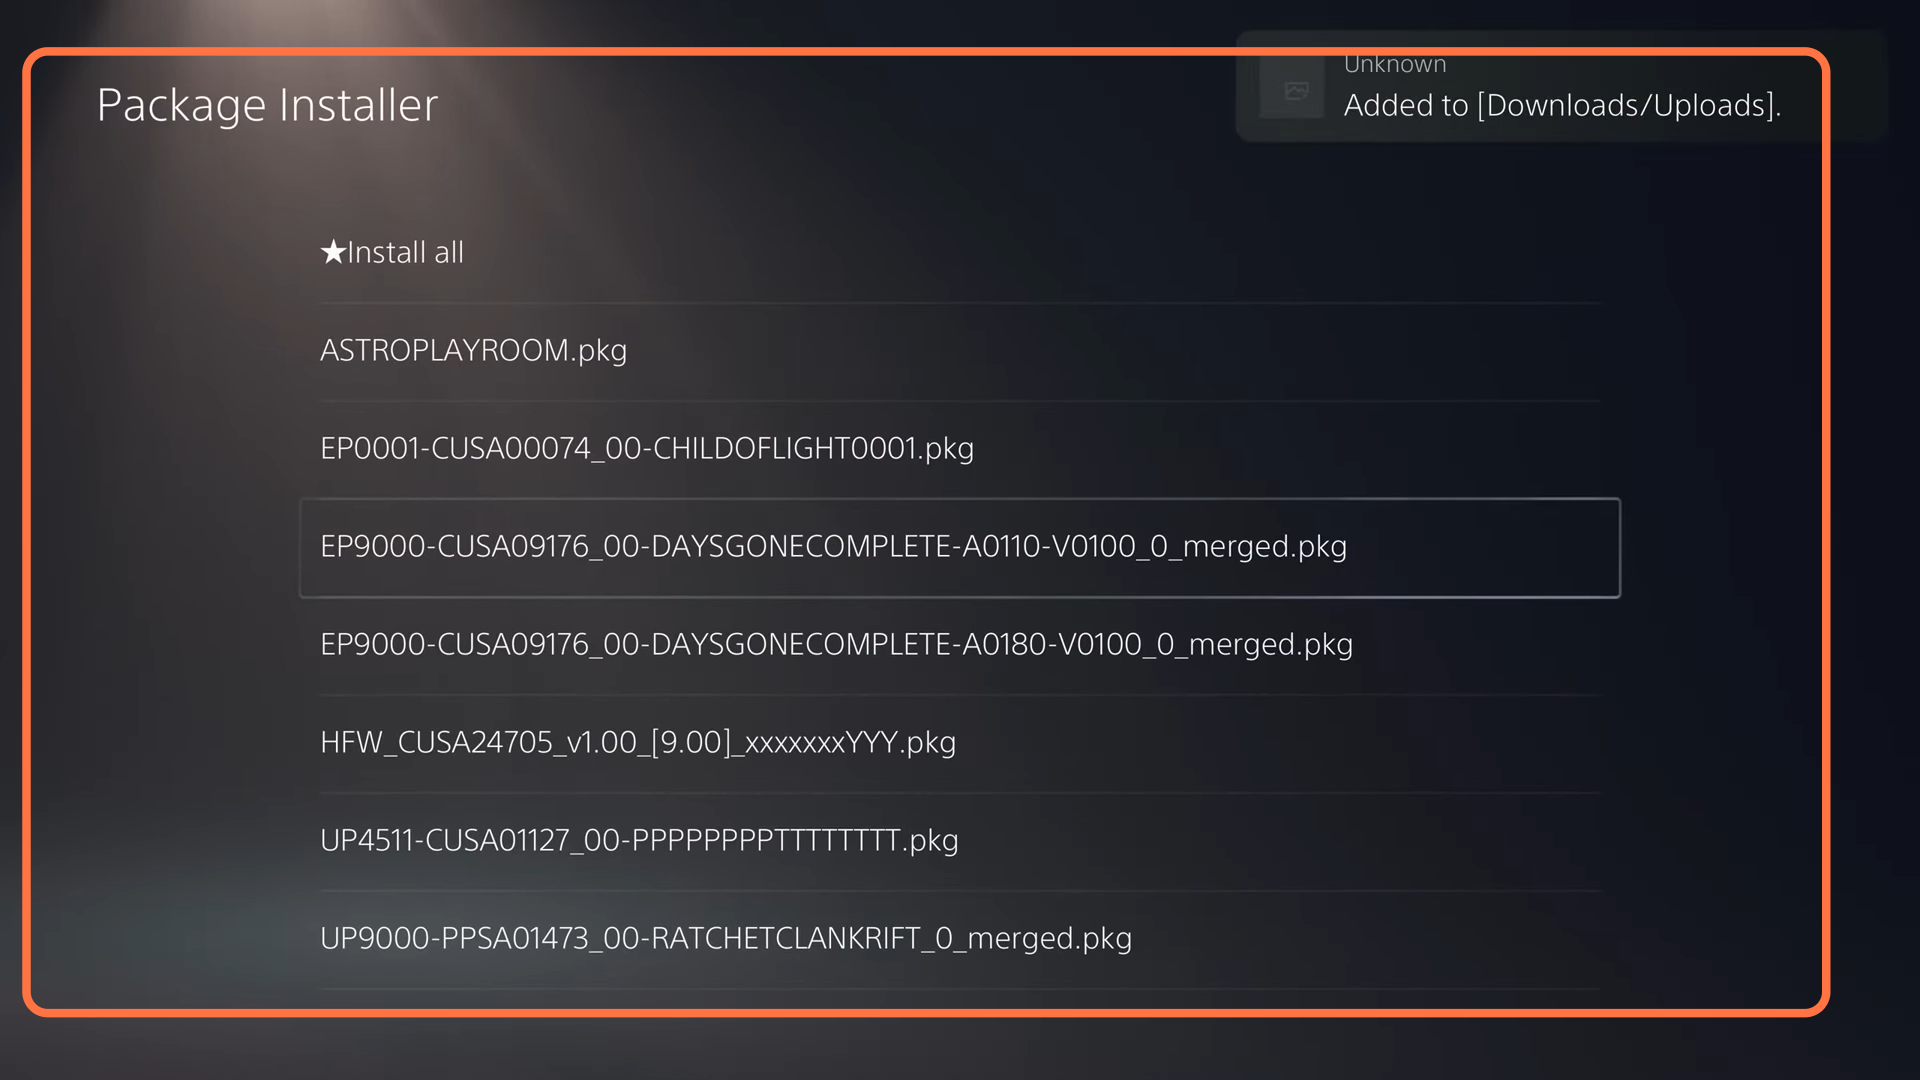
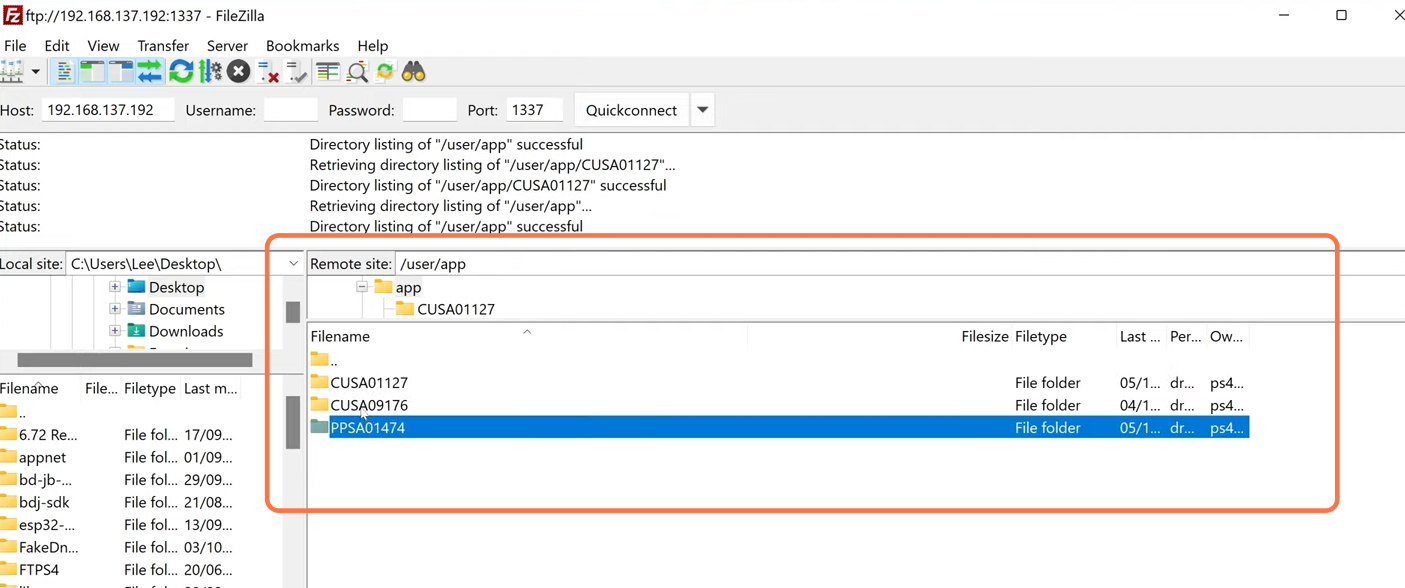
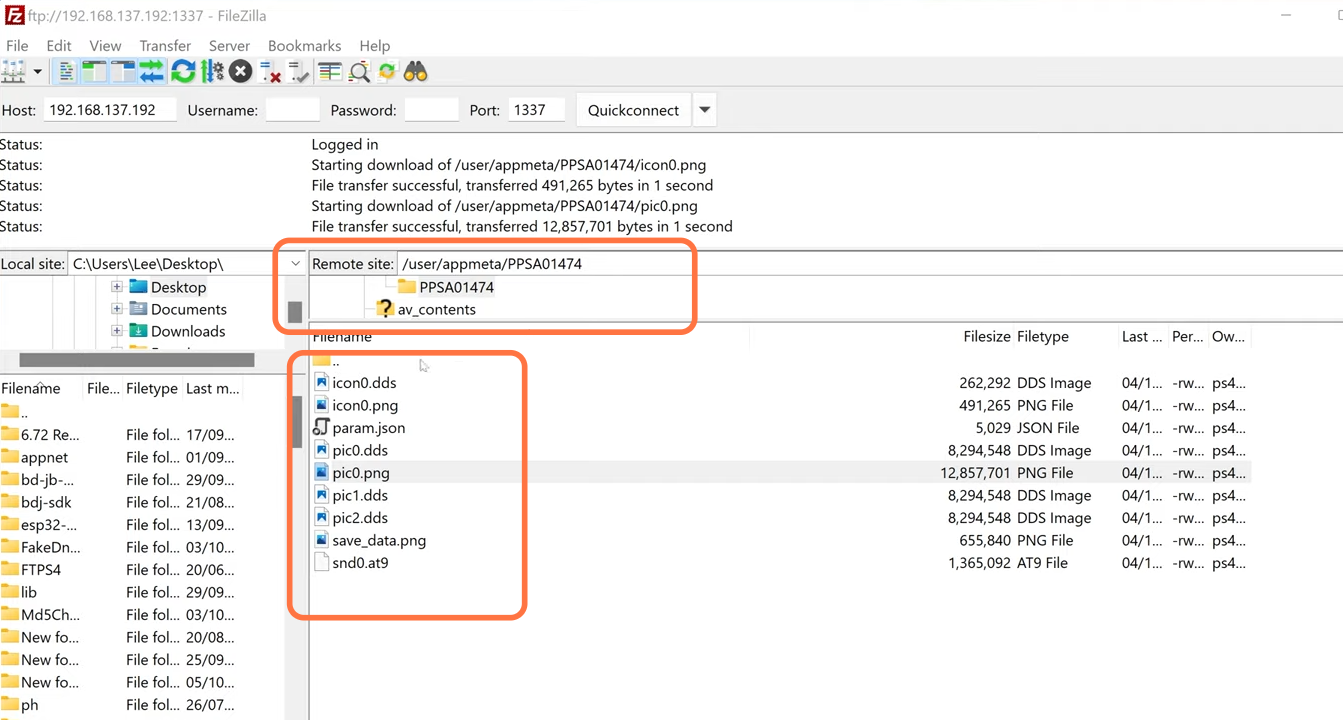
After this, you have to open the app folder and then you have to open the cusa01127 folder and in this, you will find the package file. There’s the package file for PT PS ppsais a PS5 game cusa is a PS4 game soppsa01474 that’s a Ratchet and ClankRift apart so there’s the PS5 package for Ratchet and Clank Rift. Then you have to copy this package file to your computer. From here you will be able to access your game packages.
You can access the game icons in the app meta folder then you will see three different folders here then you have to open the PPS folder and here you will get all the game icons. You can also edit your trophies from here on the PS 5 but on PS 4 it resets every time when you reboot the system.
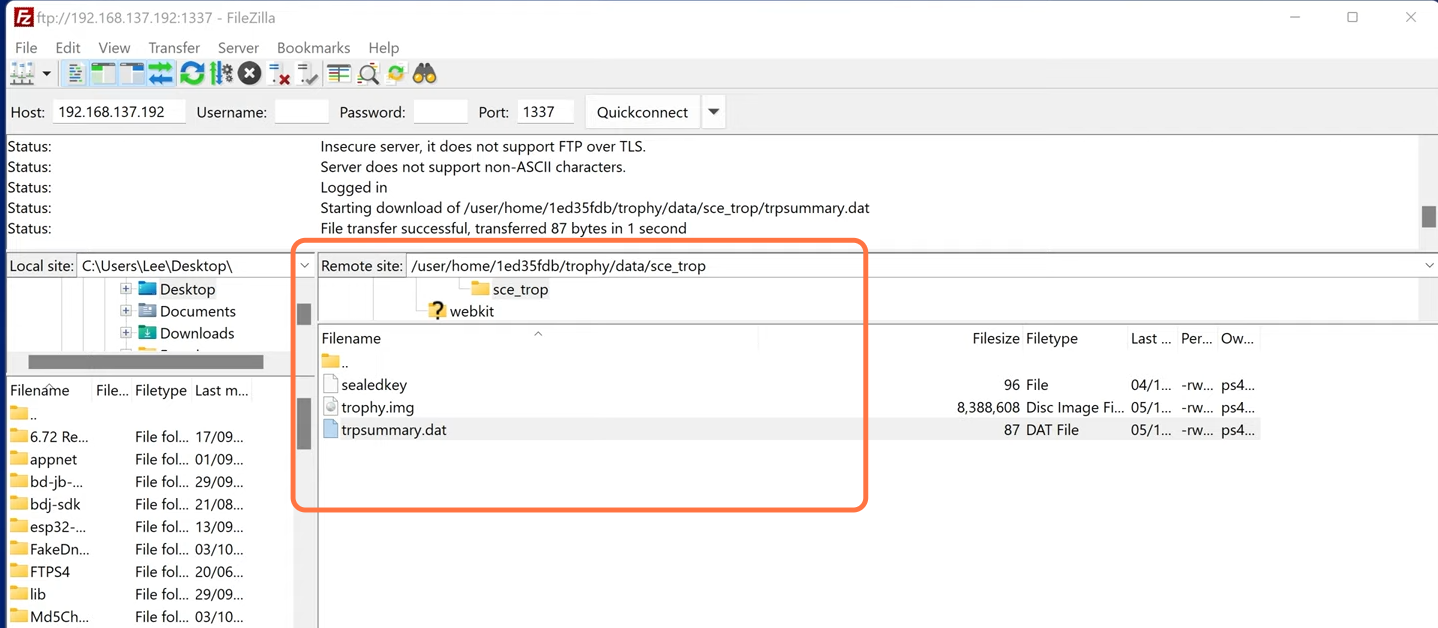
You can also see your profiles in your home folder. Then you have to enter the folder in your home folder and then you have to open the trophies folder then open the data folder then open the sce_trop here you will find the trp summary file you can copy this file on your system you can edit this file and set the number of trophies manually.
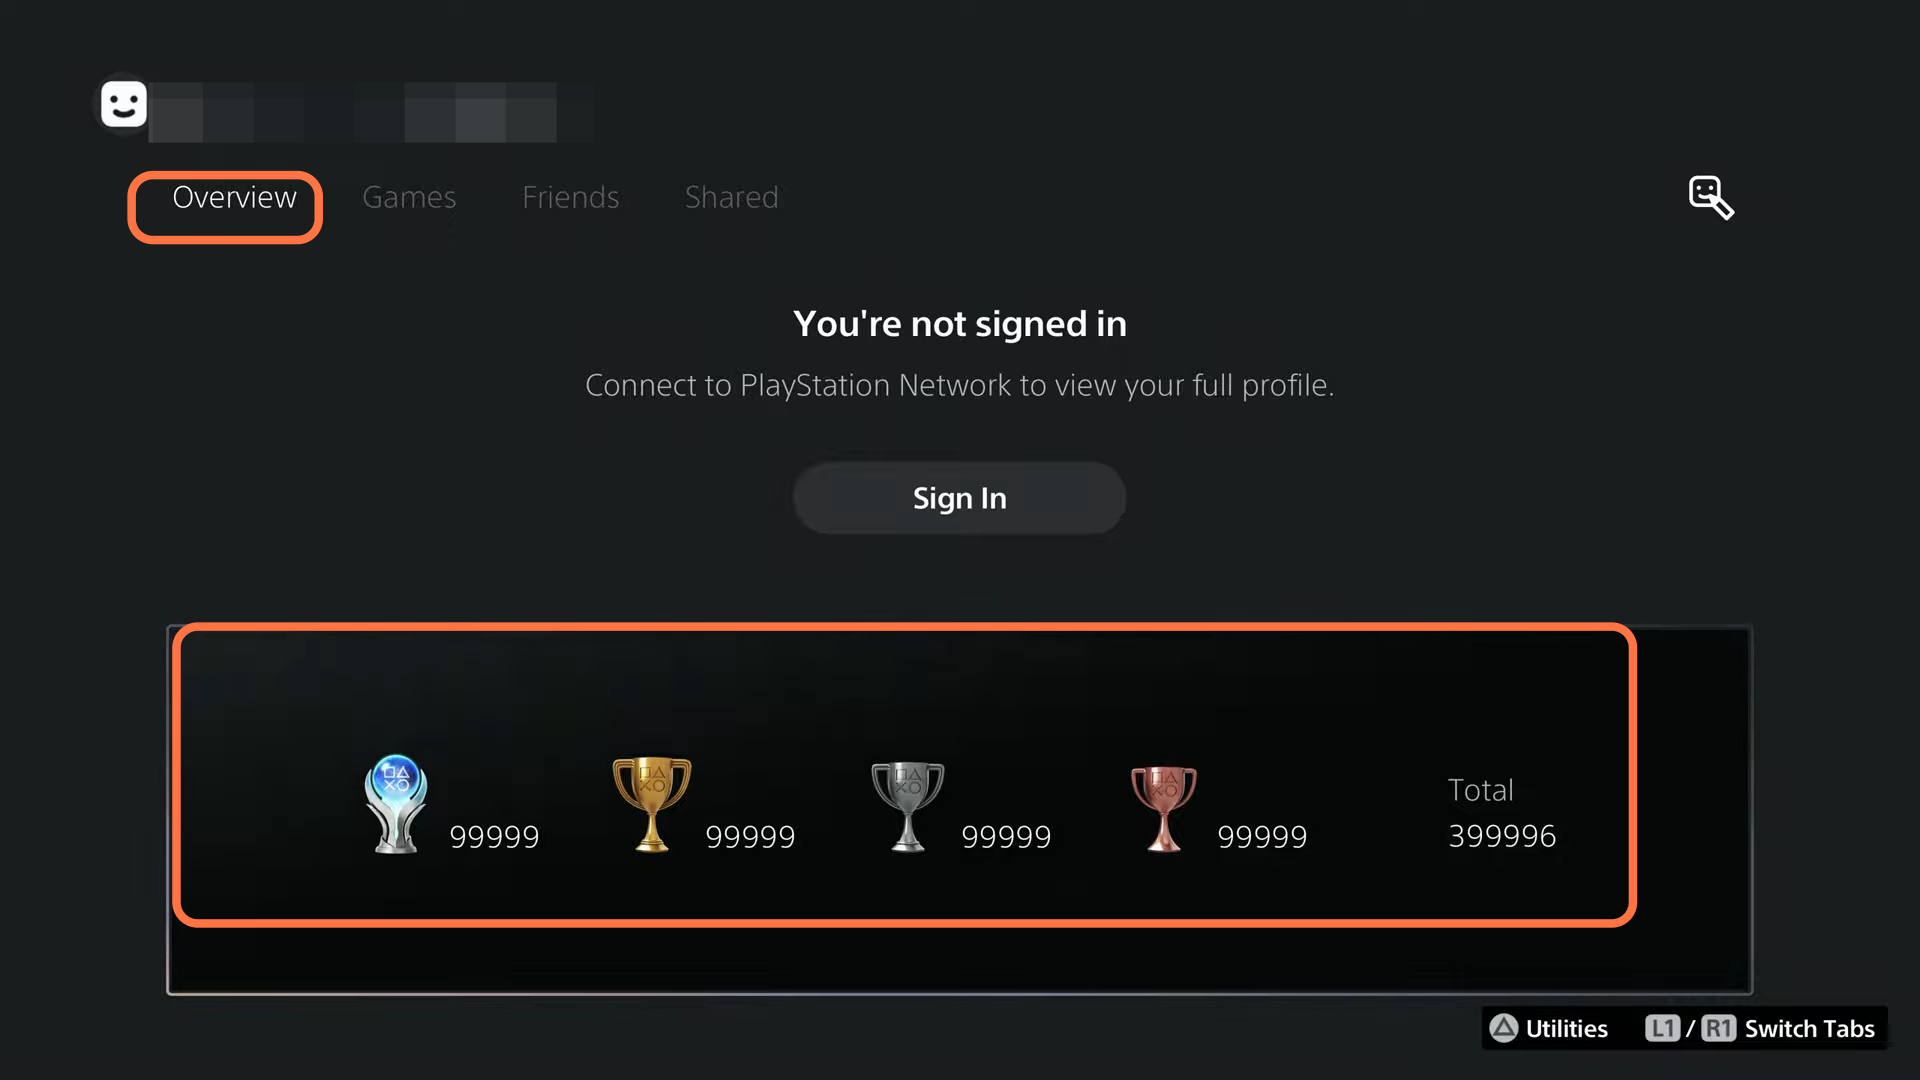
After that, go back to the PS but don’t close the CD file you have to minimize it. Then you have to select your profile from the home screen. Here you can see your trophies under overview.
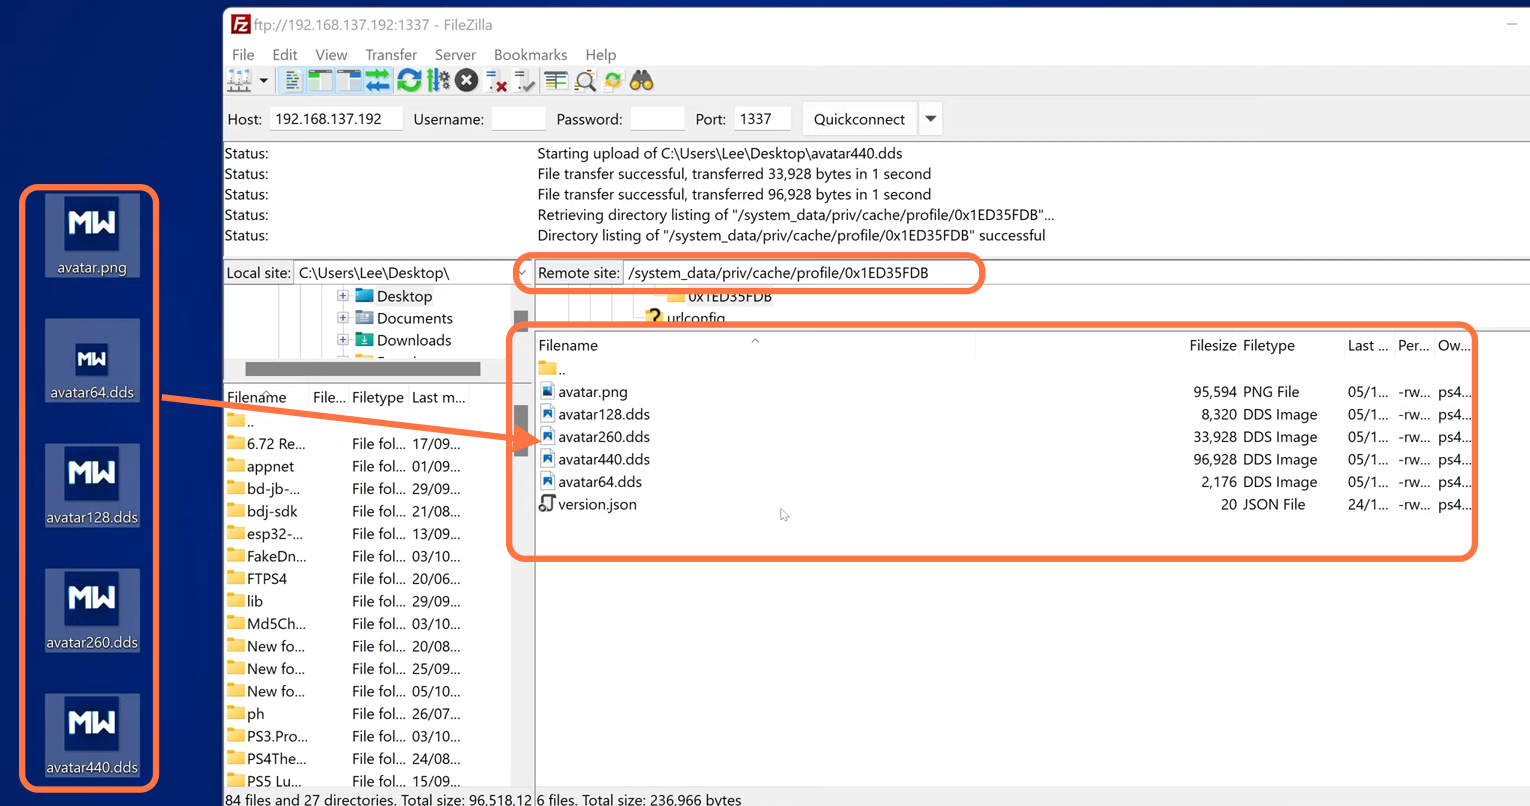
After this, go back to FTP then you can access save files from here also you can get game updates from the user folder. You can also change your profile avatar for this you have to go into the system details folder then you have to go into the system data folder then you have to go into the private folder then the cache folder then the profile folder and then again these folders represent your different profiles. then you have to enter this profile folder and here you will find the a.json file from here you can pick up your avatar picture. Then you have to drop all your avatar pictures in this folder under the JSON file.
Now in the dev folder here you will find a sflash0 as this is the firmware for your Nord chip which is required to do the revert method on the PS4 to revert to an older firmware. If you go into system data and you go into the PRI V folder and then you go into MMS and then in here you can see that you’ve got all of your database files including your app database so if you copy that out so app.db you’ve even got the notifications database here you can edit this for PS4 to create shortcuts for the permanent notifications. From here, you can also launch the debug settings as this will be done by editing the notification database. The app database allows you to hide and show apps on the home screen to open these database files you need like SQL database browser.
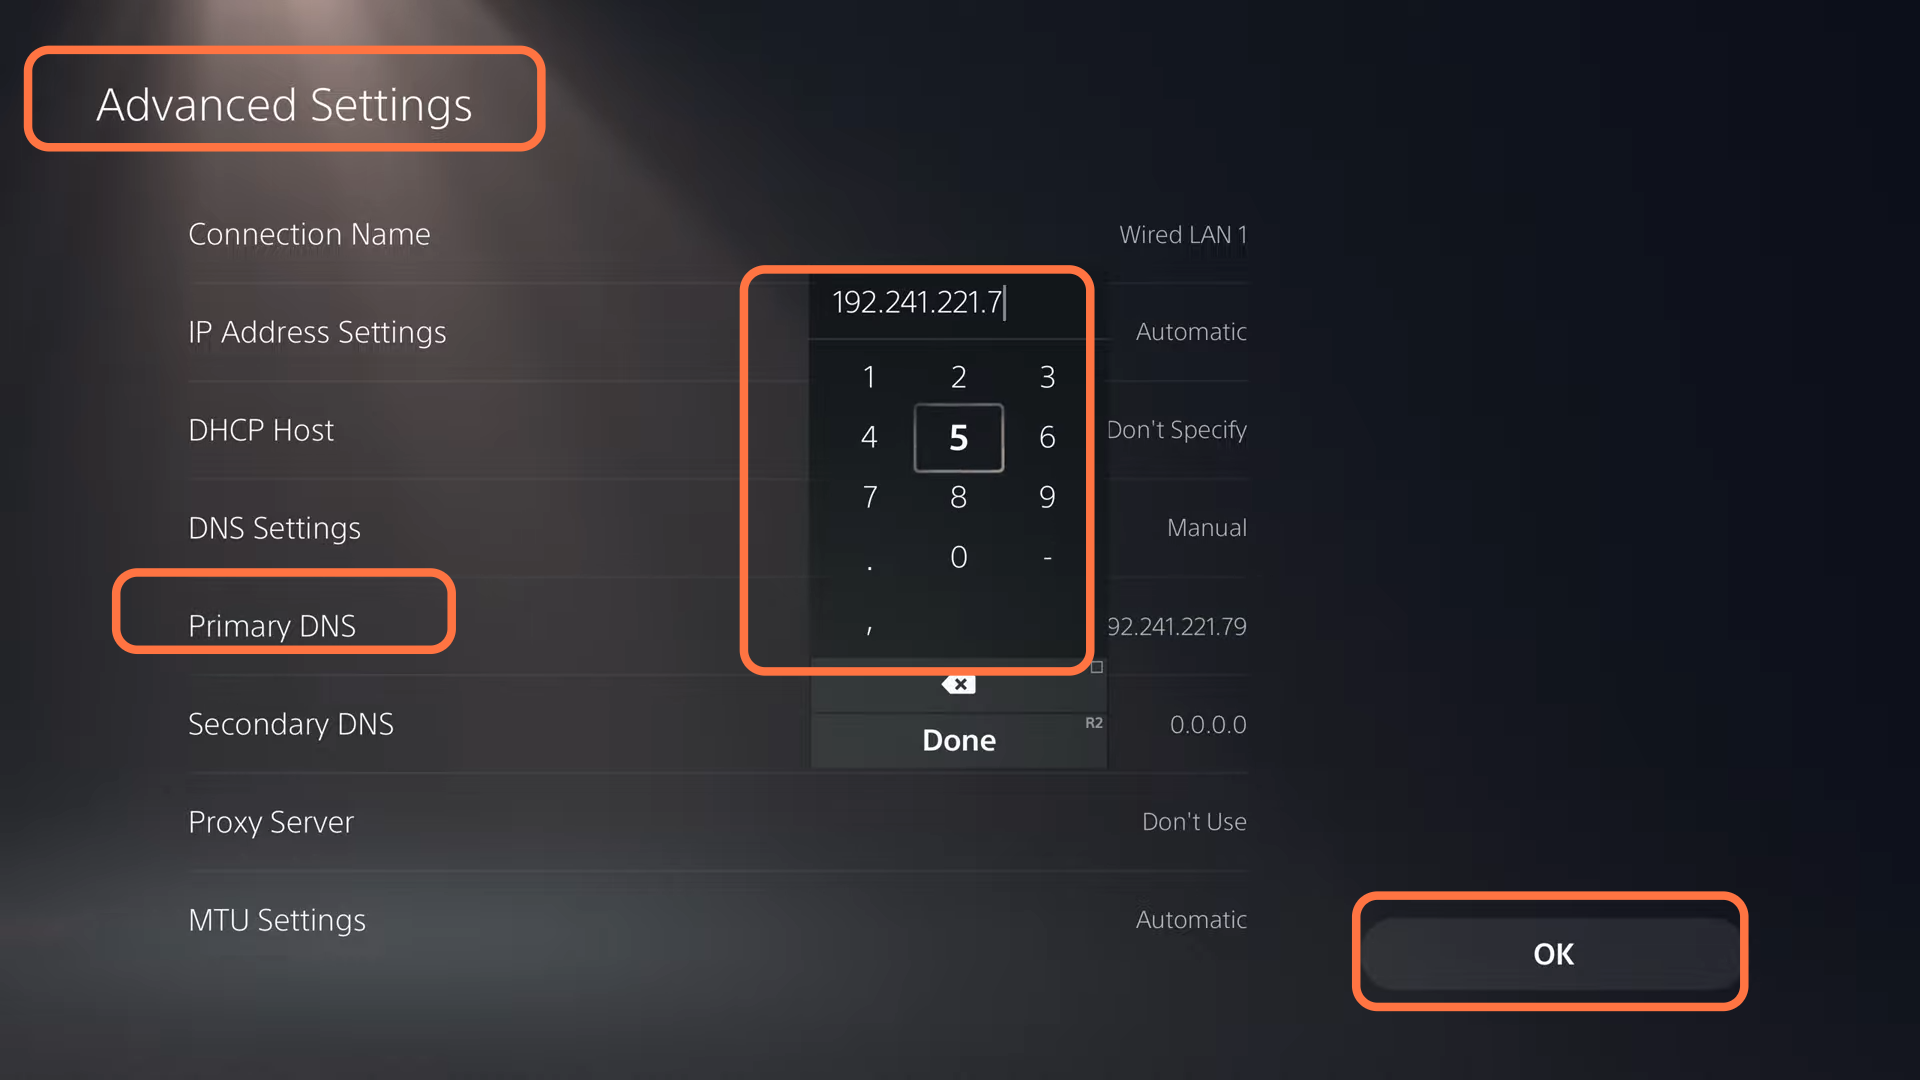
After this, go back to PS and click on settings and then go set up an internet connection. Under here you have to choose the internet connection to which you are connected. After selecting it you have to press options on it and then from the pop-up menu, you have to click on advanced settings.

Now you have to go to the DNS settings and then you have to set this to manual. Now you have to set the primary DNS to 192.241.221.79 and then you have to click on Ok. After this, it will start connecting to the server.
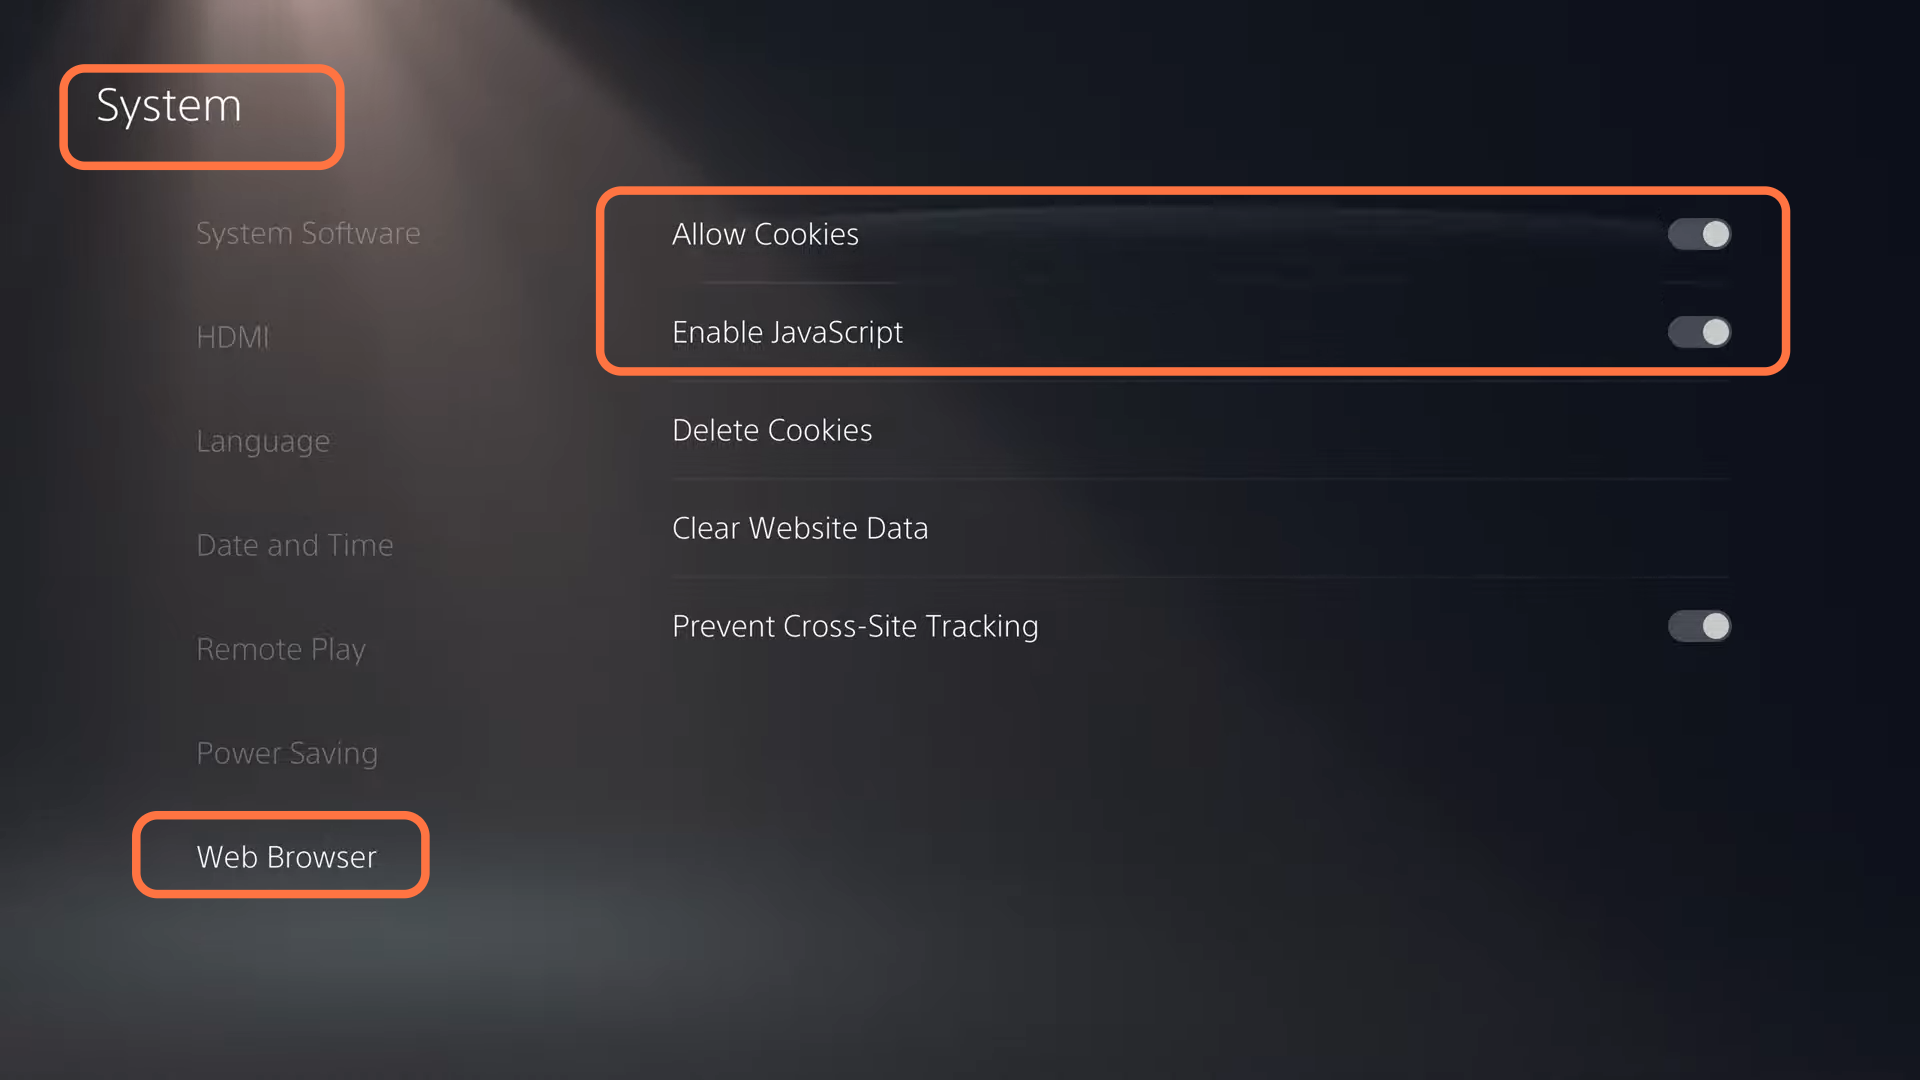
After this, you have to go back and then you have to go to system settings. Then you have to select web browser. Then on the right side, you have to make sure that allow cookies and enable javascript both should be enabled.
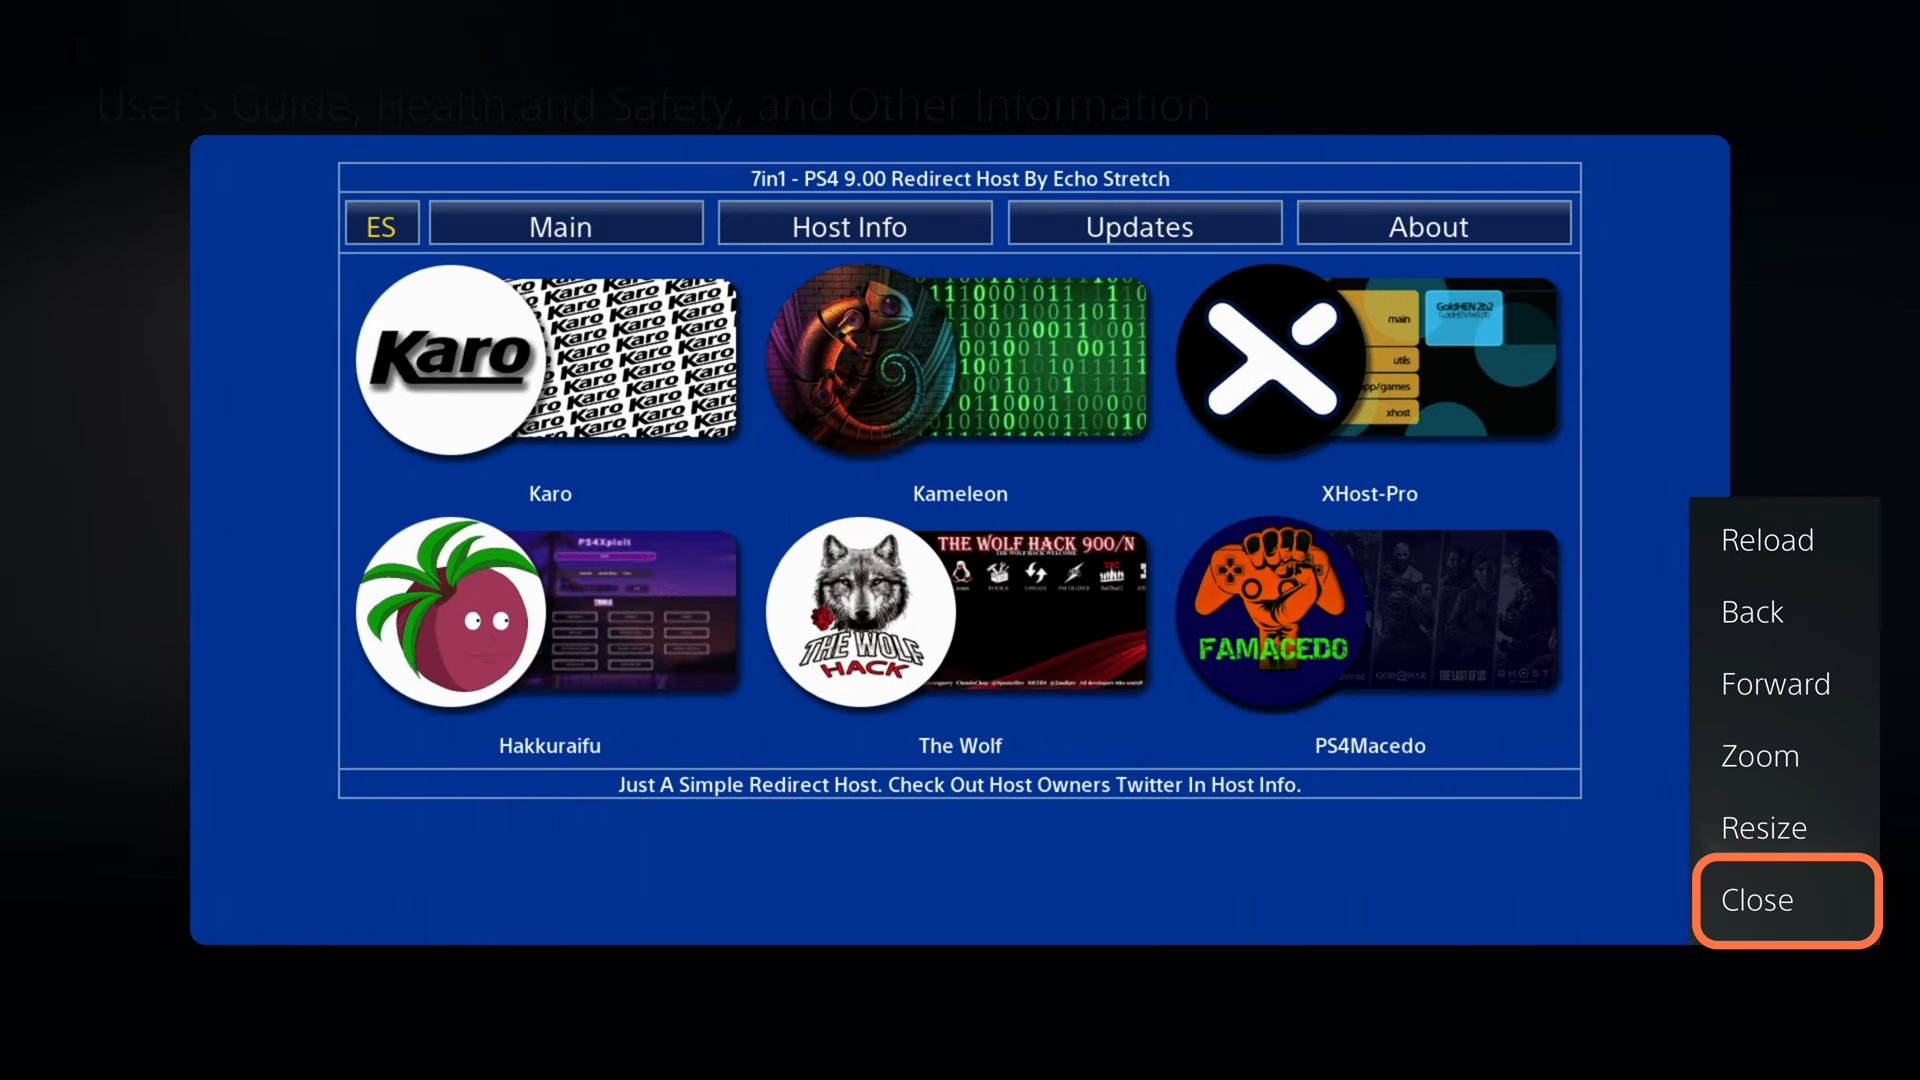
Then you have to go back and select user guide health and safety. Then you have to click on the user guide from the right side. If a blank screen appears in front of you then you have to log out and then log back in and go to the user guide again this time you will see options then you have to click on yes to confirm the security certificate. Then on the categories page, you have to press the L2 button twice as this will open the URL redirector in front of you. Then you have to enter any website that is hosting the PS5 exploit then you have to click on the submit button.

After reaching this site you have to click on the Es button in the top left corner of your screen. From here you have to click on the get debug settings button. If you get any error message then you have to press the Ok button and then reload the page. Once it is done it will give you the ready message. Then click on OK and it will execute the exploit. The last message you will see is connecting to the RPC server this means your server has started successfully if you don’t get this message then you have to reboot PS5 and try again the whole process.

So in order to exit the browser you have to press the circle button to exit because if you press the PS button it can cause a crash and also if you hit the options button and go down to the close page that may also cause a crash you have to press Circle to exit out of this page. Then you have to press the options button and then press close.
Now you have to go back to the settings page refresh the list and now at the end, you can see the debug settings option. Open debug settings here you will see a lot of options for the developer’s settings, game, and system settings. In-game you will have a package installer here are a lot of different types of packages.
