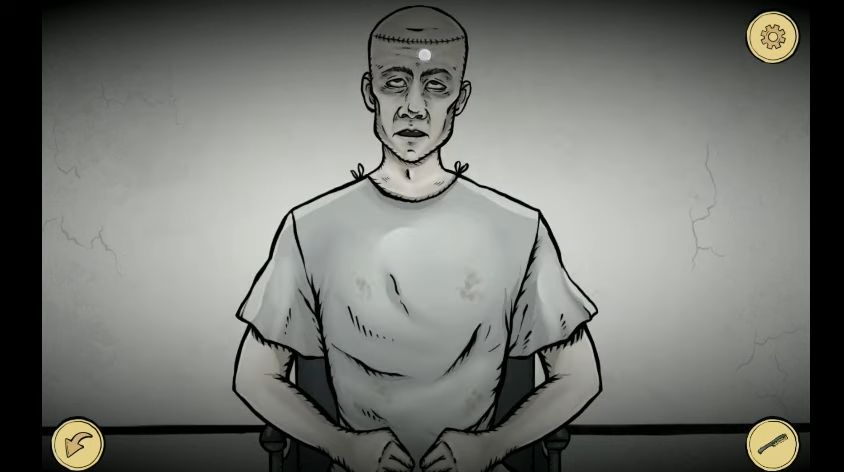
Strange Case 2 is a free-to-play dark escape room adventure game. The players will encounter a variety of mysterious characters who contribute to an overall enigmatic atmosphere. The main objective of the game is to engage in solving a series of challenging puzzles and delve into the investigation of a mysterious case related to a mental hospital.
Strange Case 2 has three chapters, this guide will walk you through all these chapters while providing you with solutions to all the challenging puzzles. You will find all the useful hints you need to solve the murder mystery.
Chapter 1
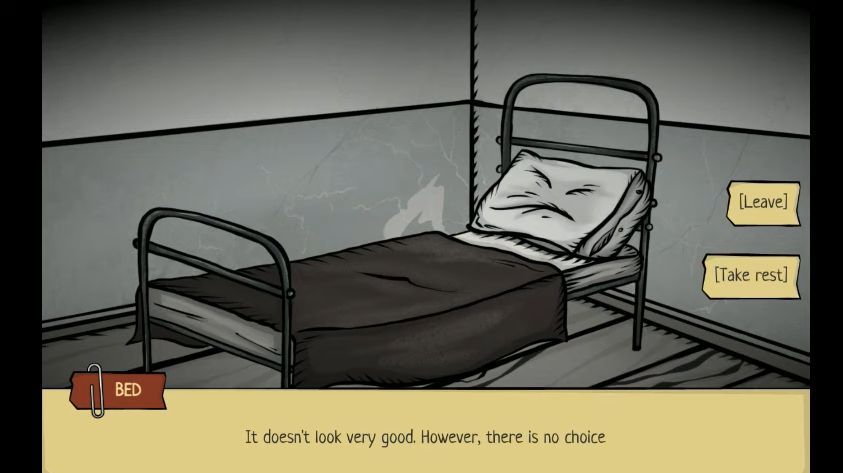
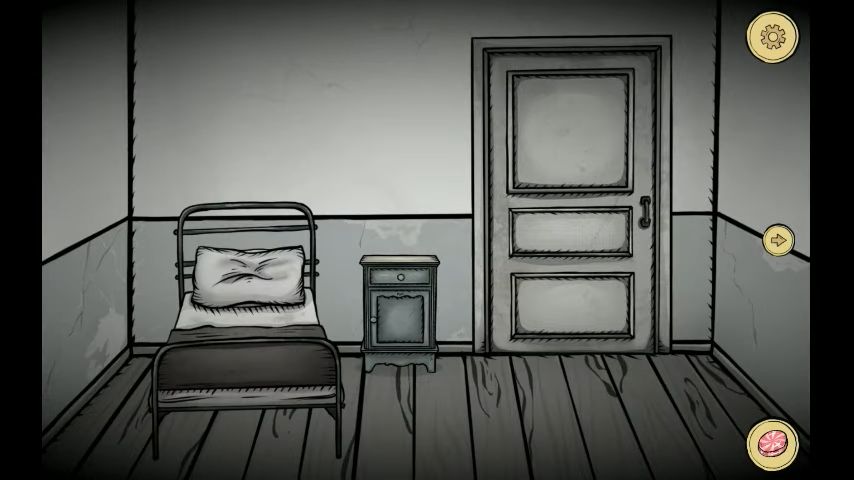
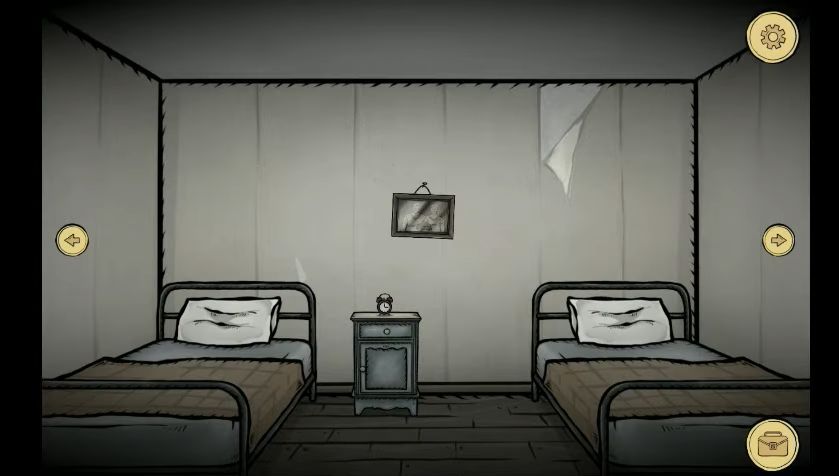
In Chapter 1, you will find yourself injured in the Asylum hospital and lost all of your memory. You will find a door and a bed in your room, but you cannot exit the room.
Look under the bed to collect an old boot and then go through a doorway to a bathroom.
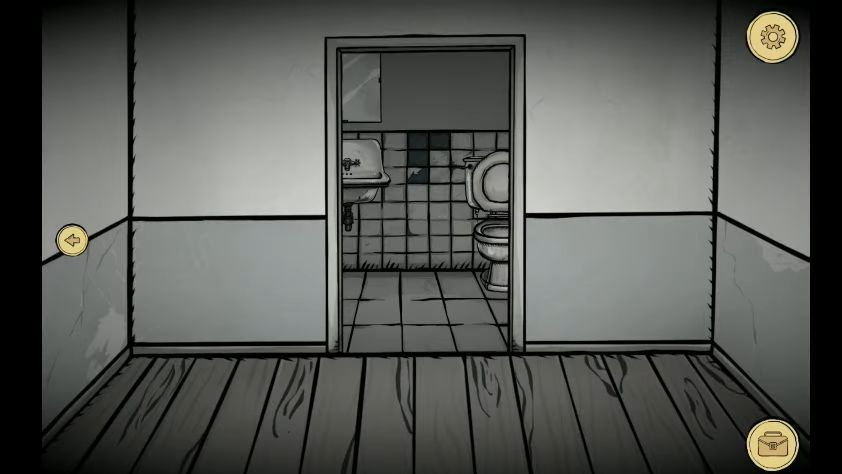
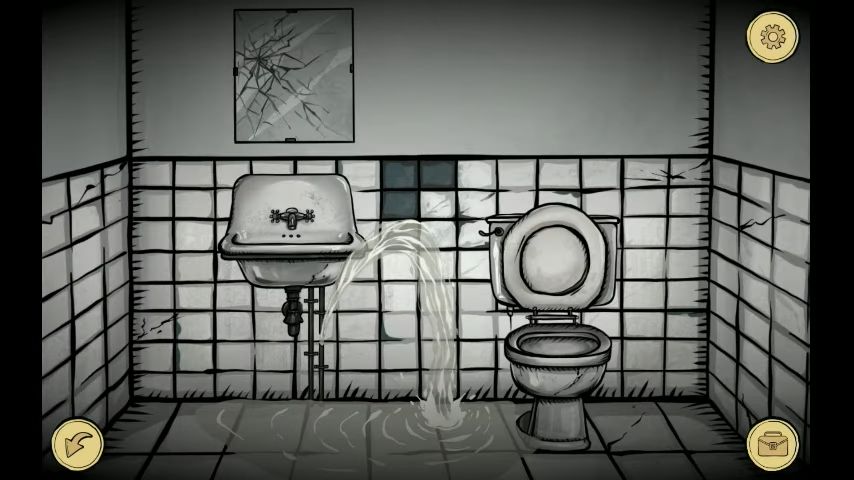
View your reflection in the mirror and the mirror will break suddenly. Click the grey tiles in the center to find a section with a lump on the top left and one broken white tile, it is a puzzle. Use the boot to knock out the lump on the top left and then select the old boot from your inventory.
Click on the lump to remove it and then move the broken tile to the top left to collect it. Click on any tile next to the empty spot to move it to the empty space.

Now go to the bed, cut a piece from the bed sheet and collect it. Enter the bathroom again, and place the pieces of bedsheet in the toilet. After that, flush the toilet twice to make the water overflow.

Head to the main room and leave it using the door, then you will have the option to explain that the toilet is clogged. Follow up on this option and the Orderly will get a plumber.
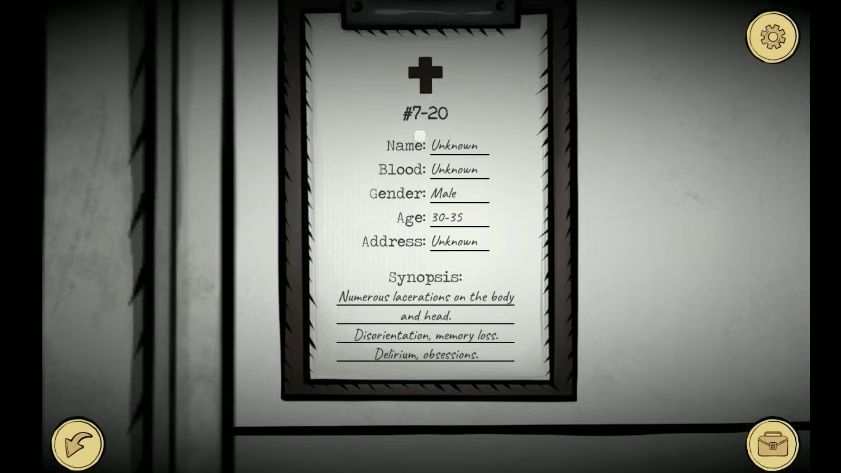
After that, explore the corridor and enter room number 1 on the left, as it is your room. Read the details on the clipboard and note the reference number on the top, #7-20.
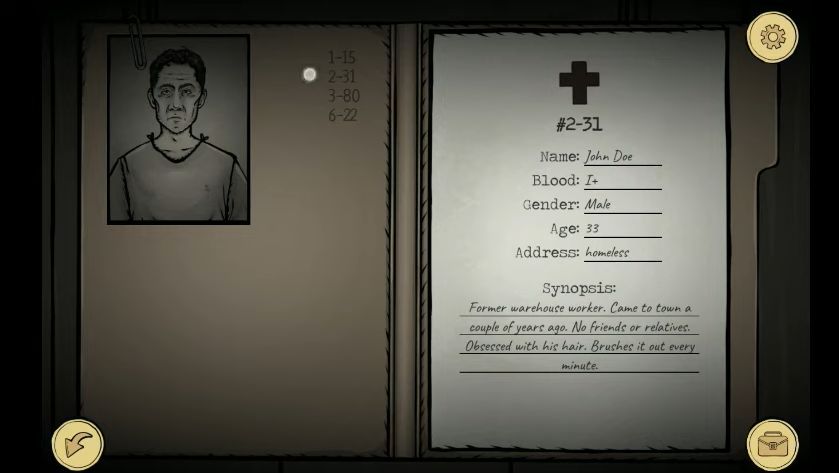
Head to door #2, and view the clipboard near the door to note the reference number, #2-31.

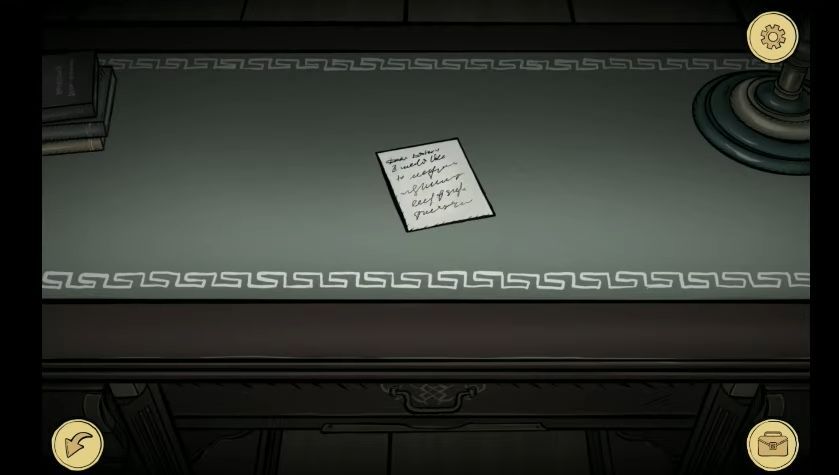
Go to the right corridor, and enter the office of Dr, Death. You will need to read the note on the desk.
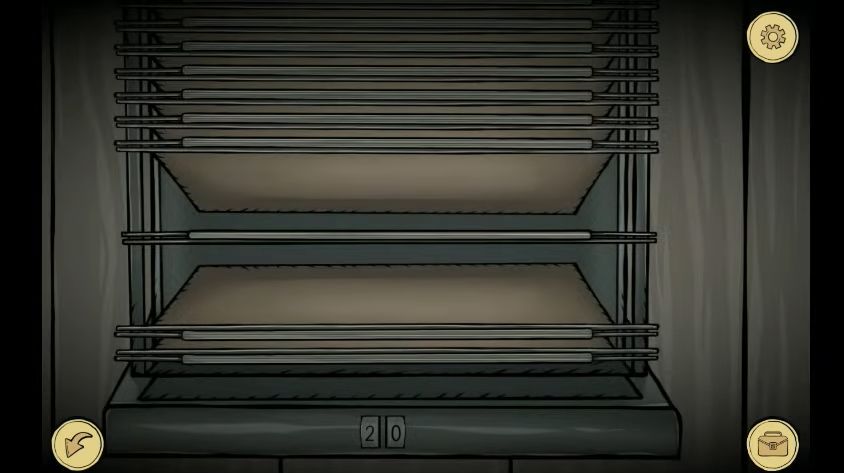
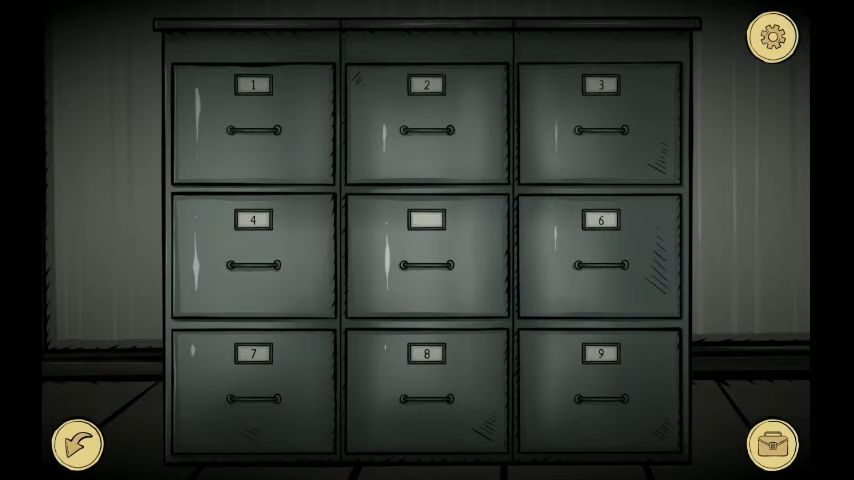
Move to the filing cabinets behind the desk, you will find that they are labeled 1 to 9., and you cannot open the center drawer.
Open up the seventh drawer using the reference numbers above and then enter the number 20 at the bottom to access file #7-20 (the number on your clipboard).
You have to note four numbers on the left and their positions.
34
20 | 47 | 71
Find other reference numbers, such as draw #2, and file #31.
There is another clue:
1-15
2-31
3-80
6-22
These are similar to the file reference numbers, you have to arrange them in a grid to match the filing cabinets and get the following numbers:
1-15 | 2-31 | 3-80
4-34 | __ | 6-22
7-20 | 8-47 | 9-71
View all the file references in the drawers. For example, open drawer 1 and view file number 15.
All the extra files will be empty, but open them to open up the center drawer. Collect the Trinket from the drawer and the Doctor will come to talk to you. He will ask you for some tests, these are puzzles.
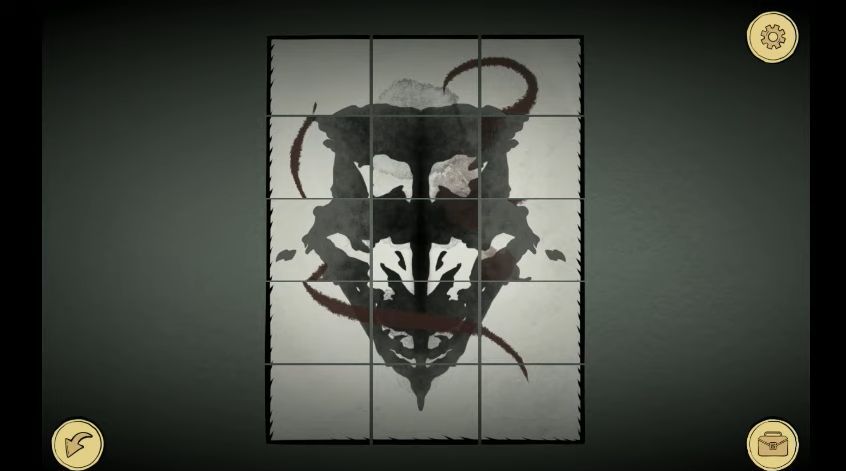
Ink Blot Puzzle
You need to complete the inkblot images by rearranging the pieces. Swap the pairs around and move them to the correct side by using the lines that denote the edge pieces. There are three images to complete.
After that, continue the conversation with the doctor and he will give you the key to the nightstand in your room that contains personal belongings.
Exit your room, then go in, and tap on your bed. Select the ‘Take Rest’ option to have a dream/hallucination of strange happenings in the night. It will complete the first chapter.
Chapter 2
Now in Chapter 2, you will be located in your room under the guard.
Use the key from your inventory on the nightstand, and collect the comb and the coin from the top drawer.
View the end of the bed, select the coin in your inventory, and click on the screw at the end of the bar to unscrew it. Do the same thing at the other end, but you must re-select the coin again to do this.
After that, collect the pipe and enter the bathroom. View the pipes below the sink, select the pipe from your inventory, and click on two pipes on the lower right. Break the pipe to flood the bathroom.
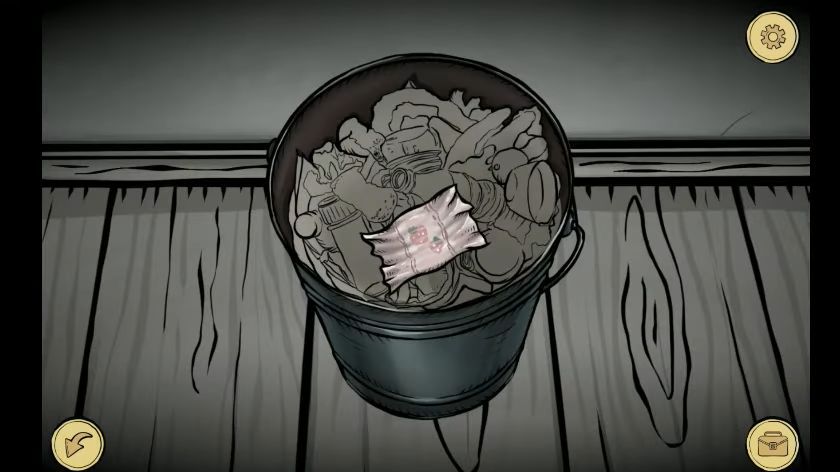
Move out of the bathroom, exit the main room, and the Orderly will stop. You will have the option to tell that your room is flooded. After that, you can explore the corridor again and collect a Candy Wrap from the waste bin near the door.
Head to the Doctor’s door again and click on the door to listen to the conversation between an orderly and the doctor. After that, click on the patient and he will run to the right side.
Now make your way to the other end of the corridor, and you will find the patient there. Click on him again and he will move away again.
Click the door on the left to enter a closet and collect a ‘Spiral Tube’, ‘Pliers’, and a ‘Stethoscope’ from the shelves.
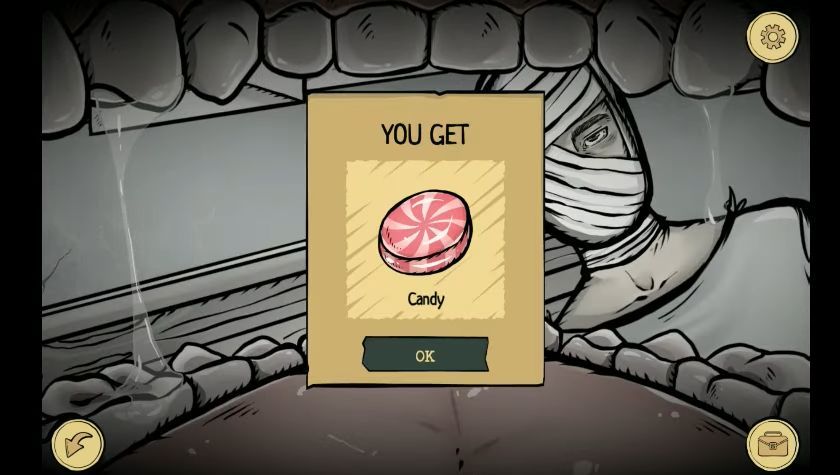
Now enter door 2 which is another patient’s room, you will find the patient in a wheelchair and has no hair. Click on him and give him the comb from your inventory, he will start combing his head and open up his mouth.
Look inside the mouth, and collect a candy inside it. Now drag the candy item to the wrapper in your inventory to get a Strawberry Candy.
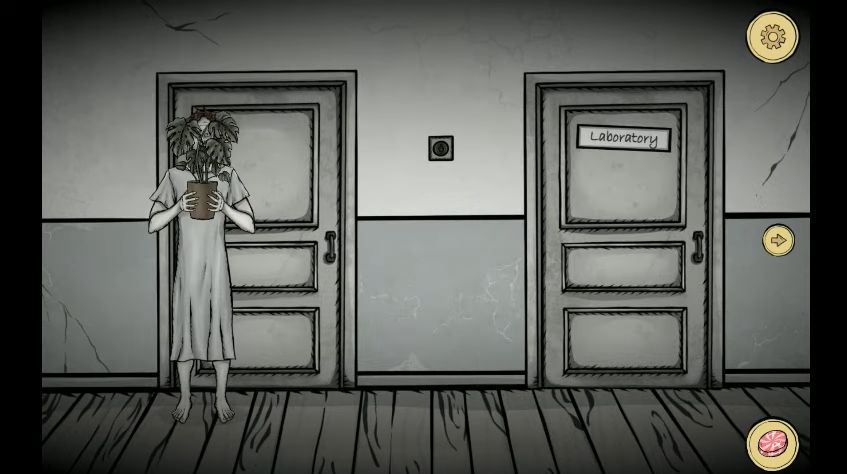
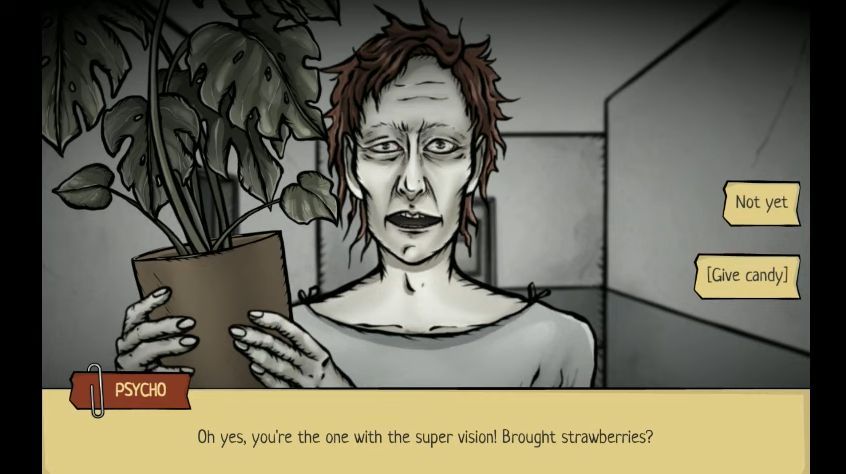
Head to the right to the Doctor’s office door and you will find the hidden patient there. Tap on him to start a conversation. He will ask you for help, answer with ‘How can I help you?’ and then he will ask you for strawberries with cream. After that, he will give you a key to open all of the doors.
Click on him again, and select the option to [Give Candy]. You will get a Paper clip.
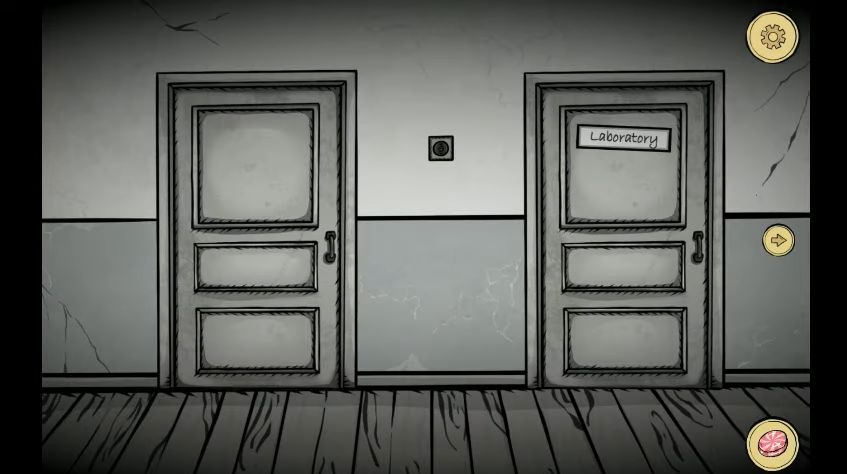
Go to the end of the corridor, unlock the door marked ‘Laboratory’ using the clip, and enter inside.
Open the desk drawer to collect some matches inside it and then go back to the corridor. then Turn off the switch between the cupboard and laboratory doors.
Enter the closet room again and light up the lamp use the matches, then use the pliers from your inventory on the light bulb. After that, you can collect the lamp.
Enter the Laboratory room and tap on the tall cupboard on the right. Grab the flask from the top shelf and start a puzzle game.
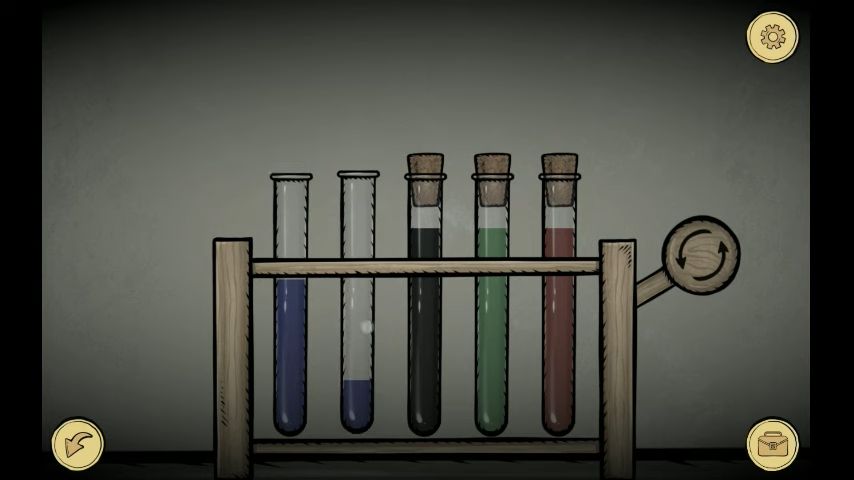
Tube Color Sort Puzzle
Select the tube and another one to pour into. It will move the top color of the first tube to the second one, you must sort the colored liquid from all tubes to have four tubes with a single color in each to solve this puzzle.
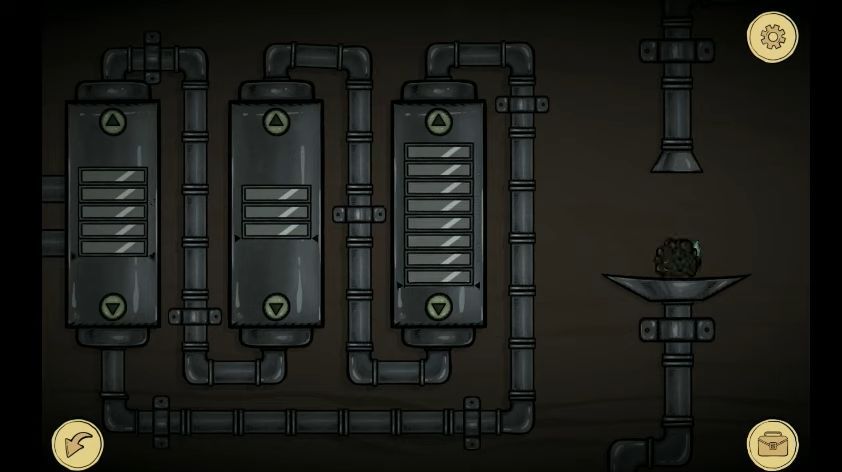
Take the tube of yellow Reagent as a reward and then use the stethoscope on the safe on the right side. At the top, you will find a line that registers sound.

Unlock the Safe
Turn the dial until you see the line jump, then reverse the direction, and look for the next. Enter a 4-digit code and open the door using the handle on the lower left side.
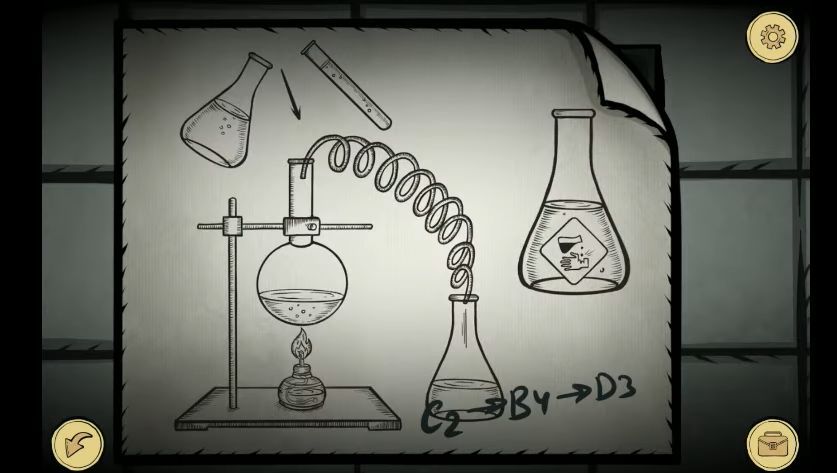
Pick a flask of purple Reagent inside the safe, and then view the poster above the table to get a clue. This will be a diagram of some equipment to make acid. You also need to notice the writing below.
Go to the equipment on the table and remove the broken round-bottomed flask. Combine the Pliers from your inventory with the lamp to get a Lamp Bulb.
After that, place the lamp bulb on the equipment stand, then add the spiral tube and the flask to complete it. Add two reagent liquids to the bulb and light the burner using the matches.
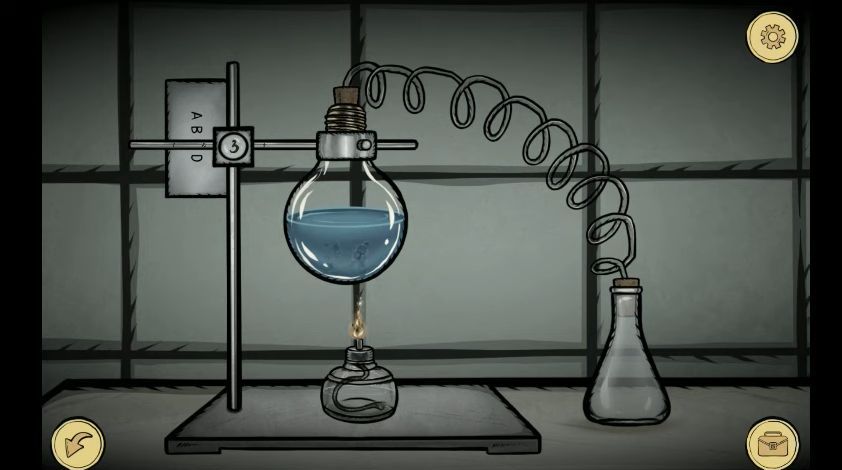
You can notice a scale of letters; A B C D on the top left side of the stand. It is a puzzle, you need to drag the right arm and left to the positions ranging between 1 to 4.
Solve it to collect the flask with green acid and then view the poster again. You will find another puzzle behind i.

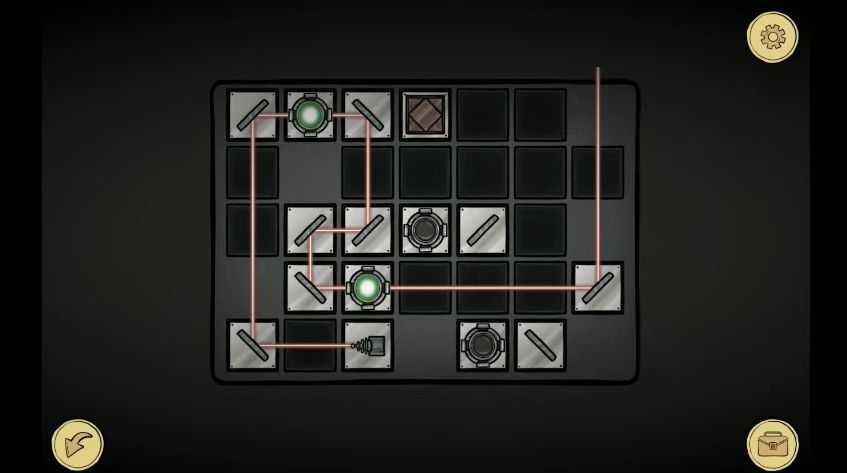
Electric Circuit Puzzle
You will need to rotate the blocks to complete the circuit. You can rotate the round blocks to line up the wires and also swap the square blocks with each other. You will find three green lights on the board. Tap the switch on the right, then a gate will reveal on the right side.
Use the acid that you have made on the lock to open the gate and enter the secret room.

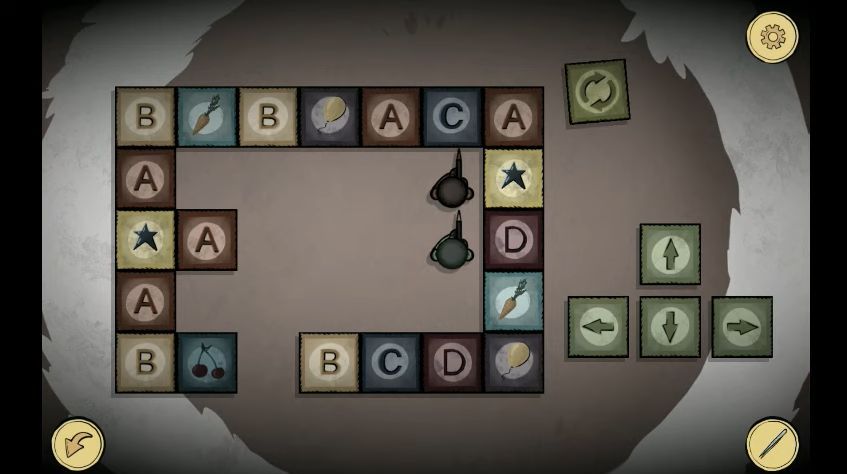
Toy soldier blocks Puzzle
Click on the blocks below the rocking horse to reveal another puzzle. Use the arrow buttons to move around two toy soldiers on the board, they will move as far as they can in a particular direction. You must move the green soldier to the exit gap, and complete the puzzle to collect a Toy Soldier.
Head to the fish tank on the right side, and you will notice a picture of the rocking horse on the wall. This horse has a yellow leg.
You will another rocking horse picture with a yellow leg on the right side. After that, turn to find a desk and chair.
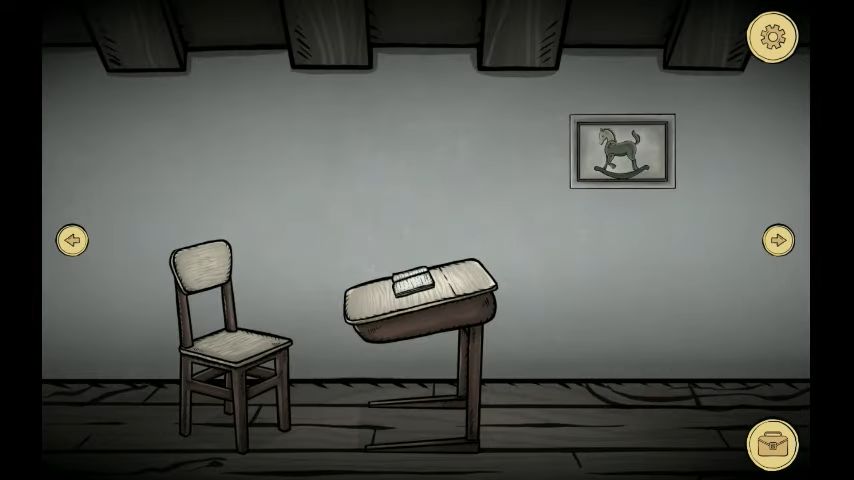
Collect Sticky muck’ under the chair and then look for a book with a clock face and some tweezers on the desk. Place the toy soldier on the clock face drawing and pick up the tweezers. After that, the hands of the soldier will mark a time.

Go to the picture of the rocking horse with a yellow head on the wall. Tap on the rocking horse to view it.
Rocking Horse Puzzle
Move the tail, head, and front leg and set the positions to match the three yellow parts in the pictures. Now pick up the Dead Hamster, and view some flies on the round window on the wall. Add the sticky muck to the window to move the flies towards it.

One fly will stick to the sticky mess when they fly away again, you have to collect this fly. Add the dead hamster to the window to make the flies go towards it and click on the hamster to view the larvae growing in it. You can make them appear by using the tweezers on the dead hamster.
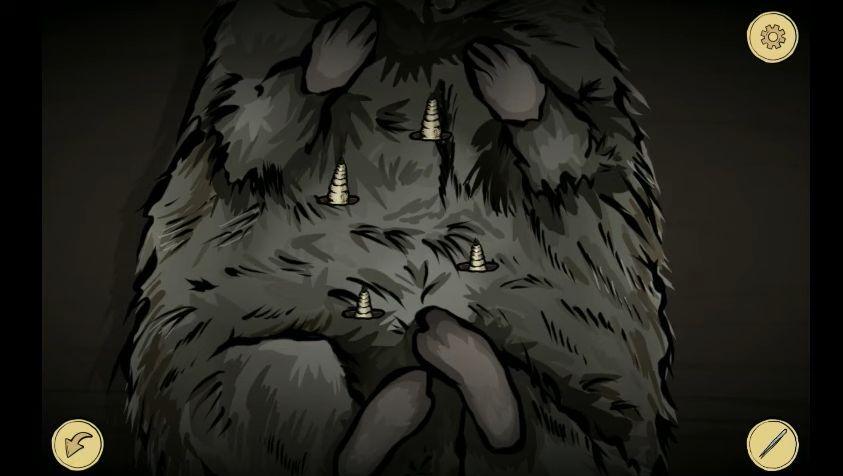
Larva Puzzle
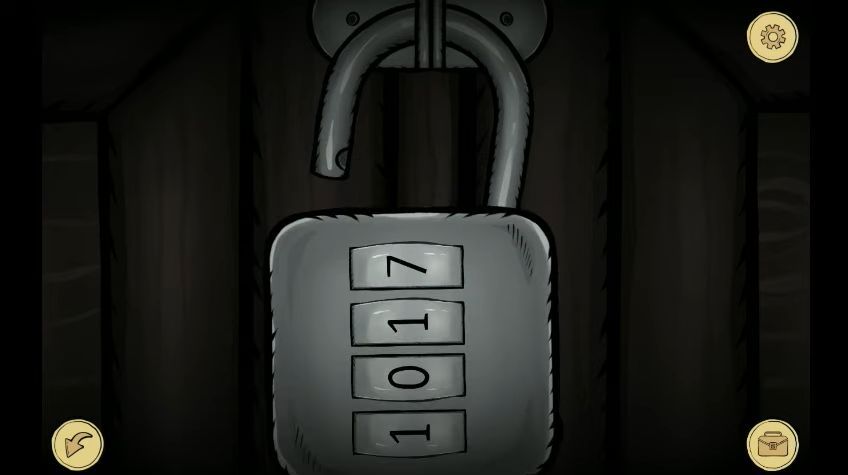
Collect one larva using the tweezer, and then turn right to the fish again. Input the code for the padlock to unlock the cabinet under the tank. You can find the code on the desk.
Collect a pot of fish food inside the cabinet and add the fish food to the tank for the fish. The will poop out a ball. After that, add the fly to the tank for the fish to eat. You have to repeat this one more time with the larva.

Once the fish has pooped 3 times, you will find a device on the right with a puzzle.
Fish tank puzzle
There are three chambers on the left with different sizes, and you will have eight lights to move around from one chamber to another. Use the arrow buttons to move them to another chamber.
You will find arrows on each chamber, they specify the amount of light sections on each chamber you need to place in each tank. You will receive a key after completing the first challenge and there are three levels to complete.
After earning three shaped keys, view the top of the chest to the left of the rocking horse in the room. You have to solve a puzzle for each one.
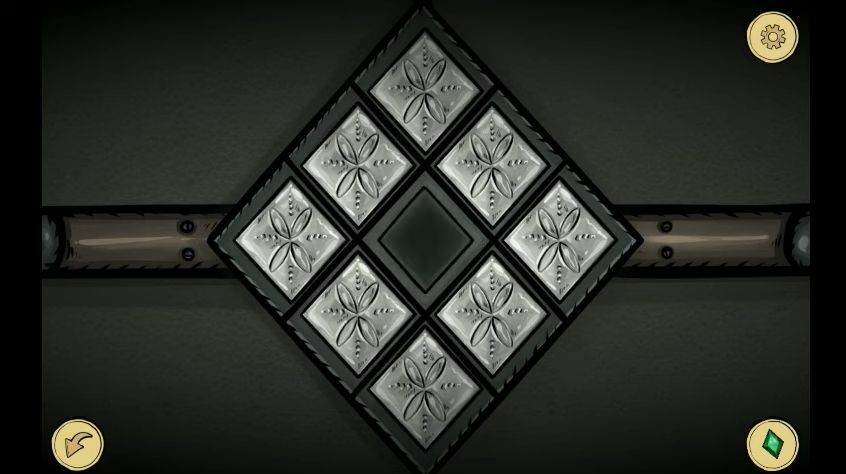
Rhombus Puzzle
To solve this puzzle, you have to activate the lock in the center. Toggle any slot on or off and it will also toggle the ones next to it. It will activate the lock when you set all 9 of them and then you can add the rhombus key in the center.
Circles Lock Puzzle
The circles lock puzzle has three circles, you have to rotate them with the arrows and arrange the gold or silver coins on the correct colored segments. After that, add the circles key in the center.

Squares Lock Puzzle
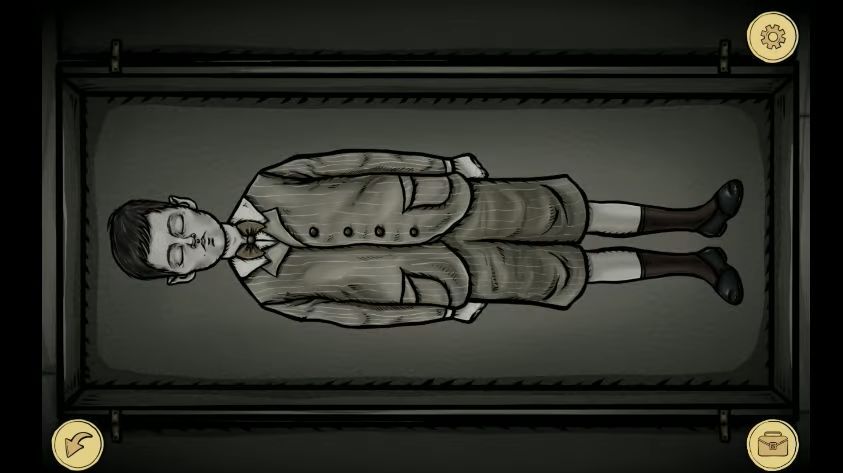
Slide the shapes around the grid and arrange four matching shapes in the correct corners of the grid. Next, add the final key to the center and it will open up the chest with the body of a boy inside.

Tap on the body to wake up the boy and he will stand up in the room. Click on him to make him disappear and it will complete the second chapter.
Chapter 3
In Chapter 3, go back to your room and start a conversation with the psycho-patient. He will give you a key and ask you to avoid the orderlies by leaving by the left stairs. Open the gate on the left door using the key and head downstairs to the next room.
Orderlies Room
This room belongs to Orderlies, you need to tap on the photo on the wall, 150 years old, and find a clue on its back.

Collect a syringe from the top of the nightstand below the photo, and then move right to a table and chairs with a checkers board on it.

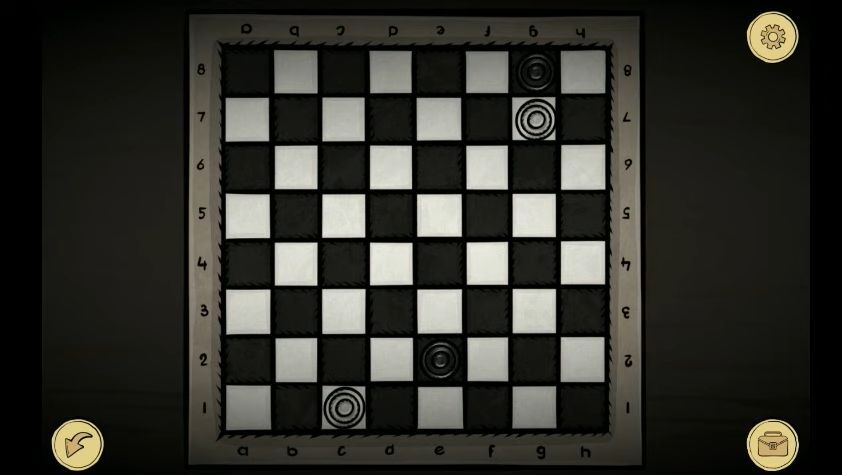
Checkers Puzzle
You will find four checkers on the board. Move the checkers around to the correct positions using the clue, you must move them diagonally on their color squares. The columns have letters and the rows are numbered. Once you complete this puzzle, you can collect the key.
You have to go right to find two gates and open the left gate. Open the gate on the right using the key and head down to the operating room.
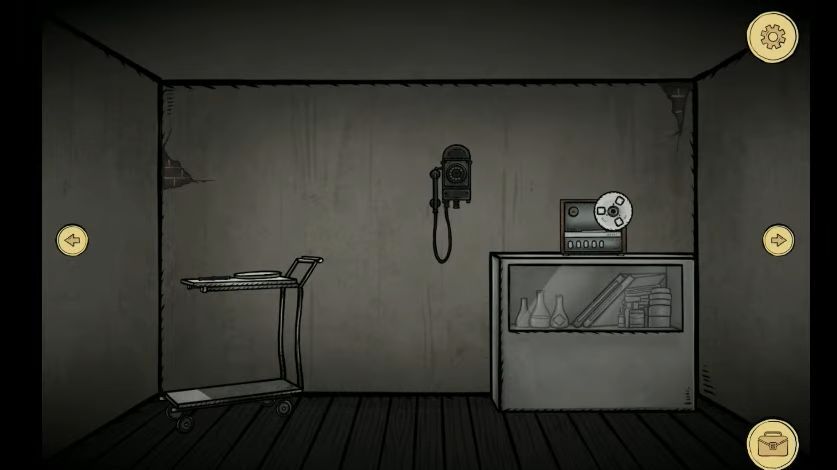
Operating Room
Pick up a screwdriver from the top of the trolley on the left side and open the diary to read about the boy. Click on the glass cabinet on the right side and then collect a bottle of poison.

After that, face the opposite wall and look towards the steps you enter from, you will find a yellow generator on the left side. There will be a button puzzle on the control panel.
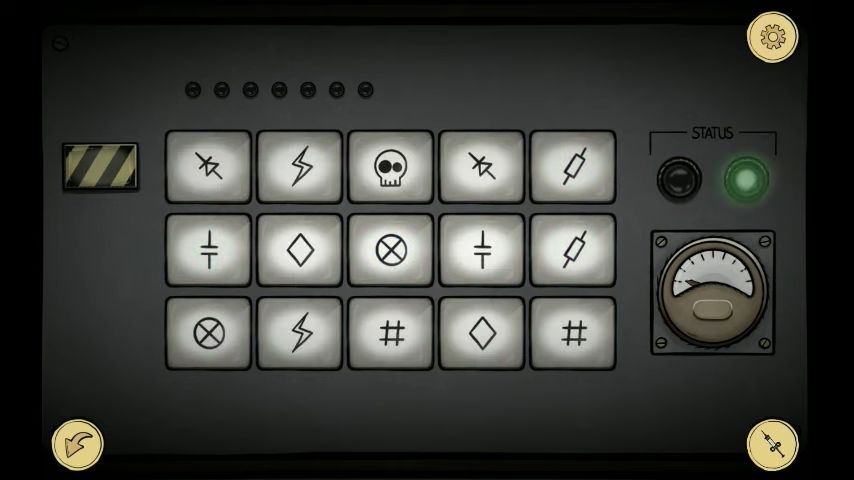
Generator Puzzle
Tap the button on the left to find a set of symbols on the buttons. These symbols will disappear, after some seconds, so you must remember their locations. Click on the matching pairs of buttons and the generator will power up when you find seven pairs.
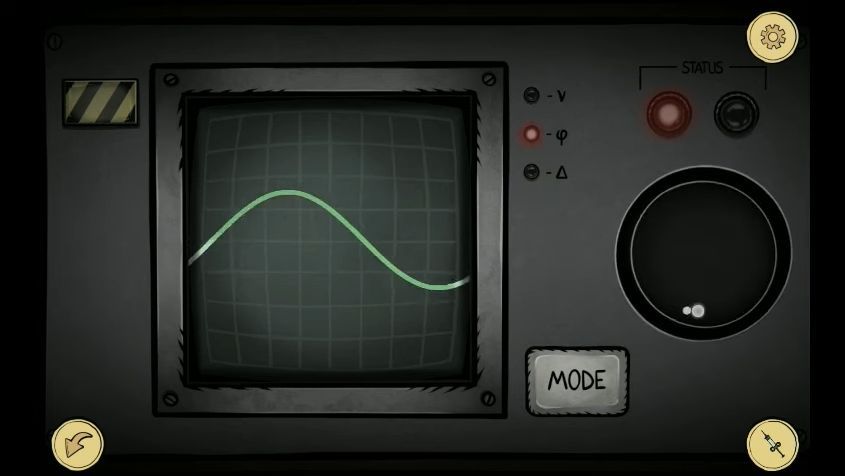
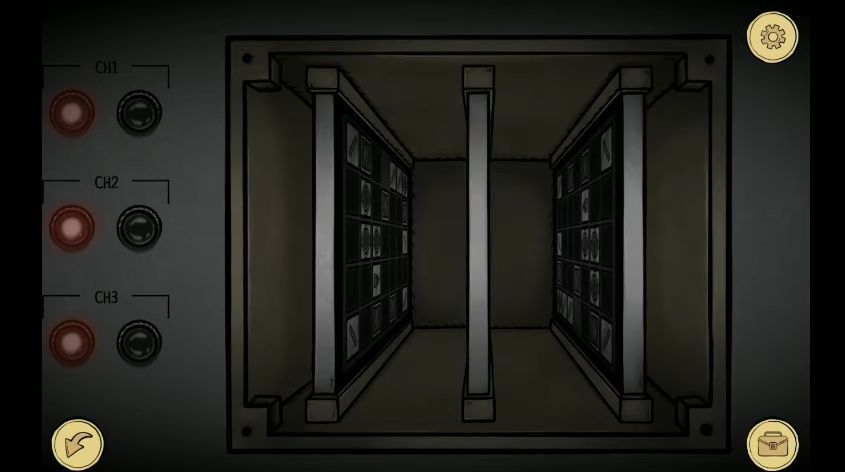
After turning on the power, view the oscilloscope on the right of the doorway to reveal another puzzle.
Oscilloscope Puzzle
The display will show two trace lines; green and white, you need to select from 3 modes using the controls and then adjust the green trace. Make sure the green lines match the white ones. The puzzle is complete when a green light appears.
Go to the patient in the chair attached to various pieces of equipment, and click on the bottom right box. Remove two screws on the plate on the right side using the screwdriver and open it up. Tap on the three boards to start a new puzzle.
Laser Puzzles
Every board has a layout of square blocks, round diodes, and angled mirrors, there is also a laser shining. Direct the laser by moving the angled mirrors around the board and then pass the laser through the diodes, the beam can pass through a diode in two directions.
After that, you will find three green lights on the box and you can view the next piece of equipment.
Light shape puzzle
There is a red light beam passing through it, you can move the lenses around in the case to alter the shape of the light. You have to adjust the light beam size to match the dark outline.
Next, click on the patient’s exposed brain to find another puzzle.
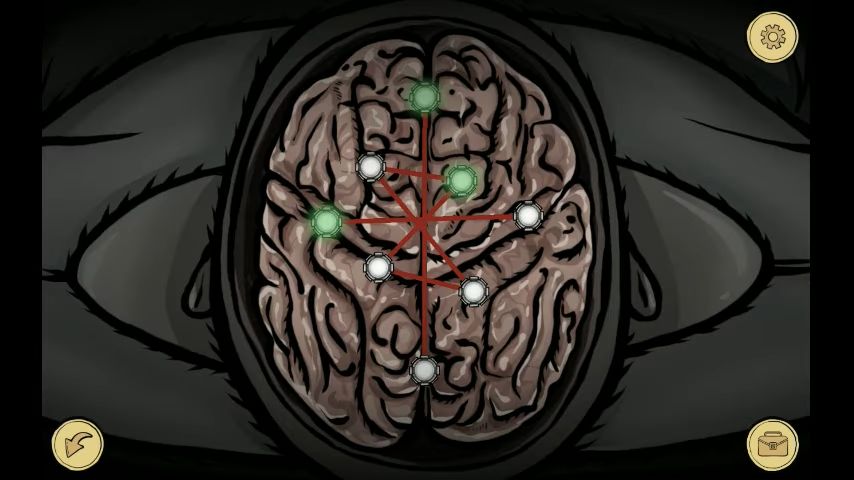
Brain puzzle
There are three levels of this puzzle. There is a set of nodes with lines on the brain, you have to move the green nodes to untangle the lines and arrange the green nodes to make sure no lines cross.
It will turn green and when you complete the puzzle, the patient’s eyes will start glowing and a cap will be placed on his head. The goggles have settings buttons on the side.
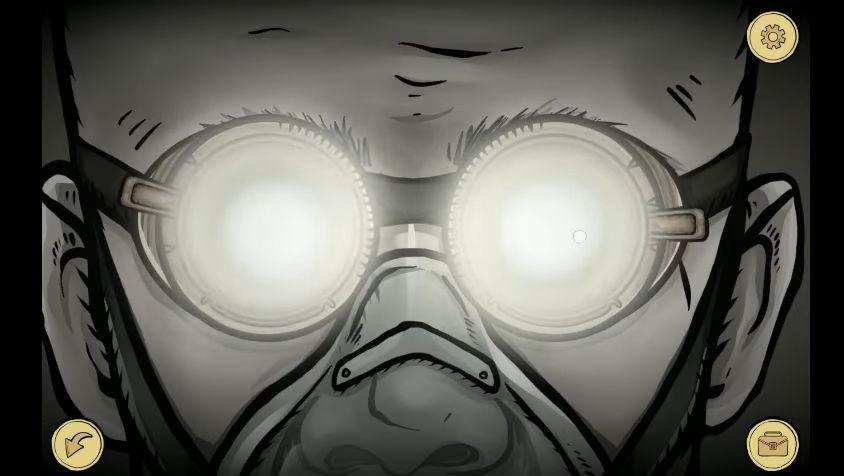
Now face the opposite wall and you will find some projected images on it. These are the images from the eyes but they are not well focused. Change the settings of the goggles to see the focused image on the wall.

You will find a clue to a padlock code on the wall, now go to the Orderlies room again and find a large cabinet with a padlock.
Use the code to open the cabinet and look inside.
Grab the clothes from the shelf and the key under the clothes. Move towards the beds and open the nightstand to collect a hat.

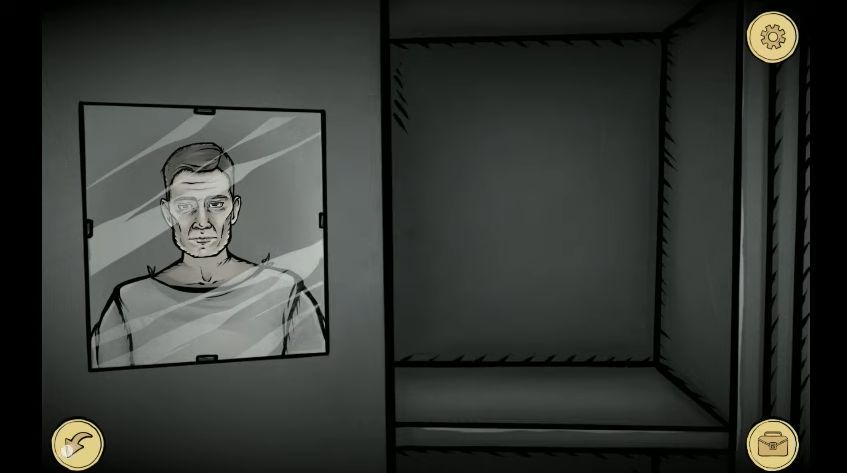
Next, use the clothes and the hat on the reflection in the mirror to put them on.
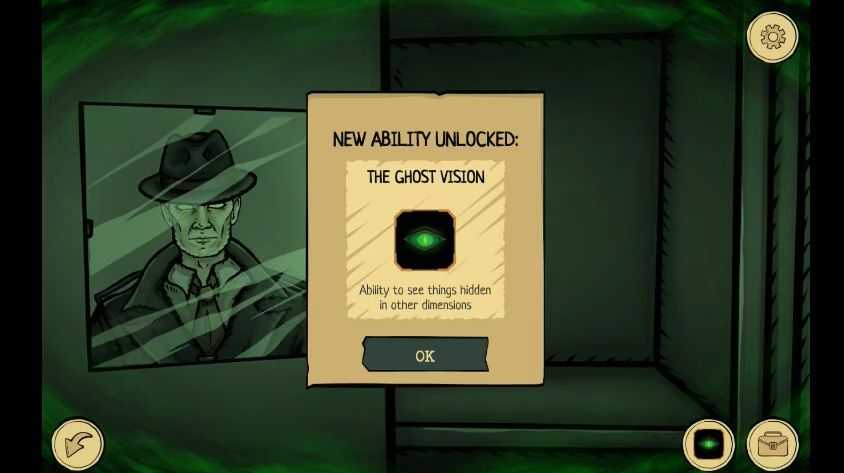
Bring out the trinket and use it on your reflection to release the demon in your head. You will also gain ghost vision.
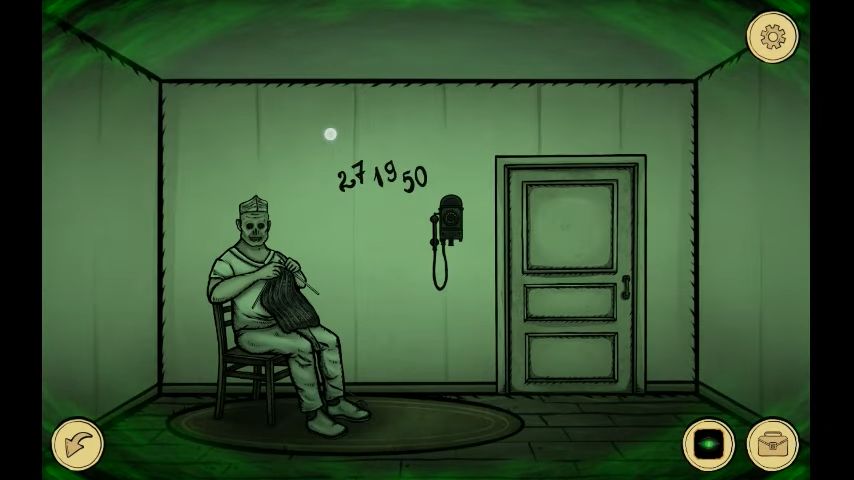
Look through the keyhole on the right door and you will find the orderly knitting outside. Simply pass through the door and see the room with a number on the wall using your ghost vision.
After that, move back to the beds to view the alarm clock on the top of the nightstand. Using your ghost vision, you will find that it is broken and then you can collect two gears.
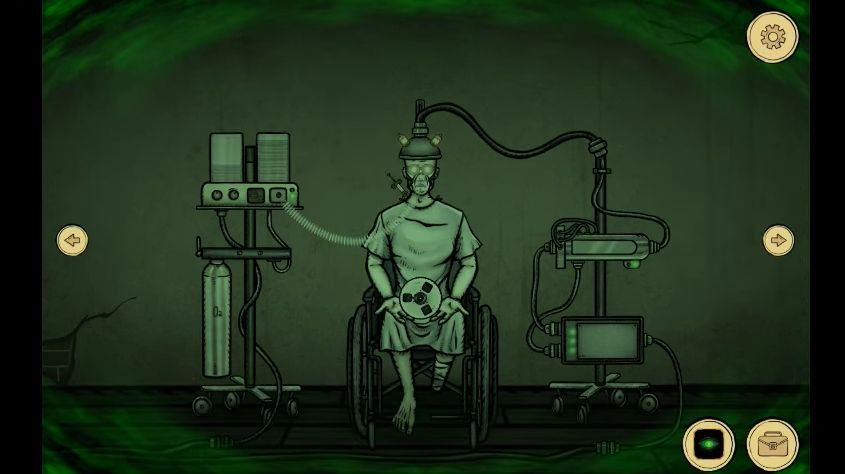
Now make your way to the operating room downstairs and tap the patient with his spirit hovering at his shoulder. He will tell you that he cannot breathe.

After that, go to the machine on the top left and you will find that it is missing some gears.
Gears Puzzle
Arrange the two gears so that they all turn to solve the puzzle. Click on the spirit and he will now tell you he’s in pain. You have to combine the poison with the syringe and give this syringe to the patient to grab the reel from his hands.
Turn to the right and view the tape recorder on the right. Add the reel to it to start a puzzle.
Tape Recorder Puzzle
The buttons will light up in a sequence, the first has 3 buttons, the second has 4 and the last one has 5. You have to copy the sequence by using the buttons.
A recording of the doctor will play and then you need to view the rotary dial on the telephone on the wall. Next, input the number that you saw as a clue.
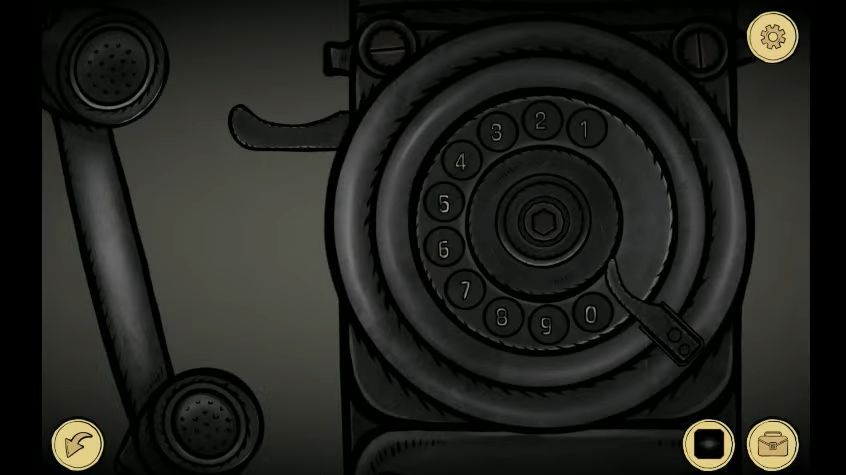
Put the handset next to the recorder and head back up the stairs. Face the left door and look through the keyhole, you will find that the orderly is gone now. Now you can escape the building through the door to complete the Strange Case 2 game.
