Do you want a VPN on your console for lobbies and bots in Warzone 2.0? If yes, you have come to the right place. This guide will let you know how to use a VPN.
You first have to download a free VPN from the provided links and then make some changes in settings to connect it.
You will need a Laptop or PC, an Ethernet cable, a good internet connection, an Ethernet port on a PC, and a good VPN. If you don’t have a VPN at the moment, you can check out the following VPNs:
https://www.avira.com/en/free-vpn
Now, let’s see how to use a VPN on Warzone 2.0.
Step 1:
First, download the VPN, choose your location and connect it to it. It would help if you connected an Ethernet cable from your console to your laptop or PC.

Step 2:
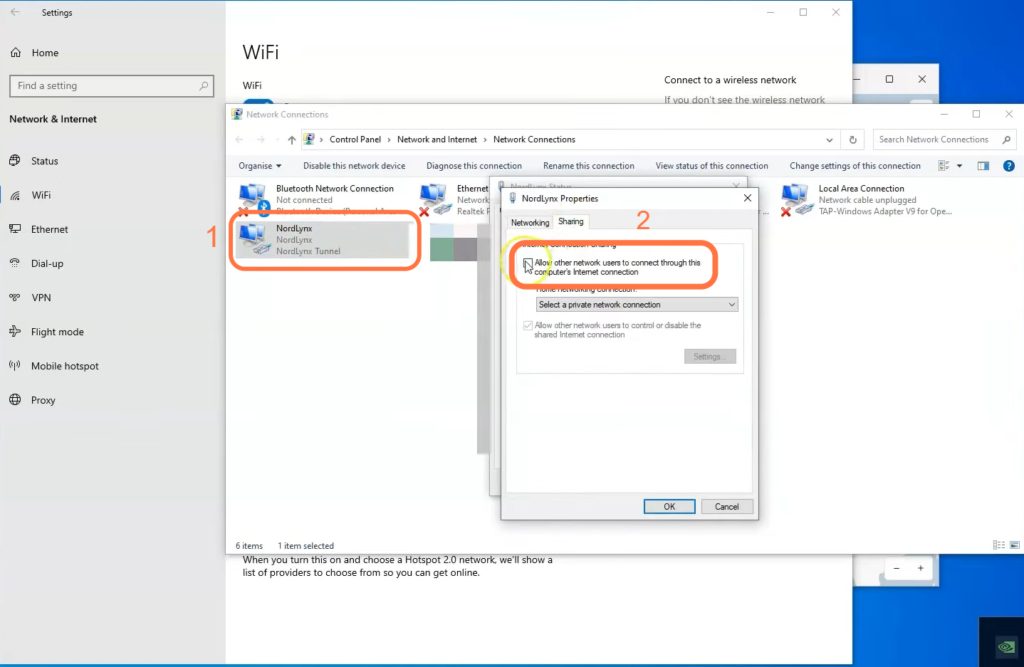
Move toward the settings of your Wi-Fi when you are connected. Now, click on Change adapter settings. Find the perfect portal/driver for VPN you are utilizing. Once you find the correct driver, right-click, go to properties, and share. Checkmark the first option, as it will let other users utilize this as a Private Network.
Step 3:
After that, you must find the driver connecting your console. Upon finding it, right driver, right-click on it, go to the properties, and navigate to the Sharing tab. Checkmark the option that lets other users use this as a Private Network.
Step 4:
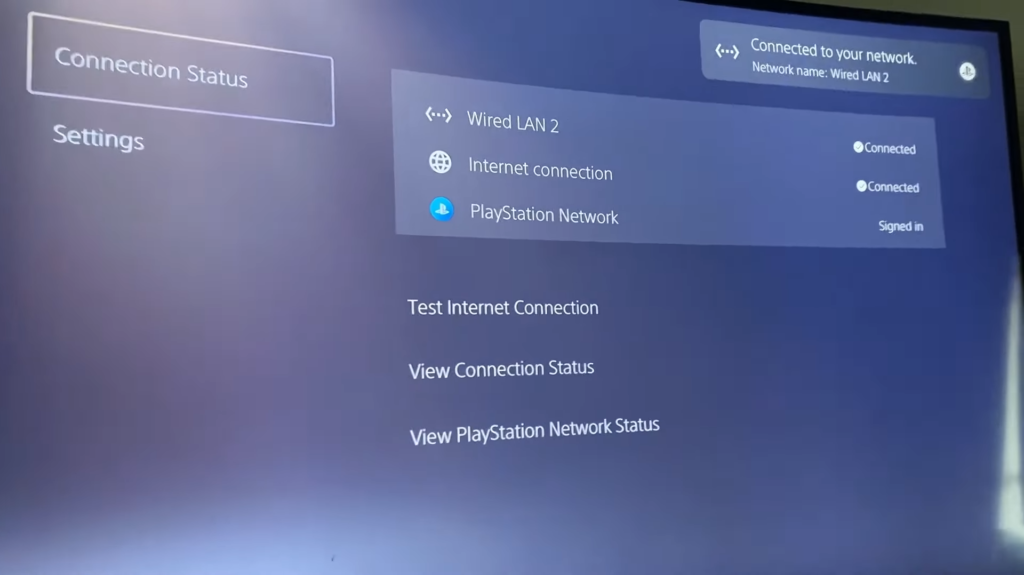
Again, try to find the driver that connects your laptop to the console. Select it and then turn on your console. Now you have to connect your console to the Ethernet cable. After that, go to the MW2, load the bad boy, and go to settings to see your location.
That’s great; the VPN is working and connected now.