In this guide, We will share with you all locations of lumenspar in The Chasm: Underground Mines. You can get a lot of great rewards and new functionalities when you upgrade Lumenstone Adjuvant to a higher level.
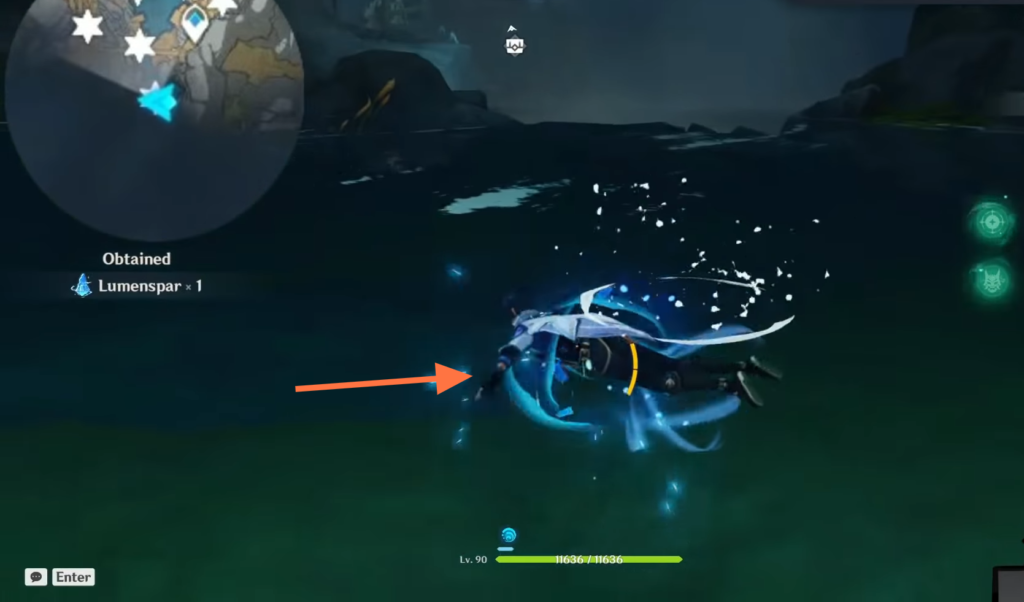
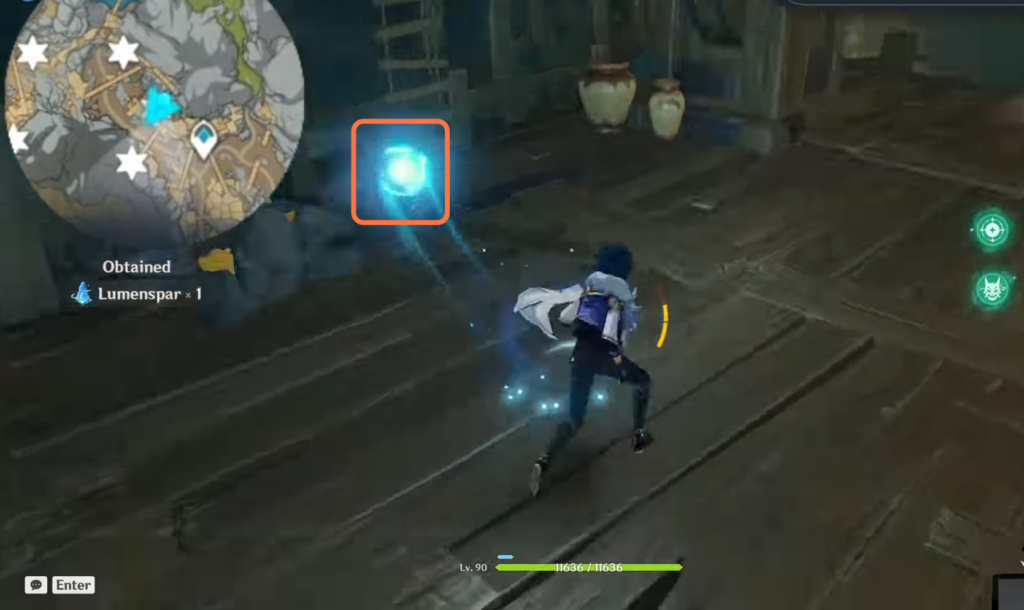
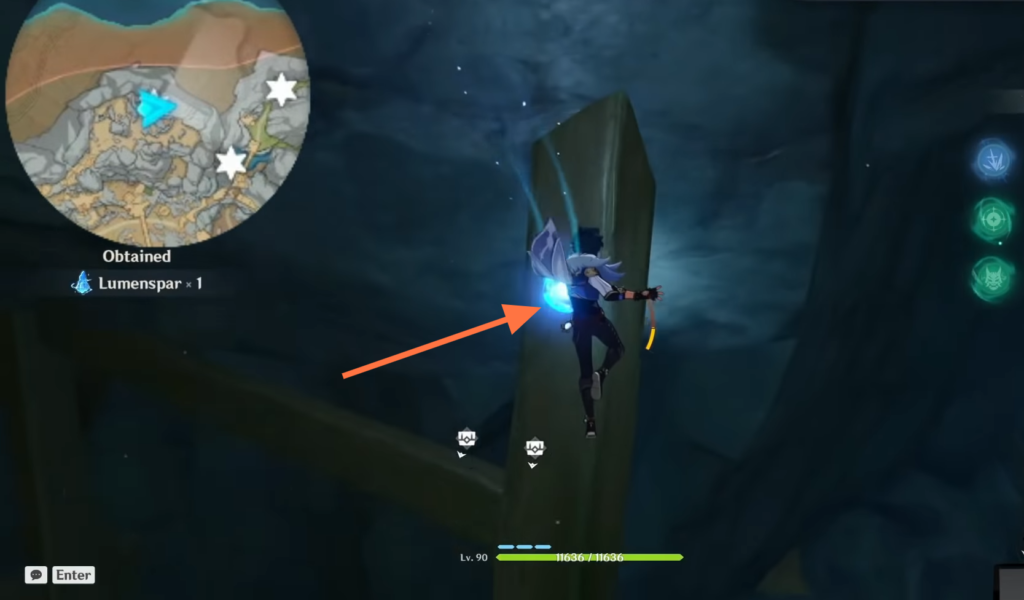
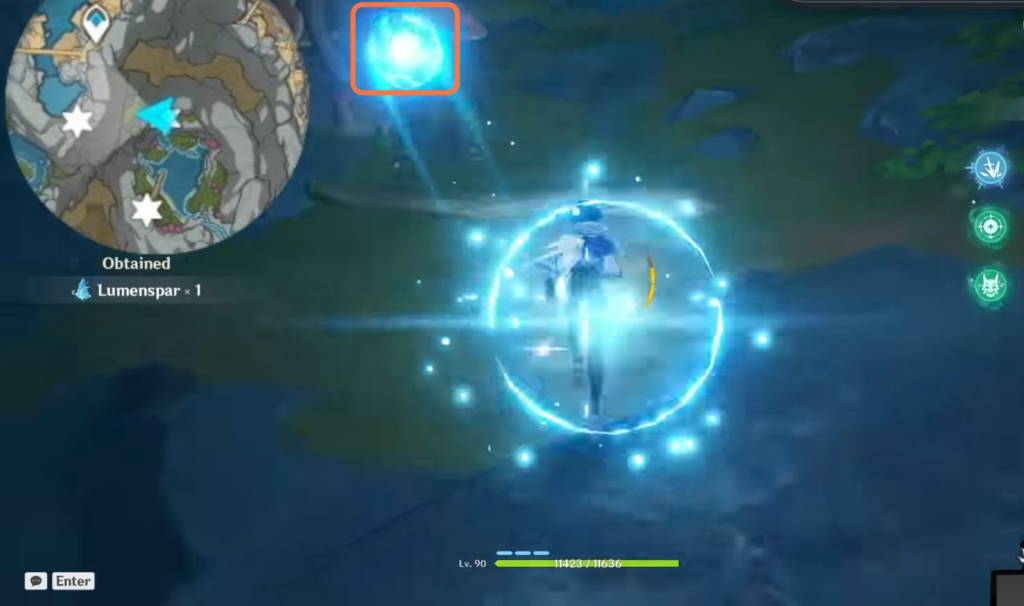
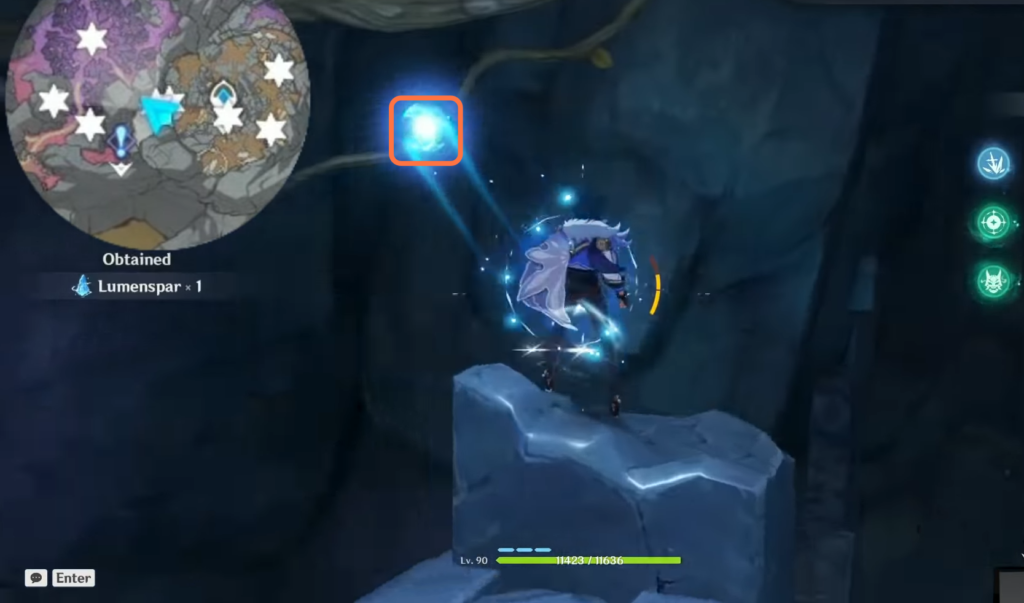
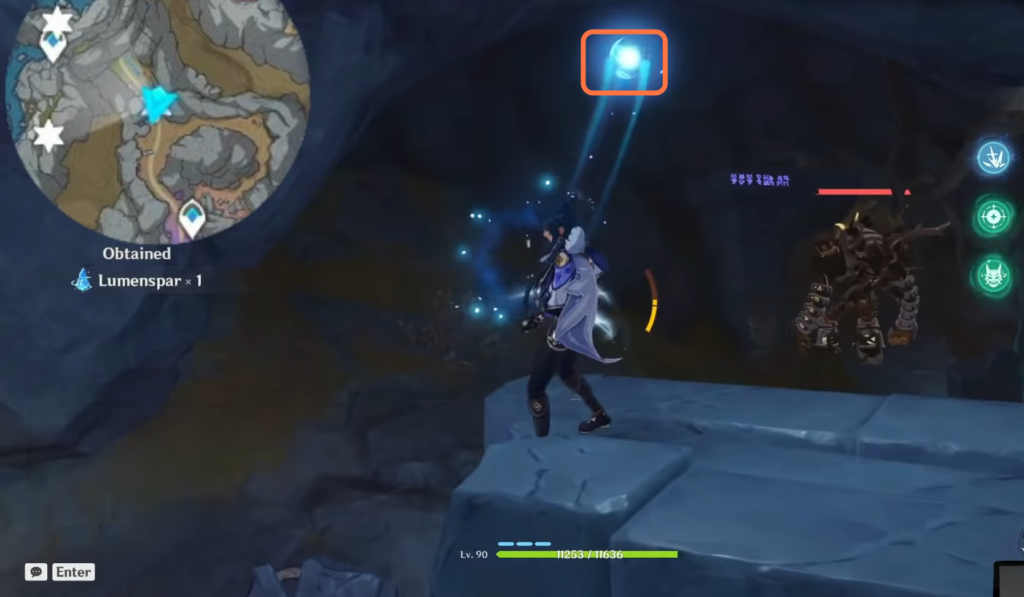
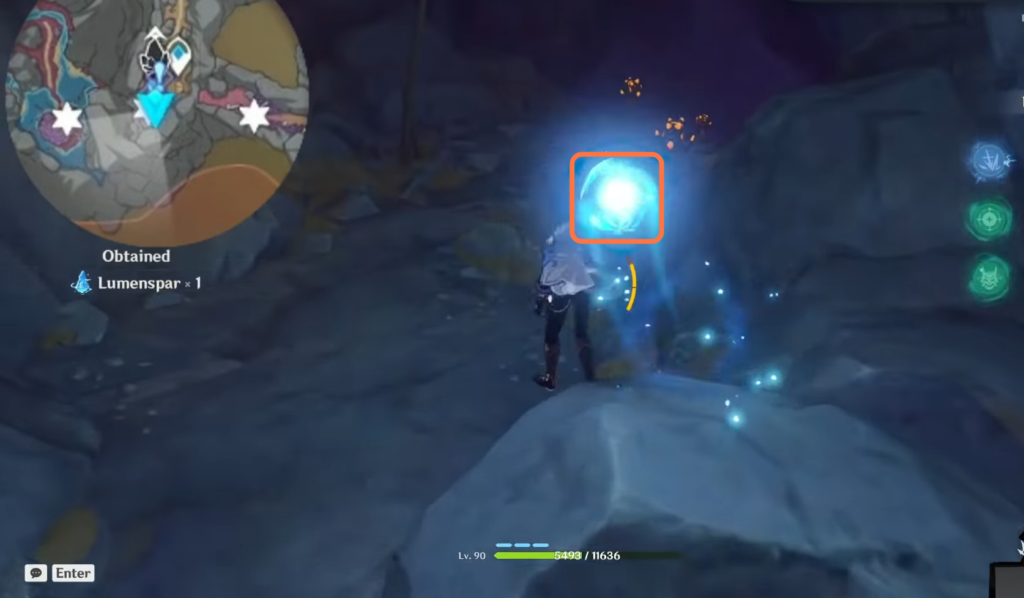
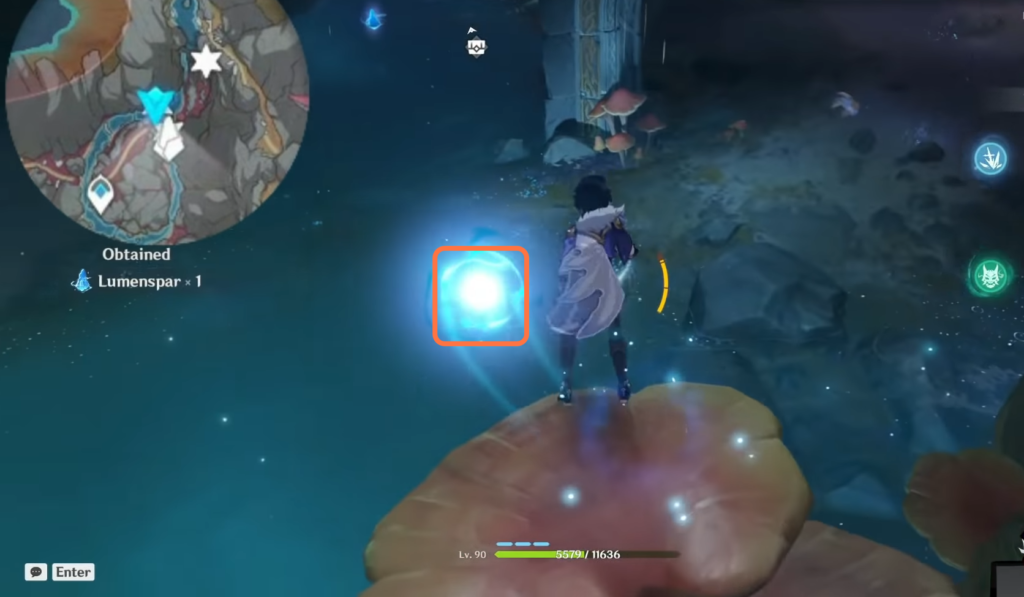
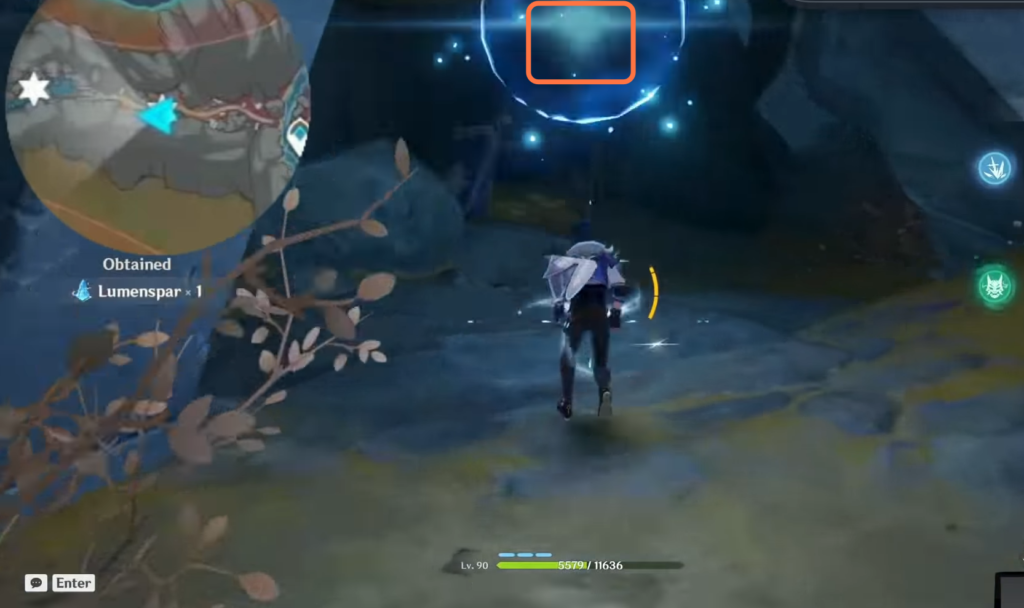
Location No. 1
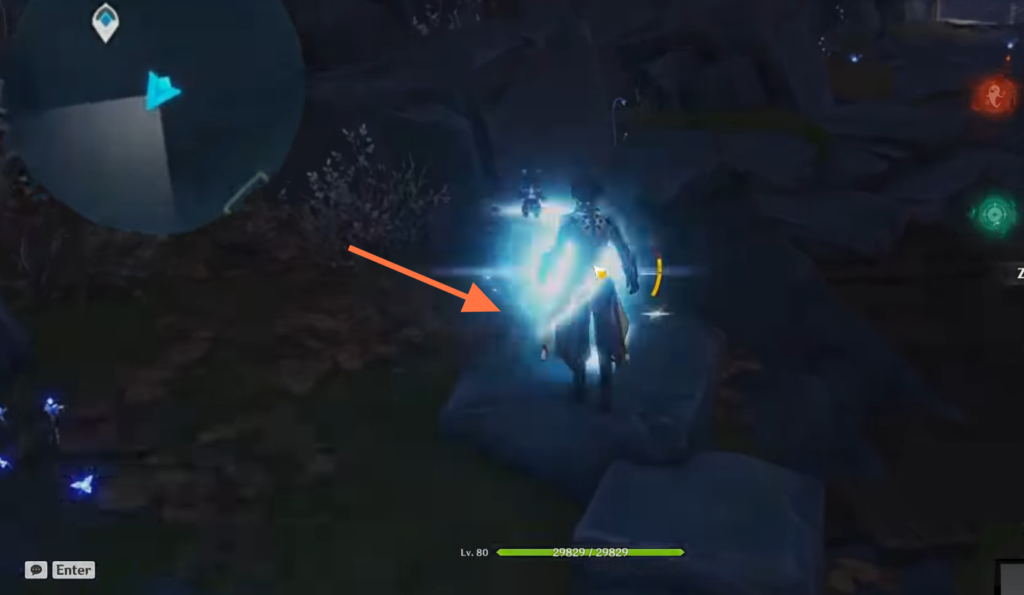
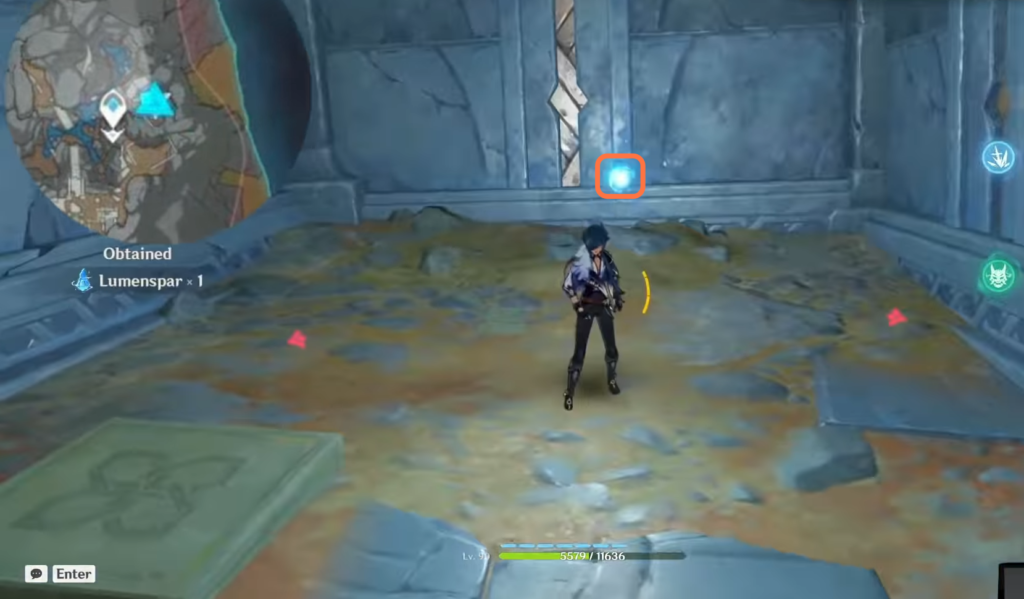
When you reach the underground mine, head southeast to collect the lumenspar on the rock. You need to collect it in order to proceed with the world quest.
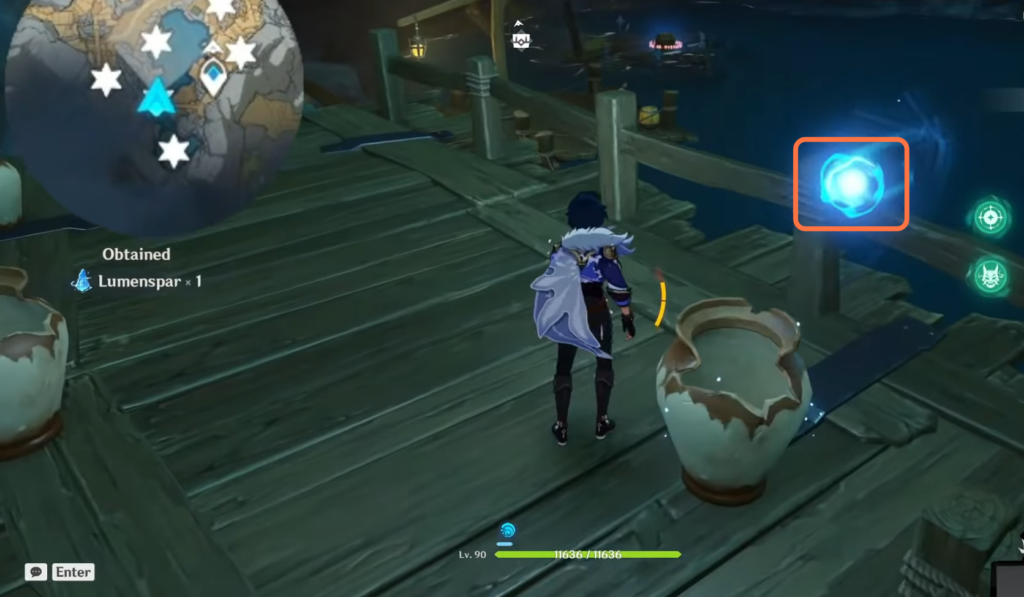
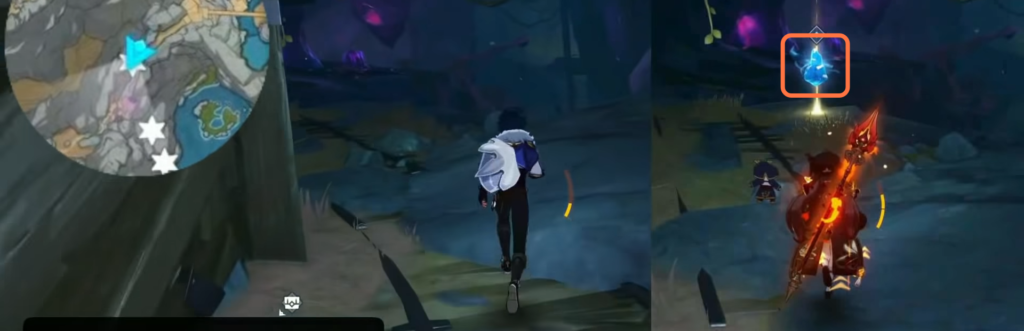
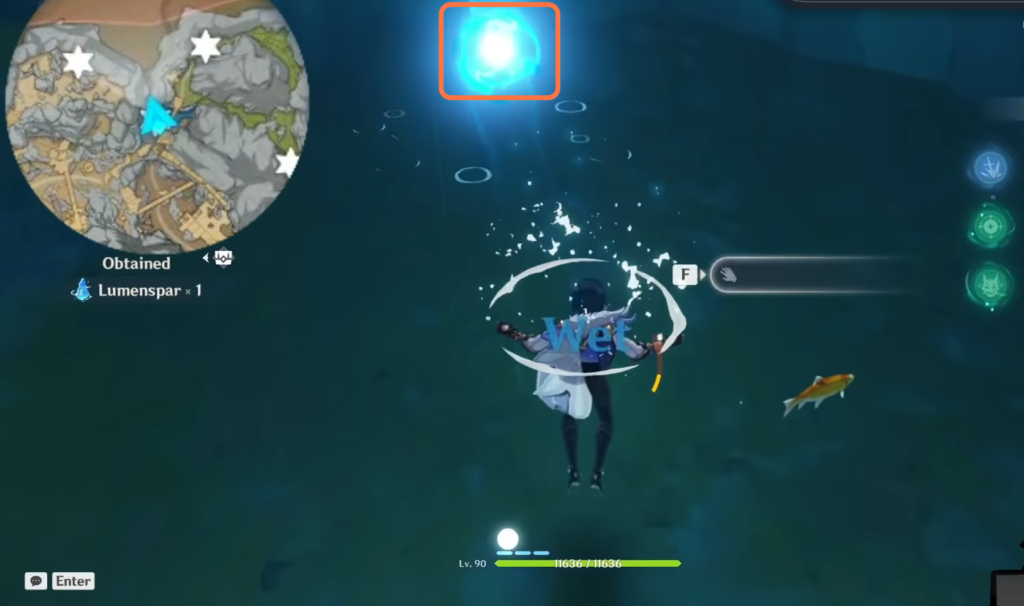
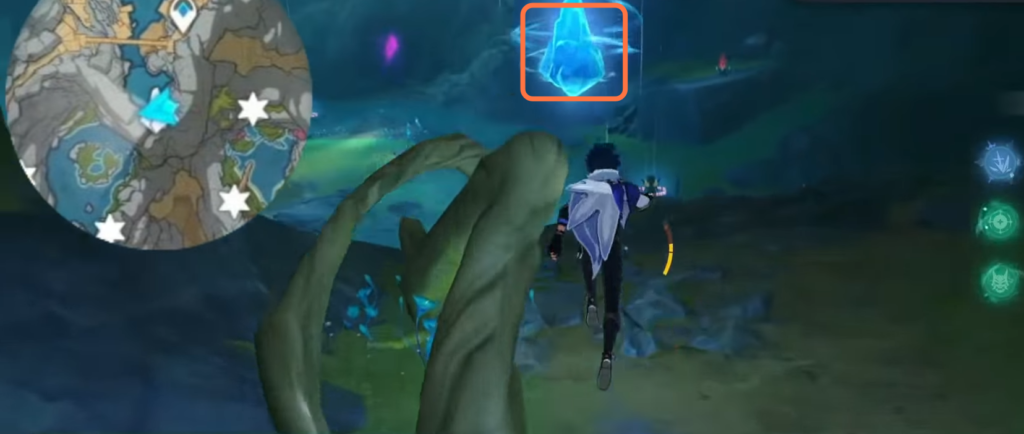
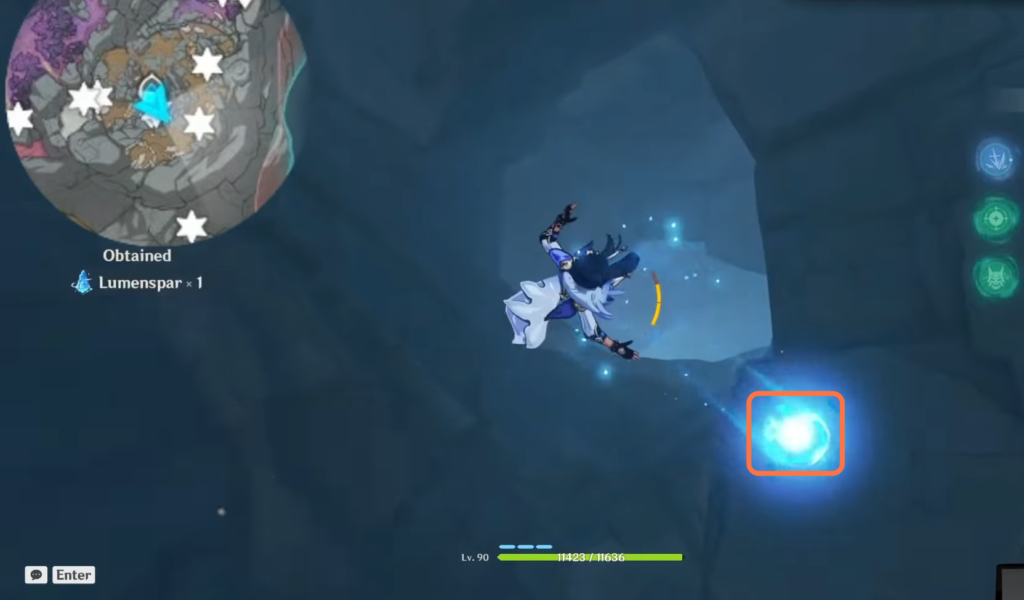
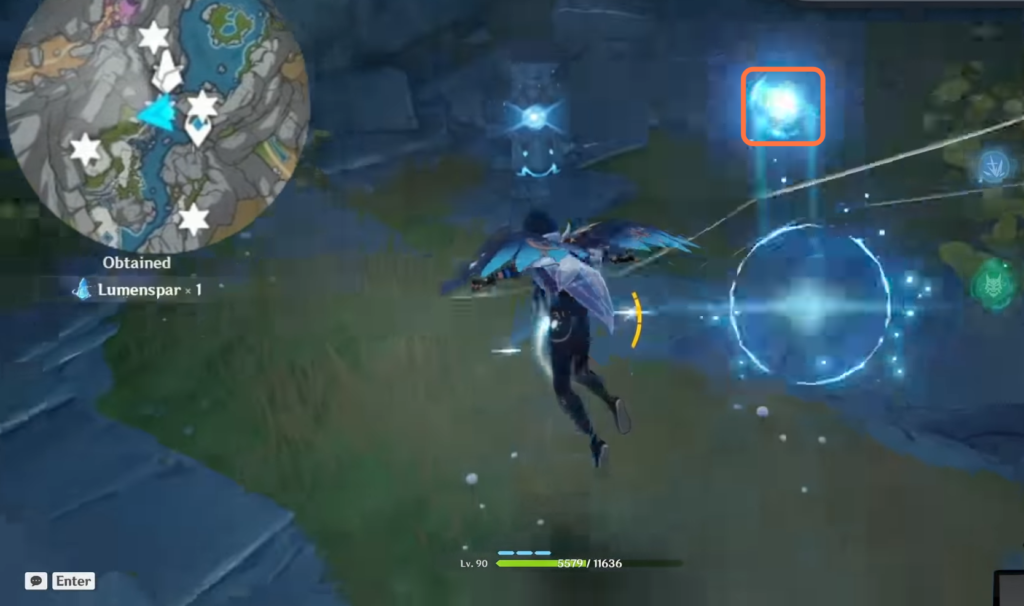
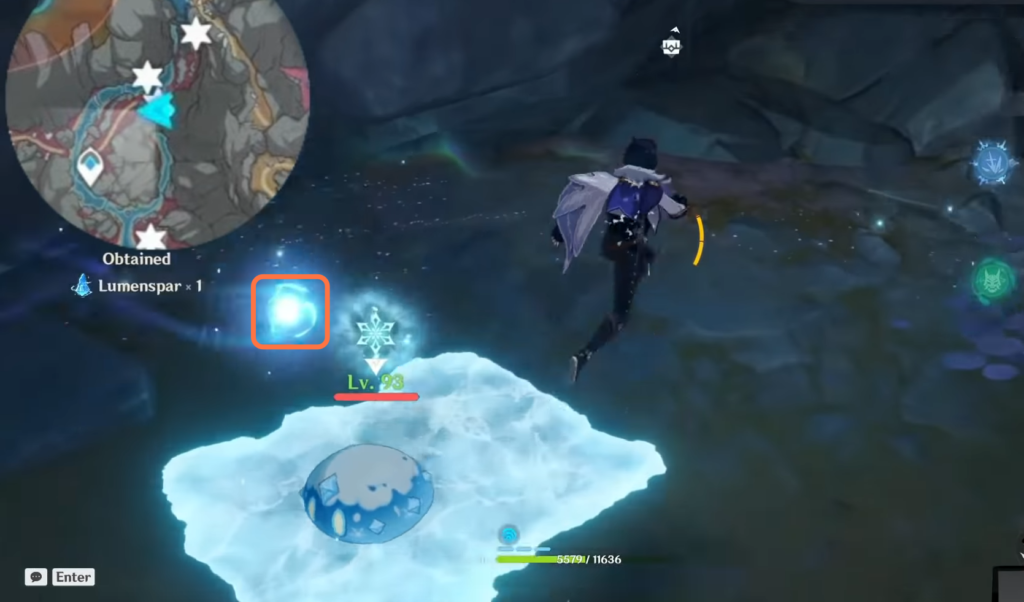
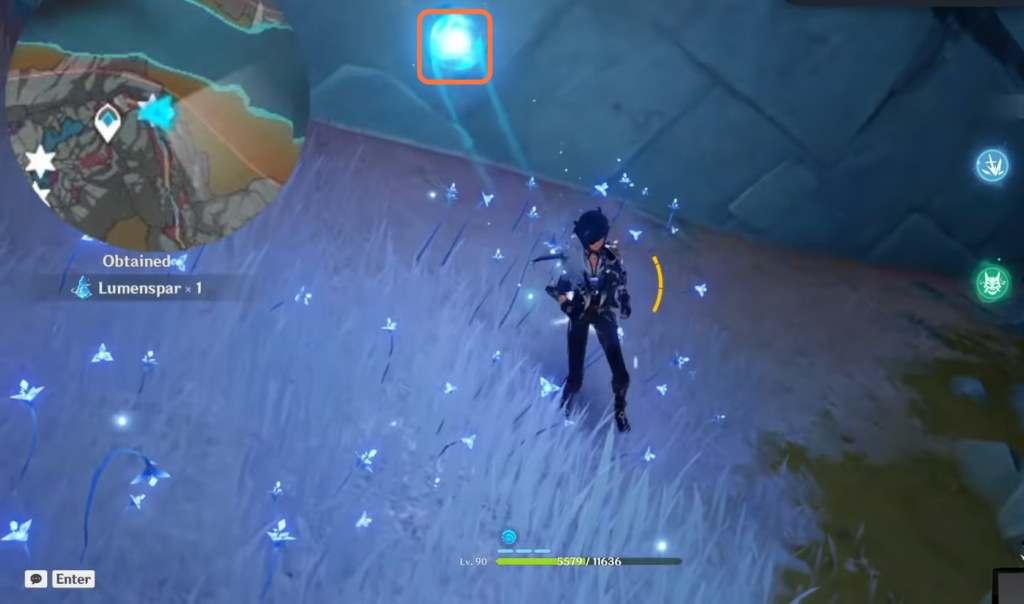
Location No. 2

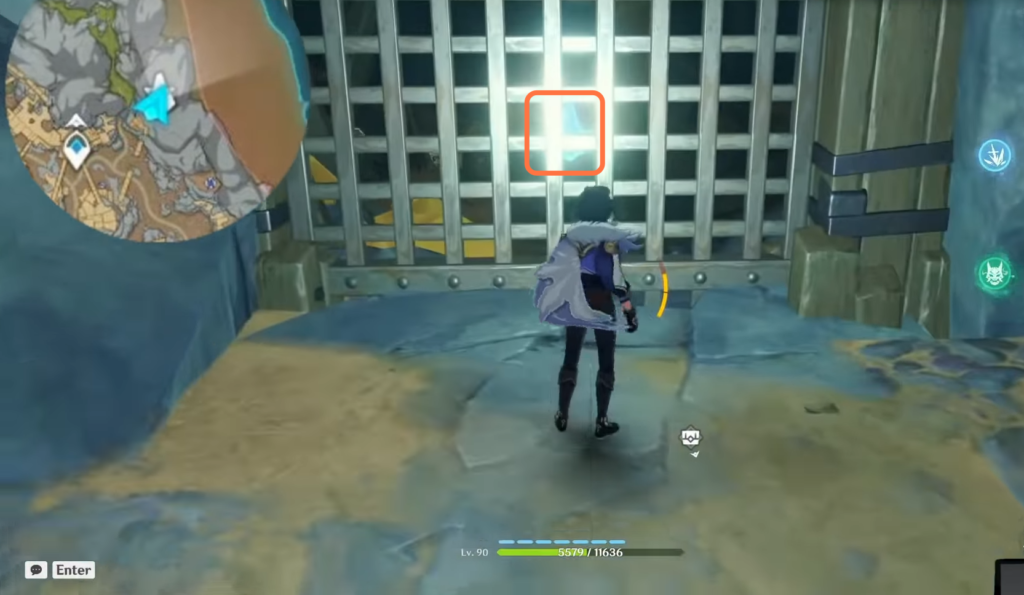
Teleport back to the waypoint and glide southwest. The lumenspar is floating beside the hook of the crane.
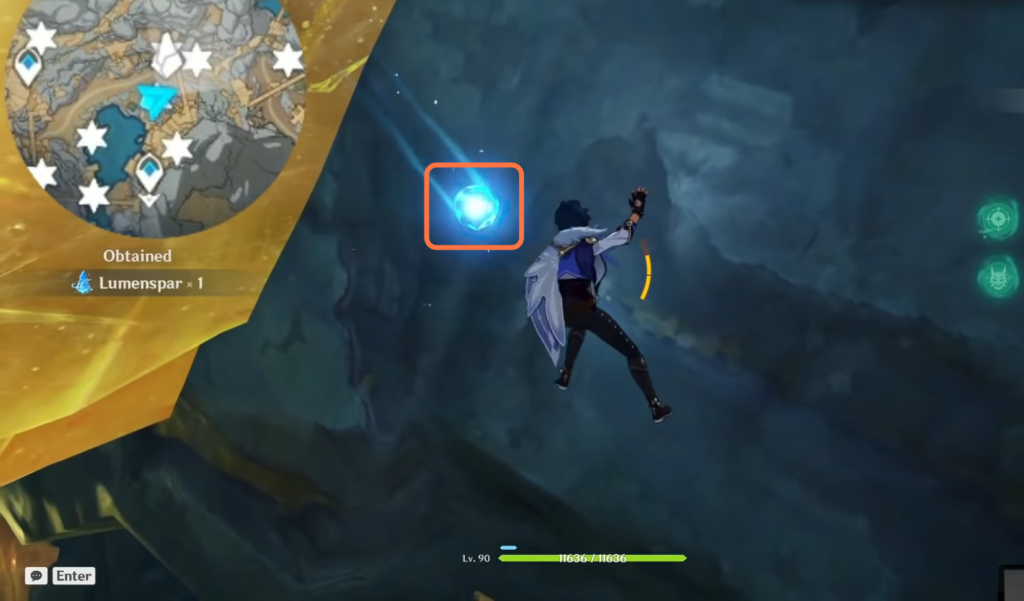
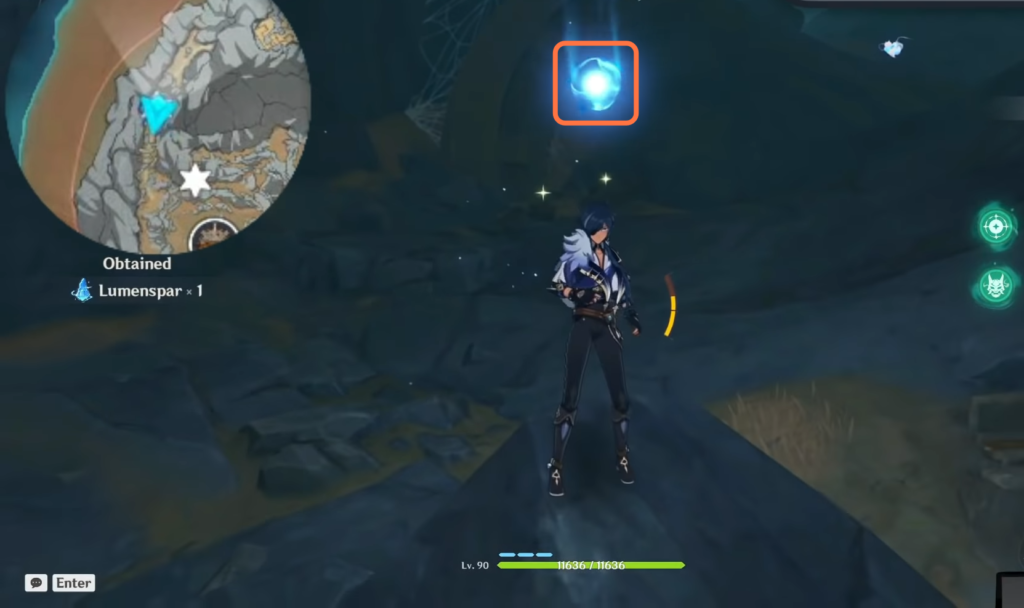
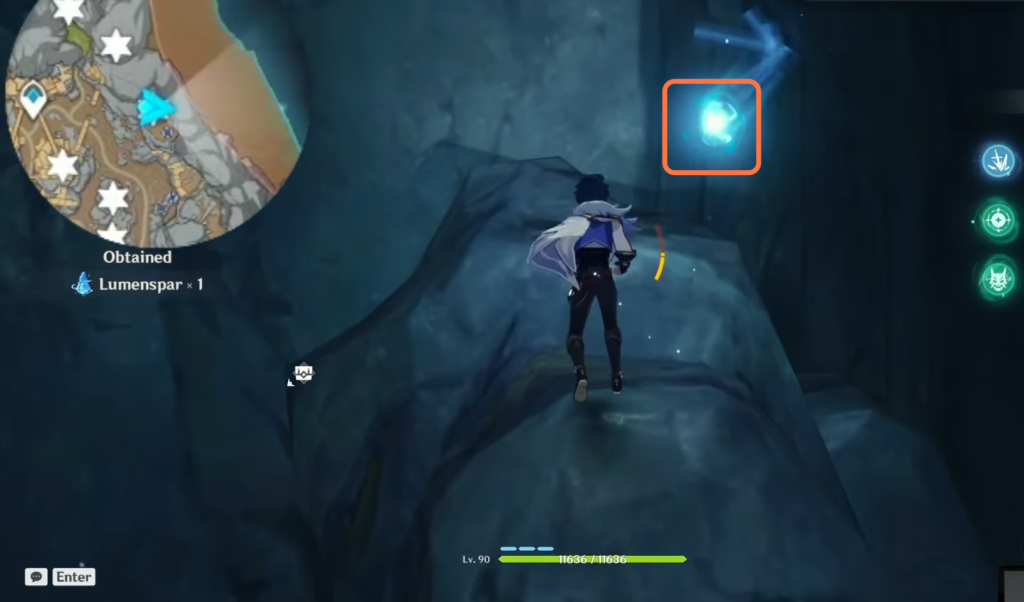
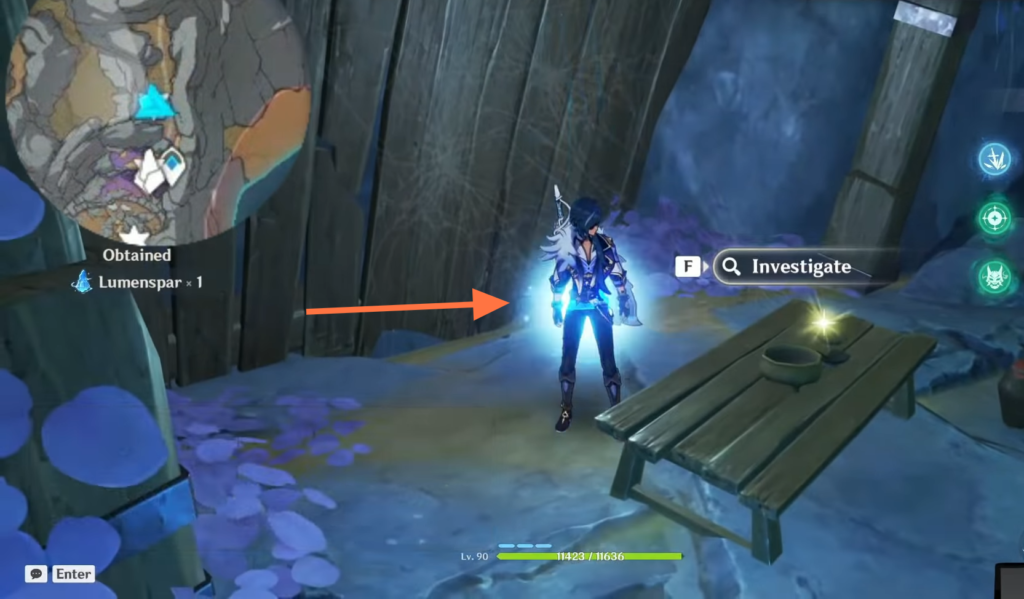
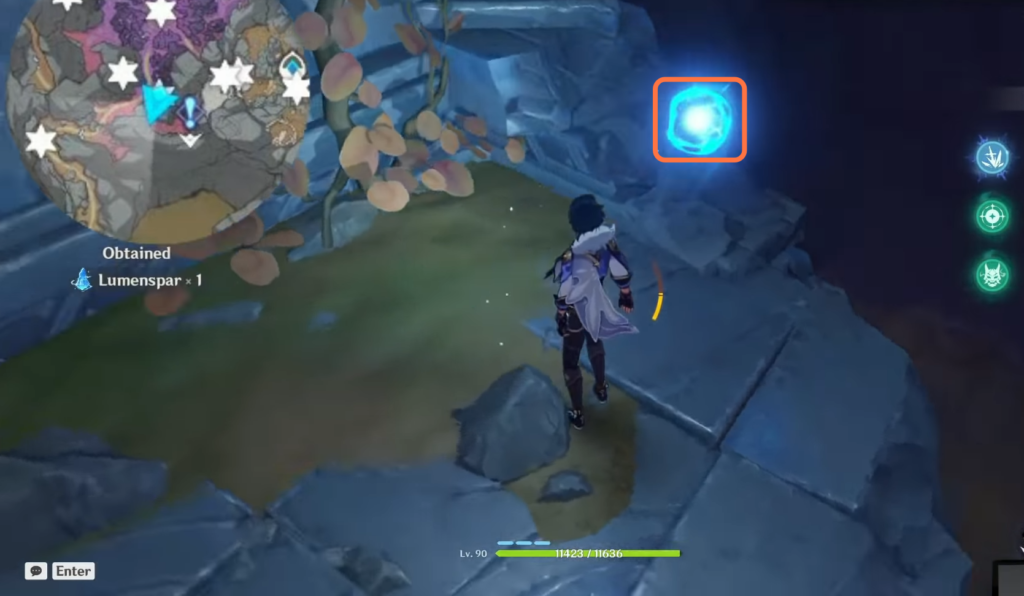
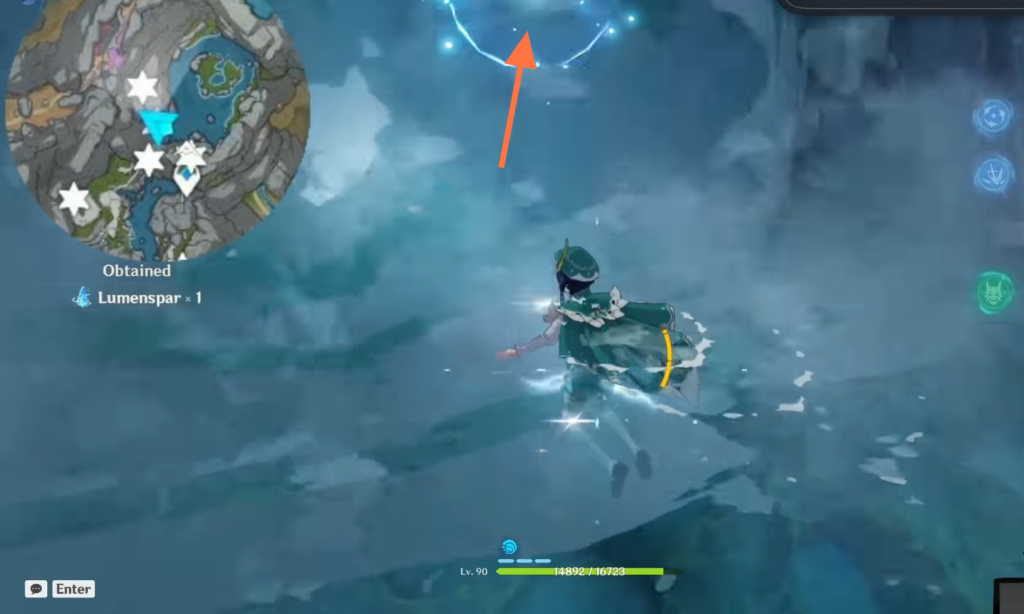
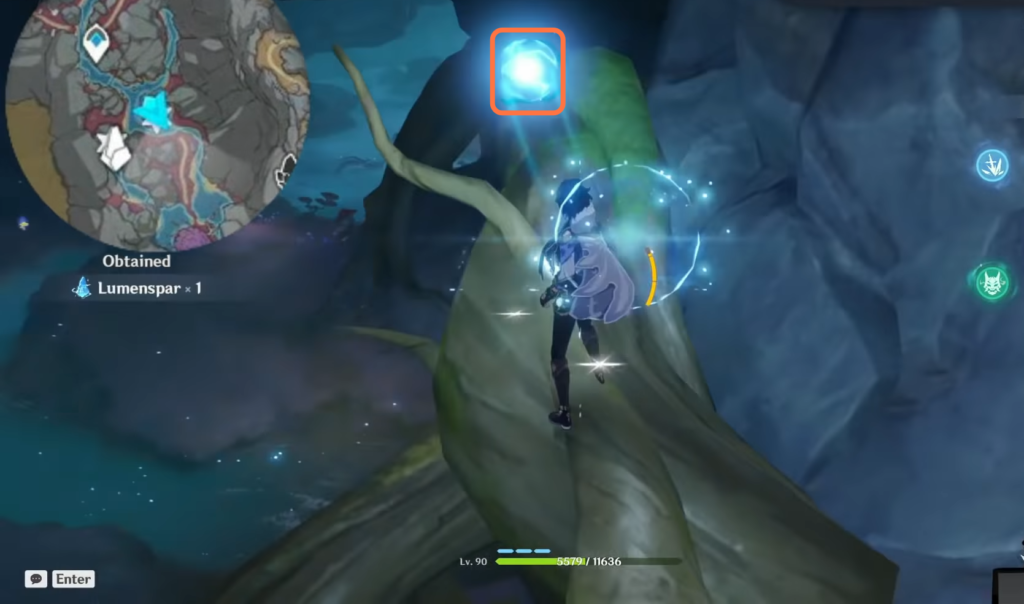
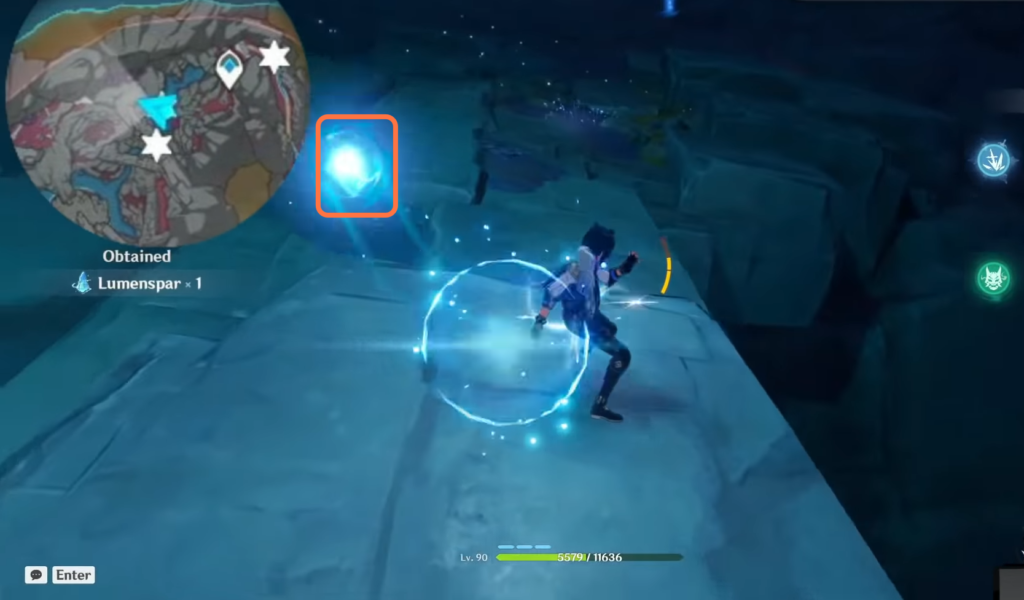
Location No. 3
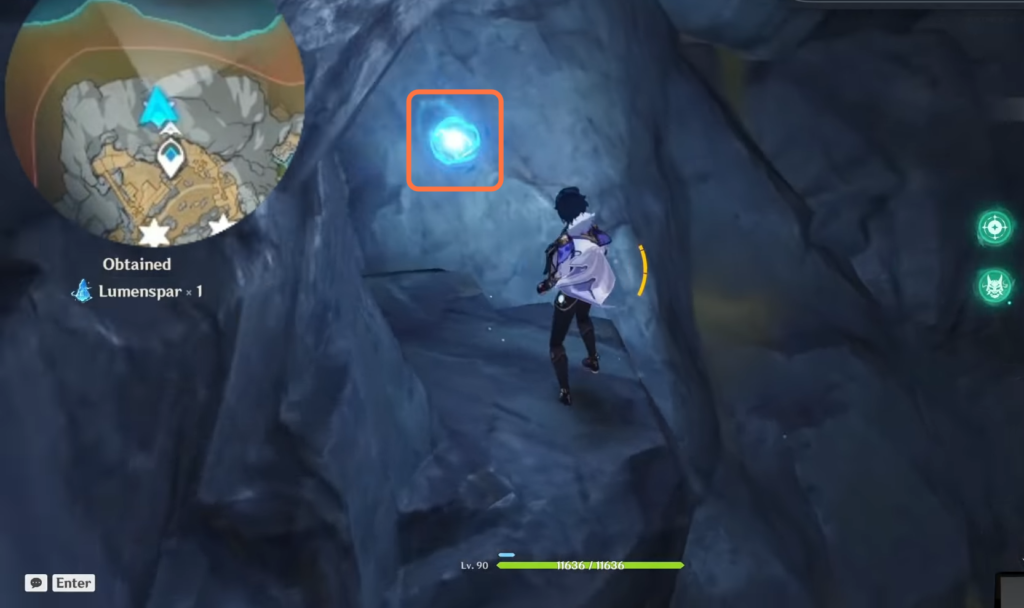
Teleport back to the same waypoint, jump down, head east, and enter the cave. Glide north and use the spoutrock to go upward. Follow along the pathway and head northwest. You will find the lumenspar at the end of the pathway.
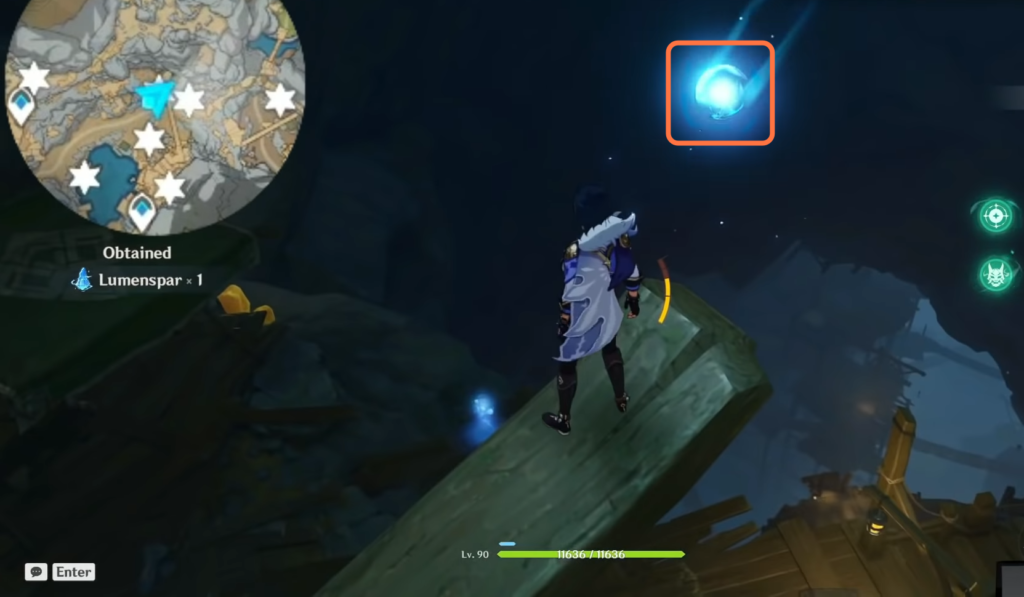
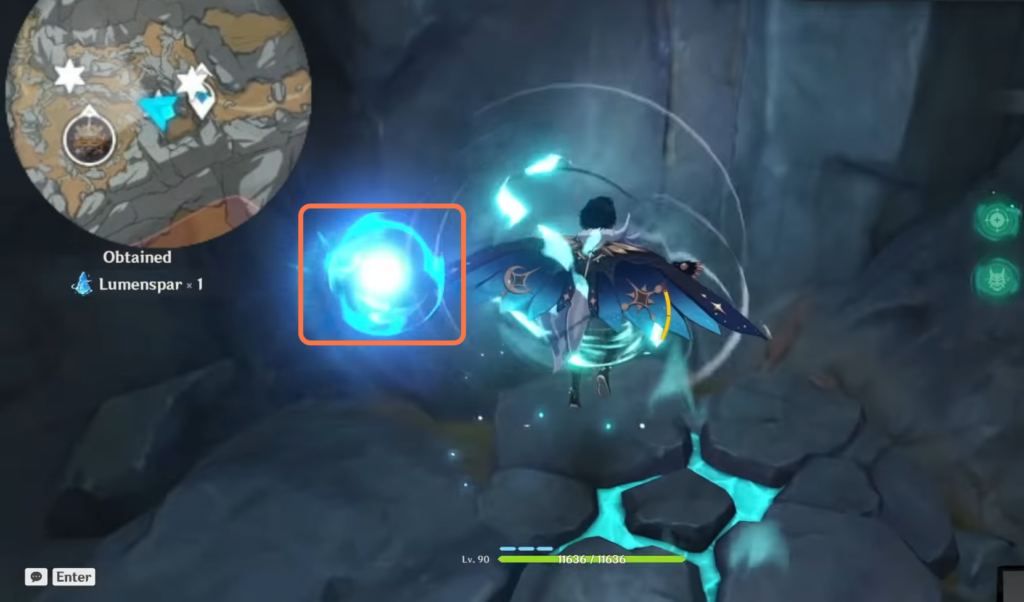
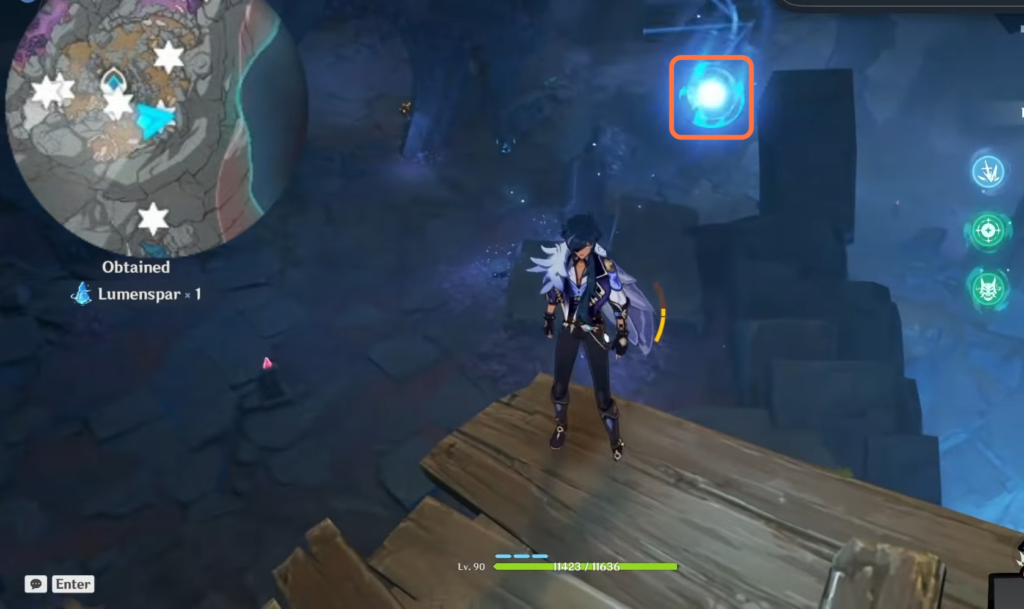
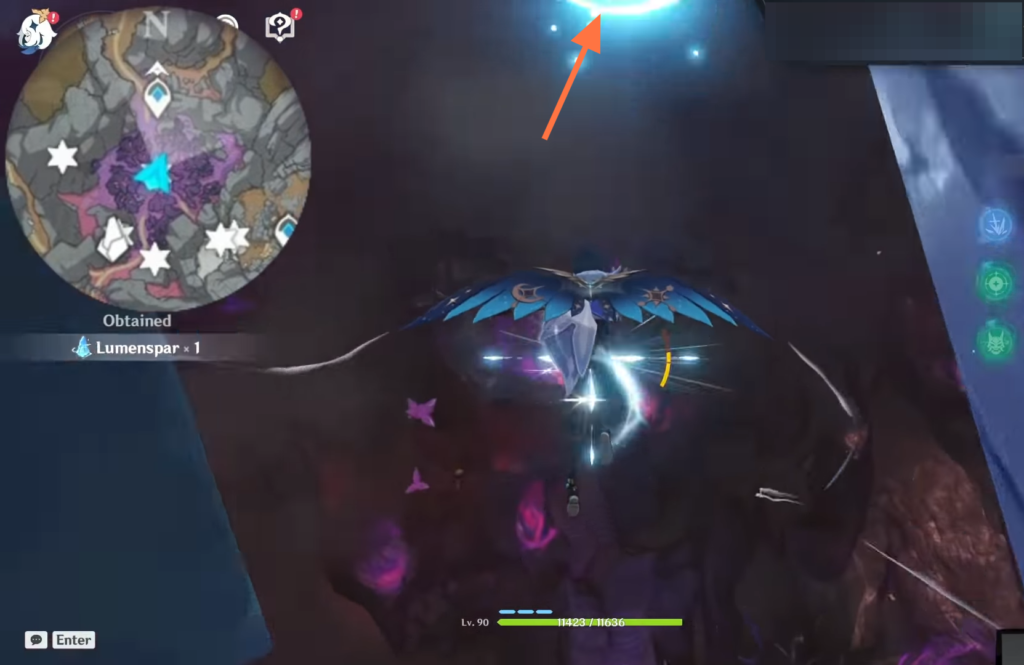
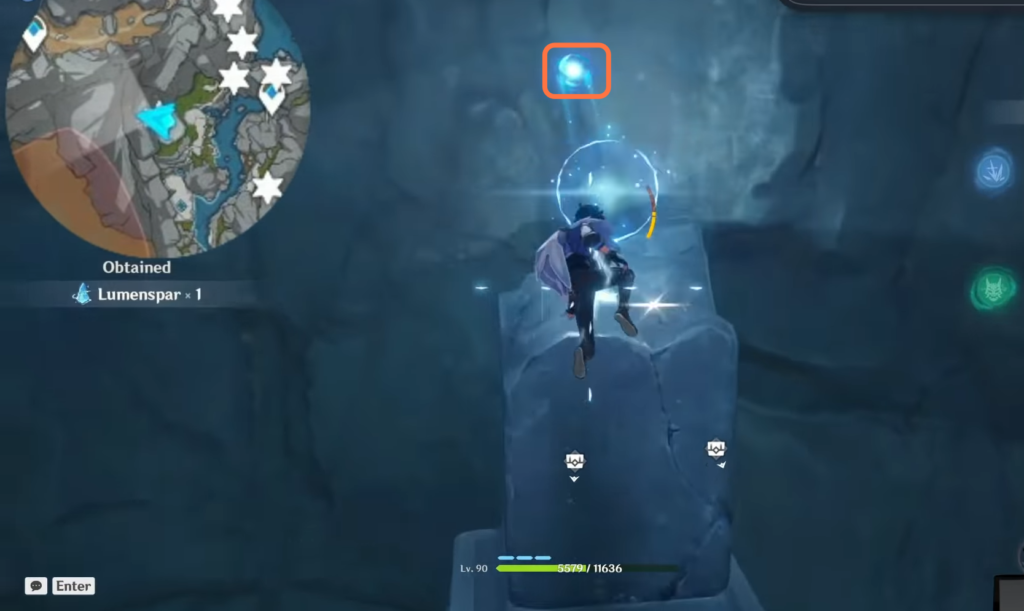
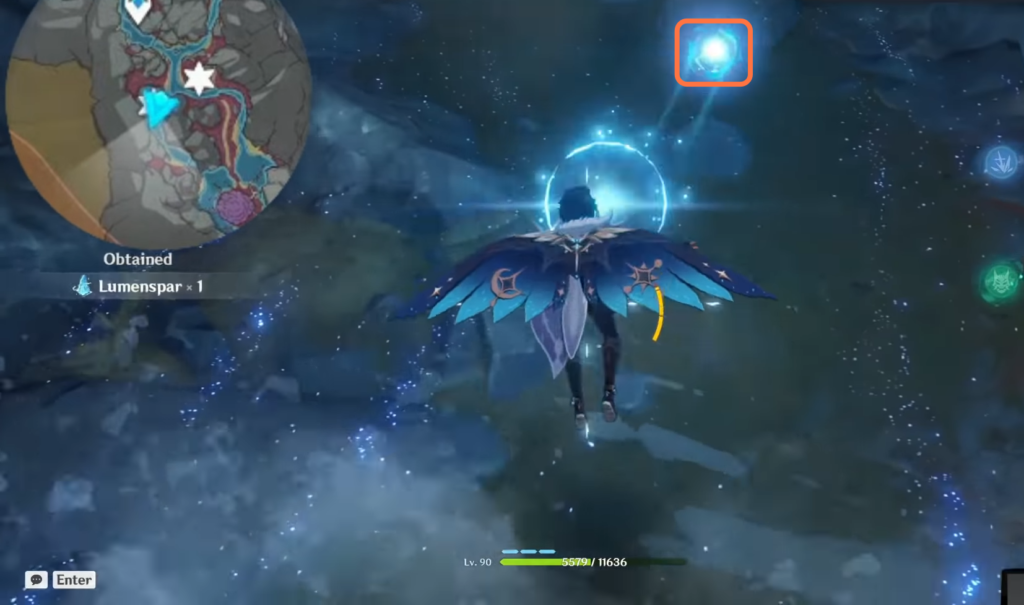
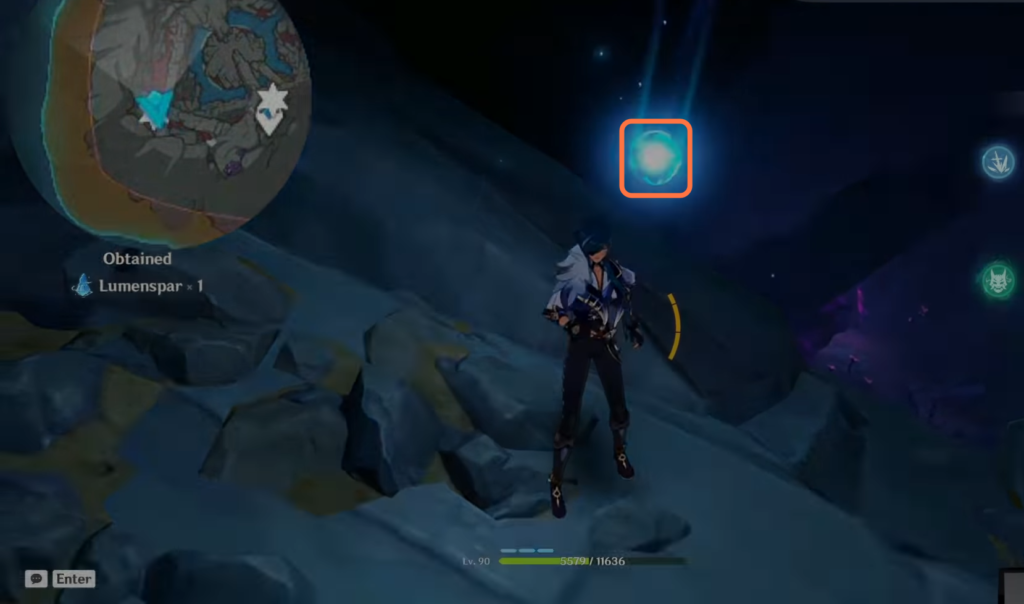
Location No. 4

Head southeast from the previous location. The lumenspar is floating on the broken wooden bridge.
Location No. 5

Head northeast from the previous location and you will find the lumenspar beside a rock.
Location No. 6
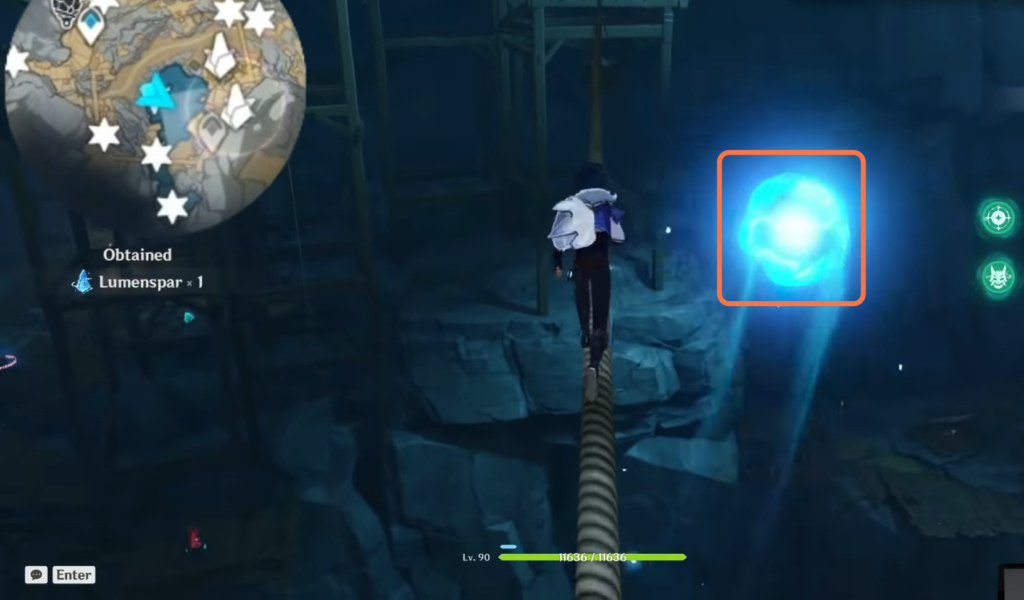
Go up the wooden platform and glide towards the rope. Walk along the rope and collect the lumenspar.
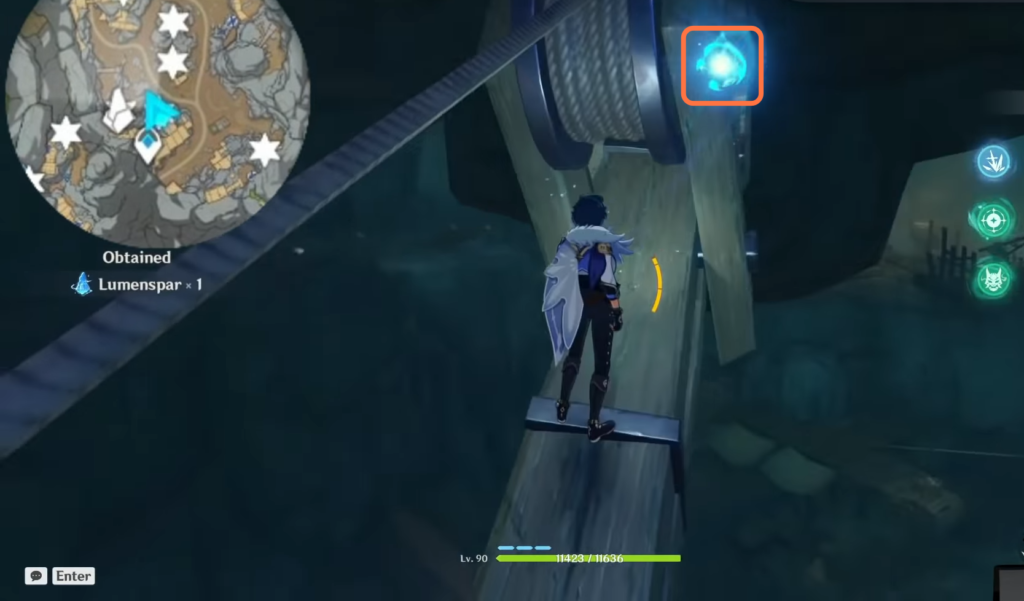
Location No. 7
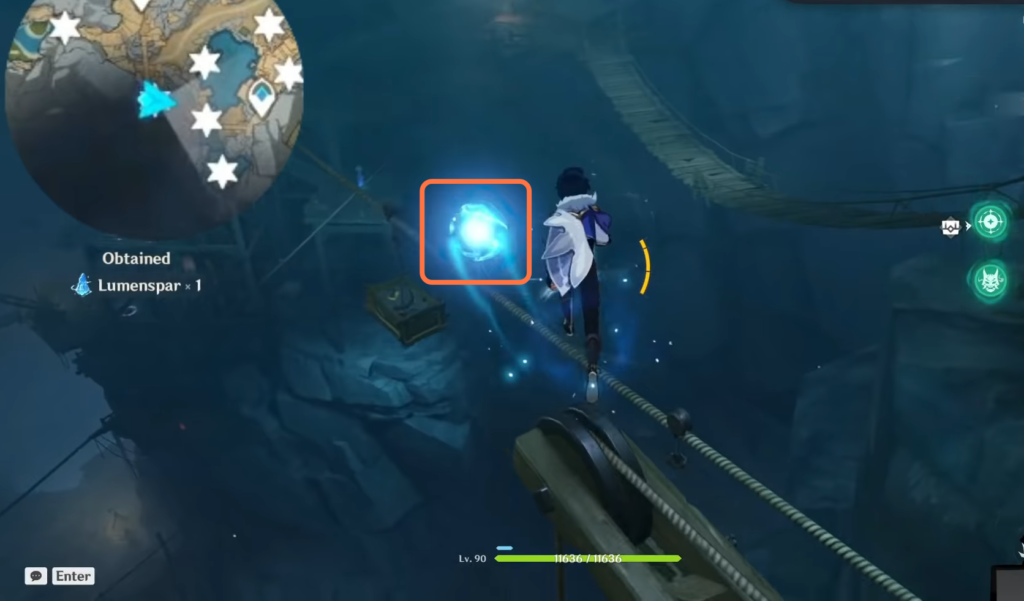
Go up the wooden platform and go to the other side with the wooden bridge. The lumenspar is located at the end of the crane.
Location No. 8
Glide southeast from the previous location towards the top of the waterfall.
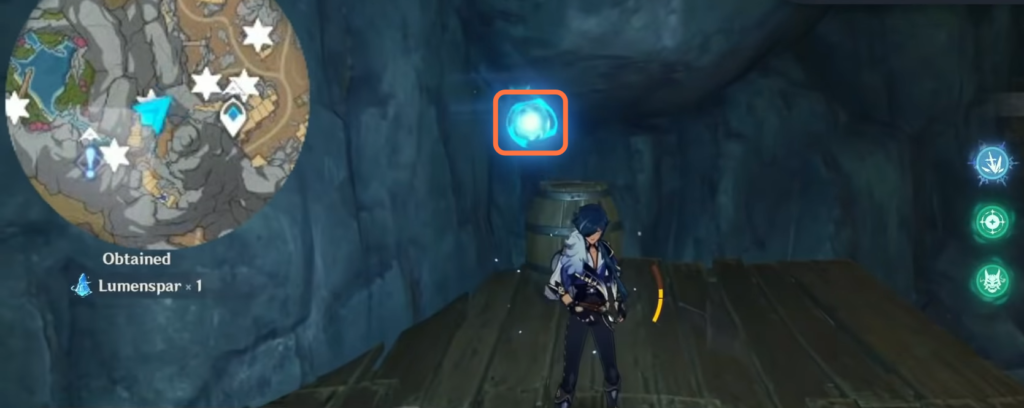
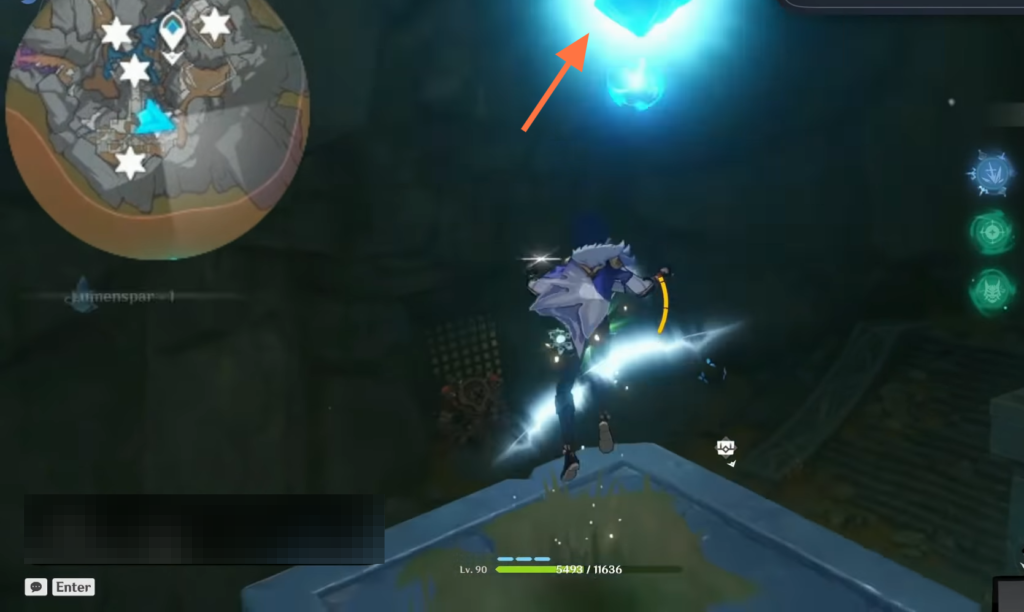
Location No. 9
Head northwest from the previous location. The lumenspar is located in the pot.
Location No. 10

Teleport to Ad-Hoc Main Tunnel southeast waypoint and head northeast.
Location No. 11
Go back up to a higher platform and walk along the rope toward the rock. Climb sideways and collect the floating lumenspar.
Location No. 12
Drop down and glide north towards the lumenspar floating on the wooden plank.
Location No. 13

Glide east from the previous location.
Location No. 14

Continue gliding east towards the lumenspar floating on the wooden platform.
Location No. 15
Glide southeast from the previous location.
Location No. 16

Glide southwest from the previous location.
Location No. 17
Teleport to Ad-Hoc Main Tunnel southeast waypoint and go up to the higher platform. Go across the wooden bridge to the other side and enter the cave. You might have accidentally collected this lumenspar when you were doing the world quest to take a picture of the first anomaly.
Location No. 18

Teleport to The Serpent’s Cave east waypoint and you will find the lumenspar beside the waypoint.
Location No. 19

Glide west from the previous location and you will find the lumenspar in the middle of the crystal chunks.
Location No. 20
Head northwest from the previous location.
Location No. 21
Teleport back to The Serpent’s Cave east waypoint, head west, and jump down to collect the lumenspar.
Location No. 22
Teleport to Ad-Hoc Main Tunnel east waypoint and head northeast. Climb up the wooden pillar to collect the lumenspar.
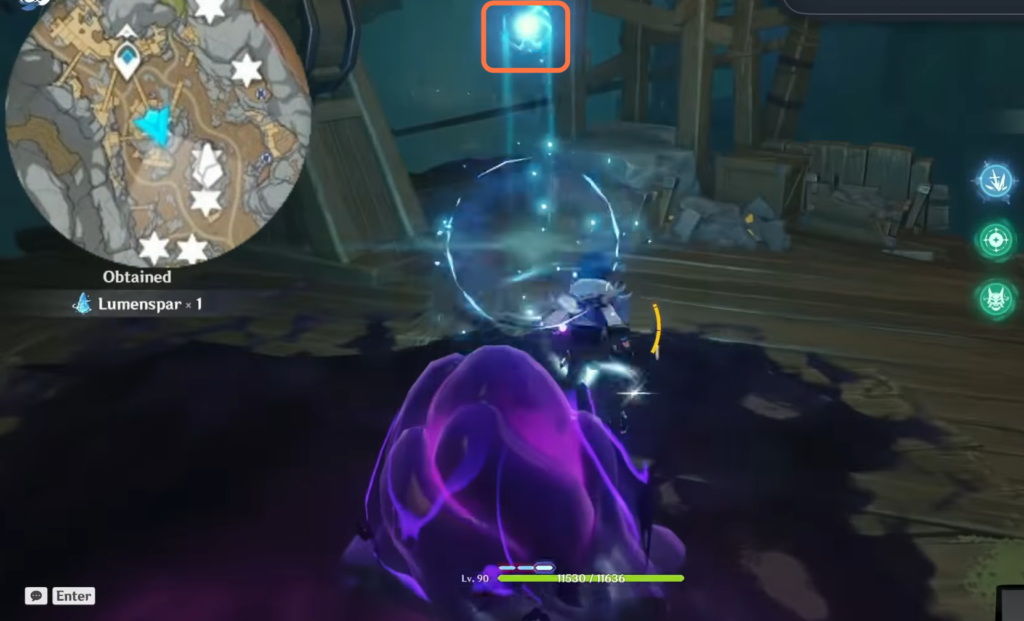
Location No. 23
Glide southeast from the previous location. Slowly descend and enter the cave with a purple blob at the entrance. The lumenspar is floating on top of the water.
Location No. 24

Teleport to the Main Mining Area north waypoint and head northeast. Enter the cave and collect the lumenspar.
Location No. 25
Teleport back to the Main Mining Area north waypoint and glide east.
Location No. 26
Teleport back to the Main Mining Area north waypoint and head southeast.
Location No. 27

Glide southeast from the previous location.
Location No. 28
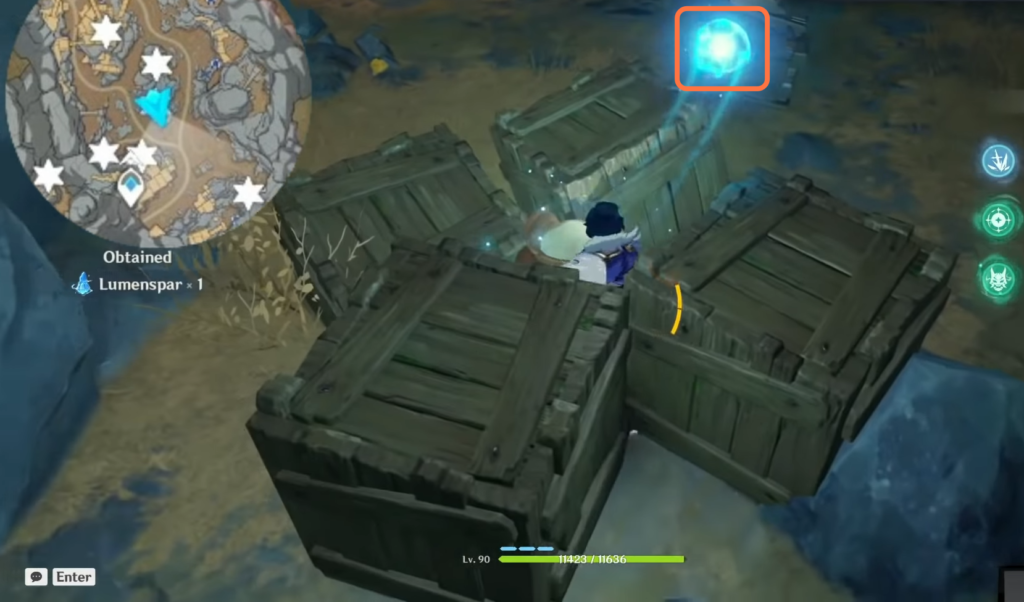
Glide south from the previous location. The lumenspar is in between four wooden crates.
Location No. 29

Teleport to the Main Mining Area south waypoint and glide east. The lumenspar is on the hook of the crane.
Location No. 30
Head south from the previous location and detonate the bomb to remove the stones.
Location No. 31
Teleport to the Main Mining Area south waypoint and go up the crane beside the waypoint.
Location No. 32

Glide west from the previous location.
Location No. 33
Enter the room and collect the lumenspar at the left side of the room.
Location No. 34

Teleport to the Main Mining Area south waypoint and head west into the cave.
Location No. 35

Glide northwest from the previous location.
Location No. 36
Teleport to the Main Mining Area south waypoint and enter the cave. Keep to the right side and climb up to the higher platform.
Location No. 37
Head west and go deeper into the cave.
Location No. 38

Head southwest from the previous location.
Location No. 39
Teleport to Stony Halls northwest waypoint and head northwest into the cave.
Location No. 40

Teleport back to Stony Halls northwest waypoint and head southwest.
Location No. 41

Glide south from the previous location. Use the spoutrock and glide toward the lumenspar.
Location No. 42
Continue south and use the spoutrock to get the lumenspar on top of the higher platform.
Location No. 43
Head west from the previous location, use the spoutrock and glide towards the lumenspar.
Location No. 44
Head east and drop down into the hole to collect the lumenspar.
Location No. 45

Keep on going down and head west.
Location No. 46
Teleport to Nameless Ruins northeast waypoint and head south.
Location No. 47
Glide north from the previous location.
Location No. 48

Head west from the previous location.
Location No. 49

Head southeast from the previous location.
Location No. 50
Teleport to Nameless Ruins northeast waypoint, jump down and head northwest.
Location No. 51
Teleport to Stony Halls south waypoint and glide northwest. Use the spotrock to reach a higher platform. The lumenspar is in between 3 geo bombs.
Location No. 52
Teleport back to Stony Halls south waypoint and glide west.
Location No. 53

Teleport back to Stony Halls’s south waypoint and glide southwest.
Location No. 54
Head south from the previous location. You can glide towards this lumenspar from a higher platform or with the help of the wind bottle. Jump to collect the lumenspar.
Location No. 55

Climb up the ruins and head southwest.
Location No. 56

Glide northwest from the previous location and enter the cave.
Location No. 57

Teleport to The Glowing Narrows southeast waypoint and head northwest.
Location No. 58
Teleport back to The Glowing Narrows southeast waypoint and head south.
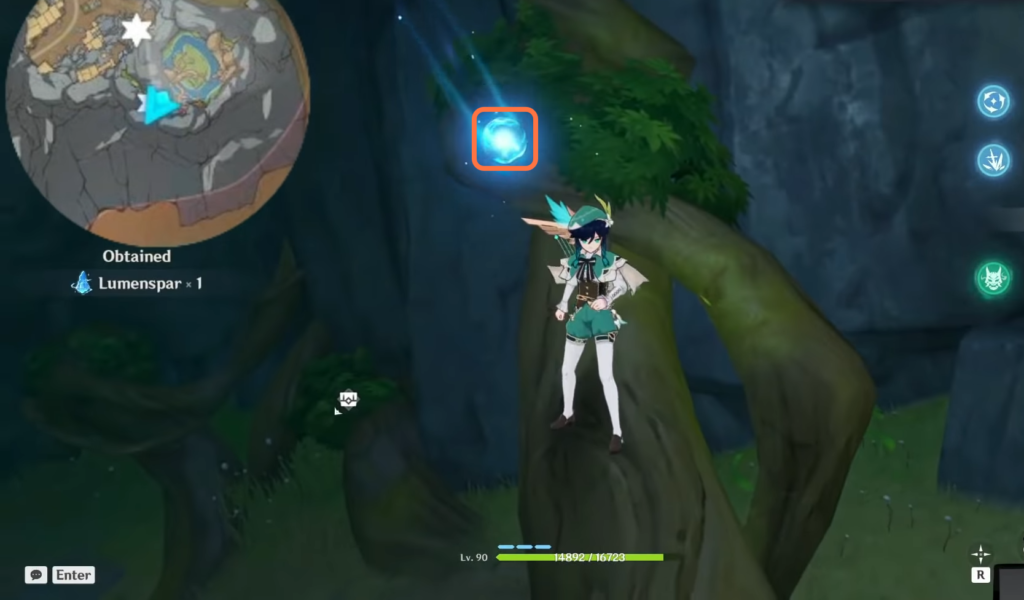
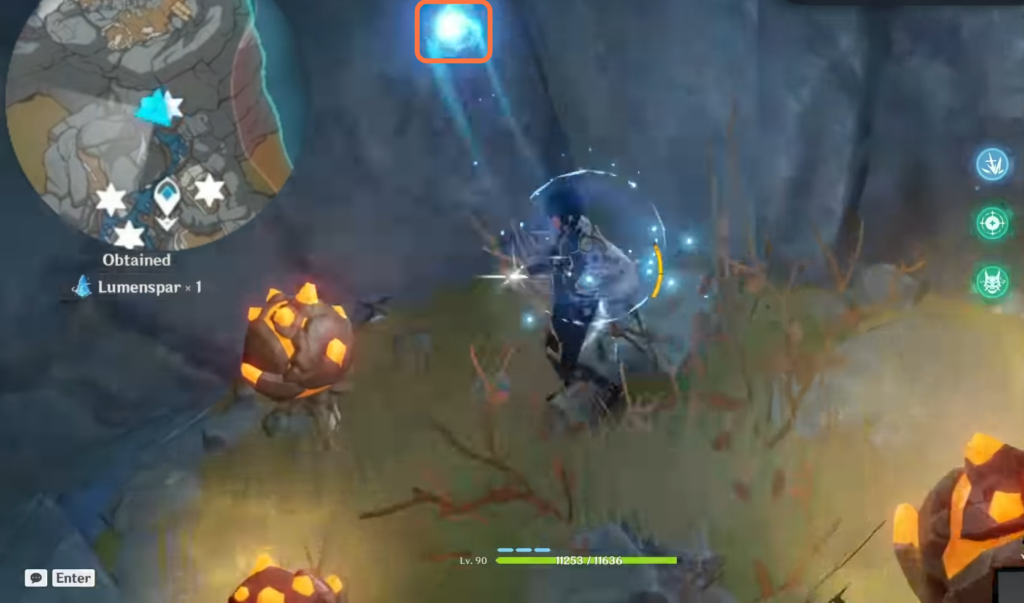
Location No. 59

Continue west and go deeper. Head west and climb up the big glowing mushroom to collect the lumenspar.
Location No. 60

Teleport to the Underground Waterway southwest waypoint, face north, and climb up the wall to the higher platform.
Location No. 61
Glide west from the previous location.
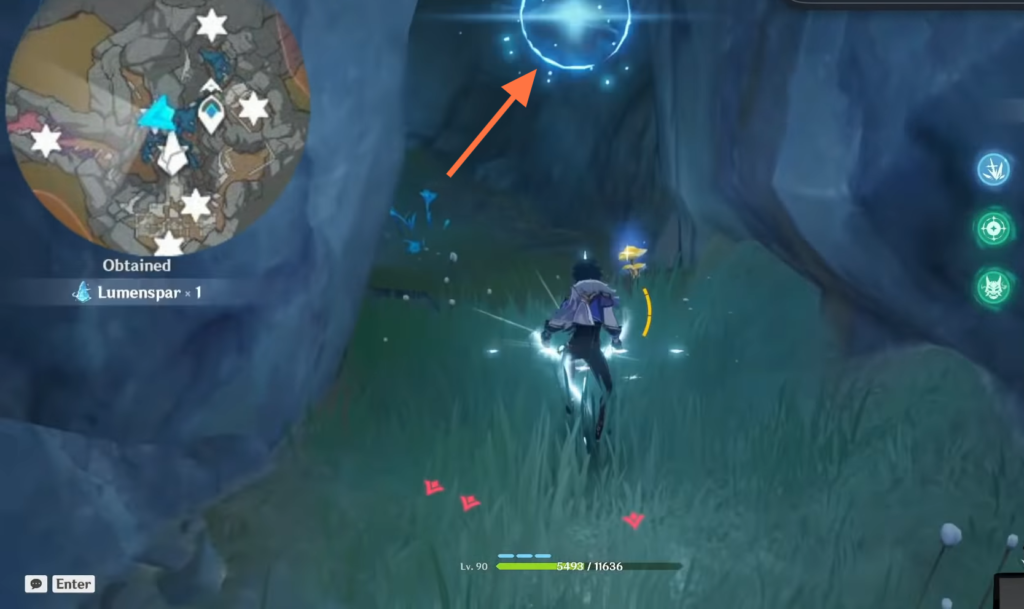
Location No. 62

Head north and use the spoutrock to reach the other side of the lake. Use anemo attacks on the Anemo totem to activate the wind current. Glide upward with the wind current and collect the lumenspar floating mid-air.
Location No. 63
Head south and collect the lumenspar at the bottom of the waterfall.
Location No. 64
Teleport back to the Underground Waterway southwest waypoint and head southwest. Climb up the ruins and head west.
Location No. 65

Head southeast from the previous location.
Location No. 66
Descend into the lower level and glide southwest.
Location No. 67
Glide southeast from the previous location.
Location No. 68
Teleport to The Glowing Narrows northeast waypoint and head southeast.
Location No. 69
Head southwest from the previous location.
Location No. 70
Teleport to The Glowing Narrows northwest waypoint and head west.
Location No. 71

Continue west from the previous location.
Location No. 72
Teleport to the waypoint northeast of the blue floating pillar and head northeast.
Location No. 73
Teleport back to the waypoint northeast of the blue floating pillar and head southwest.
Location No. 74

Teleport to the waypoint south of the blue floating pillar and pick up the lumenspar beside the waypoint.
Location No. 75
Glide west from the previous location. Use the spoutrock to reach the higher platform where the lumenspar is located.
Location No. 76

Teleport back to the waypoint northeast of the blue floating pillar and head northeast.
Before collecting the last few lumenspar, teleport to The Glowing Narrows southeast waypoint to upgrade your Lumenstone Adjuvant to at least Level 6.
Location No. 77

Teleport to Ad-Hoc Main Tunnel and head northeast. Remove the purple wall with Level 6 Lumenstone Adjuvant and collect the lumenspar behind the wall.
Location No. 78

Teleport to Underground Waterway southwest waypoint and head south. Use the spoutrock to reach the higher platform and remove the purple wall with level 6 Lumenstone Adjuvant.
Location No. 79
Teleport to Stony Halls south waypoint and head east. Remove the purple wall with level 6 Lumenstone Adjuvant, and turn left after entering the room to collect the lumenspar.
Location No. 80
The last stone is not reachable from the underground mines. This lumenspar is related to Dens of Thieves secret achievement. You can check the link in the description if you can’t find the secret trapdoor.