This guide explains how to install and use the Advanced XRay 1.19 mod in Minecraft. Follow the step-by-step instructions below to download, install, and activate it in your game.
Forge/Fabric is required for this mod. Advanced XRay gives a new perspective on the standard x-ray experience, allowing you to highlight desired blocks in a custom radius around your character.
Required Mods:
- Advanced XRay 1.19
- Forge 1.19
Steps to Install Advanced XRay 1.19:
-
Download the Advanced XRay 1.19 mod from CurseForge.
Download Advanced XRay Mod

-
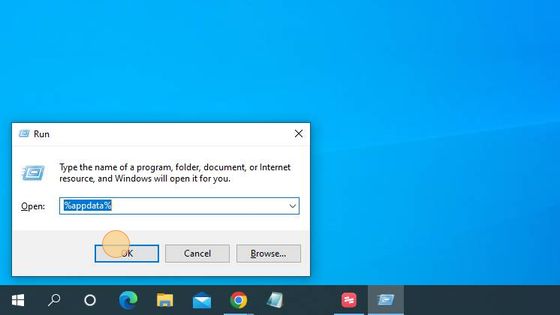
Press Windows+R, type
%appdata%, and press Enter. This will open the folder to save the downloaded file.
-
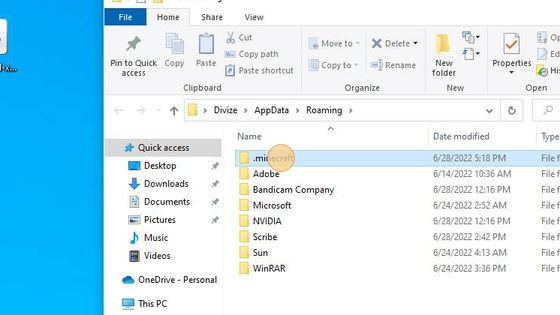
Open the .minecraft folder by double-clicking it.
-
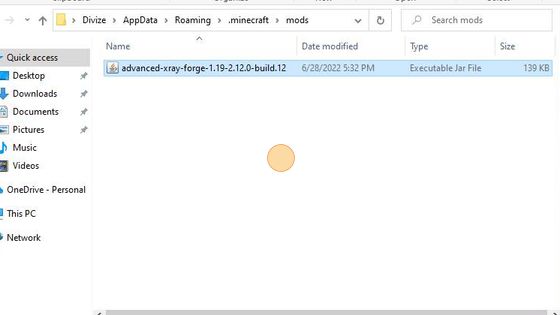
Navigate to the mods folder.

-
Move or paste the downloaded Advanced XRay 1.19 file into the mods folder.
-
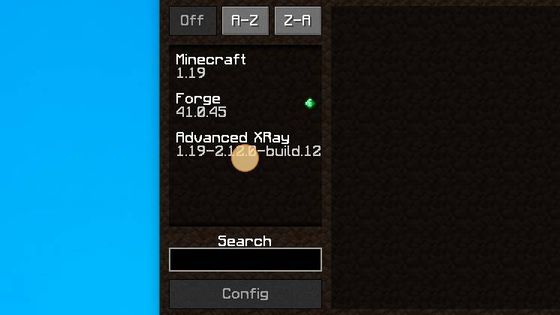
Launch Minecraft and check that the Advanced XRay 1.19 mod appears.
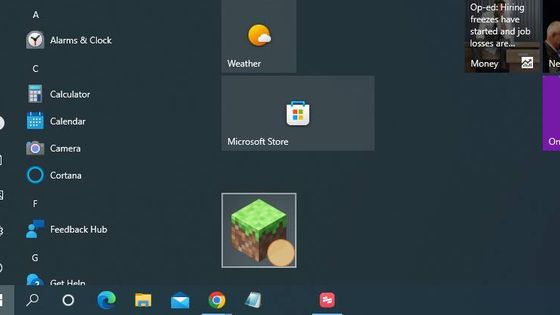
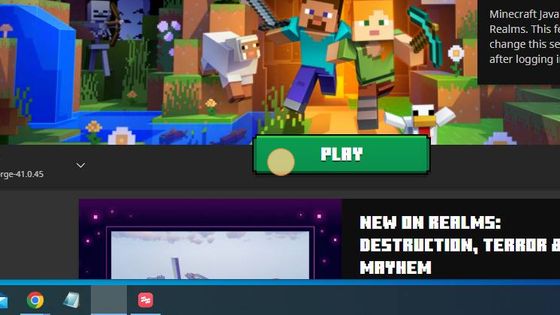
-
Select Forge 1.19 and click Play.
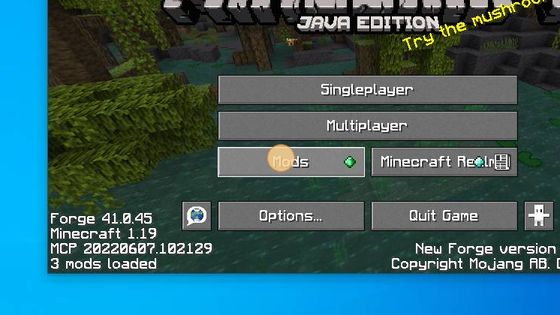
-
Click on the Mods option from the main menu.
-
You have successfully installed the Advanced XRay 1.19 mod in Minecraft.