This guide will give you all the training areas In Anime Fighting Simulator. Go through this guide and you will find all the exact locations to train different stats and skills.
The first area for agility is the trampoline. It is directly across from spawn on the punching dummy side. 
This training area requires 100+ agility and it has a 5x multiplier. 
Next is speed, it is directly across from spawn on the spirit tree side. The treadmills require 100+ speed and also have a 5x multiplier. But of course, you will need to set your current speed to 16 in order to use them.

The last place to train speed and agility can train both at once. This area is right next to spawn. 
It requires 10k of either stat, and gives a 20x multiplier. 
Physical Strength:
The first Physical training area is right outside of spawn. 
The next area is Saitama’s Gym, which is to the left of the dummy, on the other island. 
This area requires 10k+ Physical and gives a 15x multiplier. 
The next area is directly across the map from the gym, which makes it easier to find. This area requires 100k+ physical and gives a 50x multiplier. 
The next area is easiest to find, it is right next to Dagobah Beach. 
The Meteor requires 1m+ Physical and gives a 100x multiplier. 
The next area is Kami’s Lookout, which is the only island in the sky. 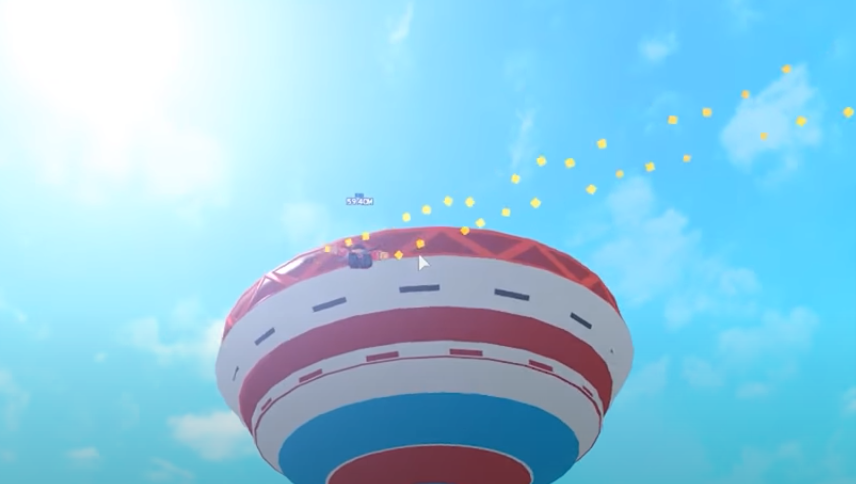
This area requires 10m+ Physical and gives a 500x Multiplier. 
After that, there is the Cell Arena, which is the medium sized island in the distance. This area requires 100+ physical and gives a 1000x multiplier. 
Last, there is the Excalibur. This area is directly across the map as well, but it is kind of hidden by some large hills. 
It requires 600m+ physical and gives a 2250x multiplier, which is currently the highest in the game. 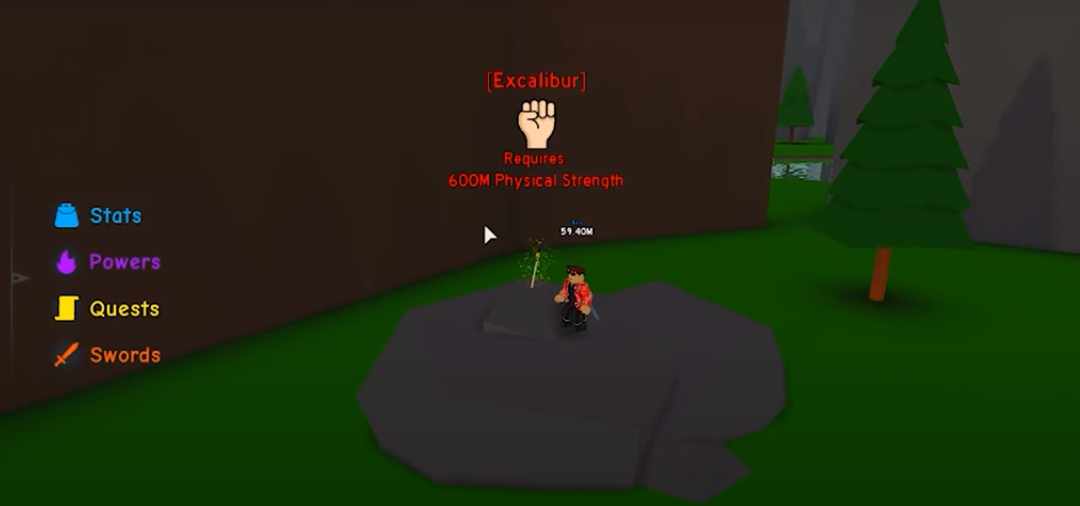
Durability:
The first durability area is across from spawn on the punching dummy side. The Pirate Ship requires 100+ durability and gives a 5x multiplier. 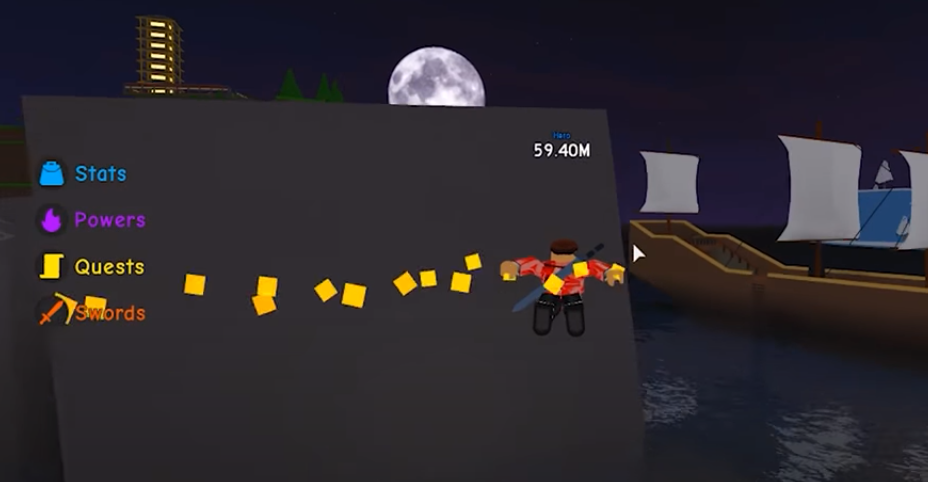
The next area is the Desert Island, and it is right next to the volcano. 
This area requires 10k+ durability and gives a 15x multiplier. 
The next area is Aokiji Island, which is to the right for Desert Island. 
The area requires 100k+ durability and gives a 50x multiplier. 
For the next area, you will find a whille paw shaped bubble, which is the Ursus Shock. 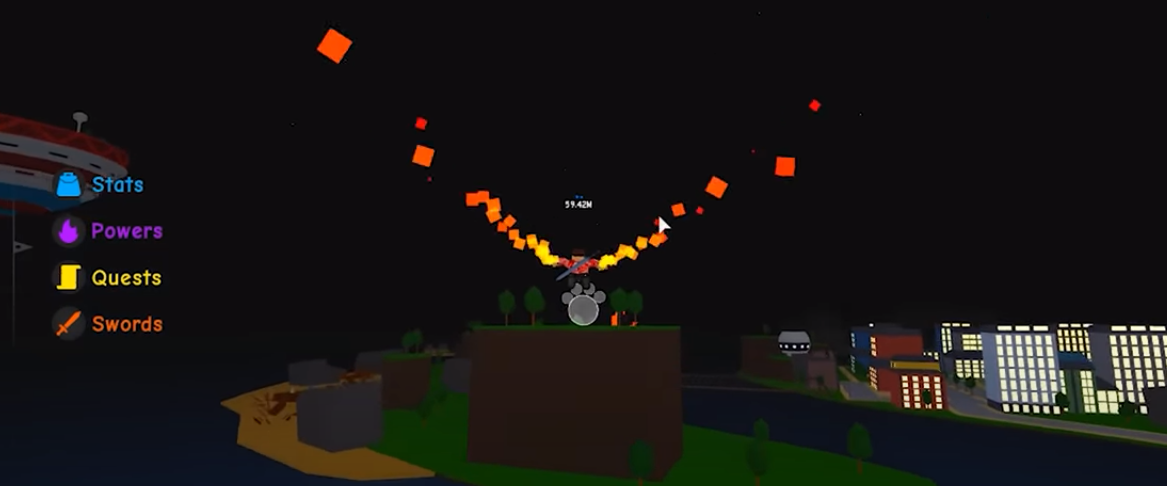
This area requires 1m+ durability and gives a 100x multiplier. 
Next up, there is Mount Akainu. You can’t really miss it, it’s right in between 3 different islands. To train here, you will need 10m+ durability and it gives a 500x multiplier. You can also sit anywhere on the volcano and still get power. 
The last location is Amaterasu. This area is on the island right next to the volcano, and it’s very easy to spot. This area requires 100m+ durability and gives a 1000x multiplier. 
Chakra:
The first Chakra area is the Spirit free and is right outside of spawn, opposite to the dummy. 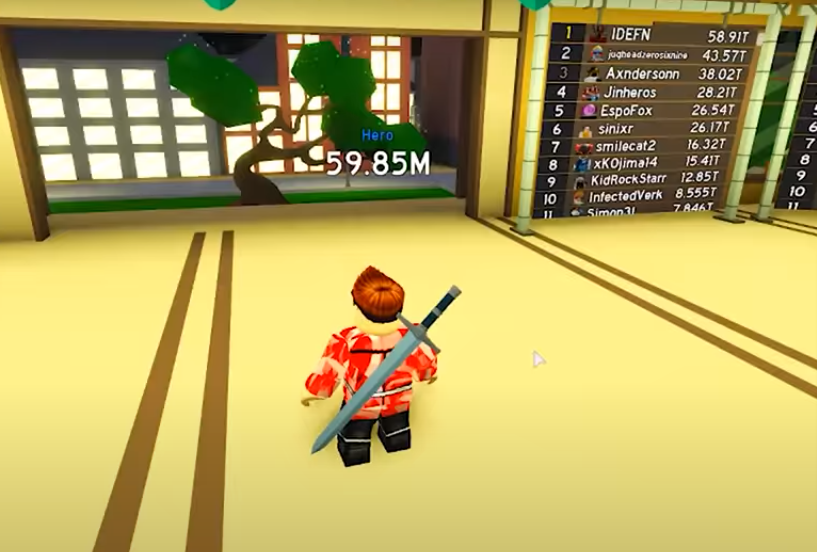
This area requires 500+ Chakra and gives a 5x multiplier. 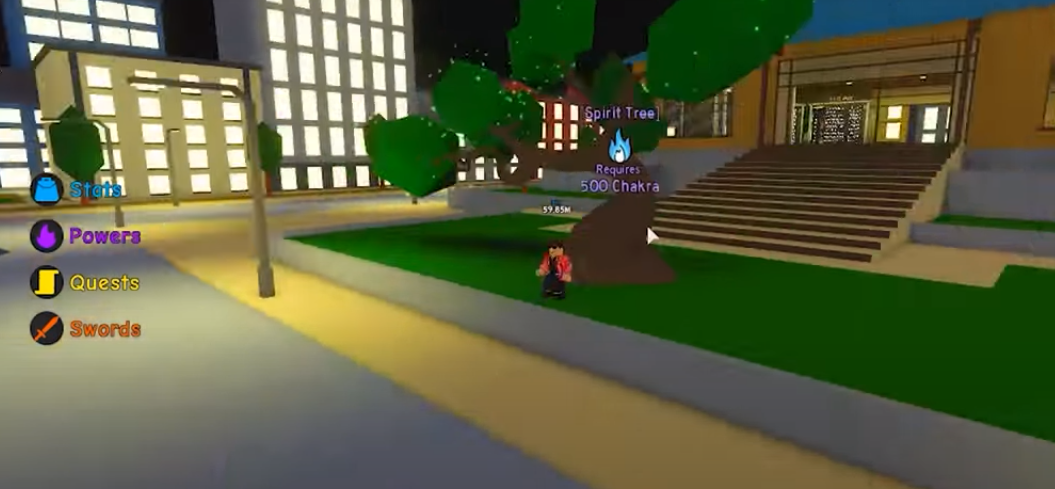
The next area is the Deathnote, it is to the right side of the tree on the other island. 
This area requires 15k+ Chakra and gives a 15x multiplier. 
The next is the Waterfall of Truth. It is located on the opposite side of the island. 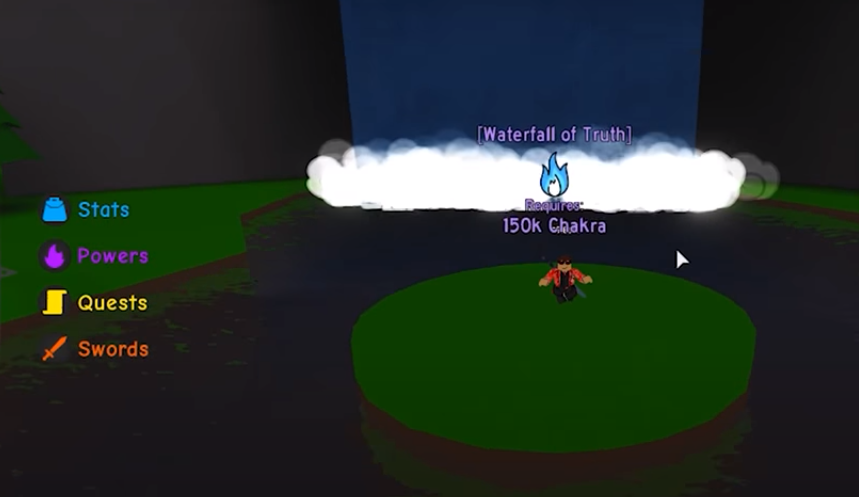
It requires 150k+ Chakra and gives a 50x multiplier. 
The next area is directly above this one, at the tip of the island. This is the Temple, and it requires 1.5m+ Chakra and gives a 100x multiplier.
After that, there is the Kurama Statue, which is probably the hardest location to find. In the distance, you will see the training areas for 100m durability and physical. 
Once you get there you will need to go behind the large hills, and jump down a hole. 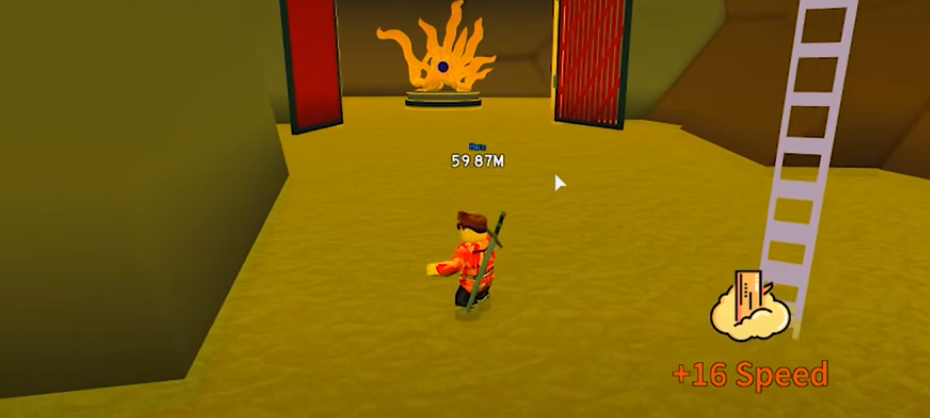
And here you find the Statue. This area requires 15m+ Chakra and gives a 500x multiplier. 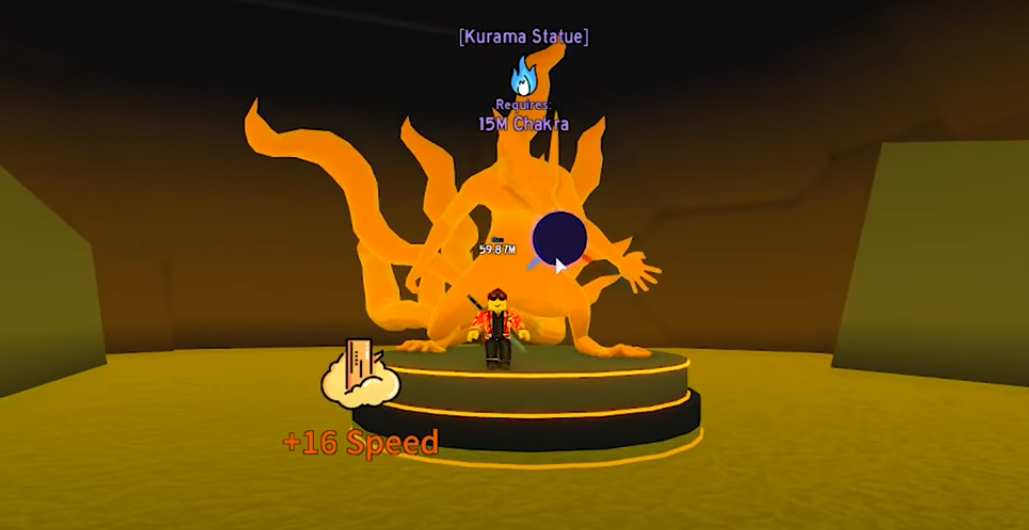
Lastly, we have the Senbonzakura Kageyoshi. This area is at the top of the island right next to this one. 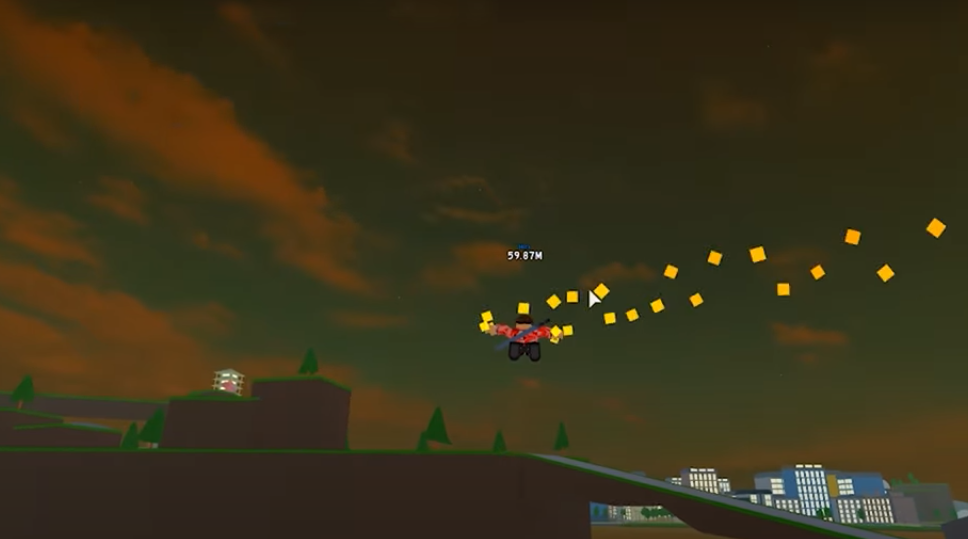
It requires 250m+ Chakra, and gives a 2250x multiplier. 
That 15m to 250m jump in between training areas is the biggest and definitely the hardest to achieve in-game. But it is also worth the wait because it gives the same multiplier as the 600m physical area. 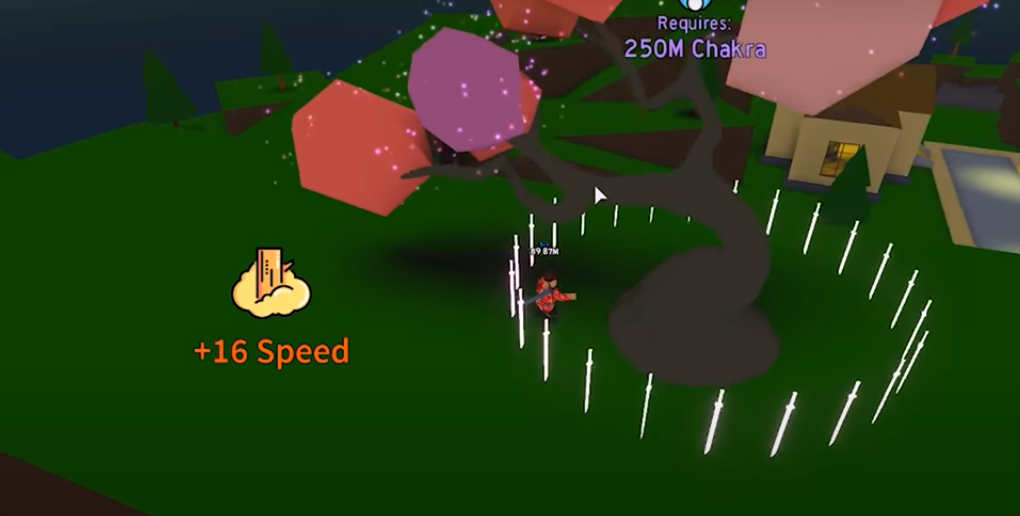
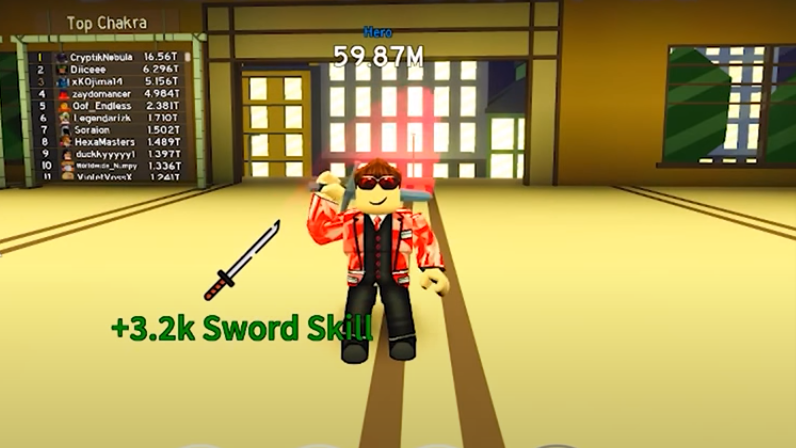
Sword:
The Last is swords. You can equip different swords.