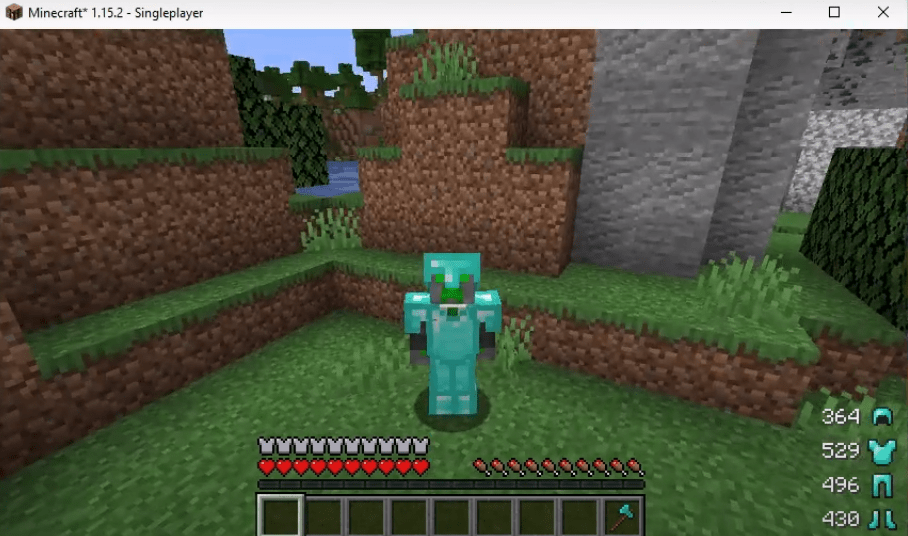
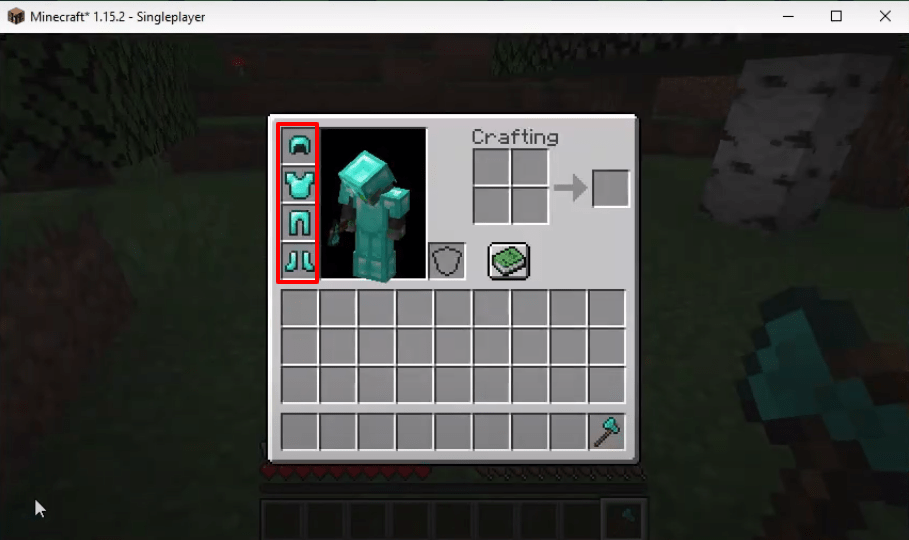
The ARMOR STATUS HUD MOD displays the number of hits made or taken by any particular armor piece, weapons or other items in the game.
Follow the following steps to install ARMOR STATUS HUD MOD in Minecraft 1.15.2:
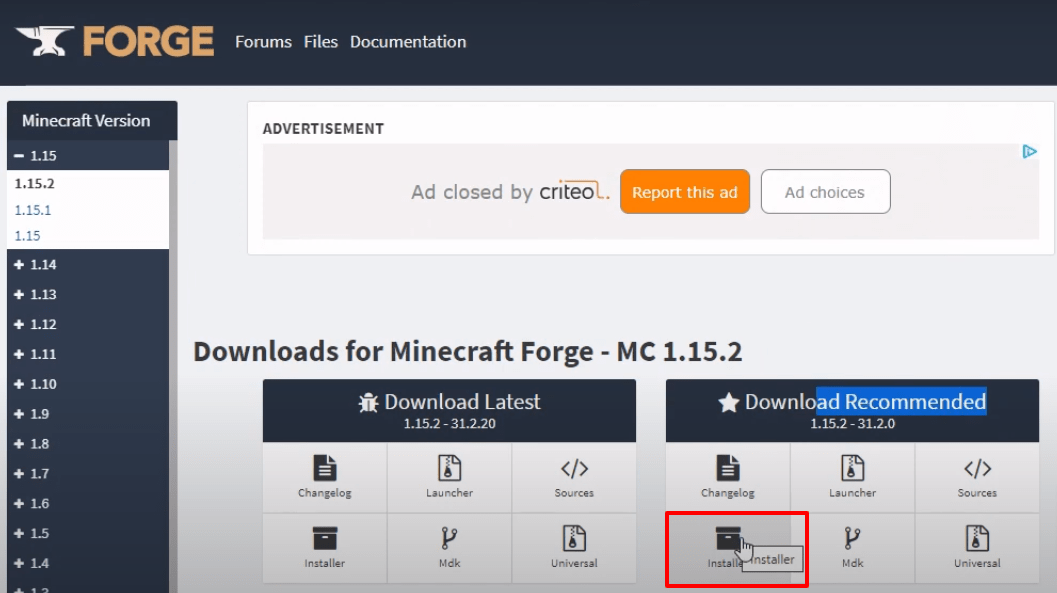
- The first thing you will need to do is to download the minecraft forge software from the following link.
https://files.minecraftforge.net/net/minecraftforge/forge/index_1.15.2.html
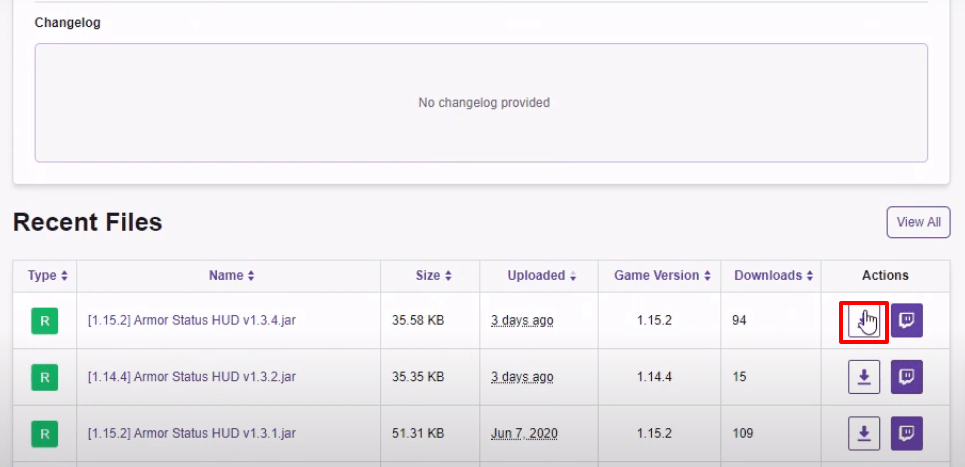
- After that, download the armor status software from the website below.
https://www.curseforge.com/minecraft/mc-mods/armor-status-hud-renewed/files
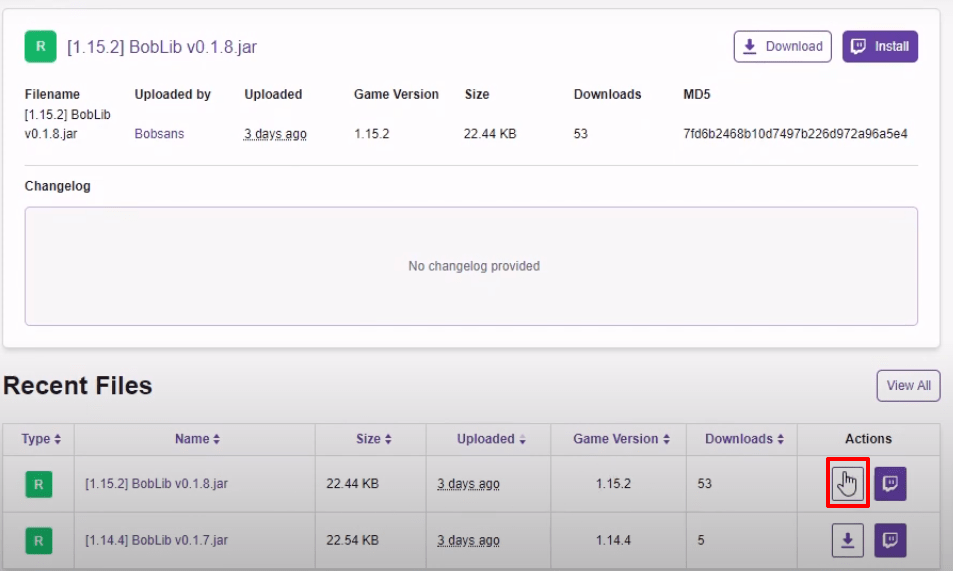
- Next you will need to download the robi lib software from the following link.
https://www.curseforge.com/minecraft/mc-mods/boblib/files
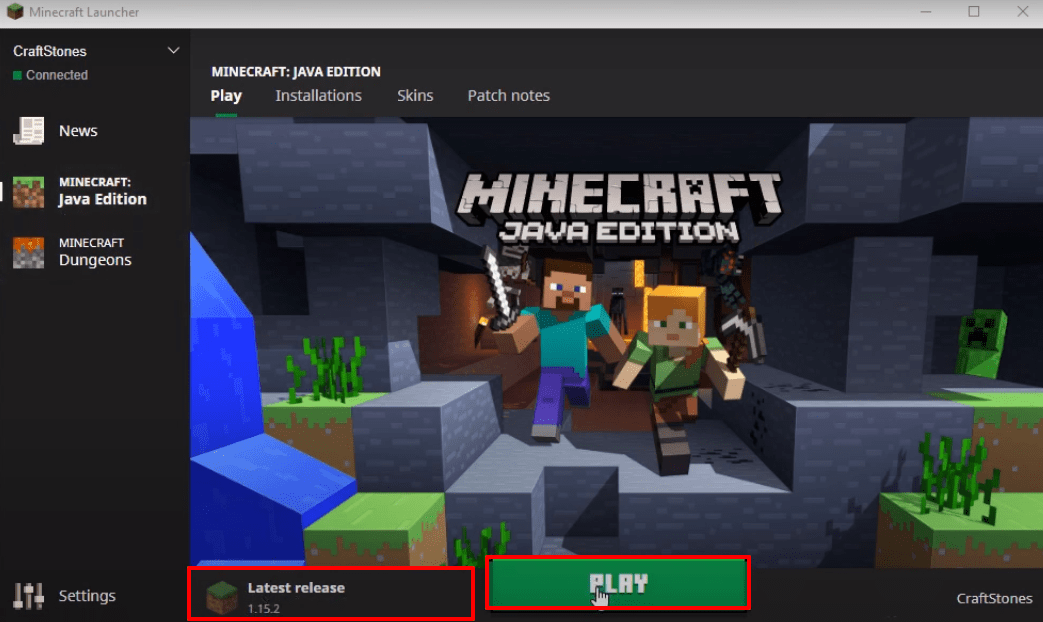
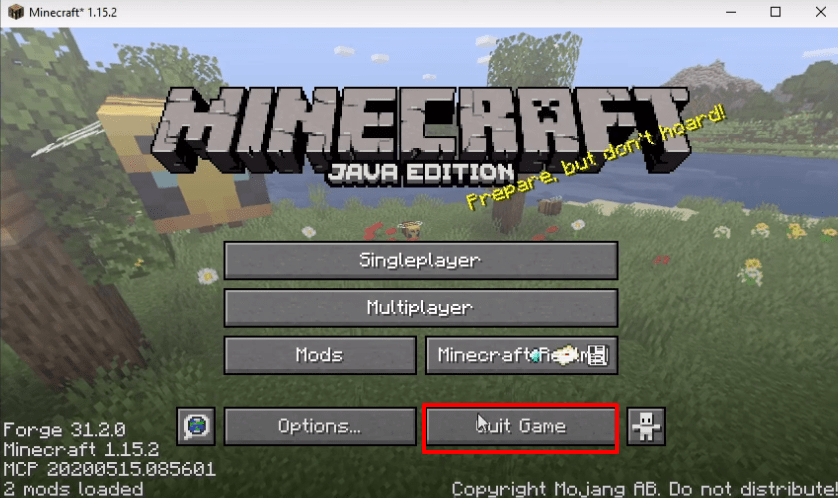
- Open the minecraft launcher, select the latest release and click on the PLAY button.
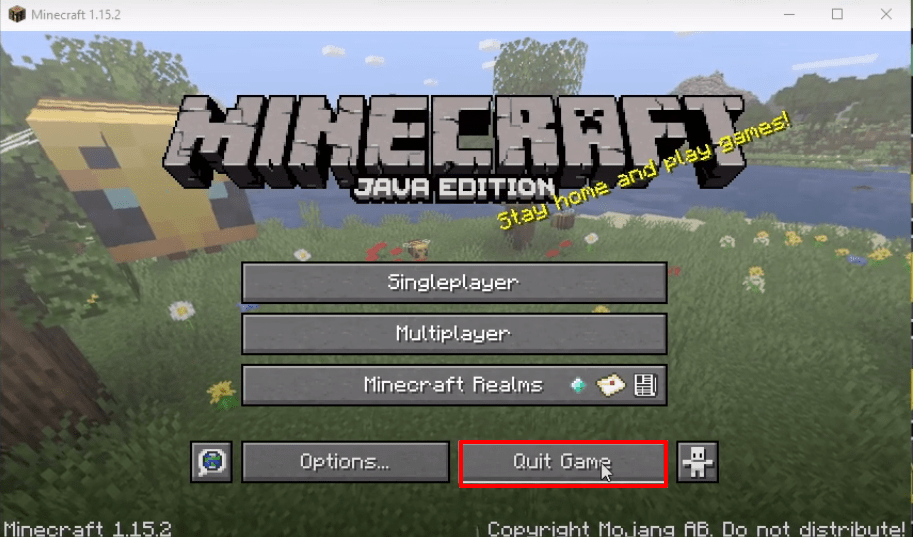
- After that, quit the game.
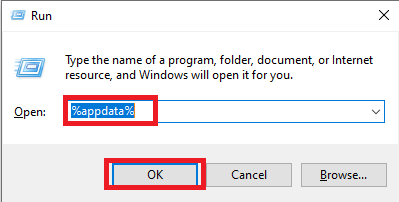
- Press windows + R to open the run dialog box, type appdata and hit OK.
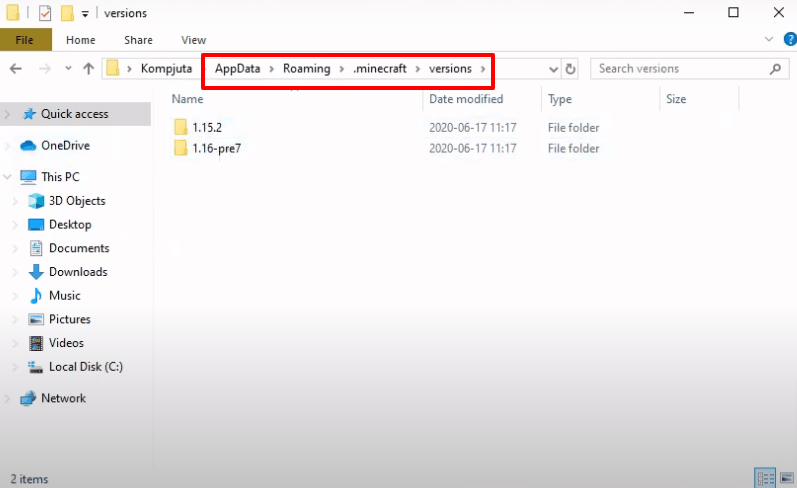
- Go to this directory “appdataroaming.minecraftversions”.
- After that, open the downloaded forge installer, select “Install client” and hit OK.
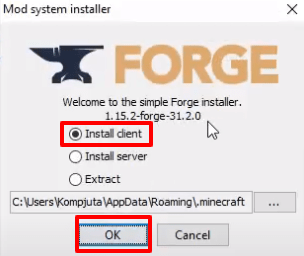
- After that, you have to press OK.

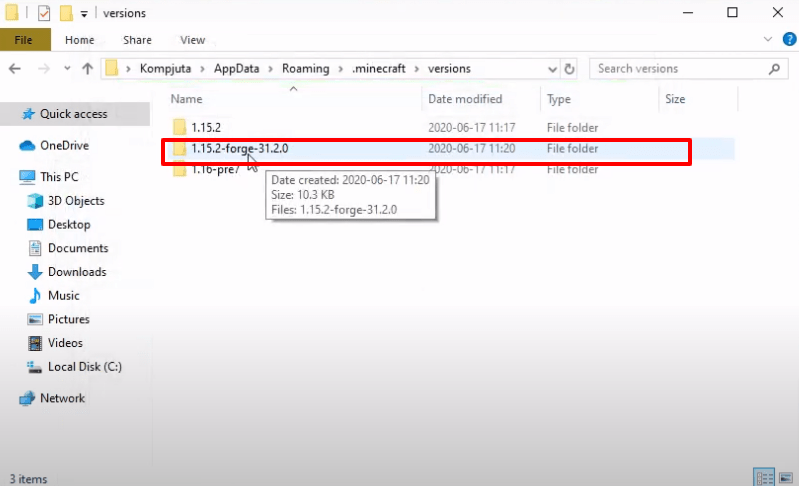
- As the installation gets completed, a new folder with the name of forge will be created.
- Open the minecraft launcher, select forge and hit PLAY.
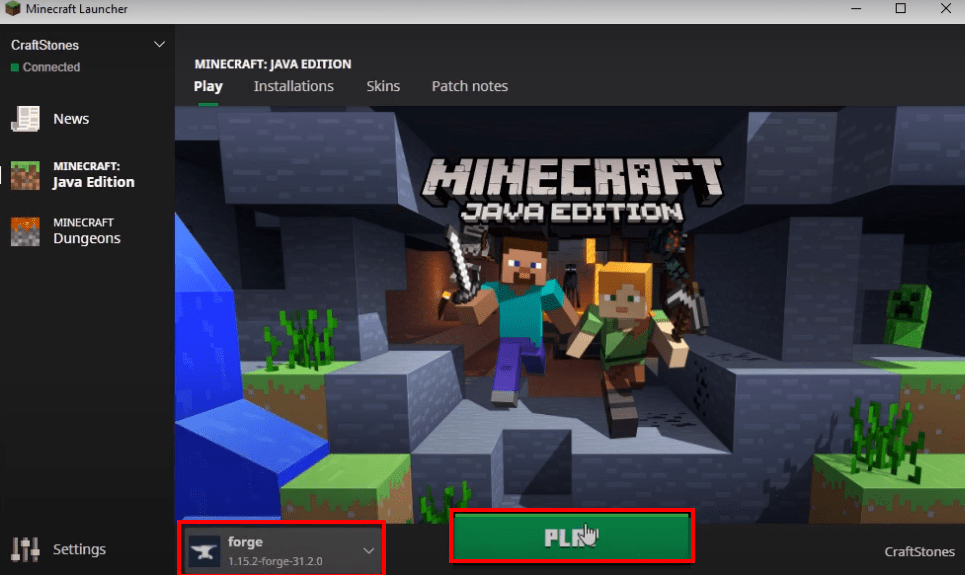
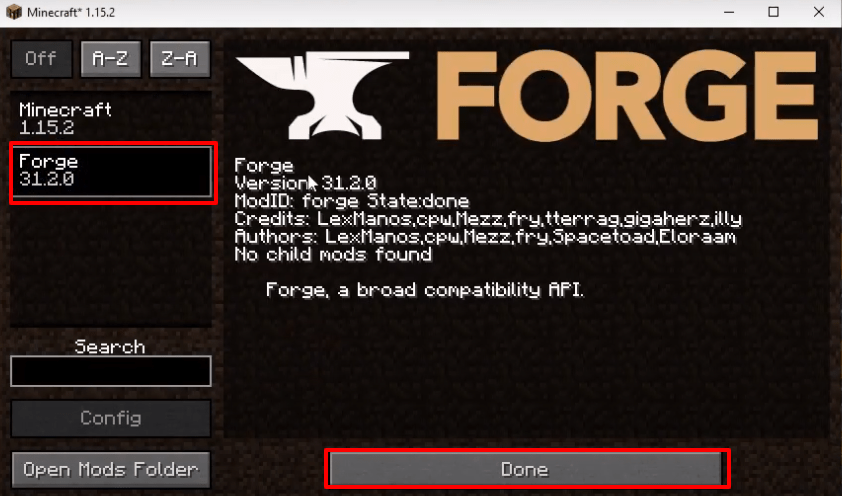
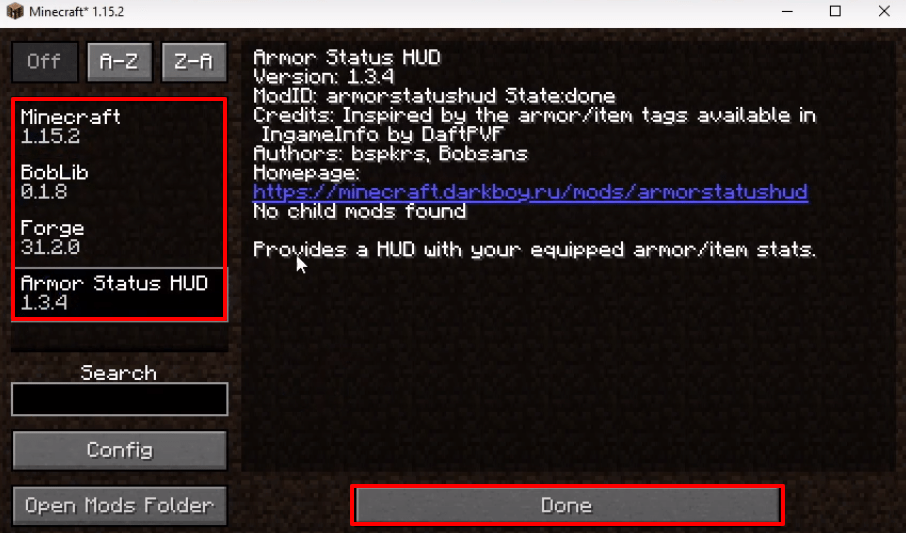
- Click on Mods.
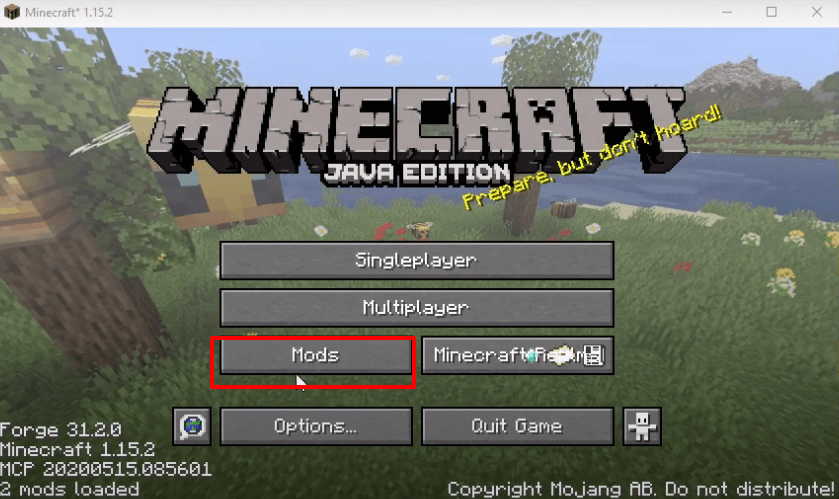
- Check that the right version of forge is installed, then press OK.
- After that, you will need to quit the game.
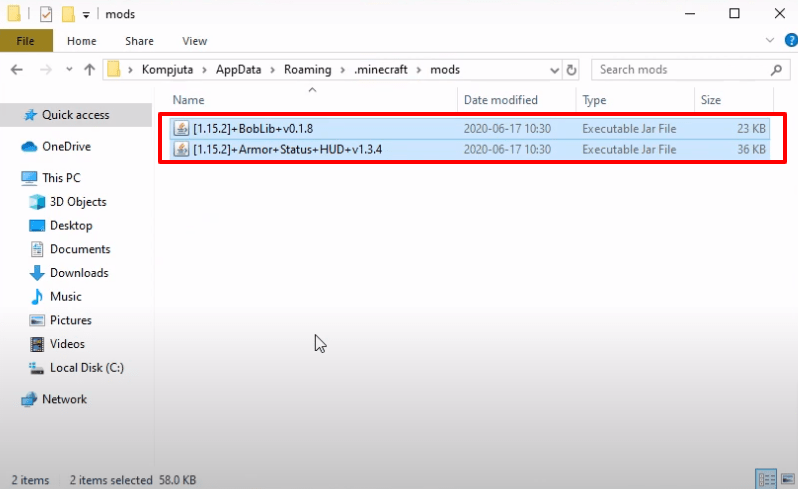
- Again press windows + R to open the run dialog box, type appdata in it and hit enter.
- Go to this directory “appdataroaming.minecraftmods” and paste the downloaded files in this folder.
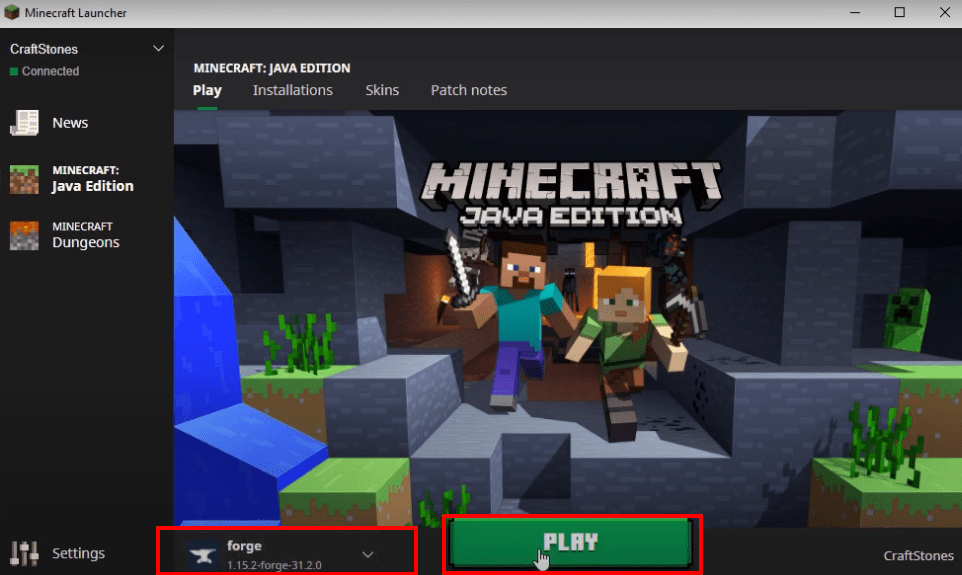
- Open the minecraft launcher, select forge and hit the PLAY button.
- After that, click on Mods.
- Mods are installed in the game, press Done.
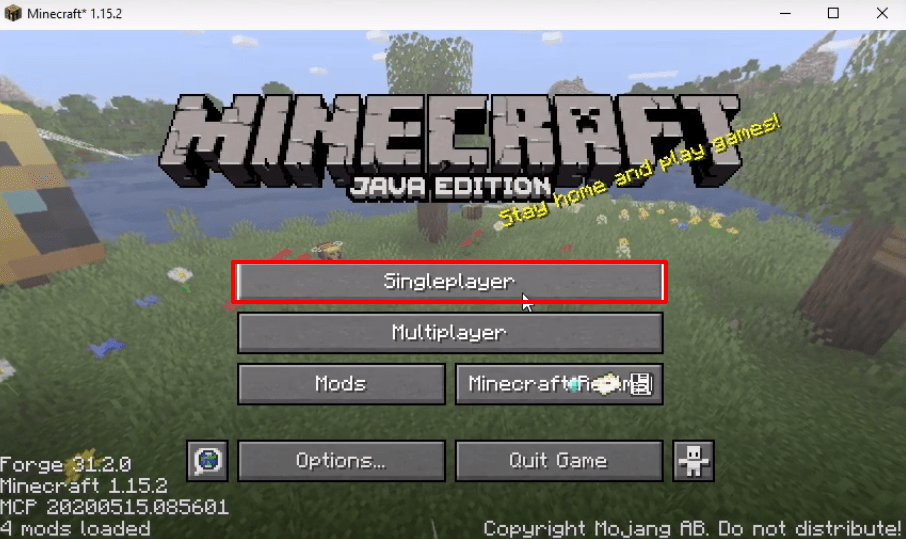
- Click on Single player.
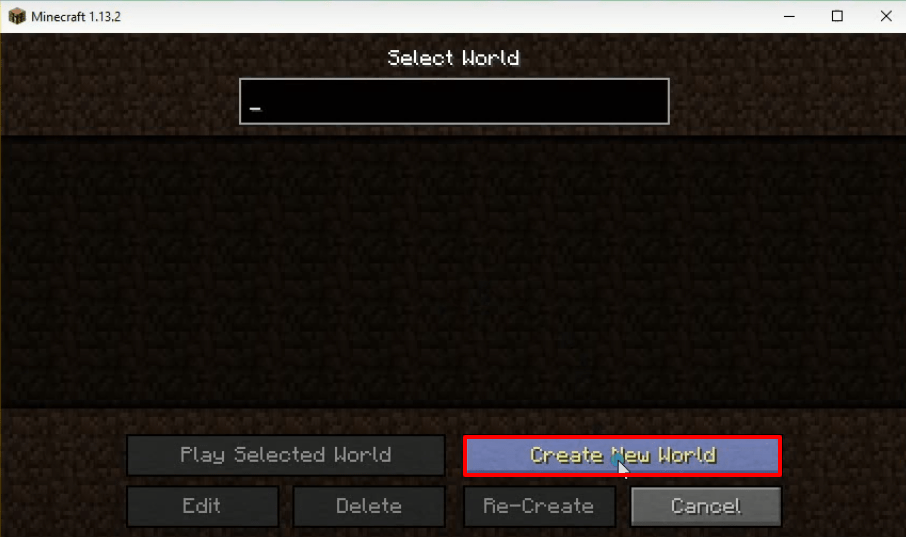
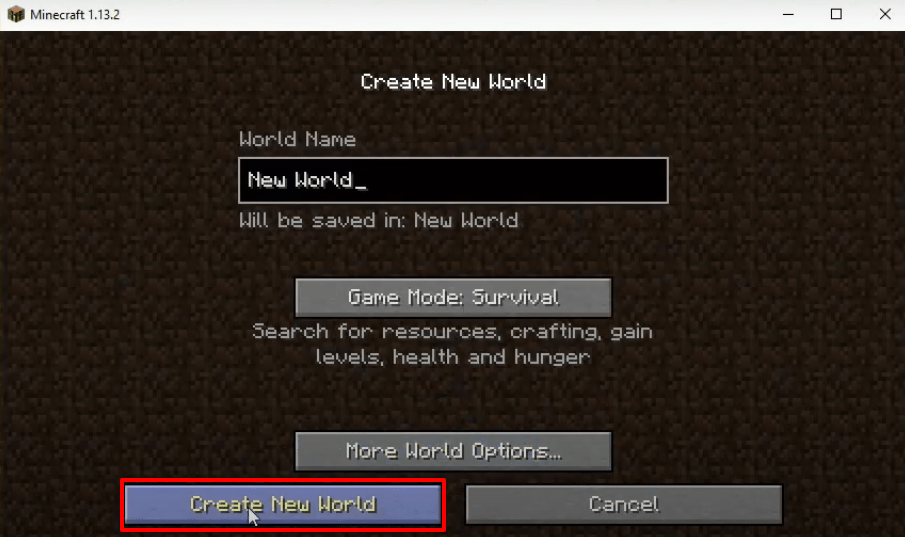
- Click on “Create New World”.
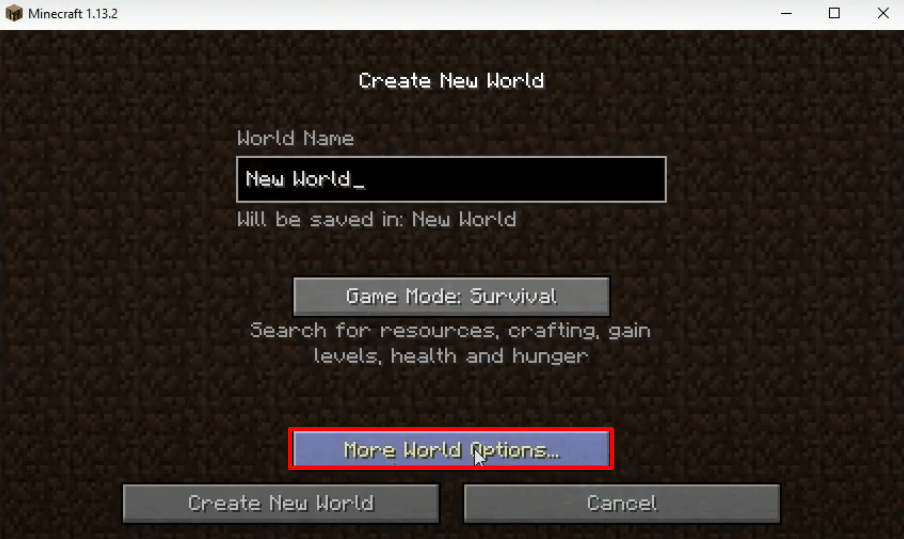
- Then click on More World Options…
- Turn on “Allow Cheats” and “Bonus Chest” and then press Done.

- After that, click on “Create new world”.
- Apply the mods that you want.
- Explore and enjoy the game..