This guide will provide you with Bardock BnB combos and basics in Dragon Ball Fighterz Season 3.5.
Every move Bardock has is safe on block unless stated otherwise. Bardock’s entire auto combo is a certified eSports classic, Big range and connects after a blocked super dash, while 5LL recenters the enemy on hit for easy combo confirms. 5LLL is just large but not particularly useful.

He has a low-hitting 2L and a really good one at that. His Mediums also leave nothing to be desired. 5H and 2H are solid and the only unsafe buttons. However, you can make them safe using other moves. 5S shoots a single regular Ki Blast, which can be confirmed into a full combo using 236H.
jL hits pretty far down but lacks horizontal range. js does the same but angled down and pauses his momentum; it is used a lot in his corner combos.

It is often used together with S as a cross-up. jM hits twice and is a decent air-to-air.
Rebellion Spear (236X, Air OK)

A series of lariats with a variety of uses. The Light version goes almost full screen and is free neutral when paired with an assist. Also, a great way to get out of the corner. The Medium version is angled up or down depending on whether it’s grounded or not.
The Grounded version is also anti-air, just like 2H. The Heavy goes full screen and side switches. It can steal the corner and go into 236M on a hit by pressing L, M, or H. The last hit is an overhead and gives a sliding knockdown on all the versions.
Raging Meteor (214X, Air OK)

The Light version is your main combo ender for knockdowns, but the knockdown isn’t long enough to super mid-screen. You can use js > 1236L or end in a smash jH instead. In the corner, you can use supers just fine afterward, though. The Medium Version gives a small ground bounce for assist extensions but won’t connect in the air most of the time.
Tyrant Lancer (236S)

It is slow but plus (+4) on the block, but you cannot mash after blocking this. Your only options are reflection or reversal. By holding Special, you can charge it to throw off the enemy’s timing. The uncharged version can combo meterless in the corner, but charged; it will combo anywhere.
An Assist

236L on-demand, goes half-screen, is fast, and has decent blockstun (271). It is good for block strings and neutral but can be a little hard to combo due to the speed and knockback, usually forcing you to dash jump to extend.
B Assist

The infamous Bardock B. It tracks about half a screen and has crazy blockstun (461) and tons of hitstun; the only downside is the slow startup.
C Assist

Don’t bother honestly, all it has is tracking anywhere on the screen, but the other options offer a lot more value.
Saiyan Spirit (236H+S/R2)

His alternate Level 1 can go into Level 2 for another bar by pressing any button. It’s Frame 1 invincible, though.
Basic Safe Gapless Blockstring

You can use either ender; 214 M adds an overhead to the end.
2L5LL > 2M5M > 5H > 236L7214M
Adding a 2H makes the string slightly longer.

2L5LL > 2M5M > 5H2H > 236L
Staggers

While you can stagger at basically any point in Bardock’s block strings, 5L and 5S are particularly good staggers.
2L5L > 5LL > 2M5M > 5H > 236L
5S allows you to bait a reflector frame trap with a slight delay on the following 5H.

2L5LL > 2M5M > 55 > (dl) 2M5M > …
236S

As said before, 236S is +4 on the block. It means that if it is blocked, the enemy cannot press the buttons or get a counter.
2L5LL > 2365 > 5LL > 2M5M > 5H > 236L
Since it is so slow, the enemy can avoid this by mashing Light or reflecting.

2L5LL > 2M5M > 2365 >.
But if they decide to mash too late, they risk getting hit by 236S, which will result in a lot of damage.

2L5LL > 2M5M > 236S > …
After it hits, they can only reflect or reverse, both of which have to be called out & baited.
2L5LL > 2M > 2365 > …
Mixups

If the staggers aren’t enough, you will have to make use of your assists. You can either try universal options like Superdash and Dragon Rush.
2L5LL > 2M5M > 5H > 236L > A1 > 66 2L5LL > …
Or go for a left/right using JLS and the same side 236M; it can be tough to get if your assist has a little pushback.

2L5LL > 2M5M > H > A1 > 236L > 96 (dl) jLS > 66 5LL > …
In the corner, you can go for a Superdash 50/50. You have to cover the SD with an assist and then delay an airdashiL or land 22. Ideally, both options will hit on about the same frame.

2L5LL > 2M5M > 5H > A1 > SD > (land) 2L OR (dl) 66 İL > …
A simpler option is a 236M followed by a late airdash JM or empty 2L.
2L5LL > 2M5M > 5H > 236M > A1 > (dl) 66 jM(1) OR (land) 2L > …
Miscellaneous Tips

Due to the blockstun of Bardock’s 5L, tick throws. Connect slightly later for him compared to other characters, making 5L > DR slightly less viable. Notice the dust clouds that appear when charging up 236S? When they appear, the gap in your block string is long enough for your assists to start recharging.

And finally, a dash followed by 215M is an anti-reflect string. Neat for block strings but useful on wakeup after a Level 3.

2L5L > 66 2L5M2M > 5H > 236L
And finally, a dash followed by 21.5M is an anti-reflect string. Neat for block strings but useful on wakeup after a Level 3.
BnB’s
Mid screen BnB
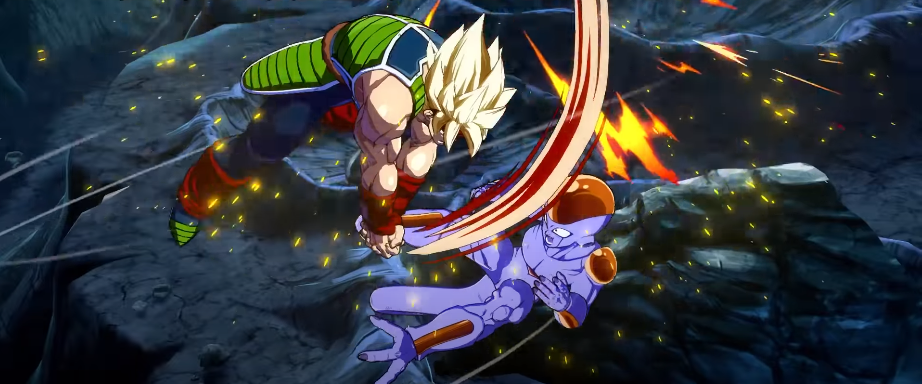
4090 dmg/3692 scaled | +1.2 Bar
2M5M – jM(2)L2H – SD – jM(2)L2HjcLL(2)L
You can end in ..jCLL(2) > 214. for slightly more damage but a worse knockdown.
Corner Ender
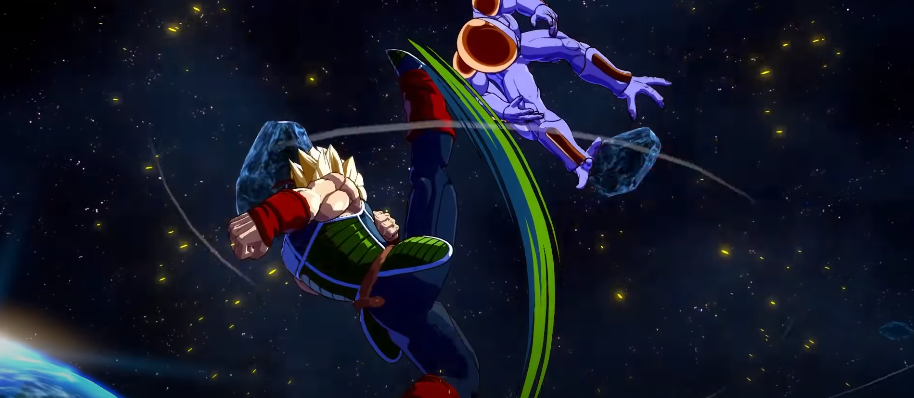
4250 dmg/3772 scaled | +1.3 Bar
2M5M – jM(2)L2H – SD – jM(2)L2HjcLL(2)S – j214M
5H Route
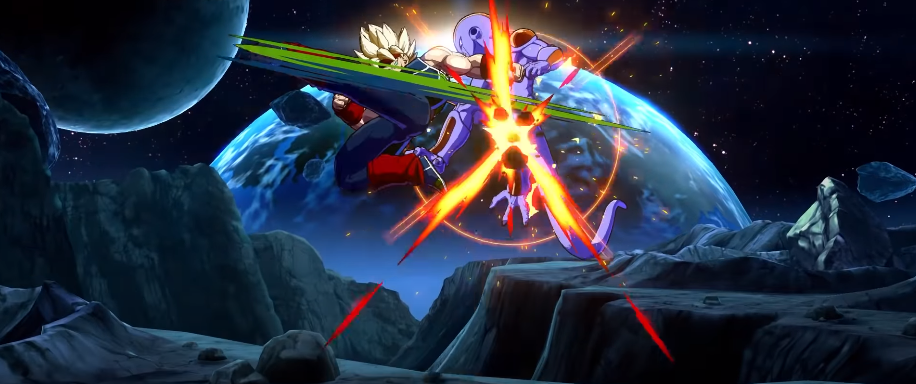
3978 dmg/3690 scaled | +11 Bar
5M2M – 5H – SD – jLL(2)2HjcLL(2) – j214L
You can also do 2M(dU5M> 5H.
5H Rejump

4265 dmg/3542 scaled | +1.25 Bar
5M2M – 5S5H – (dl) SD – 66 jM(1)L – (land) jLL(2)2HjcLL(2) – j214L
For a scaled start with jH > 2L5L > 5M2M 5H>… Pretty easy rejump, no dash jumps are required.
Meterless Side Switch

3740 dmg/3537 scaled | +105 Bar
2M5M – jM(2)(dl)LjcLL(2)2H – SD – jM(2)H
Near Corner

4728 dmg/4087 scaled | +1.75 Bar
2M5M – 236M – (dl) 66 jM(1)S – 5L(dl)L – 2M5M5H – SD – jLL(2)2HjcLL(2)S – j214L
Near Corner with Loop

4985 dmg1+2 Bar
2M5M – 236M – (dl) 66 jM(1)S – 5LL – 96 jLS – 5L(dl)L – 2M(dl)5M – 5S5H – SD – jM(2)2HjcLL(2)S – j214L
For scaled, you can use the previous Near Corner Route.
Corner BnB

4790 dmg/4125 scaled | +1.7 Bar
2M5M – jM(1)S – j236M – (dl) jS – 5L(dl)L – 2M5M5H – SD – jLL(2)2HjcLL(2)S – j214L
Corner BnB with Loop

5040 dmg1+205 Bar For scaled, use the previous Corner BnB Route
2M5M – jM(1)S – j236M – (dl) jS – 5LL – 96 jLS – 5L(dl)L – 2M5M5H – SD – jLL(2)2HjcLL(2)S – j214L
(For scale, just use the previous Corner BnB Route)
5S Confirm

3660 dmg 96jLMC) is optional and can be replaced with 2M5M.
5S – 236H~M – (dl) j236L – Vanish – 66 2L5LL – 96 jLM(1) – (land) jLL(2)2HjcLL(2) – j214L
236S Corner Confirm

5157 dmg1+22 Bar
236S – 66 5LL – 96 jLS – 5L(dl)L – 96 jLS – 5L(dl)L – 2M5M5H – SD – jLL(2)2HjcLL(2) – j214L
Charged 236S Confirm

4903 dmg1+1.45 Bar
36[S] – 66 5LL – 2M5M – jLL(2)2HjcLL(2) – j214L
2H Punish

3445 dmg +0.85 Bar
DR Route

2862 dmg I +1.55 Bar Reminder Holding a button during DR results in bonus damage.
SD Confirm

2040 dmg +0.7 Bar
SD – jLL(2)jcLL(2) – j214L
SD Confirm near Corner

2705 dmg | +125 Bar
SD – jLL(2)S – j236M – jLL(2)2HjcLLS – j214M
Vanish Confirm
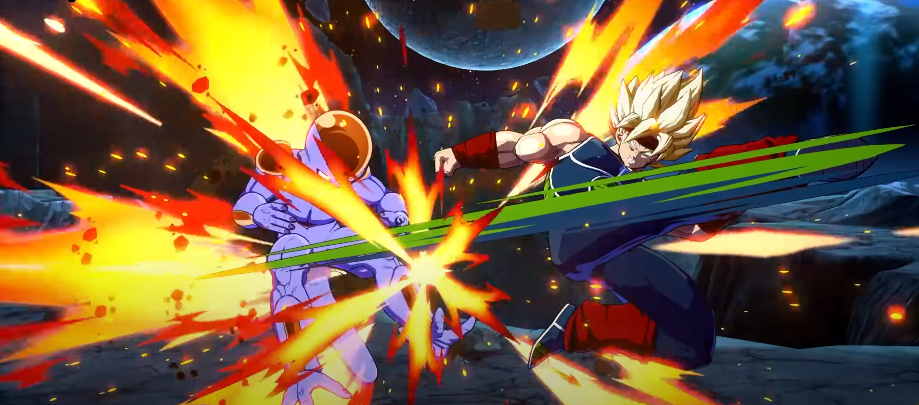
2345 dmg
… – Vanish – 66 2L5LL – 2M5M – jLL(2)2HjcLL(2) – j214L
Assist Extension 1

6072 dmg 1 +0.85 Bar
2M5M – jM(1)S – j236M – (dl) jS – 5LL – 2M5H – 236L – A1 – 5LL – 2M5S5H – 214M – A2 – DR – 236L – 236H+S
Assist Extension 2

3555 dmg +1.6 Bar
236L – A1 – 5LL – {96 jLS – 5L(dl)L}x3 – 2M5H – 214M
0.7 Bar Positive TOD (Beerus B/SSJ Vegeta A)
236S – 2M – 236L – Sparking – 5LL – 2M5H – 236L – A1 – 5LL – 2M5S5H – jLL(2)2HjcLL(2)L – A2 – 5H – 214M – A1 – DR – Lvl2 – Lvl1 – Lvl1
2 Bar Limit Break TOD

236[S] – 5LL – 2M5H – 236L – Sparking – 5LL – 2M5H – 96 jM(1)S – 5LL – 2M5H – jLL(1)2HjcLL(1)L – (dl) Vanish – 66 2M – 214H – [Vanish] – DR – Lvl3